Welcome to the world of Adobe Illustrator! If you’re here, you probably want to know how to effectively handle linked images in your designs. Embedding linked images might seem a bit daunting at first, but it’s a powerful skill that can elevate your projects. In this post, we’ll break down what linked images are and how to embed them smoothly into your Illustrator artwork. So, let’s dive right in!
Understanding Linked Images in Illustrator

When you're working on a design project in Illustrator, you'll often find yourself using images to enhance your visuals. But did you know that there are different ways to handle these images? One of the most crucial concepts is linked images. Let's unpack this idea a bit.
A linked image is an external file that is referenced by your Illustrator document. This allows Illustrator to access and display the image without fully incorporating it into the file itself, which helps keep your file size smaller. However, this does mean that if the linked
Why choose linked images? Here are a few benefits:
- File Size: Keeping images linked rather than embedded makes your Illustrator documents much lighter and easier to work with.
- Flexibility: You can easily update the external image without having to re-embed it every time you make a change.
- Quality: Linked images retain their resolution, while embeddings may sometimes lead to quality loss if not handled properly.
However, there are downsides to using linked images. If you share your project, it's vital to ensure that the recipient has access to the linked files. Otherwise, they will see the dreaded placeholder instead of your intended artwork. Here are a few common issues to watch out for:
- Missing Links: If the linked file is moved or deleted, Illustrator will not be able to find it. Use the “Relink” option to fix this.
- Outdated Files: If you make changes to a linked image outside of Illustrator, those changes won’t be reflected until you update the link inside your project.
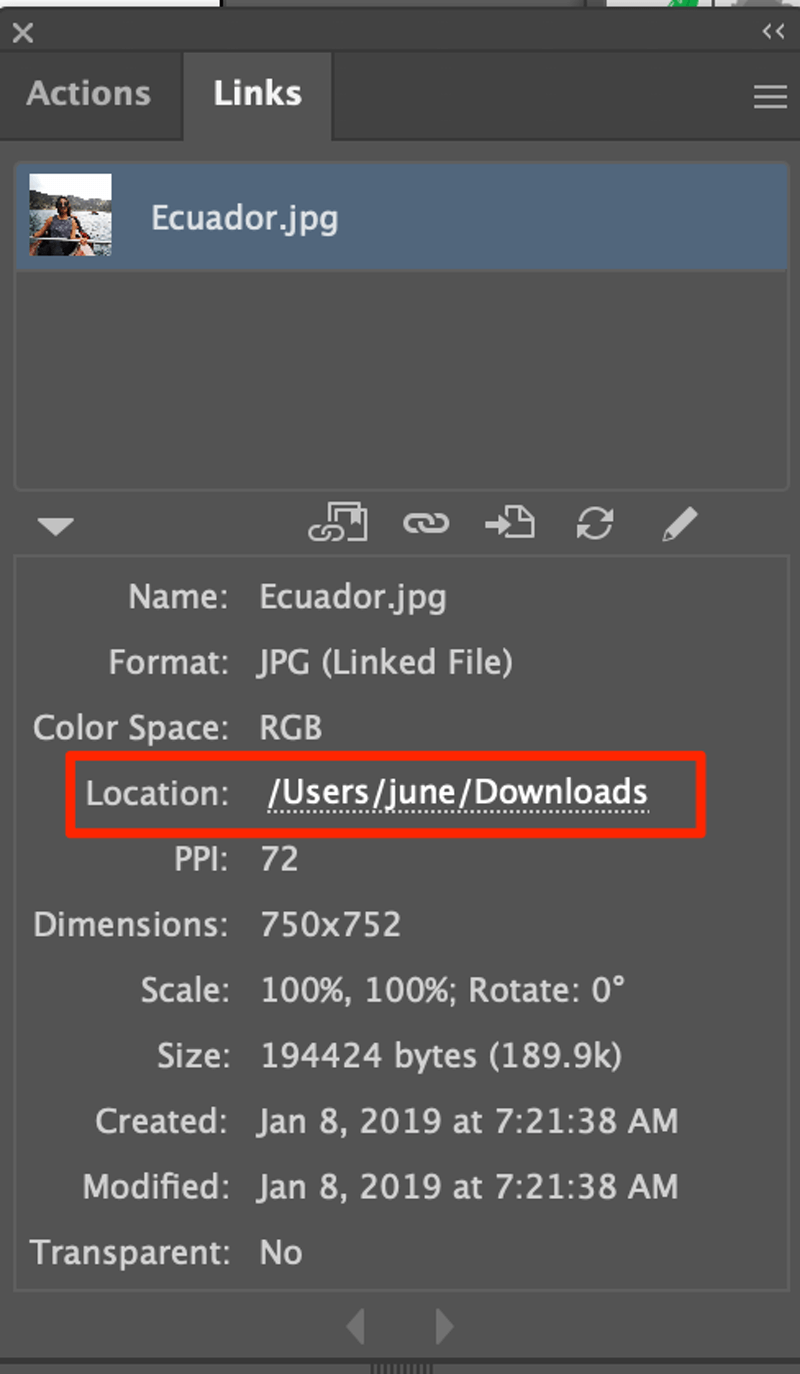
To check your linked images in Illustrator, head over to the Links panel (Window > Links). This panel will show all the linked files in your document, along with their status. If there’s any issue, like a missing link, it will be highlighted here.
Don’t forget to develop a workflow that suits your needs. If you’re working solo or on a smaller project, keep it simple with linked images. However, if you plan on sending your project to someone else or need to ensure everything is self-contained, embedding images might be the way to go.
In summary, understanding linked images in Illustrator sets a solid foundation for efficient design practices. They help maintain organization, keep your files manageable, and make collaboration smoother. In the next section, we'll guide you through the steps to embed those linked images seamlessly into your projects. Stay tuned!
Also Read This: How to Upload a Video on YouTube from iPad
3. Steps to Embed Linked Images in Illustrator
Embedding linked images in Adobe Illustrator is a fantastic way to ensure that your graphics remain intact no matter where you move your file. Here’s a straightforward guide to help you through the embedding process:
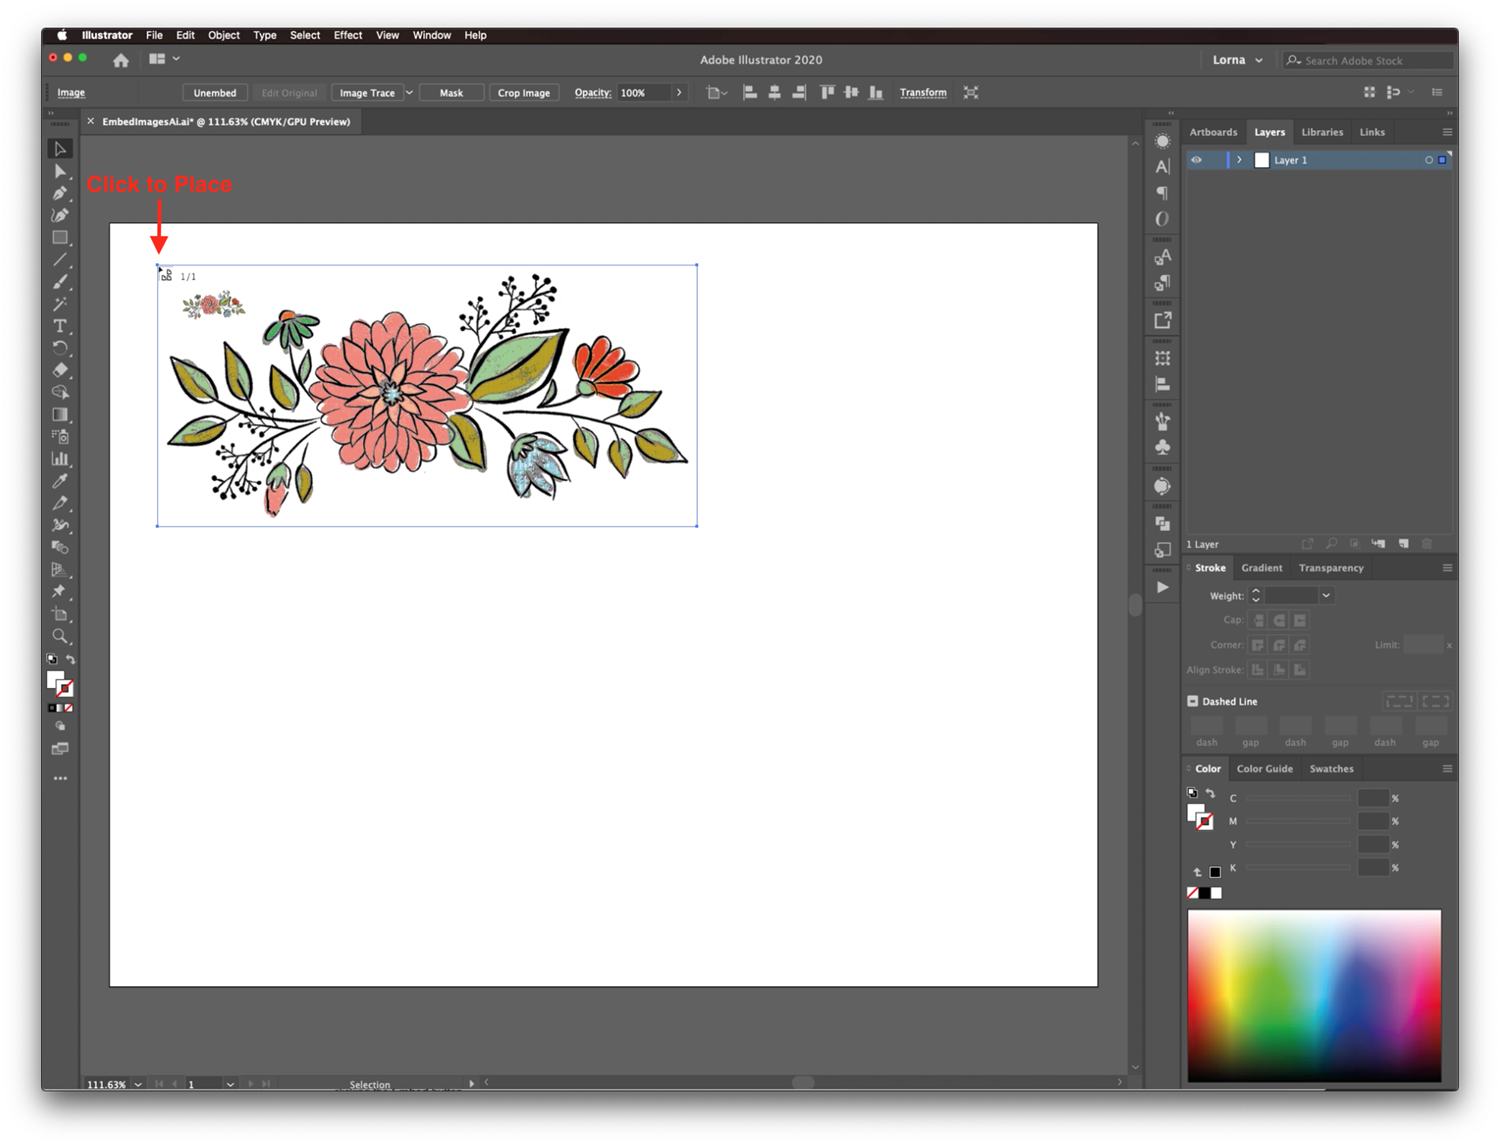
- Open Your Document: Start by launching Adobe Illustrator and opening the document that contains the linked images you want to embed.
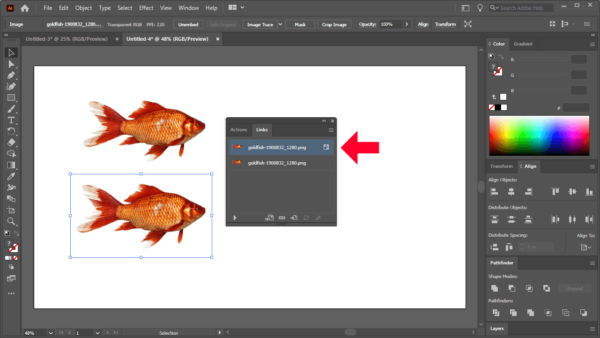
- Locate the Links Panel: Navigate to the top menu bar, click on Window, then select Links. This will open the Links panel, displaying all the images in your document.
- Select the Images: In the Links panel, you'll see a list of linked images. Click on the image(s) you wish to embed. If you want to embed multiple images, hold down the Shift key and select each one.
- Embed the Images: With your images selected, look for the "Embed" button at the bottom of the Links panel. Clicking this button will embed the selected images into your document.
- Save Your Document: After embedding, don’t forget to save your work! Go to File > Save, and your images will now be a permanent part of your Illustrator file.
And just like that, you’ve successfully embedded your images! It's a quick and simple process that boosts your project's portability. Remember, once images are embedded, they become a part of the Illustrator file, so be mindful if you're working with large files since it can increase the overall file size.
Also Read This: Transforming Color Images to Black and White in Photoshop
4. Advantages of Embedding Images vs. Linking
When it comes to images in Illustrator, you might be wondering, “Should I embed or link?” Both methods have their perks, but embedding images has some clear advantages:
- File Portability: When you embed images directly into your document, you don’t have to worry about missing links. This ensures that your artwork looks exactly how you intended when sharing or moving files between computers.
- No Missing Files: Ever experienced the heart-sinking moment of opening a file only to find broken links? By embedding images, you eliminate the risk of missing files, as everything is contained within the Illustrator document.
- Edit Anytime: Once an image is embedded, you can modify it directly in Illustrator without needing to switch back to an external file. This gives you greater flexibility in tweaking your designs on the fly.
- Simpler Workflow: For projects that require frequent adjustments, embedded images streamline your workflow. You can manage everything within a single document, which often leads to a more efficient design process.
- Print Ready: Embedded images are easier to manage when it comes to printing. Since the images are part of the document, there’s less chance of running into issues with image resolution or missing files.
On the flip side, linking images allows for reduced file size and facilitates easier updates. If you change an external image file, it automatically updates in your project. So, depending on your project's needs, you might choose one method over the other. But if you're after that peace of mind knowing everything’s safely tucked away in one place, embedding is the way to go!
Also Read This: Understanding Getty Images Royalty Payments for Contributors
5. Troubleshooting Common Issues
When working with linked images in Adobe Illustrator, you might encounter a few hiccups. But don’t worry! Here are some common issues and their solutions to help you get back on track:
- Images Not Updating: If your linked images aren’t updating after you make changes in the original file, try going to the Links panel (Window > Links) and selecting the image. Click the Relink button and navigate to the updated file. This should refresh your image.
- Missing Images: If you open a project and notice some linked images are missing, check the Links panel. If the status shows Missing, just click the Relink button and locate the original image file.
- Image Resolution Issues: Sometimes, the resolution of your linked images might not look right in Illustrator. To ensure maximum quality, always check the DPI (dots per inch) of your images before linking them. Ideally, aim for 300 DPI for print and 72 DPI for web.
- Linking Too Many Images: Managing a project with numerous linked images can be overwhelming. If Illustrator is running slow, consider organizing your files. Group related images in folders and link them in batches rather than all at once.
If you find yourself stuck, don’t hesitate to check out Adobe’s support forums or community pages. They’re filled with users who might have faced the same issues, and there’s a wealth of knowledge to tap into!
Also Read This: Is Dailymotion Upgrading Its Platform from Flash?
6. Conclusion
Embedding linked images in Adobe Illustrator is a fantastic way to keep your artwork organized and efficient. By understanding how to link, embed, and manage your images, you can enhance both your workflow and the quality of your designs. Here’s a quick recap of what we discussed:
- Embedding vs. Linking: Knowing the difference between these two options is crucial. Linking is great for reducing file size, while embedding is useful for ensuring your images are always included with your project.
- Benefits of Linking: Linked images automatically update, helping you save time and storage space. It’s a win-win!
- Best Practices: Maintain your image files in organized folders and clearly name your files for easier access during the relinking process.
- Troubleshooting: Familiarize yourself with common issues so you can resolve them quickly when they inevitably arise.
As you continue to use Illustrator for various projects, remember that practice makes perfect. The more you work with linked images, the more intuitive the process will become. Embrace the creative journey, and have fun experimenting with different designs. Happy illustrating!
Additional Resources for Illustrator Users
As you delve deeper into Adobe Illustrator, it's essential to have the right resources at your fingertips to enhance your skills and streamline your workflow. Here are some valuable resources for Illustrator users:
- Adobe Help Center: A comprehensive collection of tutorials, troubleshooting guides, and user manuals directly from Adobe. Visit: Adobe Illustrator Help Center
- Online Tutorials: Websites and platforms like:
- Community Forums: Engage with fellow users on platforms like:
- Plugins and Extensions: Enhance your Illustrator capabilities with plugins such as:
By taking advantage of these resources, you can expand your knowledge, improve your design capabilities, and connect with the vibrant community of Illustrator users. Happy designing!
 admin
admin