The HTML5 Canvas element is a powerful tool for creating dynamic, interactive graphics directly in a web browser. Think of it as a digital blank slate where you can draw, animate, and manipulate images or shapes using JavaScript.
Canvas is essentially a rectangular area on a web page defined by the <canvas> element. To bring it to life, JavaScript methods are used to draw or modify the content. It's commonly used in web applications for:
- Building interactive visuals like charts or graphs
- Creating game elements
- Rendering image effects or animations
Before jumping into embedding images, it's helpful to get comfortable with the basics of setting up a Canvas and understanding its coordinate system, as this will make image manipulation much easier.
Why Embedding Images in Canvas is Useful
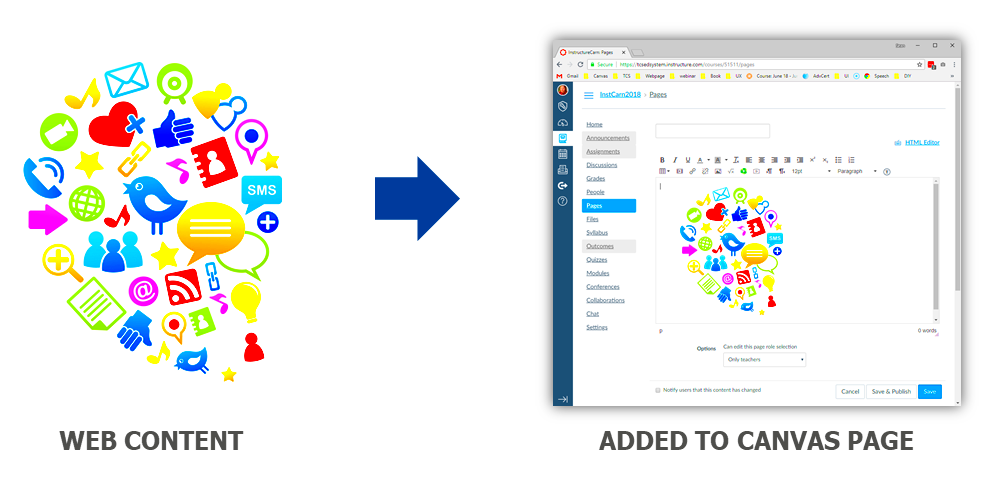
Embedding images into a Canvas opens up a world of creative possibilities. Whether you're building a photo editor, an interactive design tool, or a data visualization dashboard, integrating images is a key feature for making your project visually engaging and functional.
Here’s why embedding images in Canvas is particularly useful:
- Flexibility: You can manipulate images directly within the Canvas, such as cropping, scaling, or rotating them dynamically.
- Interactive Content: Combine images with drawings, animations, or user inputs for richer interactions.
- Performance: Canvas renders images directly onto the browser, making it faster for animations and complex effects compared to HTML image elements.
With these capabilities, Canvas becomes an essential tool for modern web development projects.
Also Read This: how to make usb bootable with iso image
Preparing the Image for Embedding
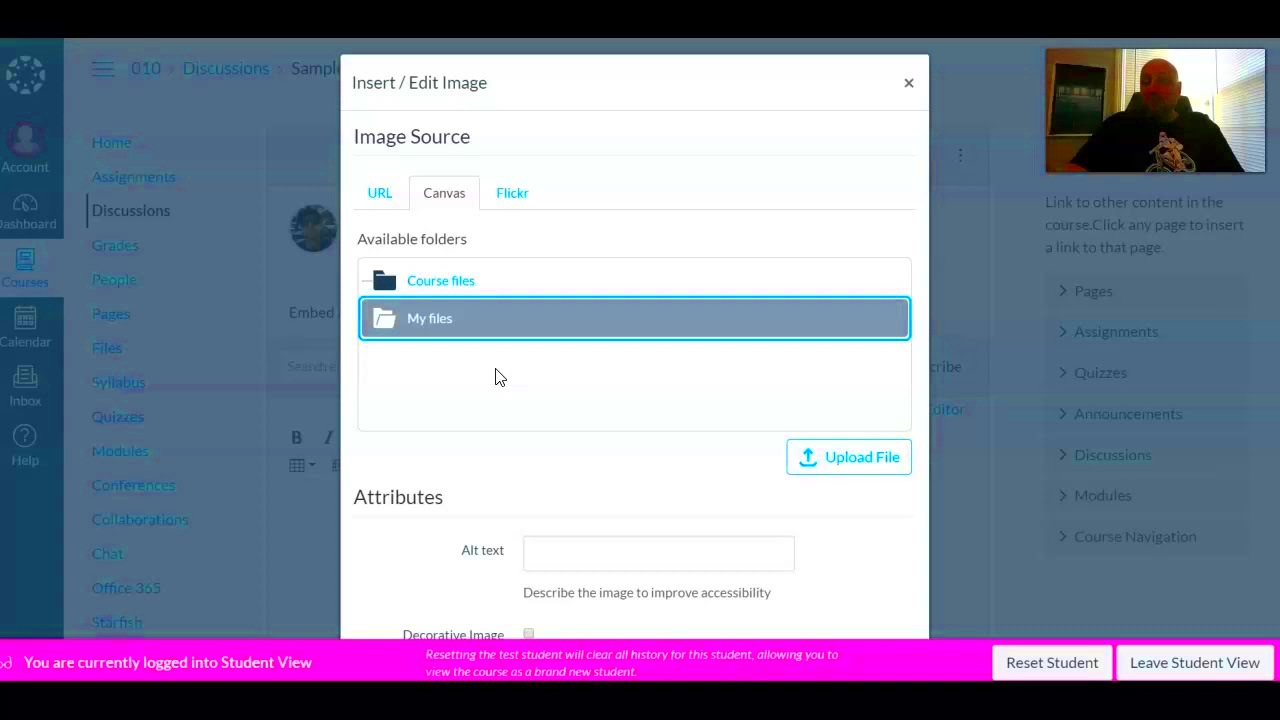
Before embedding an image into a Canvas, a few preparation steps are necessary to ensure it works as intended:
- Choose the Image: Ensure the image file is in a web-supported format like JPEG, PNG, or GIF. Avoid large file sizes to maintain performance.
- Set the Canvas Dimensions: Adjust the Canvas size to fit the image or your desired layout. For example, use
canvas.widthandcanvas.heightto set these properties dynamically. - Preload the Image: Use JavaScript’s
Imageobject to load the image asynchronously. This ensures it’s ready when the Canvas rendering starts. Here’s a basic snippet:const img = new Image(); img.src = 'image_url_here'; img.onload = function() { // Proceed with drawing };
By preparing properly, you'll avoid errors like blank Canvas outputs or slow rendering issues. Once everything is set up, embedding the image becomes straightforward.
Also Read This: Roblox Rhythms: Playing Roblox with a Soundtrack from Spotify
Using JavaScript to Add Images to Canvas
Now that you understand the basics of the Canvas element and how to prepare images, it’s time to use JavaScript to add images to the Canvas. This process involves using the Canvas API to draw the image at a specific location on the Canvas and applying any transformations you need.
Here’s a simple example of how to add an image using JavaScript:
const canvas = document.getElementById('myCanvas');
const ctx = canvas.getContext('2d');
const img = new Image();
img.src = 'image_url_here'; // Replace with your image URL
img.onload = function() {
    ctx.drawImage(img, 0, 0); // Draw the image at (0, 0) on the canvas
};
This is the basic syntax you’ll use to draw an image on the Canvas. The drawImage() method accepts several parameters:
- Image Object: The image you want to draw.
- X and Y Coordinates: The position where the image will be placed on the Canvas.
- Width and Height (optional): The size of the image when drawn. If omitted, the image will retain its original size.
Once the image is loaded, the onload function will trigger, and the image will be drawn to the Canvas. This approach gives you flexibility to control where and how the image is placed.
Also Read This: How to Make an Image Cover the Whole Page
Handling Image Scaling and Positioning
After adding an image to the Canvas, you might need to adjust its size or position based on your design needs. Image scaling and positioning can be tricky, but with JavaScript, you have full control over how the image behaves within the Canvas element.
Here’s how you can scale and position an image on the Canvas:
- Scaling: You can change the width and height of an image when using the
drawImage()method. For example:
ctx.drawImage(img, 0, 0, 200, 150); // Scales the image to 200px wide and 150px high
drawImage() method. For example:ctx.drawImage(img, 50, 50); // Moves the image to position (50, 50) on the canvas
const canvasWidth = canvas.width;
const canvasHeight = canvas.height;
const imgWidth = img.width;
const imgHeight = img.height;
ctx.drawImage(img, (canvasWidth - imgWidth) / 2, (canvasHeight - imgHeight) / 2);
By adjusting the scaling and positioning, you can ensure that the image fits perfectly within your design and behaves as expected across different screen sizes and devices.
Also Read This: Master the Art of Syncing and Playing Videos on Dailymotion
Tips for Optimizing Image Quality on Canvas
When working with images on a Canvas, optimizing the image quality is crucial for achieving the best visual results. Poor image quality can detract from your design, especially in cases where precise details matter, like photo editing tools or games. Here are some tips to help you get the most out of your images on Canvas:
- Use High-Resolution Images: Start with high-quality source images to avoid pixelation or blurriness when scaling them down. The higher the resolution, the better the final result will be, especially when zooming in or applying filters.
- Optimize Image Dimensions: Resize your images to the appropriate dimensions for your Canvas before uploading them. Avoid loading images that are much larger than needed, as this will increase load times and reduce performance.
- Enable Image Smoothing: Canvas automatically smooths images when scaled, but you can fine-tune this by using the
imageSmoothingEnabledproperty:
ctx.imageSmoothingEnabled = true; // Enable smoothing for better quality
ctx.imageSmoothingQuality = 'high'; // Set the quality to high for smoother results
By keeping these tips in mind, you can ensure your images are sharp, clear, and load quickly, providing the best experience for users interacting with your Canvas-based projects.
Also Read This: How Do I Resize an Image in Paint for Simple Editing and Adjustments
FAQs About Embedding Images in Canvas
When working with Canvas and embedding images, there are several common questions that arise. Here are some frequently asked questions to help clarify the process:
- Can I add multiple images to a single Canvas?
Yes, you can add multiple images to a single Canvas. You just need to use thedrawImage()method multiple times, each time with different image sources or coordinates. - How do I handle images with transparency?
If your image has a transparent background (like PNG images), the transparency will be preserved when drawn on the Canvas. Just ensure that the Canvas background is transparent or set to a color of your choice. - What happens if the image takes too long to load?
If the image is not loaded before thedrawImage()method is called, you may get an error or a blank Canvas. You can avoid this by using theonloadevent to wait for the image to fully load before drawing it. - Can I animate images on Canvas?
Yes, Canvas supports animation! You can use JavaScript’srequestAnimationFrame()to redraw images at regular intervals, creating smooth animations. - How do I crop an image on Canvas?
You can crop an image by using thedrawImage()method with additional parameters to specify the section of the image you want to draw. Here's an example:
ctx.drawImage(img, sx, sy, sWidth, sHeight, dx, dy, dWidth, dHeight);
In this case, sx and sy define the starting point of the cropping area, while sWidth and sHeight define the size of the cropped area. The remaining parameters control where and how the cropped image will be placed on the Canvas.
Conclusion
Embedding images in Canvas is a valuable skill for web developers, allowing you to create dynamic and interactive visual content. With the right techniques, you can control how images are positioned, scaled, and optimized for performance. By following best practices and addressing common challenges, you can harness the full potential of the Canvas element in your projects. Whether you're creating games, data visualizations, or photo editors, Canvas provides a flexible platform for adding and manipulating images with ease.
 admin
admin


