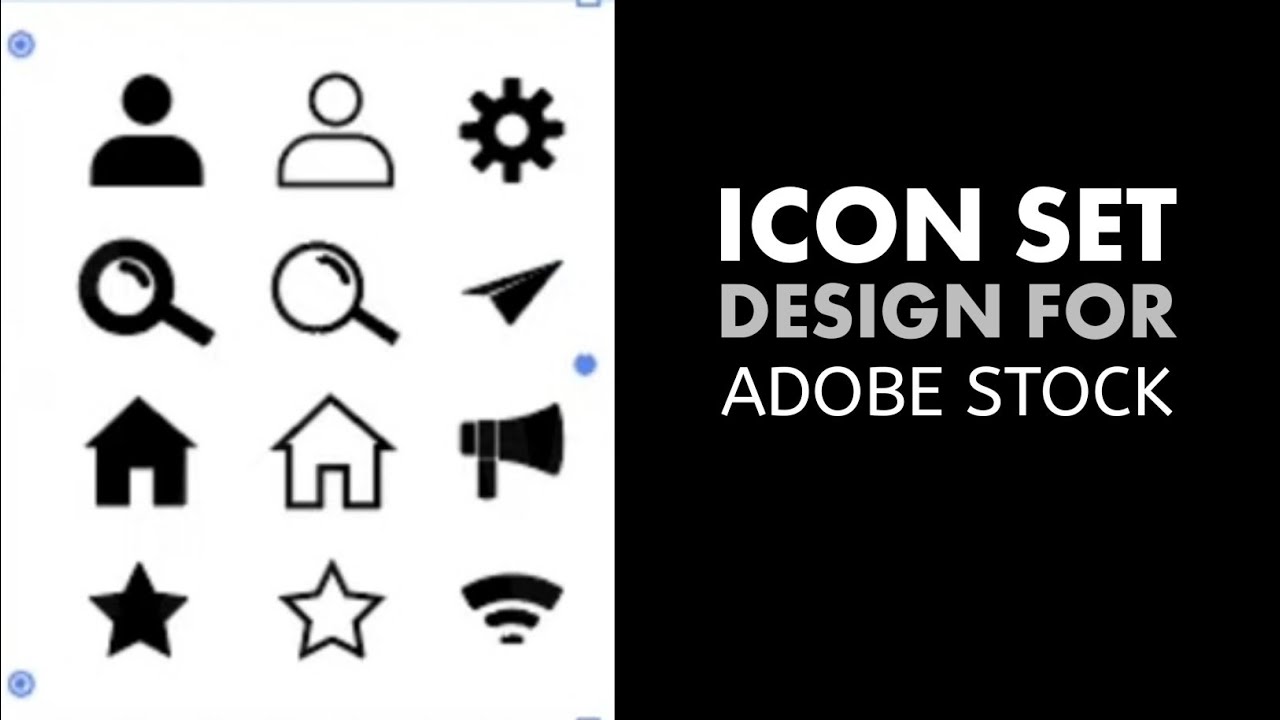
Editing stock icon packs can be an exciting and creative task, especially if you want to tailor these assets to fit your unique design vision. Whether you're working on a web project, mobile app, or presentation, being able to customize icons can significantly enhance the overall aesthetic and functionality. In this guide, we'll explore how to effectively edit stock icon packs using various Adobe software options, making your design process smoother and more enjoyable.
Choosing the Right Adobe Software for Editing Icons
When it comes to editing stock icon packs, Adobe offers several software solutions, each catering to different needs and preferences. The key is to choose the right one that aligns with your skill level and the specific edits you wish to make. Here are a few options to consider:
- Adobe Illustrator - This is perhaps the most popular choice for editing vector-based icons. Illustrator allows you to manipulate paths, colors, and shapes with precision. Its myriad of tools, such as the Pen Tool and Shape Builder, makes it ideal for users looking to refine or completely redesign their icons.
- Adobe Photoshop - If your icon pack includes raster images (e.g., PNGs or JPGs), Photoshop is the go-to option. It’s perfect for applying effects, adjusting colors, or adding textures. However, keep in mind that Photoshop isn’t as suited for vector edits as Illustrator.
- Adobe XD - Ideal for UI/UX designers, Adobe XD not only allows you to edit icon packs but also provides powerful tools for prototyping design layouts. If your icons are part of a larger design project, XD can help you visualize how everything comes together in one seamless workflow.
- Adobe InDesign - This is a lesser-known option for editing icons but can be useful for layout purposes. If your icons are part of a brochure or printed material, InDesign allows for easy placement and scaling without losing quality.
Ultimately, the best software for editing stock icon packs in Adobe comes down to whether you're working with vectors or raster images and your overall project requirements. Take some time to explore these Adobe tools, and you'll be well on your way to creating stunning custom icons!
Also Read This: Here’s the Complete Guide for High-Quality Downloads from Bandcamp
Importing Stock Icons into Adobe
Importing stock icons into Adobe is a straightforward process, but there are a few steps to ensure everything goes smoothly. Whether you’re using Adobe Illustrator, Photoshop, or any other Adobe software, let’s walk through the steps together.
First things first, make sure you have your stock icon pack ready. This could be a ZIP file that you’ve downloaded or individual files that you’ve saved on your computer. Here’s how to get those icons into your chosen Adobe application:
- Locate the Files: Open the folder where your stock icons are stored. Ensure that you have all the necessary files, whether they’re in SVG, PNG, or another format.
- Open Your Adobe Application: Launch Adobe Illustrator, Photoshop, or any other relevant software.
- Import the Icons: Use the import feature:
- In Illustrator, go to File > Place, then navigate to where your icon files are located.
- In Photoshop, simply drag and drop the files into the workspace or use File > Open.
- Organize Your Icons: Once imported, arrange your icons in the layers panel. Naming your layers appropriately makes it easier to edit later.
Now that you’ve successfully imported your stock icons, you can start customizing them to fit your project's needs.
Also Read This: Do I Need to Credit Photos from Depositphotos
Basic Editing Techniques for Icons
Editing stock icons can seem daunting at first, but with a bit of practice, you’ll find it’s quite enjoyable! Here are some basic techniques that will help you get started:
- Resizing Icons: Sometimes, you want your icons to be larger or smaller. To resize in Illustrator, use the selection tool and drag the corner of the icon while holding the Shift key to maintain proportions. In Photoshop, use the transform command (Ctrl/Cmd + T) to adjust size.
- Changing Colors: Adapt the color scheme to match your design. In Illustrator, select the icon, and then choose a new color from the color picker. In Photoshop, you can use adjustment layers, such as the Hue/Saturation adjustment, to tweak colors.
- Applying Effects: Add some pizzazz to your icons with effects like shadows or gradients. In Illustrator, this can be done through the effects menu. Photoshop users can access layer styles to add effects like drop shadows or glows.
- Combining Icons: Don’t be afraid to be creative! You can combine elements from multiple icons to create something unique. Just select parts of the icons and group them together or layer them in your design.
- Exporting Your Edits: Once you’re happy with your edits, don’t forget to save your work. Export your final design in the desired format, whether it's PNG, SVG, or any other format that suits your project.
By mastering these basic editing techniques, you'll be well on your way to creating stunning, customized icons that perfectly fit your project needs!
Also Read This: Adobe Stock vs Getty Images: Comparing Two Leading Stock Photography Platforms
5. Advanced Editing Techniques and Customization
Once you have a good grasp of the basic editing tools in Adobe, it’s time to explore some advanced techniques that will allow you to customize your stock icon packs more creatively. Trust me, these methods will not only enhance your designs but also make them stand out.
Here are some advanced techniques to consider:
- Layer Manipulation: Play around with the layers in your icon design. Use the layering options to create depth. For instance, you can adjust the opacity of different layers or apply blending modes to achieve unique effects.
- Vector Editing: Since many icons are vector-based, dive into the pen tool and explore the shapes that make up your icons. You can reshape, combine, or subtract areas to create new designs.
- Color Grading: Instead of sticking with the original color schemes, use the color grading tools to apply different palettes. Consider using a tool like Adobe Color to create harmonious color selections.
- Adding Textures: Give your icons a more tactile feel by layering in textures. You can use image-based textures and apply them as overlays, adjusting the opacity so they blend seamlessly.
- Shadow & Highlight Techniques: Shadows can add a three-dimensional effect. You can use gradients or even draw your own shadows to enhance visual interest. Highlights can also give your icons more contrast.
Experiment with these techniques, and don’t be afraid to blend different styles! The beauty of customization lies in your creativity.
Also Read This: How to Purchase Multiple Images on iStock at Once
6. Exporting Your Edited Icons
Now that you've personalized your icons, it's time to share them with the world! Proper exporting is crucial to ensure your hard work maintains its quality in different formats and sizes. Here’s how to make sure your icons are export-ready:
Follow these simple steps when exporting:
- Select the Right Format: Choose between formats like PNG, SVG, or JPG based on your needs:
- PNG: Best for high-quality icons with transparent backgrounds.
- SVG: Ideal for web use due to its scalability.
- JPG: Good for icons that don't require transparency.
- Check Dimensions: Set the appropriate dimensions for your icons. You might want different sizes for varying applications, such as mobile apps or website headers.
- Use Export Settings: Go to the 'Export for Screens' option in Adobe. It allows you to choose multiple sizes and formats simultaneously, saving you time.
- Optimize for Web: If you’re using them online, ensure you optimize the file sizes without compromising quality. Tools like TinyPNG can help with that!
- Organize Your Files: Create a structured folder system for easy access. Having labeled folders will save you and your team time when searching for specific icons later.
By following these steps, you can confidently export your icons, allowing them to shine in any project, big or small. Happy editing!
Also Read This: How to Make Money on Shutterstock: A Comprehensive Guide
7. Best Practices for Using Edited Icon Packs
So, you’ve taken the time to edit your stock icon packs in Adobe, and now you’re eager to use them. That’s fantastic! But before you dive in, let’s chat about some best practices to make sure your icons shine and serve their purpose effectively.
- Maintain Consistency: It’s crucial that your edited icons have a cohesive style. Stick to a uniform color palette, stroke width, and level of detail. This creates a visually appealing look across your designs.
- Think About Size: Icons should be easily recognizable, even at smaller sizes. Make sure your edited icons are scalable and remain clear, regardless of their use in a header, footer, or button.
- Test in Context: Always test your icons within the design they’ll be used in. Does an icon look good on a dark background versus a light one? Getting a feel for their visual impact in real scenarios is key.
- Color Accessibility: Ensure your color choices are accessible. Consider using colors that are distinguishable for those with visual impairments. Tools like color contrast checkers can be incredibly helpful here.
- Stay True to Brand: If you’re working for a company, make sure that your edited icons align with the brand's identity. Incorporating brand colors, shapes, and styles keeps your designs on-brand.
- Document Edits: Keep a record of the changes you made to the original icons. This transparency is useful for future references and updates, or if you need to explain your choices to team members.
8. Conclusion
Editing stock icon packs in Adobe is not just a creative task; it’s an exciting journey that enhances how you communicate ideas visually. By melding convenience with customization, you can make those icons work for you, rather than the other way around.
Remember, the main goal is to create icons that are not only functional but also aesthetically pleasing and consistent with your project’s theme. Always keep your audience in mind. Icons should simplify understanding, not complicate it. So, take those best practices to heart as you embark on your icon editing adventures.
With a little bit of creativity and attention to detail, your edited icon packs will elevate your design projects and help convey your message more effectively. Happy designing!
 admin
admin


