ISO image files are a popular way to store entire file systems in one single file, often used for creating backups, distributing software, or burning content to CDs and DVDs. Editing these files might seem intimidating, but with the right tools, it's simple to modify their contents. Whether you're looking to add or remove files, fix errors, or change the structure of an ISO image, understanding the basics of ISO editing can save you a lot of time and hassle.
In this guide, we’ll walk you through why you might want to edit an ISO file and how to do it effectively using the right tools. You'll learn step-by-step methods, along with useful tips to ensure the process is smooth and error-free.
Why You Might Need to Edit an ISO Image File
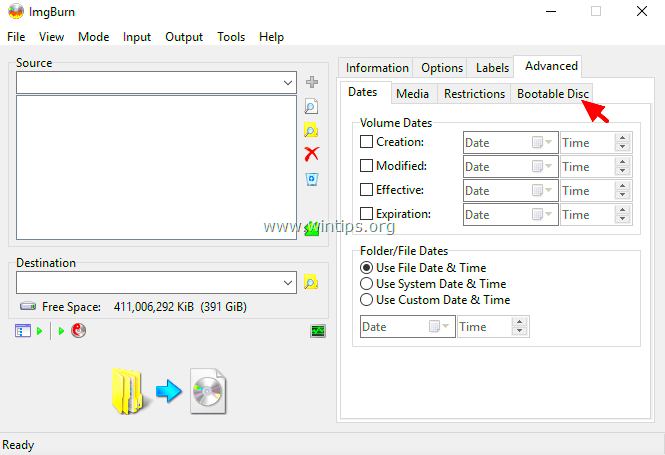
Editing an ISO file can be useful in several scenarios. Here are some common reasons why you might need to make changes:
- Adding New Files: If you have updated software or additional files to include in an ISO image, you can modify it to add these files without having to recreate the entire image.
- Removing Unnecessary Files: Over time, ISO images can accumulate unnecessary files that take up valuable space. Editing the ISO allows you to clean it up by removing these files.
- Fixing Errors: If an ISO image was created incorrectly or contains corrupted files, you may need to fix or replace these files to make the image usable again.
- Modifying the File Structure: You might need to adjust the way files are organized inside the ISO, such as renaming folders or reordering files to fit a specific layout.
- Creating a Custom Bootable Disk: Many users modify ISO images to create customized bootable disks for installation, recovery, or other purposes.
Regardless of the reason, knowing how to edit an ISO image file can help you maintain control over your digital content and ensure that your files are organized the way you need them.
Tools You Can Use to Edit ISO Files
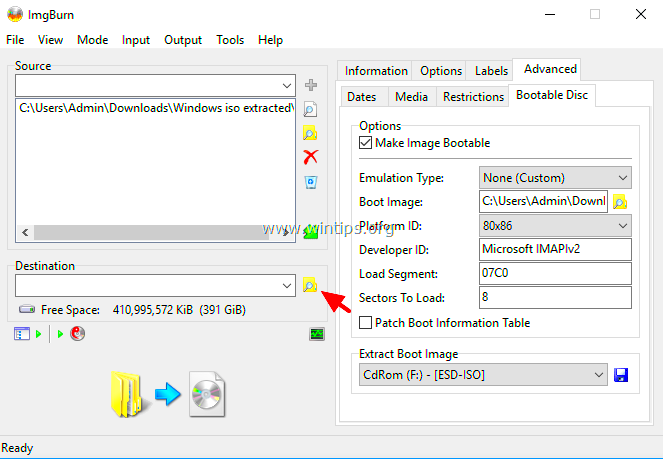
There are many tools available to edit ISO files, ranging from free, open-source software to professional paid programs. Below, we’ll break down some of the best options available:
- PowerISO: A widely used tool that allows you to open, edit, and save ISO files. It’s easy to use and offers a range of additional features, like converting ISO images and creating bootable drives.
- UltraISO: Known for its user-friendly interface, UltraISO enables you to modify ISO files, extract content, and even create new ISO images. It supports a variety of file formats, making it versatile.
- Daemon Tools: While primarily used for mounting ISO images, Daemon Tools also includes features for editing and converting ISO files. It’s a great tool for those who need to work with disk images frequently.
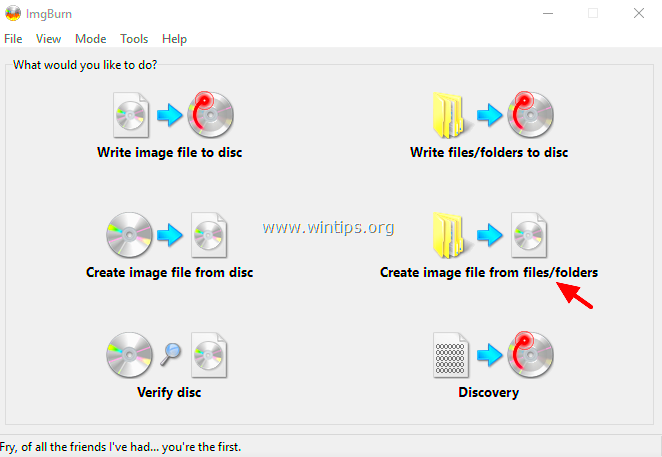
- ImgBurn: This free tool is primarily used for burning ISO files to discs, but it also allows for basic editing of ISO images. It’s a lightweight program and great for users who only need simple edits.
- 7-Zip: Although 7-Zip is known for file compression, it can also be used to extract and modify the contents of ISO files. After making changes, you can reassemble the ISO file using the same tool.
Choosing the right tool depends on the complexity of your edits and the features you need. For simple modifications, free tools like 7-Zip and ImgBurn may suffice, while more complex tasks might require software like PowerISO or UltraISO.
Step-by-Step Guide to Editing an ISO Image File
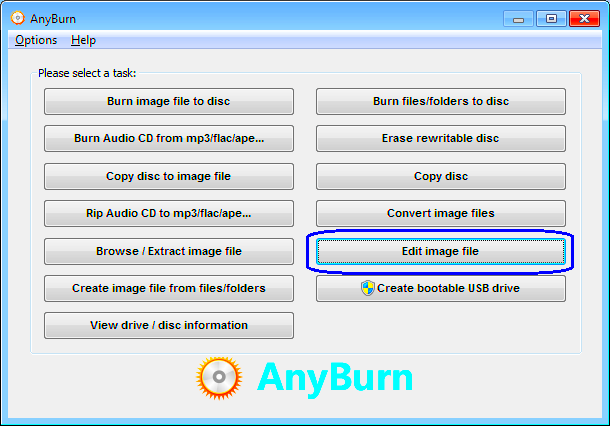
Editing an ISO image file might seem complex at first, but once you break it down into simple steps, it’s easier than it looks. Whether you're adding, removing, or modifying the contents, following the right procedure ensures that your changes are applied correctly without corrupting the ISO file. In this guide, we will walk you through the exact steps to edit your ISO image using a popular tool, PowerISO, as an example. However, the process will be similar across most ISO editing tools.
- Download and Install an ISO Editing Tool: Choose and install an ISO editing tool, like PowerISO or UltraISO, on your computer. These tools have user-friendly interfaces and are designed specifically for working with ISO files.
- Open the ISO File: Launch your ISO editing tool and open the ISO file you want to edit. Simply select "Open" and browse for the ISO file on your computer.
- Make the Necessary Edits: Now you can add, remove, or modify files inside the ISO. Depending on your tool, this might involve dragging files into the ISO or deleting files you no longer need.
- Save the Changes: Once you're done editing, save your changes. You may be prompted to choose a location for the modified ISO file. Always make sure to save it with a new name to avoid overwriting the original file.
- Test the ISO File: Before using the modified ISO file, test it to ensure everything works as expected. You can do this by mounting the ISO or burning it to a disc to check if the changes were applied correctly.
With these steps, you should be able to confidently edit any ISO image file, whether you're adding software, updating files, or reorganizing content inside the image.
Adding Files to an ISO Image
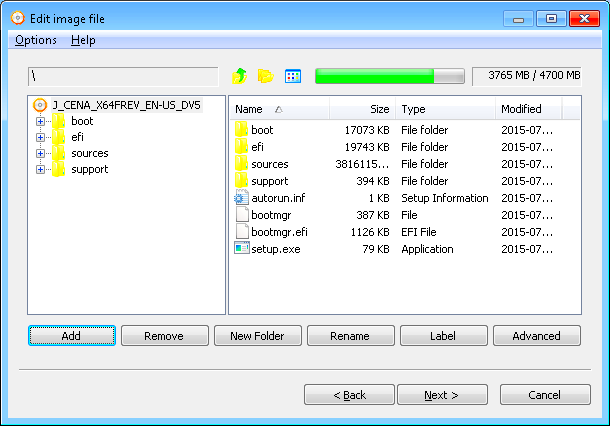
Adding files to an ISO image is a common edit that can help you update your disk image with new or modified content. For example, if you're preparing a bootable USB drive or updating a software installation ISO, you’ll need to add files to the ISO. Here’s how to do it:
- Open the ISO File: Launch your chosen ISO editor (e.g., PowerISO) and open the ISO file you want to modify.
- Locate the Files to Add: Find the files or folders you wish to add to the ISO. You can usually drag and drop them directly into the ISO window.
- Insert the Files into the ISO: Drag the files into the ISO image window. Some programs allow you to navigate the ISO’s structure, so you can place the new files in the desired directory.
- Save the ISO File: Once you’ve added the necessary files, save the changes by selecting "Save" or "Save As" in the editor. It’s often a good idea to save it under a new name to preserve the original version.
By following these steps, you can easily add files to your ISO image, making it updated and ready for whatever purpose you need—whether that’s software installation, backups, or distribution.
Removing Files from an ISO Image
Sometimes, you may need to remove unnecessary or outdated files from an ISO image. This can help reduce the size of the image or ensure it only contains the files you need. Here’s how to remove files from an ISO image:
- Open the ISO Image: Open your ISO editing tool and load the ISO file you want to edit.
- Navigate to the File You Want to Remove: Browse through the file structure within the ISO image to find the file or folder you want to delete.
- Delete the File: Right-click on the file or folder and select "Delete" or press the delete key on your keyboard. Some programs might have a "Remove" option as well.
- Save the Edited ISO: After removing the unwanted files, save your changes by clicking "Save" or "Save As." It's best to use "Save As" to avoid overwriting the original ISO unless you're certain about the changes.
Removing files from an ISO image is quick and simple. Just be cautious not to delete any essential files if you're working with a bootable ISO or a software installation disk.
Editing an ISO File’s Structure
Editing the structure of an ISO file can be useful when you need to reorganize how files and folders are arranged inside the image. This is particularly helpful if you are working with large ISO images containing multiple directories or files that need to be sorted in a particular way. Instead of extracting and recreating the ISO file from scratch, you can modify the file structure directly, saving time and effort.
Here’s how to edit the structure of an ISO file:
- Open the ISO File: Start by launching your ISO editing software (like PowerISO or UltraISO) and open the ISO file you want to edit.
- Browse the File Structure: Once the ISO file is open, you’ll see its contents displayed in a folder-like format. You can explore all the files and folders contained within the image.
- Rename Files or Folders: To change the name of any file or folder, right-click on it and select "Rename" from the options. This can help in organizing files for better accessibility or clarity.
- Move Files Around: If you want to change the internal organization, simply drag files and folders into new locations within the ISO structure.
- Save the Changes: After making the necessary changes, save the ISO image by selecting "Save" or "Save As." Be sure to save it under a new name if you don’t want to overwrite the original version.
Editing the structure of an ISO file doesn’t have to be complex. With just a few clicks, you can easily rearrange files and folders inside the ISO image to suit your needs. This can help improve your workflow and make the ISO image more efficient for whatever purpose you need it for, such as software installation or backup.
Frequently Asked Questions
Editing ISO files can be a bit confusing if you're new to the process. To help clarify things, we’ve answered some of the most frequently asked questions about ISO file editing:
- Can I directly edit an ISO file without extracting its contents? Yes, you can edit an ISO file directly with the right software. Tools like PowerISO and UltraISO allow you to add, remove, and modify files inside the ISO without needing to extract the entire contents.
- What happens if I overwrite an existing ISO file? Overwriting an existing ISO file may replace it with the new version, which could cause you to lose the original content. It's always a good idea to save a new version of the ISO if you’re unsure.
- Do I need to re-burn the ISO file after editing? Yes, after editing the ISO, you’ll need to re-burn it to a disc or mount it to use the updated contents. You can also use the modified ISO to create a bootable USB drive if necessary.
- Can I edit bootable ISO files? Absolutely! You can edit bootable ISO files just like any other ISO. However, if you change the bootable content (like adding or removing files), be sure to check that the ISO is still bootable afterward.
- Is it safe to edit ISO files? Editing ISO files is generally safe if you use reputable software. Always back up the original ISO before making changes, especially if you’re working with important data or software installation files.
If you have more questions about editing ISO files, feel free to explore more detailed guides or reach out to online forums dedicated to ISO manipulation for more help.
Conclusion
Editing ISO image files can seem tricky at first, but with the right tools and guidance, it becomes a manageable task. Whether you need to add files, remove unnecessary data, or reorganize the file structure, you can easily make changes to your ISO images without much hassle. The key is to use the appropriate software and follow the steps carefully to avoid errors or file corruption.
Remember, you don’t have to start from scratch each time you need to update an ISO file. Editing ISO files is a time-saver, especially when working with large files or bootable disks. Just ensure that you back up the original ISO before making major changes, and test the modified file to ensure it works as expected.
With the right approach, you’ll be able to manage your ISO files like a pro. Whether it’s for personal use, software distribution, or creating backups, knowing how to edit an ISO file gives you greater control over your data and projects. Happy editing!
 admin
admin


