JPEG image editing is a valuable skill, especially when you want to enhance the quality or make specific changes to your pictures. Whether you want to improve brightness, adjust colors, or reduce the file size, editing JPEG images can make a significant difference. In this section, we’ll explore the basics of editing JPEG images and how simple tweaks can boost the overall appearance of your photos.
Editing JPEGs can be done using various software tools, both online and offline. The right tool depends on your needs and the extent of the changes you want to make. Let's dive deeper into the basics and benefits of editing JPEG images.
Understanding the Basics of JPEG Format

JPEG, which stands for Joint Photographic Experts Group, is one of the most common image formats used for digital photos. It's popular because it offers a good balance between image quality and file size. However, it's important to understand how JPEG works before editing, as it has some limitations.
Here are a few key points to understand about the JPEG format:
- Compression: JPEG uses lossy compression, which means some data is lost when the image is saved. This can affect the image quality, especially after multiple edits and saves.
- File Size: JPEGs are smaller in file size compared to other formats like PNG, making them ideal for web use and sharing online.
- Image Quality: While JPEG images can look great, they can suffer from artifacts, especially when edited multiple times.
Understanding these basics is crucial when editing JPEGs to avoid unwanted quality loss or distortion. Next, let’s look at why you might want to edit JPEG images.
Also Read This: How to Depixelate an Image
Common Reasons to Edit JPEG Images

There are many reasons you might want to edit a JPEG image, from fixing imperfections to enhancing overall quality. Here are some of the most common scenarios:
- Improving Image Quality: Sometimes, images need adjustments in contrast, brightness, or saturation to look their best. Editing can help improve these aspects without losing too much quality.
- Fixing Common Issues: Whether it's red-eye, blurry sections, or unwanted objects, editing allows you to fix these problems easily.
- Resizing and Cropping: Often, JPEG images need resizing for different purposes, such as social media, websites, or printing. Cropping helps focus on important details.
- File Size Reduction: JPEG images can be large in size. Editing them can help reduce the file size, making them easier to upload or share online.
Editing JPEGs can give you control over the final result, allowing you to make your photos look exactly how you want. Understanding these common reasons helps you know when and why to make changes.
Also Read This: How to Upload Long Videos to YouTube
Tools You Can Use to Edit JPEG Images
When it comes to editing JPEG images, you have a wide range of tools to choose from. These tools can help you adjust the brightness, sharpen the image, remove blemishes, or resize the photo to fit your needs. Some tools are simple and beginner-friendly, while others offer advanced features for professional editors. Let’s take a look at some of the most popular tools you can use to edit JPEG images.
- Adobe Photoshop: A professional-grade tool that offers advanced editing features like layers, masks, and filters. Photoshop is ideal for users who need fine control over their edits.
- GIMP: A free, open-source alternative to Photoshop, GIMP provides many similar features. It’s great for users who want advanced editing without the cost.
- Canva: Canva is an easy-to-use online tool that’s perfect for beginners. It’s perfect for quick adjustments like cropping, resizing, and adding text.
- Pixlr: Pixlr is another web-based editing tool that’s great for users who want to make quick edits. It offers a clean interface with essential features for basic image enhancement.
- Paint.NET: This is a simple, free tool for Windows users that’s great for basic editing like color correction, cropping, and adding effects.
Each of these tools offers unique features, so the best choice depends on your specific needs and skill level. If you’re looking for something simple, Canva and Pixlr are great choices, while Photoshop and GIMP are better for more detailed work.
Also Read This: Discovering Thought-Provoking Stories Through Unique Content on Dailymotion
Step-by-Step Guide to Editing a JPEG Image
Editing a JPEG image can seem intimidating, but it’s actually a straightforward process when you break it down into steps. Whether you’re making a small adjustment or completely transforming your image, here’s a simple guide to help you get started.
- Step 1: Choose Your Editing Tool – Start by selecting the right tool for your needs. If you’re a beginner, an easy-to-use tool like Canva or Pixlr may be ideal. For more advanced editing, consider using Photoshop or GIMP.
- Step 2: Open Your JPEG Image – Once you’ve selected your editing software, open the JPEG image you want to edit. Most tools will allow you to drag and drop the file directly into the interface.
- Step 3: Make Basic Adjustments – Start with simple edits like cropping, rotating, or adjusting the brightness and contrast. These are essential for improving the image’s appearance.
- Step 4: Fine-Tune Your Image – After the basics, dive into more detailed editing. You can sharpen the image, remove unwanted objects, or correct colors using tools like hue adjustment or saturation sliders.
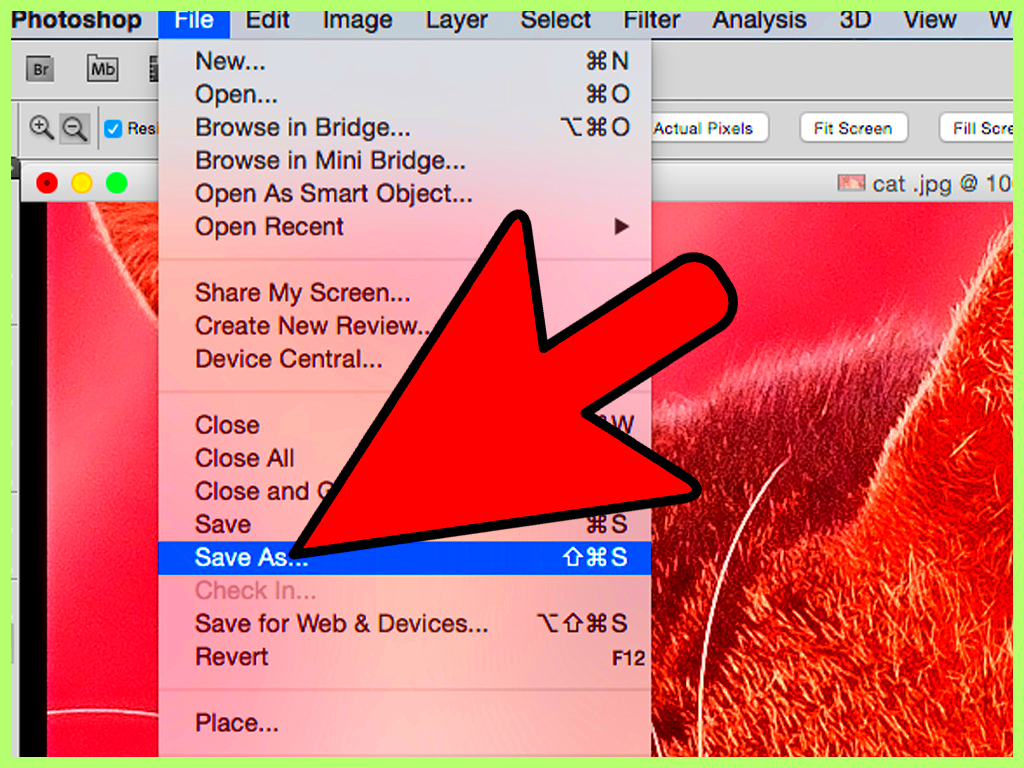
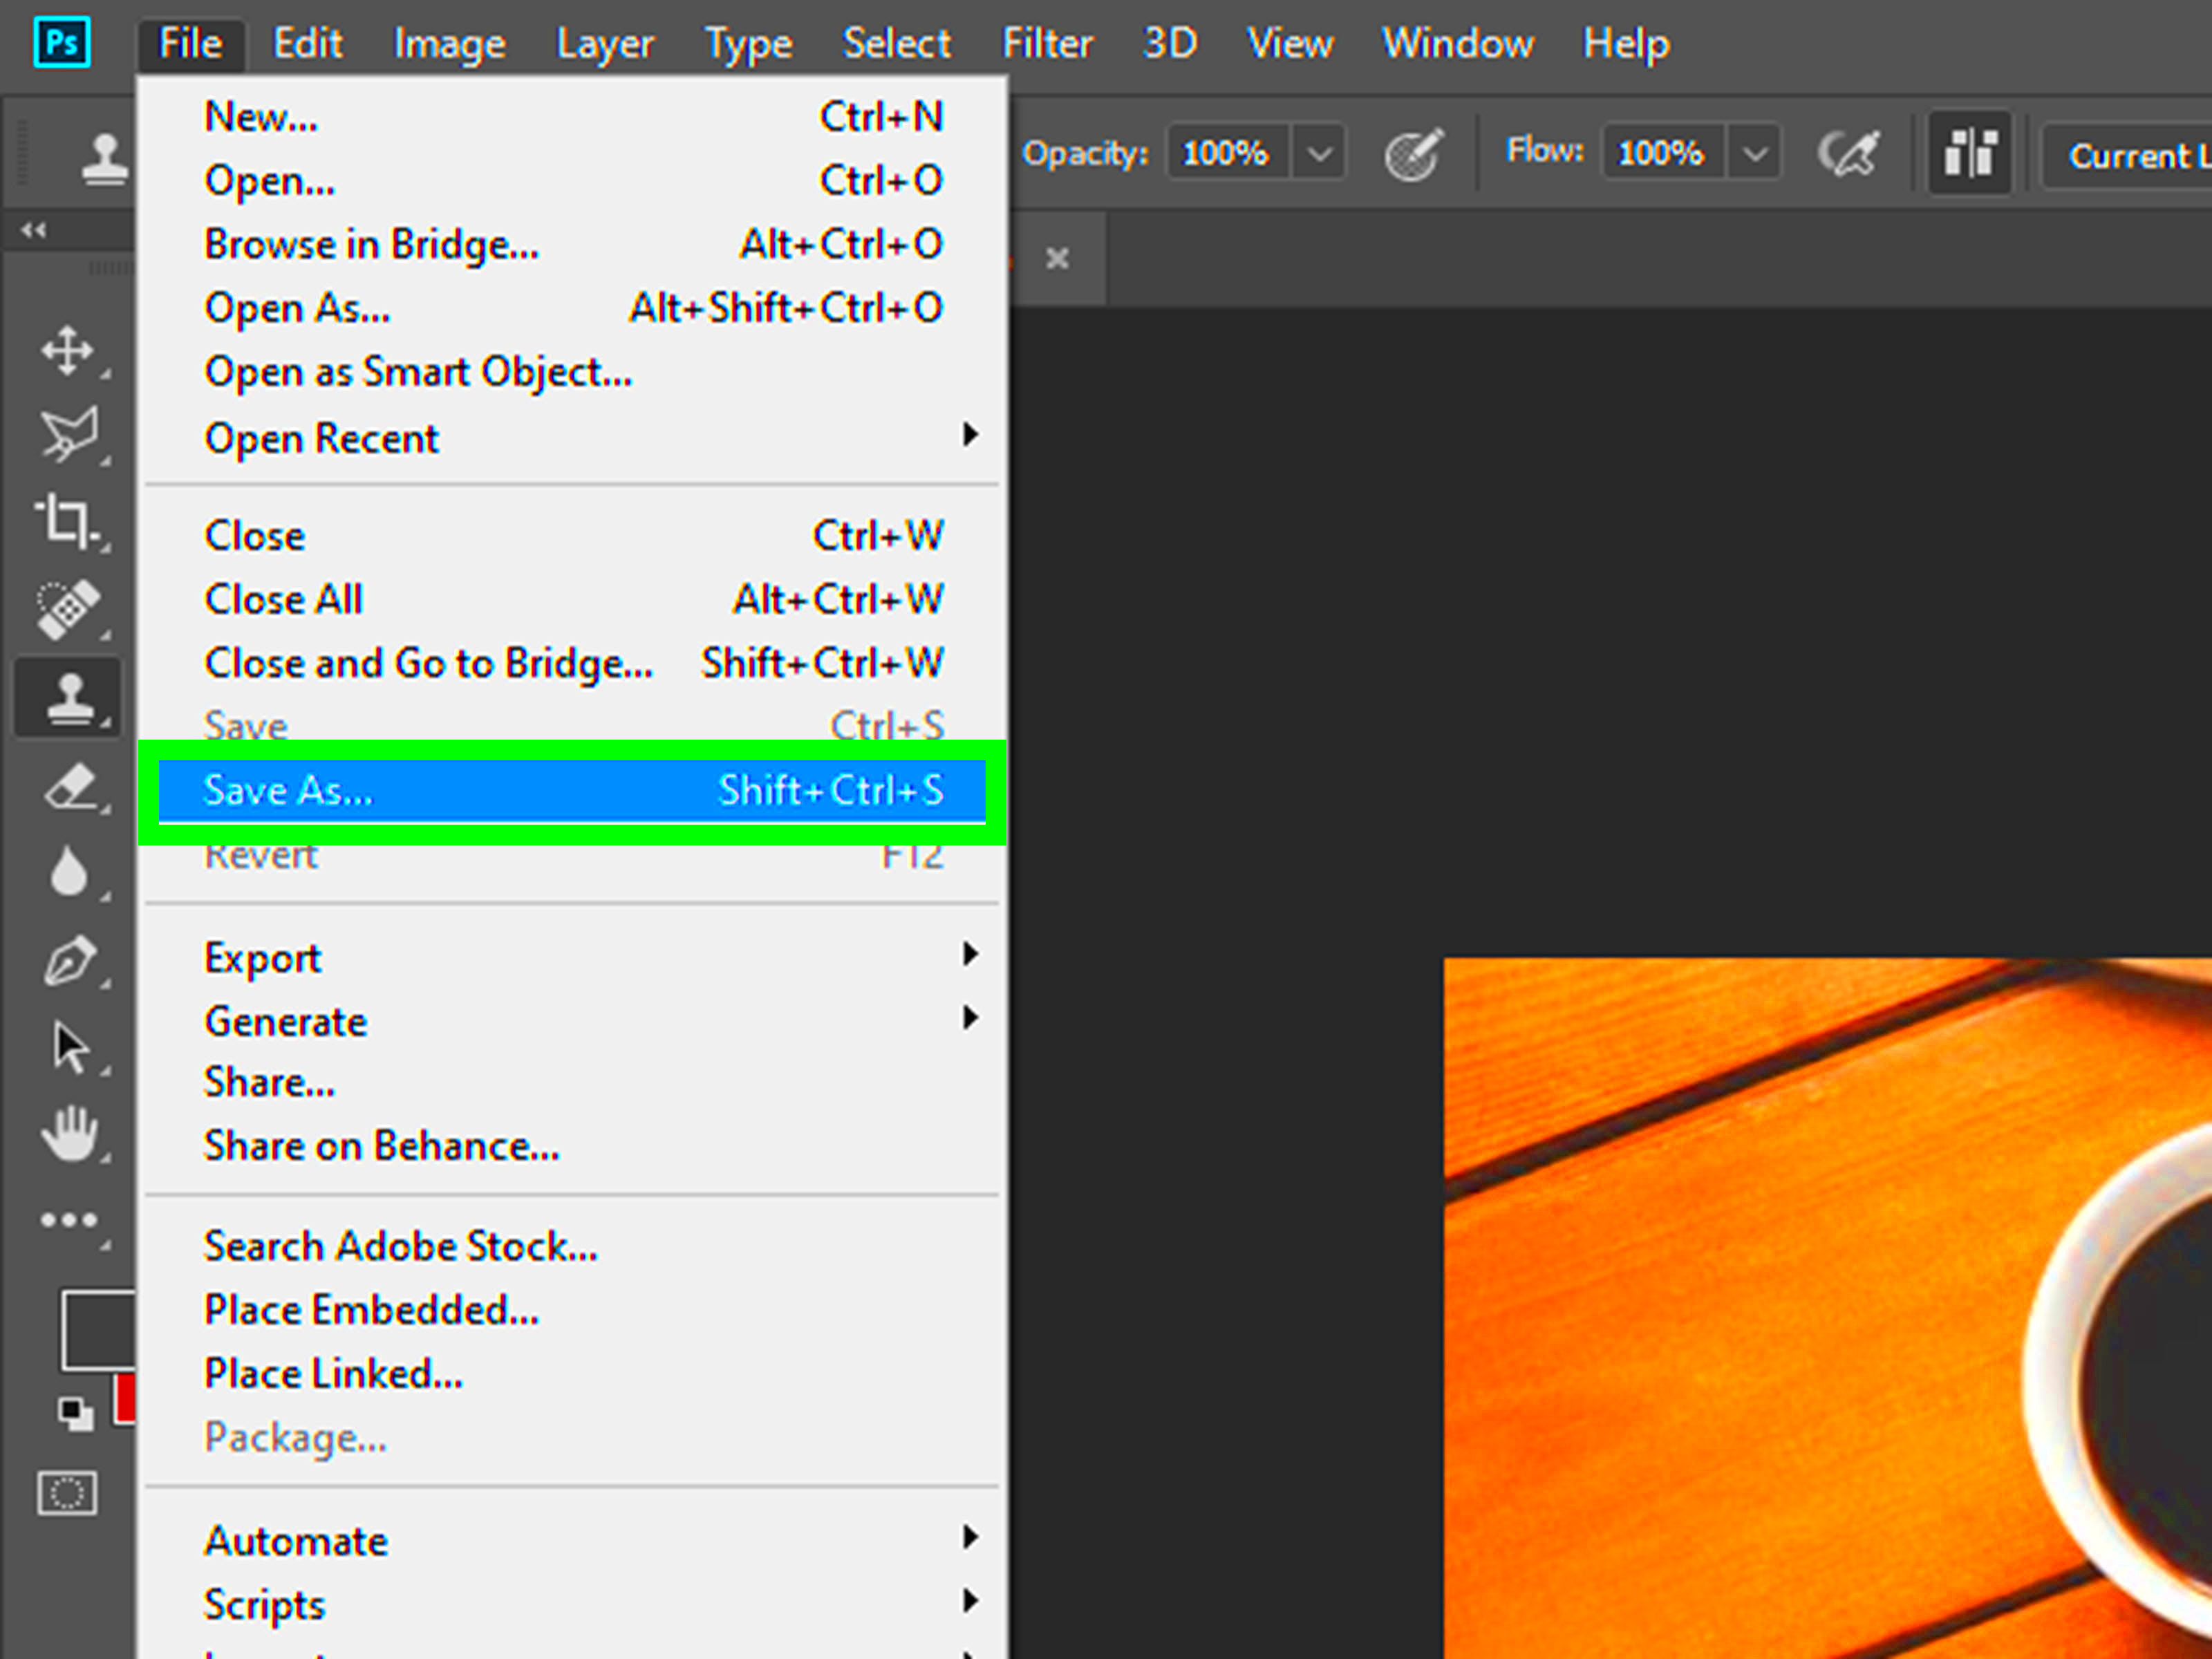
- Step 5: Save Your Image – Once you’re satisfied with your edits, save your image. Be sure to save it in the right format, especially if you’re going to use it for the web or print.
Following these simple steps will help you edit your JPEG images with ease. The key is to start with the basics and gradually move on to more advanced editing as you become comfortable with the tools.
Also Read This: Word Cloud Wonders: Creating a Word Cloud in Microsoft Word
How to Improve Image Quality Using Editing Techniques
Improving the quality of a JPEG image can make a huge difference in its appearance, especially if the original image has issues like low resolution or poor lighting. With the right editing techniques, you can enhance the image’s overall quality without losing important details. Here are a few techniques that can help improve the quality of your JPEG images:
- Adjust Exposure and Brightness: If your image is too dark or too bright, adjusting the exposure can help balance it out. Use the brightness slider to make the image lighter or darker as needed.
- Increase Sharpness: Low-resolution images can appear blurry or soft. Sharpening the image helps bring out the fine details, making it look crisper and clearer.
- Reduce Noise: JPEG images often develop noise or grain, especially in low-light conditions. Noise reduction tools can help smooth out these imperfections and improve the overall image quality.
- Adjust Contrast and Saturation: Increasing contrast can make the image pop, while adjusting the saturation enhances the colors. Be careful not to overdo it, as too much saturation can make the image look unnatural.
- Fixing Color Balance: Sometimes, a photo may have a color cast, making it look too warm or cool. You can use white balance tools to correct these color imbalances and make the photo appear more natural.
By using these editing techniques, you can significantly improve the quality of your JPEG images. Remember to make adjustments gradually and check the results to ensure you’re enhancing the image without over-editing.
Also Read This: Why Should You Use a Canva Template Downloader for Your Next Marketing Project?
Tips for Maintaining Image Quality During Editing
When editing JPEG images, one of the most common challenges is maintaining the quality of the image, especially since JPEG is a lossy format. Every time you save a JPEG after editing, it loses some quality. However, there are several techniques you can use to preserve the image’s sharpness, detail, and color. Here are a few tips to help maintain image quality while editing:
- Avoid Over-Editing: It's tempting to apply numerous filters and effects, but over-editing can lead to a loss of quality. Stick to necessary adjustments like brightness, contrast, and sharpness.
- Use Non-Destructive Editing: If possible, use editing tools that support non-destructive editing. This allows you to make adjustments without permanently altering the original image. Software like Photoshop offers layers and masks to make this possible.
- Work in High Resolution: Always start with the highest resolution image you can get. Working with a high-res file allows you to make adjustments without losing details, especially when resizing.
- Limit Compression: JPEGs lose quality with each save due to compression. Save your edited image only when you're finished, and try to avoid saving over and over during the process.
- Use the Right Export Settings: When you’re ready to save your edited image, choose the correct export settings. Opt for a lower compression ratio to keep more details intact.
By following these tips, you can ensure your image retains its quality even after multiple edits. Remember, moderation is key, and always keep a backup of your original image in case you need to start over.
Also Read This: How to Remove Adobe Stock Watermark in Photoshop
When to Consider Professional Editing Services
While many people are capable of editing their own photos, there are times when professional editing services may be necessary. Whether you’re working on an important project, need a high-quality final product, or don’t have the time or expertise to edit yourself, professional editors can help take your images to the next level. Here’s when you should consider seeking professional help:
- Complex Editing Tasks: If your image requires advanced techniques like background removal, extensive retouching, or color grading, a professional editor will be able to perform these tasks efficiently and accurately.
- Time Constraints: If you have a tight deadline and don’t have time to learn advanced editing, hiring a professional can save you time and ensure you meet your deadline with quality results.
- High-Volume Projects: For businesses or photographers who need to edit a large number of images quickly and consistently, outsourcing editing tasks to a professional can streamline the process and save time.
- Consistency in Quality: If you need a series of images to look cohesive or follow a specific style, professional editors are skilled in maintaining consistency across all images, which is especially important for marketing or branding purposes.
- When You Want Expert Results: Professionals have the experience and knowledge to bring out the best in your images. Whether it's improving lighting, skin retouching, or creating artistic effects, they can help you achieve the desired outcome.
In these situations, turning to a professional editing service ensures that your images not only meet your expectations but also stand out in terms of quality and detail.
Also Read This: How to Upload Flash Files to Behance
FAQ
1. Can I edit a JPEG image multiple times without losing quality?
Editing a JPEG image multiple times can cause a loss in quality due to its lossy compression. However, if you keep the file size and compression low, you can reduce quality loss. It's recommended to save in a lossless format (like PNG or TIFF) while editing and only convert to JPEG once you're done.
2. How do I prevent JPEG artifacts when editing?
JPEG artifacts appear when the image is overly compressed. To avoid this, try to save your JPEGs with a low compression level and avoid repeatedly saving and reopening the file. Using higher resolution images as a starting point also helps minimize artifacts.
3. What is non-destructive editing?
Non-destructive editing means making changes to an image without permanently altering the original file. This can be achieved through layers, masks, or smart objects in editing software. It allows you to revert changes if needed without losing the original image quality.
4. Is it possible to improve image quality after it's been saved in JPEG format?
While it's difficult to recover lost details in a JPEG image, you can still make improvements. Techniques like noise reduction, sharpening, and adjusting exposure or contrast can enhance the image quality to some extent, but it’s best to work with the highest-quality original you have.
5. What’s the best way to save a JPEG after editing?
After editing, save the JPEG at the highest quality setting possible to minimize compression. If you plan to use the image for professional purposes, consider saving a backup in a lossless format like TIFF or PNG before final conversion to JPEG.
Conclusion
Editing JPEG images is an essential skill for anyone looking to improve the appearance and quality of their photos. Whether you're adjusting brightness, removing blemishes, or sharpening details, using the right tools and techniques can make a significant difference in the final result. It’s important to take care when editing JPEG images, as over-editing or using high compression settings can reduce quality. Always use non-destructive editing methods and work with high-resolution images to preserve details.
If you find the process of editing too complex or time-consuming, don’t hesitate to consider professional editing services. A skilled editor can help bring your images to the next level, ensuring that they meet your standards. By following best practices, you can enhance your images and maintain their quality for both personal and professional use.


