Drawing images is one of the most fundamental forms of creative expression. Whether you're a beginner or an experienced artist, understanding how to draw can open up a world of possibilities. Drawing allows you to communicate ideas, emotions, and stories visually, offering endless ways to explore your creativity. In this section, we'll touch on why drawing is so important and how it can be a rewarding practice to develop over time.
Learning how to draw images can feel intimidating at first, but with the right tools and guidance, anyone can start creating impressive artwork. Whether it's for personal enjoyment, professional purposes, or as a hobby, the joy of sketching and drawing brings out your unique style and vision. By focusing on a few basic principles and techniques, you can improve your skills and discover your creative potential.
Basic Tools Needed for Drawing Images

Before diving into drawing, it's essential to have the right tools at your disposal. The tools you use can impact the quality and style of your artwork. Here’s a quick overview of the basic tools you’ll need, whether you’re drawing digitally or traditionally:
- Pencils: A good set of pencils, ranging from hard (H) to soft (B), is essential for creating different types of lines and shading.
- Paper: The type of paper you use will depend on your medium. For pencil drawings, regular sketch paper is ideal, while heavier, textured paper works well for charcoal or ink.
- Erasers: A kneaded eraser is great for lifting off graphite and creating highlights, while a regular eraser is best for cleaning up stray lines.
- Pen and Ink: For more detailed and defined work, pens and ink are used to create bold, permanent lines.
- Digital Tools: If you prefer drawing digitally, tools like a tablet, stylus, and drawing software (e.g., Photoshop or Procreate) are invaluable for creating precise digital artwork.
By investing in the right tools, you ensure that your drawings will come out looking polished and professional. Whether you’re a beginner or an experienced artist, finding what works best for your style and technique is crucial to success.
Also Read This: GuÃa Completa para Convertir Archivos MP3 a YouTube
Understanding Different Drawing Techniques

Mastering drawing techniques is key to improving your skills and making your drawings stand out. Techniques vary depending on the style of drawing you’re doing, whether it’s realistic, cartoonish, or abstract. Here are some essential drawing techniques to help you take your artwork to the next level:
- Shading: Shading adds depth and dimension to your drawings. By varying the pressure on your pencil or pen, you can create light, medium, and dark areas that make your artwork look more lifelike.
- Cross-hatching: This technique involves drawing intersecting lines in different directions to build texture and shade. It's commonly used for ink and pen drawings.
- Stippling: Instead of lines, stippling uses dots to create depth and texture. This technique requires patience and can create a beautiful, detailed effect.
- Outlining: Outlining is one of the first techniques many artists learn. It involves drawing a clear, defined line around the subject to make it stand out. It's commonly used in cartooning and comic book art.
- Blending: Blending helps to smooth out transitions between light and dark areas. You can use a blending stump or your fingers (for traditional media) to create soft, continuous transitions.
- Gesture Drawing: Gesture drawing focuses on capturing the movement or essence of a subject. It’s a fast and loose technique often used for life drawing and figure studies.
These techniques are just the beginning. The more you practice and experiment with different approaches, the more your personal style will develop. Whether you’re working with pencils, ink, or digital tools, combining these techniques can bring your drawings to life and make your artwork more dynamic.
Also Read This: How to Cite AI-Generated Images Correctly in Your Work
Choosing the Right Medium for Drawing Images

When it comes to drawing images, choosing the right medium is just as important as mastering the techniques. The medium you use can affect the overall look, feel, and texture of your artwork. Whether you're using traditional tools like pencils and ink, or digital software, each medium offers its own set of possibilities. In this section, we'll explore some popular drawing mediums and how to choose the best one for your style and needs.
Each medium has its strengths and unique characteristics. For example, pencil drawings are great for capturing subtle details and shading, while ink can create bold, clean lines. Digital mediums offer flexibility and precision, allowing you to make quick changes and experiment with colors and textures. Let’s break down some of the most common mediums:
- Pencil: Ideal for beginners and highly versatile. Pencils come in various grades (H for hard, B for soft) to achieve different levels of shading and detail.
- Pen and Ink: Perfect for creating strong, defined lines. Great for illustrations and sketches where detail is key. Ink can be permanent and offers high contrast.
- Charcoal: Best for creating dramatic effects, shading, and blending. Charcoal gives you the ability to add rich tones and texture.
- Pastels: Soft pastels are excellent for blending and achieving vibrant colors. They work well for creating texture and dynamic compositions.
- Digital Tools: Programs like Adobe Photoshop or Procreate are great for digital artists who want the flexibility to edit and refine their work easily.
The right medium depends on the style of image you're drawing and the effect you want to achieve. If you're aiming for detailed, fine lines, you might prefer using pen or pencil. If you're looking for bold colors and smooth transitions, pastels or digital media might be more suited to your needs.
Also Read This: adobe stock how much can i make
Steps to Drawing Images for Beginners
If you’re new to drawing, the process can seem overwhelming at first. But don't worry! With a step-by-step approach, anyone can start creating impressive artwork. In this section, we’ll guide you through the fundamental steps that will help you get started on your drawing journey.
Here’s a simple breakdown of the process:
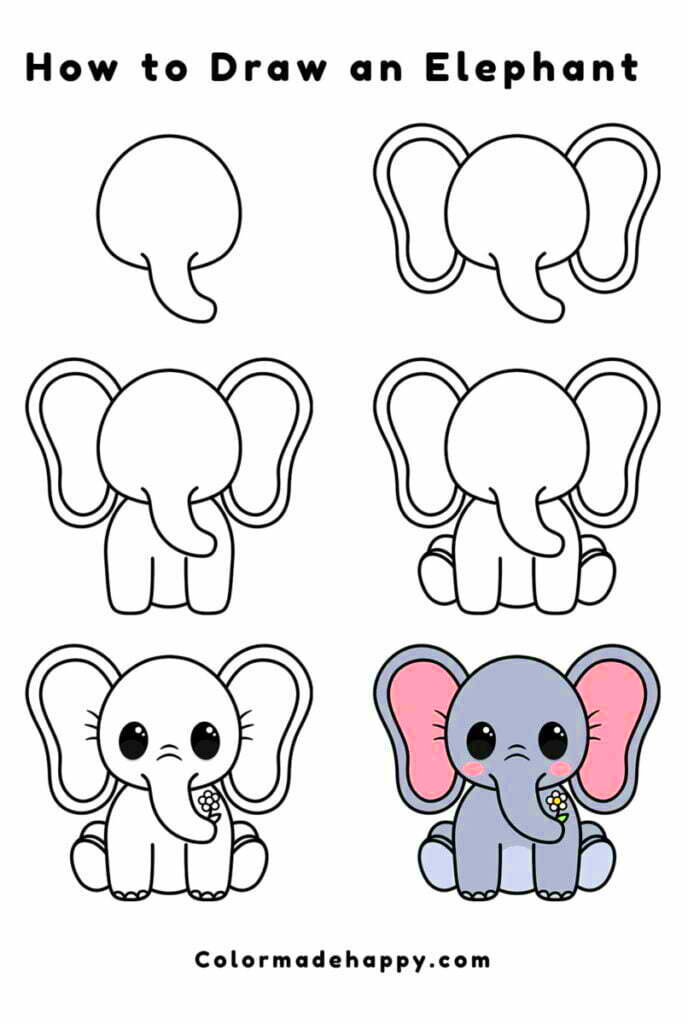
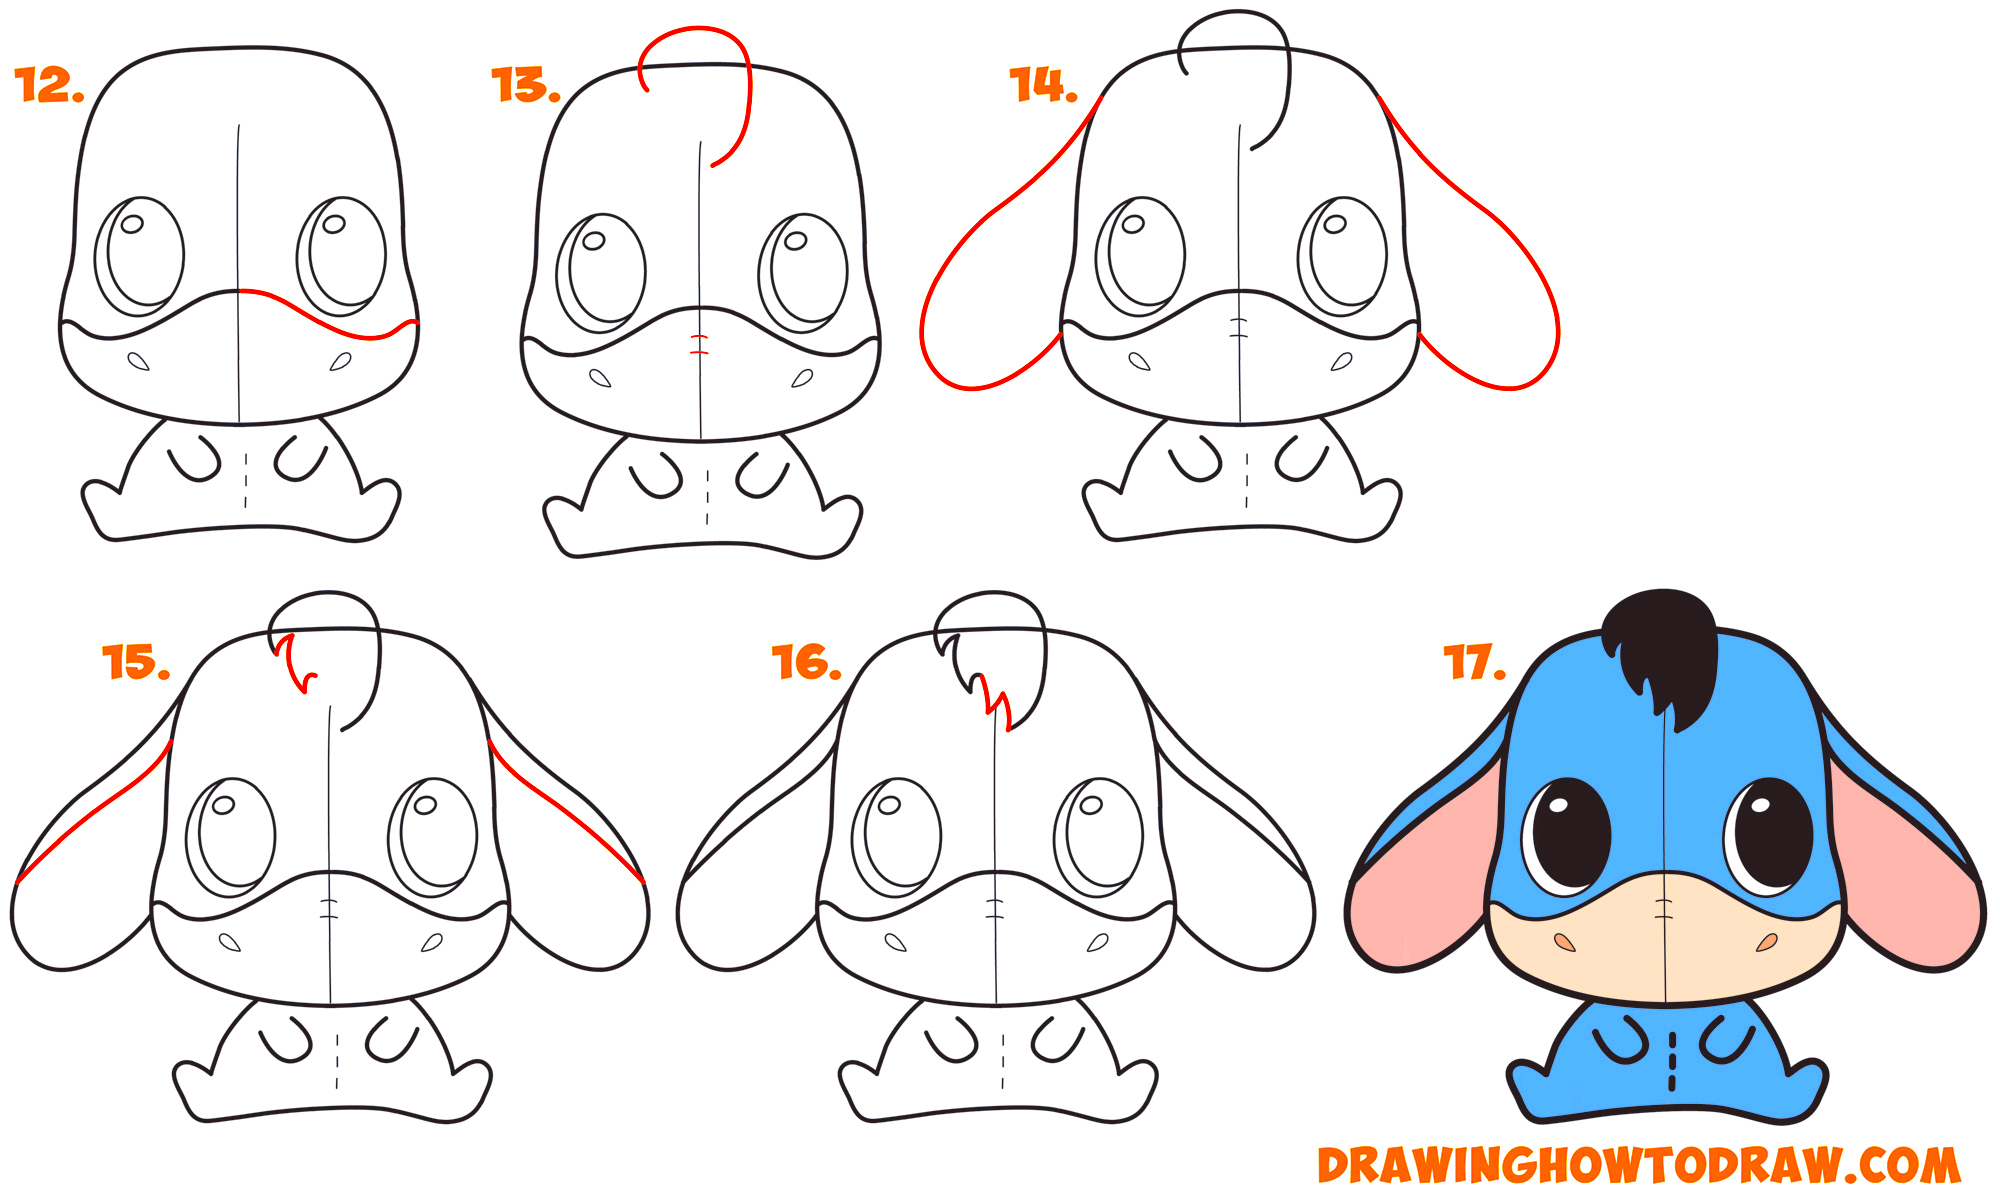
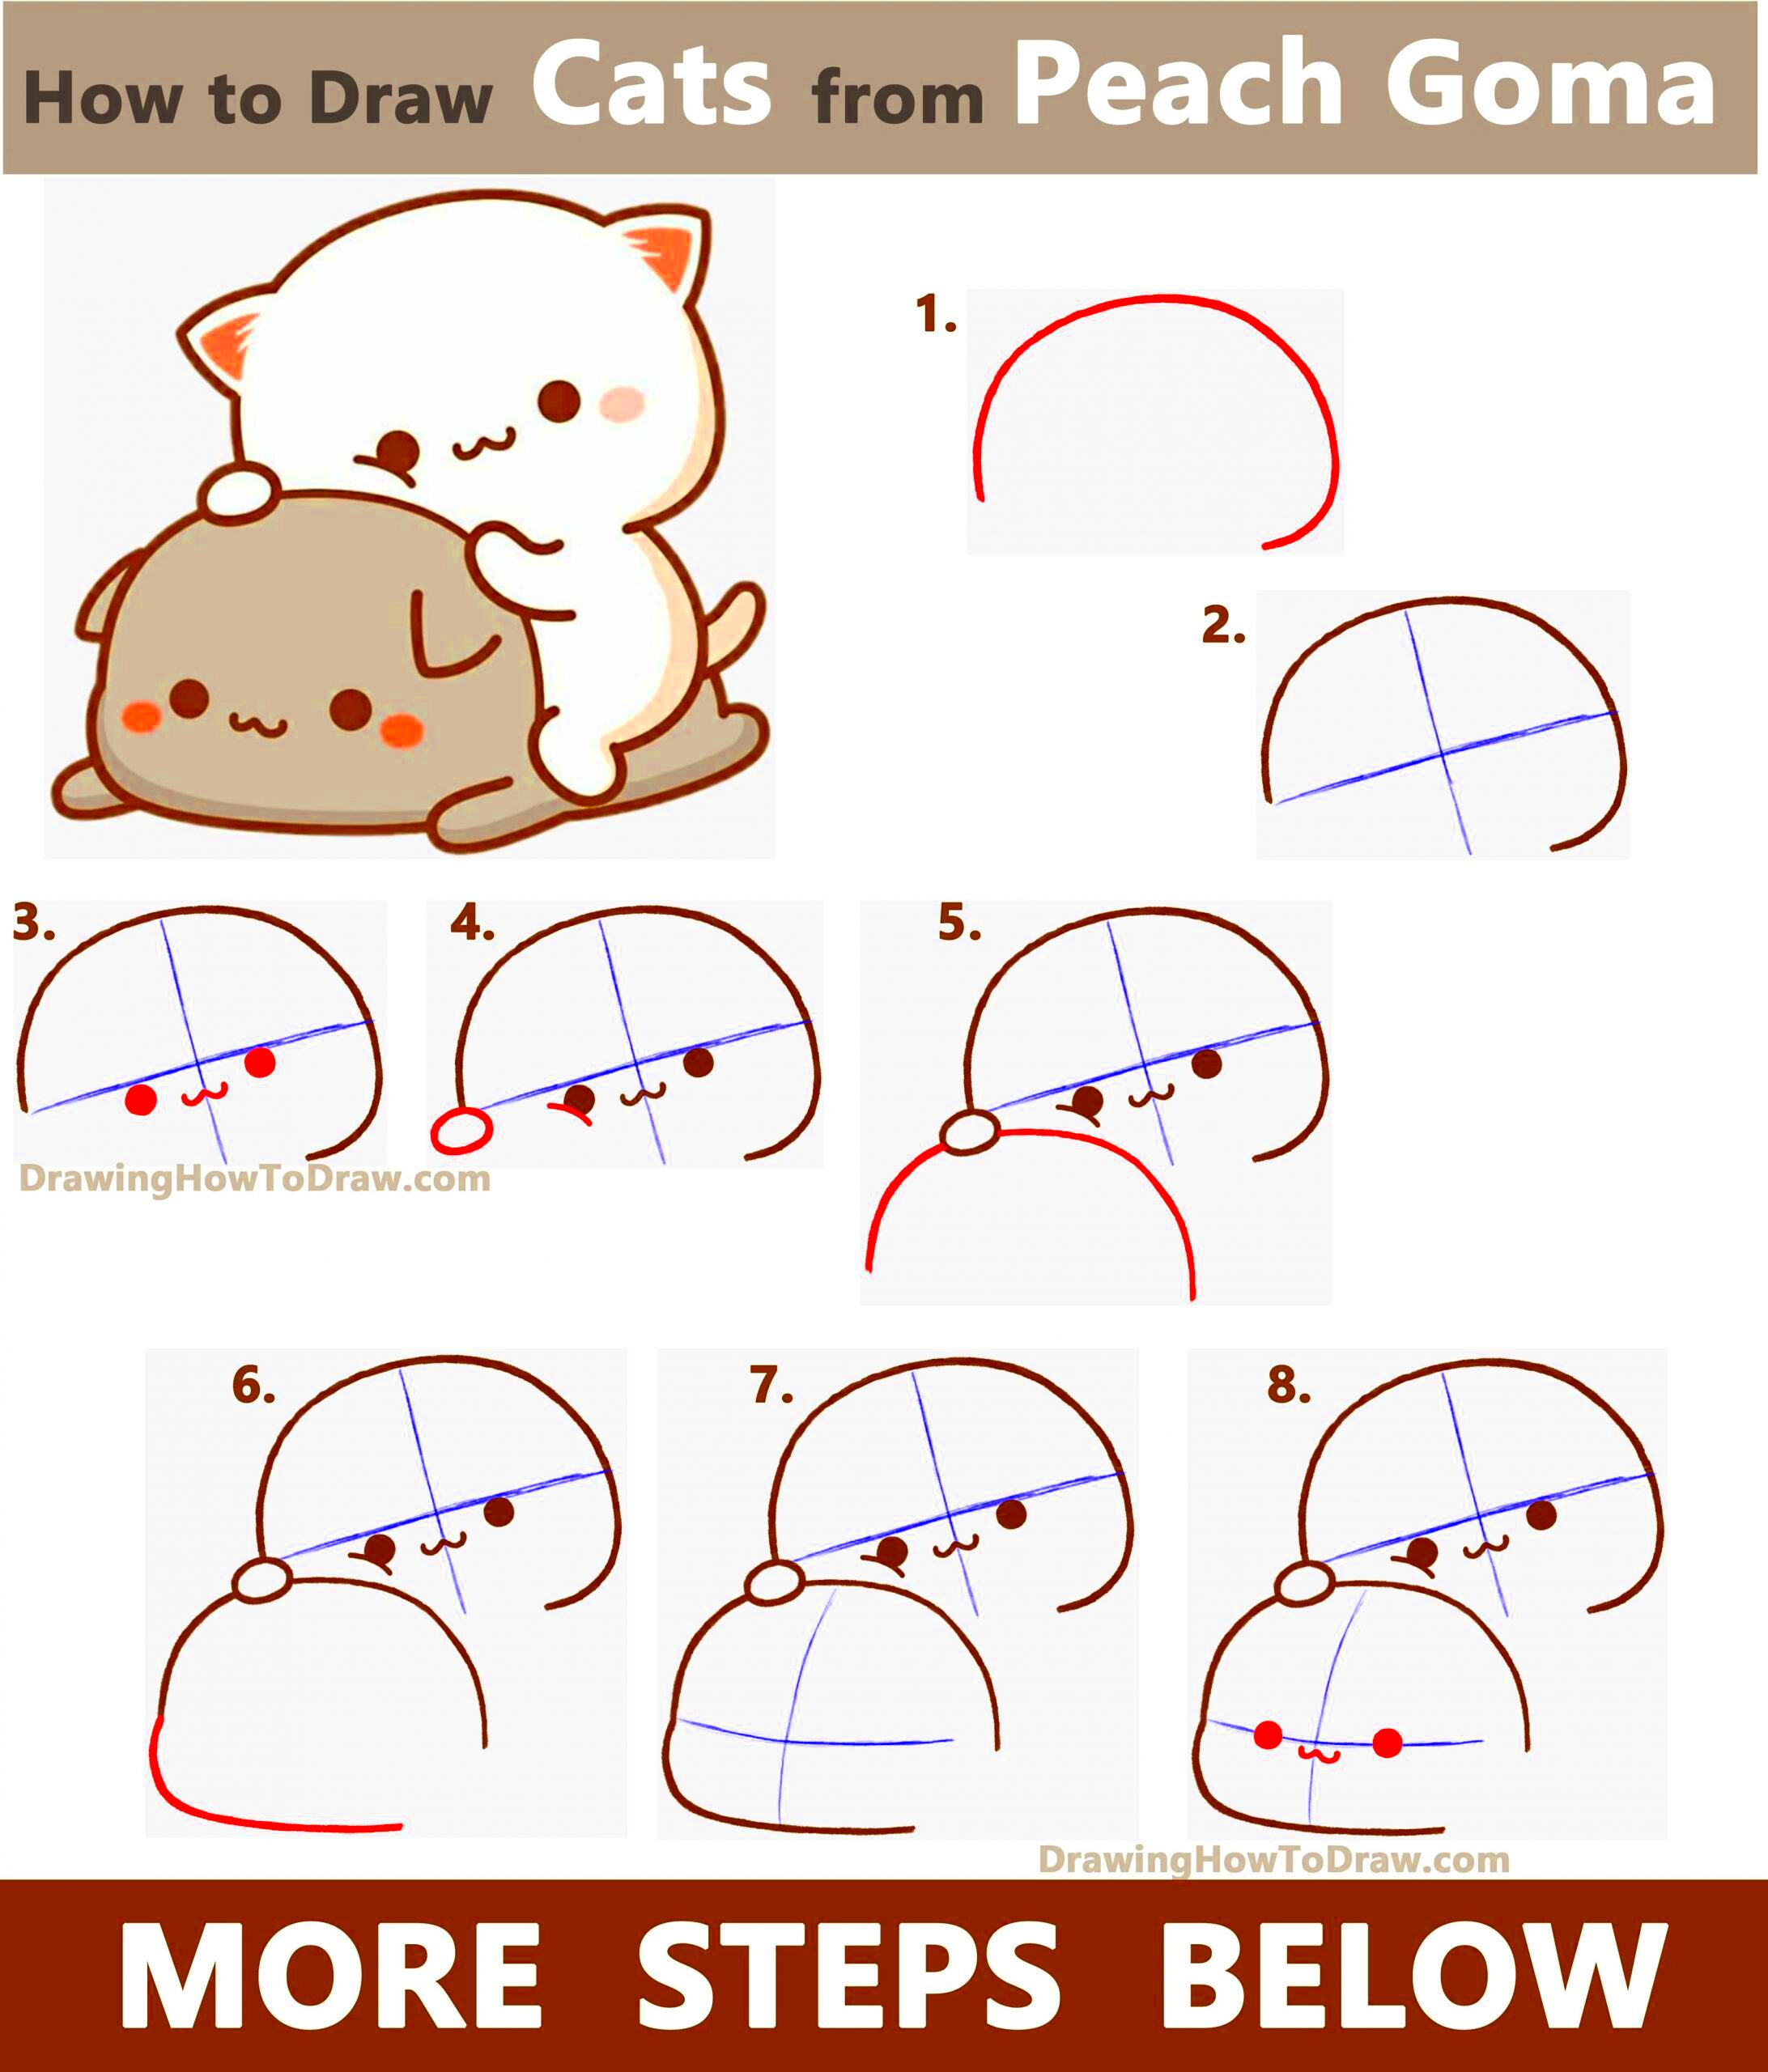
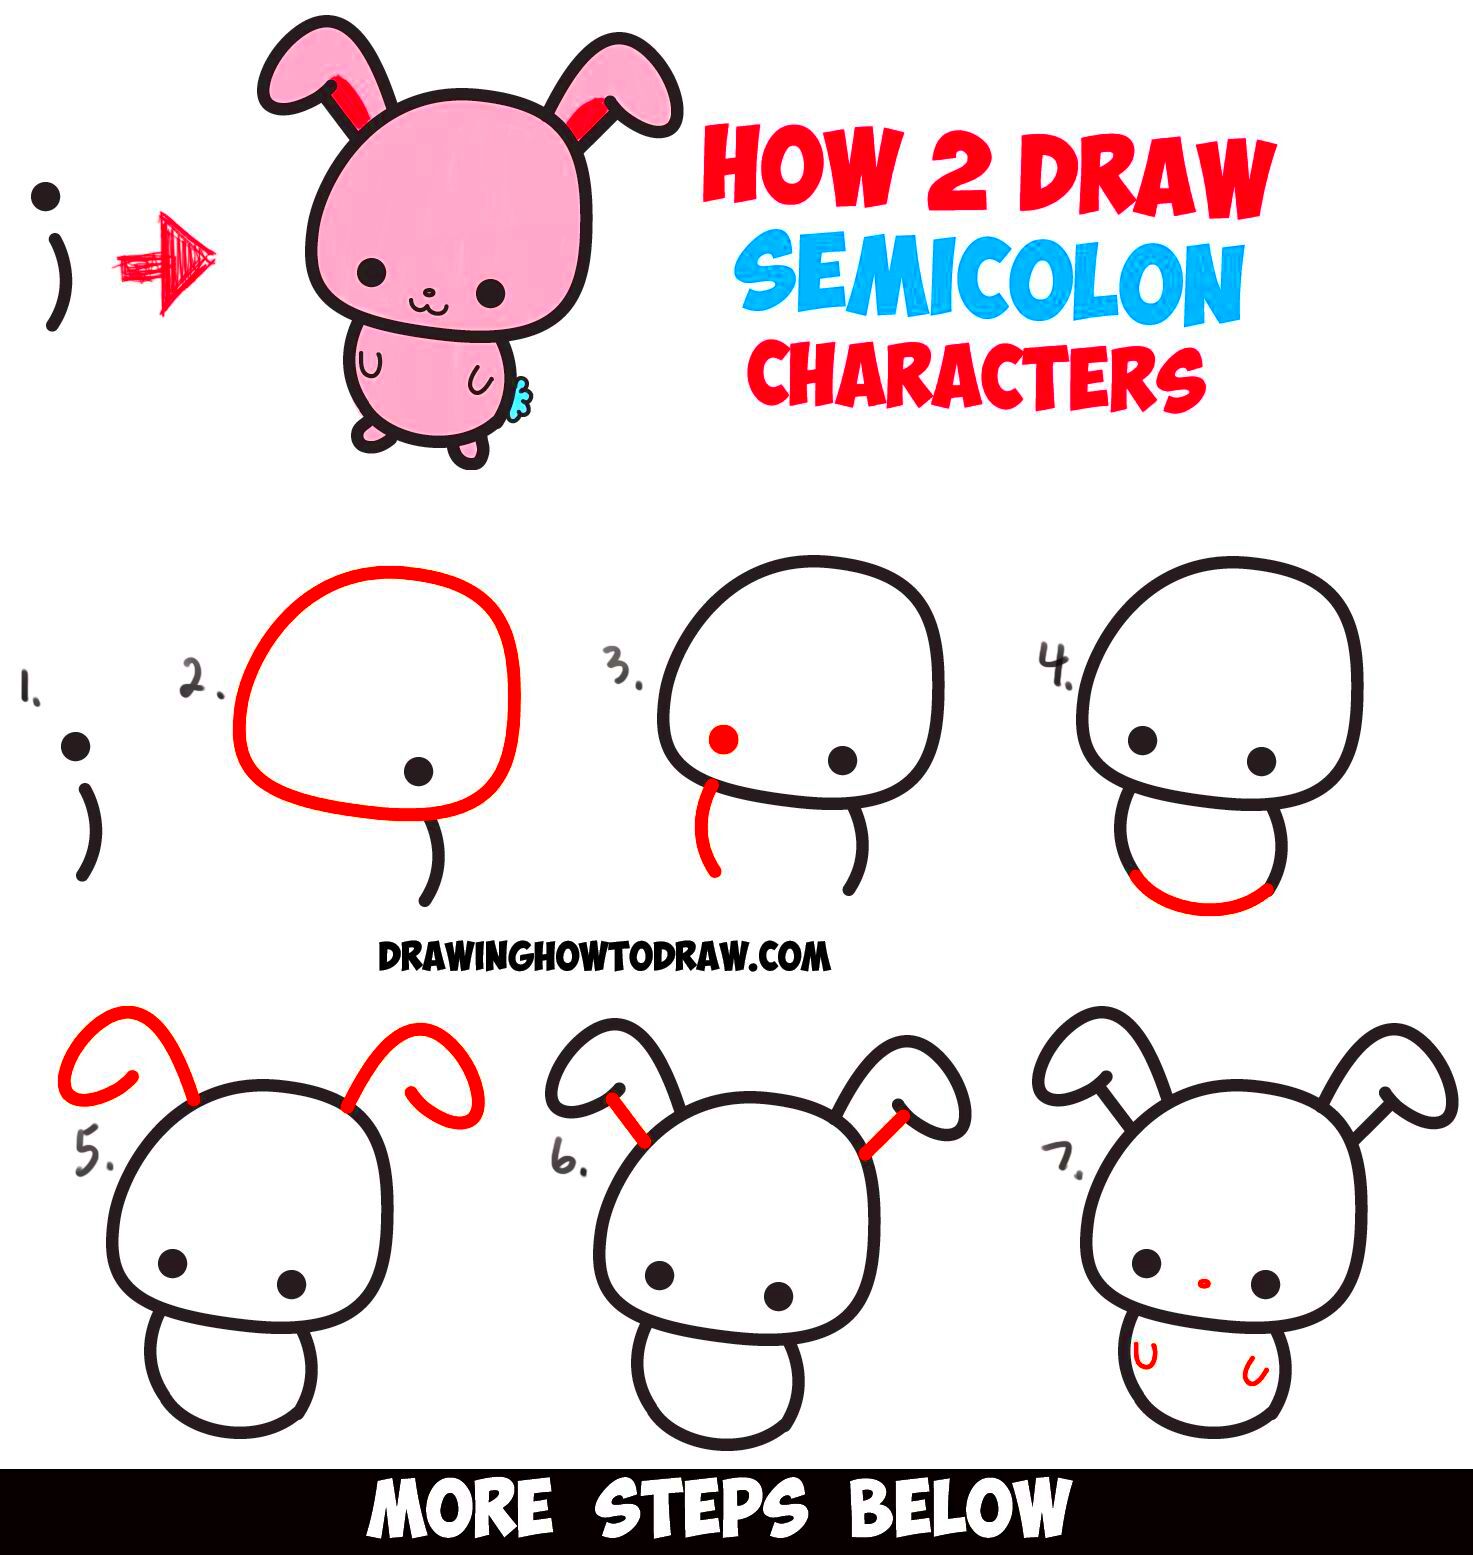
- Step 1: Start with Basic Shapes – Every complex drawing starts with basic shapes like circles, squares, and triangles. These shapes form the structure of your image. Start by sketching these simple forms lightly with a pencil.
- Step 2: Outline Your Drawing – Once you’ve established the basic shapes, begin outlining your drawing with clean, clear lines. Focus on the contours of the subject, keeping the lines smooth and steady.
- Step 3: Add Details – After the outline is complete, begin adding finer details. Focus on the smaller aspects of the subject, like facial features, textures, or patterns.
- Step 4: Shade and Add Depth – Shading adds volume and realism to your drawing. Use different pencil grades (H for lighter areas, B for darker areas) to create depth and shadows.
- Step 5: Final Touches – After shading, step back and assess your drawing. Add any finishing touches like highlights, blending, or darkening certain areas to bring the drawing to life.
By following these steps, you’ll gradually build your skills and confidence. Remember, practice is key, so don’t be afraid to make mistakes along the way!
Also Read This: Toothless Images from How to Train Your Dragon
Tips for Improving Your Drawing Skills
- Practice Daily: The more you draw, the better you’ll get. Even 10-15 minutes a day can lead to significant improvement over time. Try sketching simple objects or drawing from observation.
- Study the Basics: Master the fundamentals first. Focus on getting comfortable with proportions, anatomy (if you're drawing people or animals), and basic shapes. These are the building blocks of every good drawing.
- Use Reference Images: Don't be afraid to use reference photos or objects when you're learning. Observing real-life examples will help you improve your accuracy and understanding of perspective.
- Experiment with Different Styles: Don’t limit yourself to one style of drawing. Experimenting with different approaches, such as realism, abstraction, or cartooning, will help you discover your unique voice.
- Learn from Others: Study the work of artists you admire. Pay attention to their techniques, use of light and shadow, and how they create texture. You can learn a lot by analyzing other artists’ work.
- Don’t Fear Mistakes: Mistakes are part of the learning process. Instead of getting frustrated, embrace them as opportunities to improve. Keep practicing, and your skills will naturally grow.
Remember, improvement takes time. Be patient with yourself and enjoy the process of developing your drawing skills. With consistent practice and a willingness to experiment, you'll continue to grow as an artist.
Also Read This: Mastering Image Cropping with AI Tools
Common Mistakes to Avoid When Drawing Images
Whether you’re a beginner or an experienced artist, it’s easy to fall into certain traps when drawing. While mistakes are part of the learning process, recognizing and avoiding common pitfalls can help you improve faster. In this section, we’ll explore some of the most frequent mistakes people make while drawing and offer tips on how to avoid them.
- Ignoring Proportions: One of the biggest challenges for beginners is getting proportions right. If the head is too large or the limbs too short, your drawing may look distorted. Start with simple shapes and basic measurements to keep everything in balance.
- Rushing the Sketching Stage: Many artists jump straight into details before laying a strong foundation. It’s essential to spend time on the initial sketch, getting the basic shapes and structure right before adding finer details.
- Overworking the Drawing: Overworking a drawing can lead to muddy lines and an overly complicated image. Don’t overdo the shading or add unnecessary details. Sometimes less is more, and knowing when to stop is key to maintaining clarity and focus.
- Neglecting Light and Shadow: A drawing without proper light and shadow can appear flat. Pay attention to where your light source is coming from and use shading to create depth and dimension.
- Not Practicing Enough: Drawing is a skill that improves with practice. Waiting for inspiration or expecting instant results can be discouraging. Set aside time regularly to practice and experiment with new techniques.
- Being Afraid to Make Mistakes: Mistakes are a natural part of the creative process. Don’t be afraid to try new things, even if it means making errors along the way. These mistakes help you learn and grow as an artist.
By avoiding these common mistakes, you can make your drawing process smoother and more enjoyable. Remember, drawing is a journey, and every mistake is an opportunity to improve!
Also Read This: Understanding Earnings from Selling Stock on Adobe
How Digital Tools Can Help in Drawing Images
Digital tools have transformed the way we draw, offering artists a wide range of features that enhance creativity and precision. Whether you're new to digital art or looking to switch from traditional methods, digital tools can provide countless advantages in your artistic process. In this section, we’ll explore how digital tools can help you draw images more efficiently and effectively.
Some of the key benefits of using digital tools for drawing include:
- Flexibility: With digital tools, you can make endless revisions without worrying about ruining your drawing. You can undo mistakes, experiment with colors, or change the composition with just a few clicks.
- Layers: Layers are a game changer in digital art. They allow you to work on different aspects of your drawing independently, making it easier to refine details, add textures, and adjust lighting without affecting the entire image.
- Precision: Digital drawing tools, like a stylus or tablet, offer more control and accuracy compared to traditional methods. You can create sharp lines, smooth curves, and precise details with ease.
- Time-Saving Features: Many digital tools come with time-saving features like brushes that automatically mimic real-world textures, color palettes, and gradient tools, which would take longer to achieve with traditional media.
- Unlimited Colors and Textures: Digital programs give you access to an infinite range of colors and textures, making it easy to experiment and find the perfect shades for your artwork.
- Convenience: You can work from anywhere with a portable tablet or laptop, making digital tools more convenient for on-the-go artists. You don’t have to worry about packing a full art kit—everything you need is right at your fingertips.
Some of the most popular digital tools for drawing include programs like Adobe Photoshop, Illustrator, and Procreate, which offer powerful features for creating both realistic and stylized artwork. If you’re new to digital drawing, many of these tools also have tutorials and guides to help you get started.
Also Read This: Creating a PDF from Multiple Images
Frequently Asked Questions
As you embark on your drawing journey, you might have a lot of questions. Below, we’ve compiled answers to some of the most common questions asked by beginners and seasoned artists alike. These tips and insights will help clear up any confusion and guide you as you continue to develop your skills.
- Do I need special tools to start drawing? No, you don’t need expensive tools to get started. A simple pencil, eraser, and paper are all you need to begin drawing. As you progress, you can experiment with other tools and mediums based on your preferences.
- How can I improve my drawing skills quickly? The key to improvement is regular practice. Try to draw every day, even if it’s just for a few minutes. Focus on mastering the basics and gradually challenge yourself with more complex subjects.
- Should I learn digital drawing or stick with traditional methods? It depends on your personal preferences and goals. Traditional drawing offers tactile experiences and is great for learning fundamental skills. Digital drawing offers convenience and flexibility, and it’s ideal for artists who want to experiment with various effects quickly.
- How can I make my drawings more realistic? To make your drawings look more realistic, focus on understanding proportions, light and shadow, and perspective. Study reference images closely and practice drawing from life to improve your observation skills.
- How long does it take to get good at drawing? There’s no set timeline—everyone progresses at their own pace. The more you practice and experiment, the faster you’ll improve. Stay patient and persistent!
These FAQs address some common concerns, but remember that everyone’s artistic journey is unique. Don’t hesitate to ask questions, try new techniques, and enjoy the learning process!
Conclusion
Drawing is a skill that grows with practice, patience, and exploration. Whether you’re just starting or looking to refine your existing skills, the key is to stay consistent and enjoy the creative process. By understanding the basics, selecting the right tools and mediums, and avoiding common mistakes, you can enhance your ability to express yourself through art. Remember, every drawing is a learning experience, and improvement comes with time and dedication.
So, pick up your pencil, explore new techniques, and let your imagination flow. Don’t be afraid to experiment with different styles or digital tools, as these can offer exciting possibilities. Most importantly, keep drawing and have fun with it—your skills will improve, and you’ll discover new ways to express yourself along the way!


