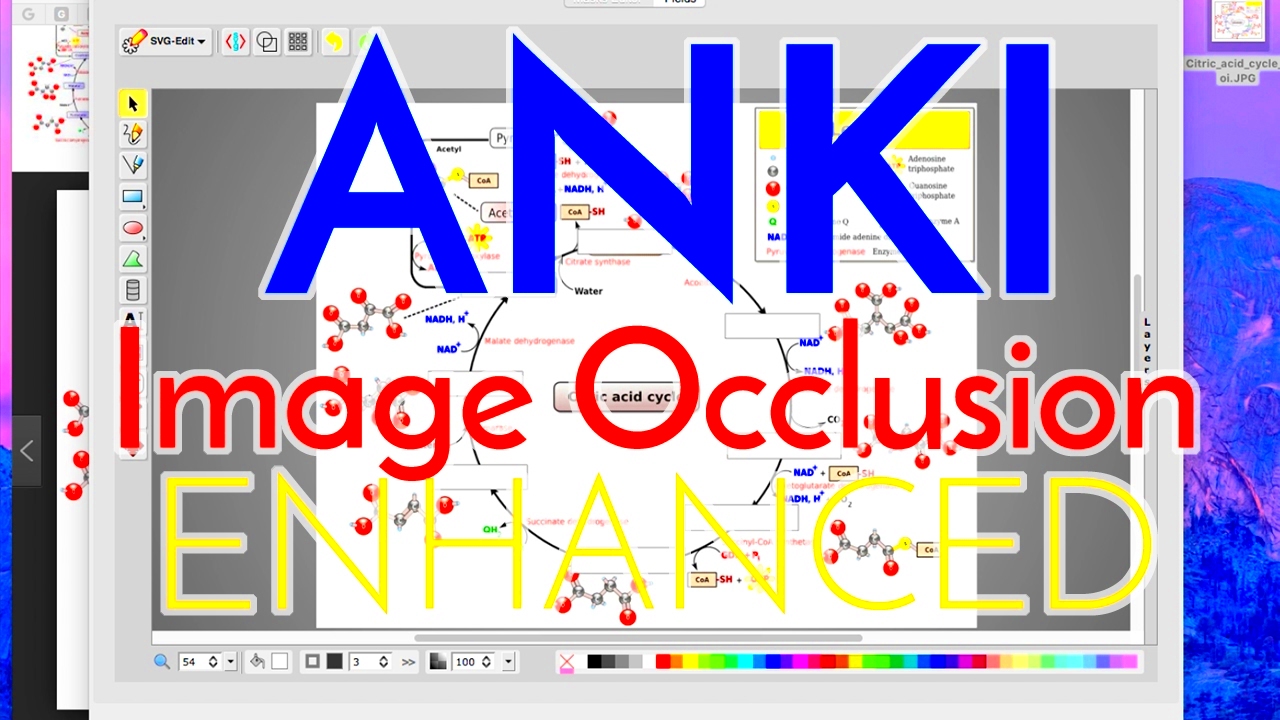
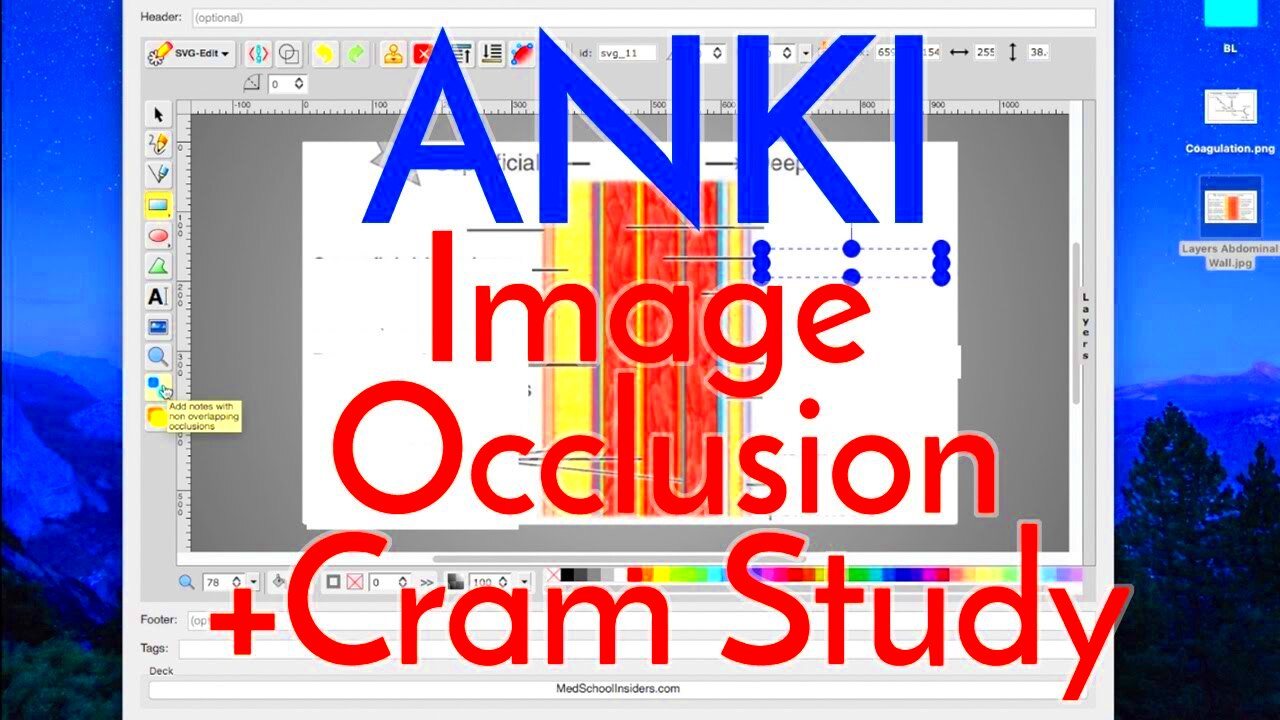
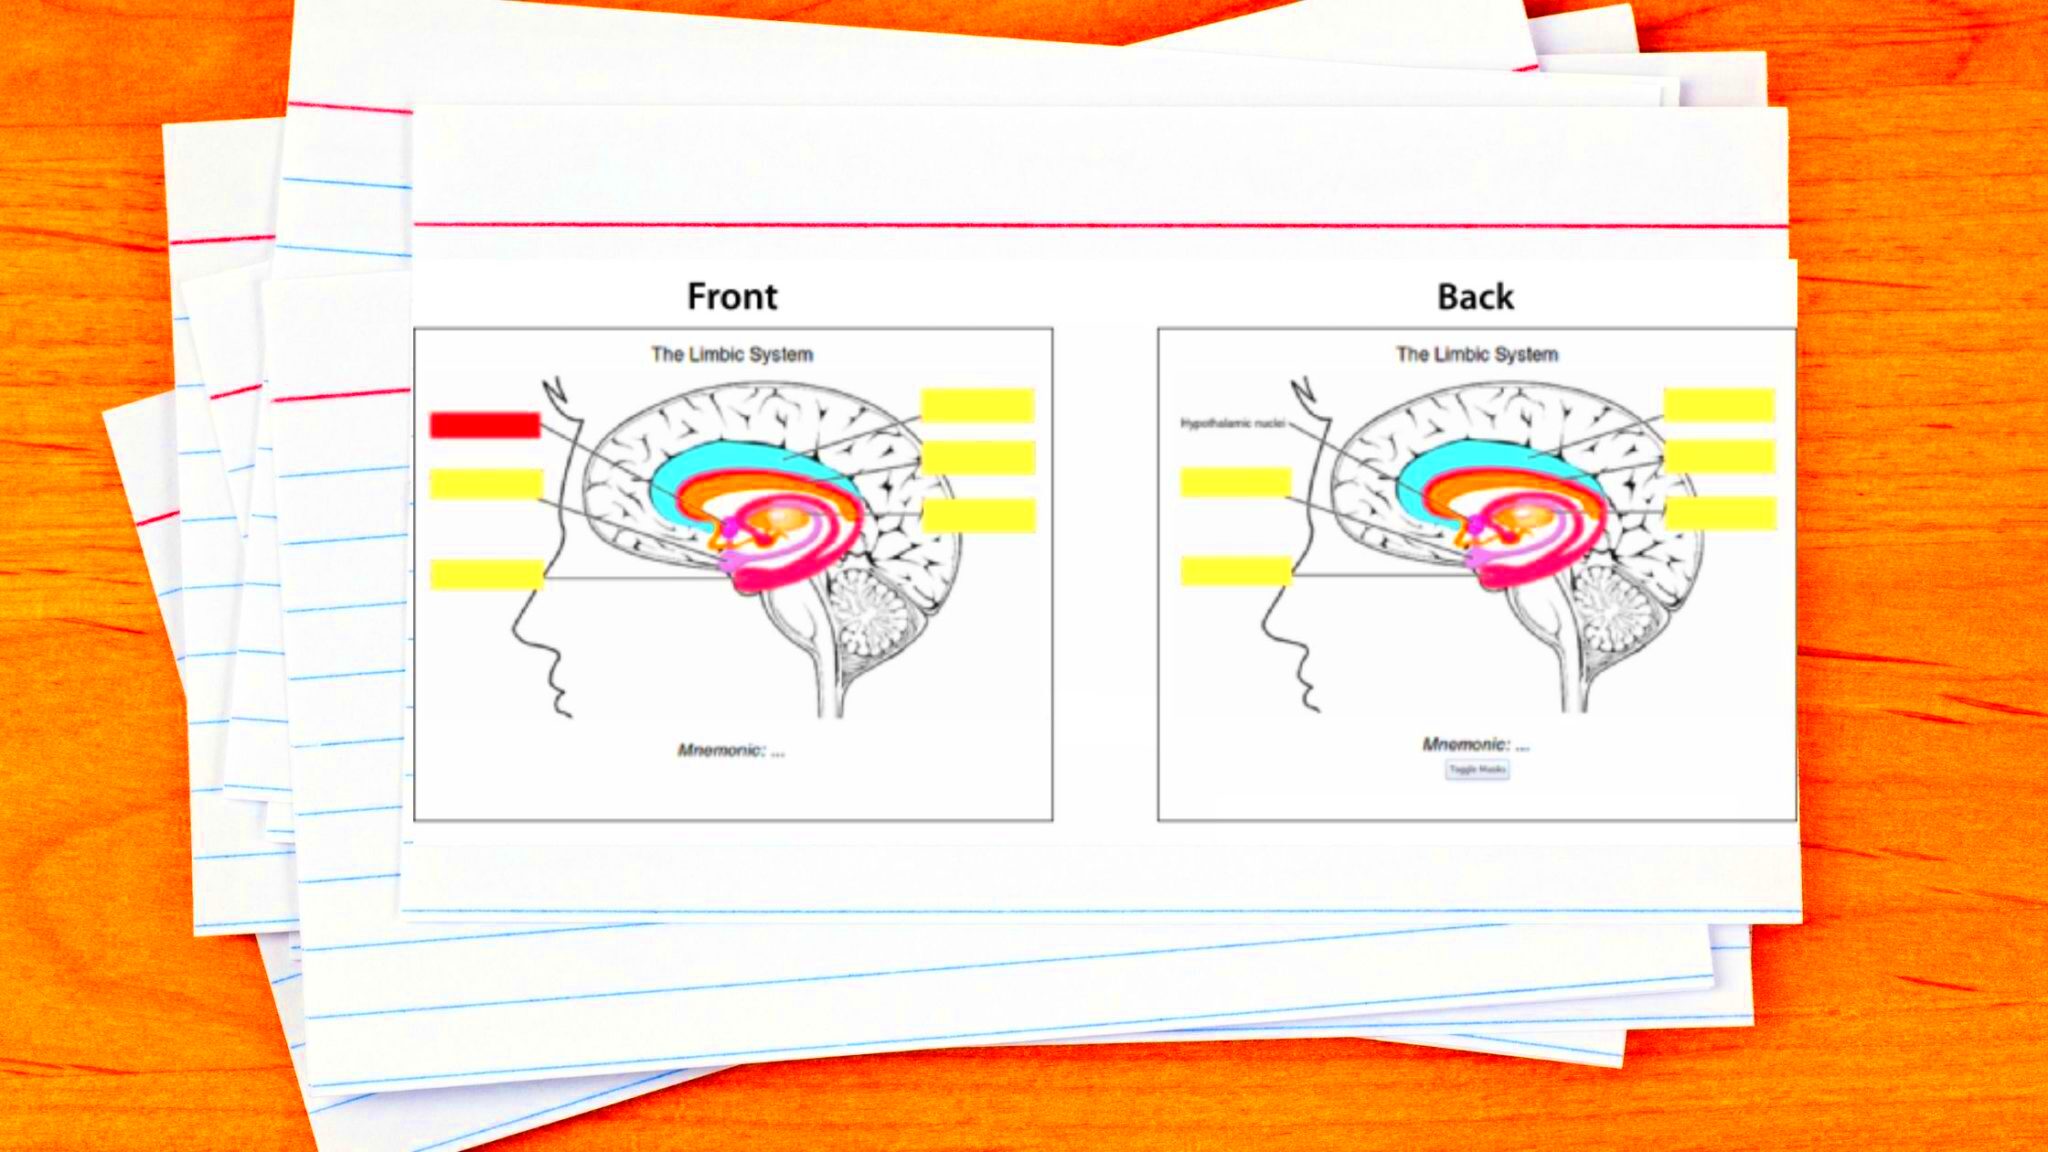
Image occlusion in Anki is a powerful technique used to enhance your learning experience. It involves covering certain parts of an image, turning it into a flashcard where you are required to recall what’s hidden. This method is especially useful when studying visual subjects, like anatomy, geography, or any field where recognizing parts of an
By blocking specific areas of an image, you challenge your brain to recall the missing information. This technique can help boost memory retention and make learning more interactive and engaging.
Why Use Image Occlusion with Anki

Image occlusion in Anki offers several benefits that make it a great tool for students, professionals, and anyone looking to improve their memory and understanding of complex topics. Here’s why you should consider using it:
- Improves Visual Learning: If you're a visual learner, image occlusion helps you focus on the parts of an image that matter, reinforcing your understanding through repetition.
- Boosts Retention: By forcing your brain to recall the occluded information, you are more likely to remember it in the long term.
- Active Recall: This technique is built around active recall, a proven method for better memory retention.
- Engaging: Unlike traditional text-based flashcards, image occlusion makes studying more fun and interactive by using real-world visuals.
Whether you’re learning a new language, studying for medical exams, or simply reviewing concepts, using image occlusion can make the process faster and more efficient.
Step-by-Step Guide to Using Image Occlusion in Anki

Getting started with image occlusion in Anki is simple. Just follow these steps to create your first set of image occlusion cards:
- Install the Image Occlusion Add-on: The first step is to install the Image Occlusion Enhanced add-on in Anki. Open Anki, click on "Tools," then "Add-ons," and select "Get Add-ons." Enter the code for Image Occlusion Enhanced (the code can be found on the AnkiWeb website). Restart Anki to complete the installation.
- Select Your Image: Choose an image that is relevant to your subject. For example, if you're studying human anatomy, you might want to use an image of the human body. Make sure the image is clear and of high quality to get the best results.
- Open the Image Occlusion Tool: Once the add-on is installed, click on the "Tools" menu and choose "Image Occlusion Enhanced." This will open the tool where you can start creating your flashcards.
- Occlude the Image: In the Image Occlusion tool, you can use your mouse to select areas of the image to cover. You can create multiple regions of occlusion on the same image. Once you’ve chosen the areas to hide, you can save the card.
- Create the Cards: After setting up the occlusions, the tool will generate multiple flashcards automatically. Each flashcard will have one occluded section of the image with the goal to recall what’s hidden.
- Study Your Flashcards: Now that you’ve created your image occlusion flashcards, it’s time to start studying! Anki will quiz you on the occluded areas of the image, reinforcing the information through active recall.
By following these simple steps, you’ll be able to create and study image occlusion cards in no time. The more you use this technique, the more effective it becomes at helping you retain information.
Setting Up Anki for Image Occlusion

Before you can start using image occlusion in Anki, you need to set it up properly. The process involves installing the Image Occlusion Enhanced add-on, which is crucial for creating and studying occlusion cards. Once the add-on is installed, you’ll have all the tools you need to make the most out of this study technique.
Here’s a simple guide to help you set up Anki for image occlusion:
- Download and Install Anki: If you haven’t already, download Anki from the official website. It’s free and available for Windows, macOS, and Linux.
- Install the Image Occlusion Enhanced Add-on: Open Anki, go to the "Tools" menu, and select "Add-ons." Click on "Get Add-ons," then enter the Image Occlusion Enhanced code (you can find this code on AnkiWeb). After installing, restart Anki to activate the add-on.
- Check for Updates: Make sure that both Anki and the Image Occlusion add-on are up to date. This will help avoid any compatibility issues and ensure a smooth experience.
- Configure Your Add-on Settings: After installation, you can adjust settings like the default number of occlusion cards per image or how Anki handles these cards during review sessions. These settings can be fine-tuned according to your personal study needs.
Once everything is set up, you’ll be ready to start creating and studying image occlusion flashcards in Anki. Setting it up might take a few minutes, but it’s a one-time task that makes your studying process much more efficient.
Creating Image Occlusion Cards in Anki
Now that Anki is ready, it’s time to start creating your image occlusion cards. This process allows you to take any image and use it to generate flashcards that will quiz you on the hidden parts of the image. Whether you’re studying anatomy, geography, or anything else, this method helps you engage with the material in a deeper, more interactive way.
Follow these steps to create image occlusion cards:
- Open the Image Occlusion Tool: Go to the "Tools" menu in Anki and select "Image Occlusion Enhanced." This will open the tool where you can upload your image and begin selecting areas to occlude.
- Choose Your Image: Pick an image related to your subject matter. If you’re studying something complex like anatomy, it’s best to choose a detailed, labeled image where you can hide the labels.
- Draw Occlusion Areas: Use the tool to draw rectangles or circles over the areas of the image you want to hide. You can add multiple occlusions on one image, which is helpful for subjects like anatomy where you might want to cover several body parts at once.
- Create the Cards: Once you’ve selected the areas to occlude, hit "Create Cards." Anki will automatically generate flashcards for each occluded area. Each flashcard will show the image with one section hidden, and you’ll need to recall what’s covered.
- Add Tags and Notes: Before finalizing your cards, consider adding tags to organize your flashcards. For example, you can tag your anatomy cards as “Anatomy” or “Bones” to easily find them later.
That’s it! Once you’ve created your image occlusion cards, you can begin studying them right away. The more you use this technique, the more effective it will become in improving your recall and understanding of visual concepts.
Best Practices for Image Occlusion in Anki
While image occlusion is a great study method, there are a few best practices you should follow to get the most out of it. These tips will help ensure that you create effective flashcards and avoid common mistakes that could reduce the effectiveness of your study sessions.
Here are some best practices to keep in mind:
- Use Clear, High-Quality Images: The better the image, the more effective your flashcards will be. Avoid blurry or low-resolution images, as these can make it hard to focus on the important details.
- Limit the Number of Occlusions: While it might be tempting to cover many parts of an image, it’s best to limit the number of occlusions per card. Too many occlusions can make the card overwhelming and reduce its learning effectiveness. Focus on one concept per card.
- Use Images with Labels: When possible, use labeled images so you can hide the labels and quiz yourself on the correct terms. This is especially useful for subjects like biology or geography where specific terms need to be memorized.
- Create Simple, Focused Cards: Each image occlusion card should focus on one clear question or concept. For example, instead of hiding several parts of an organ, focus on one part at a time to avoid confusion.
- Review Regularly: Image occlusion works best when reviewed consistently. Set aside time each day to review your occlusion cards, and adjust the intervals if needed for better retention.
- Don’t Overload Yourself: Don’t create too many cards at once. Start with a few cards and gradually add more as you become comfortable with the technique. It’s better to start small and build up than to overwhelm yourself with too many images at once.
By following these best practices, you can maximize the benefits of image occlusion and improve both your memory retention and understanding of the subject matter. It’s a simple but highly effective technique that can make studying more engaging and interactive.
Common Mistakes to Avoid with Image Occlusion
While image occlusion is a powerful learning tool, it’s easy to make mistakes that can hinder your study progress. Recognizing and avoiding these common pitfalls will help you get the most out of your flashcards. Let’s take a look at some mistakes to watch out for:
- Using Low-Quality Images: Using blurry or low-resolution images can make it difficult to focus on the key details of the image. Always choose clear, high-quality images that are easy to interpret. This will ensure that the information you're trying to learn is visible and legible.
- Overcrowding Cards with Too Many Occlusions: Adding too many occlusions to one image can overwhelm your brain and make it harder to recall the information. It’s better to break down complex images into simpler, focused flashcards. Stick to one concept per card whenever possible.
- Ignoring the Context of the Image: Some images may have elements that are interdependent. If you hide too many areas of the image, you might miss out on the overall context. Try to occlude parts that can be learned in isolation, without losing the understanding of the whole picture.
- Not Reviewing Consistently: Like any study method, image occlusion is only effective when used regularly. Skipping review sessions can lead to poor retention. Stick to a consistent review schedule, and use Anki’s spaced repetition system to get the best results.
- Creating Overly Complex Cards: While it’s tempting to make your flashcards as detailed as possible, overly complex cards can backfire. Focus on simplicity and clarity, and ensure that each card addresses just one main concept.
By being mindful of these mistakes, you can improve your image occlusion technique and use it to study more efficiently.
Conclusion
Image occlusion in Anki is a fantastic method for improving memory retention, especially for subjects that require a strong visual understanding. By blocking parts of an image, you force your brain to actively recall the missing information, which enhances both learning and recall. Setting up Anki, creating image occlusion cards, and applying best practices will ensure that you’re using this technique effectively.
Remember, simplicity is key. Avoid overcrowding your cards, use high-quality images, and keep your study sessions regular. As you continue to use image occlusion, you’ll find it becomes an invaluable tool for mastering complex topics.
So, don’t wait—start incorporating image occlusion into your study routine today and experience how it can take your learning to the next level!
FAQ
1. What is image occlusion in Anki?
Image occlusion in Anki is a method where parts of an image are hidden, and you must recall the missing information. It’s a great tool for visual learning, especially when studying subjects like anatomy, maps, or diagrams.
2. How do I install the Image Occlusion Enhanced add-on?
To install the Image Occlusion Enhanced add-on, go to Anki, select "Tools," then "Add-ons." Click on "Get Add-ons" and enter the code for the Image Occlusion add-on (available on AnkiWeb). After installing, restart Anki to activate the feature.
3. Can I use image occlusion for any subject?
Yes, image occlusion can be used for a wide variety of subjects, including anatomy, geography, chemistry, and even history, as long as you have relevant images. It’s especially useful for memorizing images that require detailed recognition.
4. How many occlusions should I create per image?
It’s best to focus on creating a few occlusions per image. Too many occlusions can make the card overwhelming. Stick to one concept per occlusion to ensure clarity and better retention.
5. Is it better to review image occlusion cards daily?
Yes, consistent review is key. Use Anki’s spaced repetition system to review your image occlusion cards at regular intervals. This will help reinforce your memory and ensure long-term retention.


