We’ve all been there—your phone is running out of storage space, and you’re trying to figure out how to make room. One common culprit? Images in your messages. Deleting images from your message threads can help clean up your device and free up valuable storage space. It’s a simple task that can make a big difference, whether you're trying to organize your device or prepare it for better performance.
In this post, we’ll guide you through why it's important to delete images from your messages and how you can easily do so on both Android and iPhone devices. We’ll also discuss some handy tips for organizing your images before deleting them, as well as what to do if you accidentally delete something important. Let’s get started on the journey toward a more organized phone!
Why Deleting Images from Messages is Important

Deleting images from your messages isn’t just about freeing up storage; it’s also about keeping your device running smoothly. Over time, your phone accumulates tons of images from different conversations. These images take up space and can cause your device to slow down, affecting overall performance.
Here’s why it’s worth making a habit of deleting unnecessary images:
- Free Up Storage Space: Phones have limited storage, and every image you receive in a message eats up that space. Deleting unneeded images helps you regain valuable space.
- Improve Device Speed: With fewer files to manage, your phone can perform better, especially when it comes to opening apps and running processes smoothly.
- Better Organization: Keeping your messages clutter-free makes it easier to find important conversations and eliminates distractions from unnecessary files.
- Privacy Protection: Sometimes, images may contain sensitive information. Deleting them from your messages helps reduce the risk of accidental sharing or data leaks.
Taking time to delete unwanted images from your messages might seem like a small task, but it can have significant benefits in the long run. Let’s dive into how you can do this across different devices.
Different Methods to Delete Images from Messages on Android Devices

On Android devices, deleting images from messages is straightforward. Whether you're using Google Messages, Samsung Messages, or another messaging app, the process is quite similar. Here’s how you can delete images in a few simple steps:
Method 1: Deleting Images from a Single Message Thread
- Open your messaging app and go to the conversation where the image is stored.
- Find the image you want to delete.
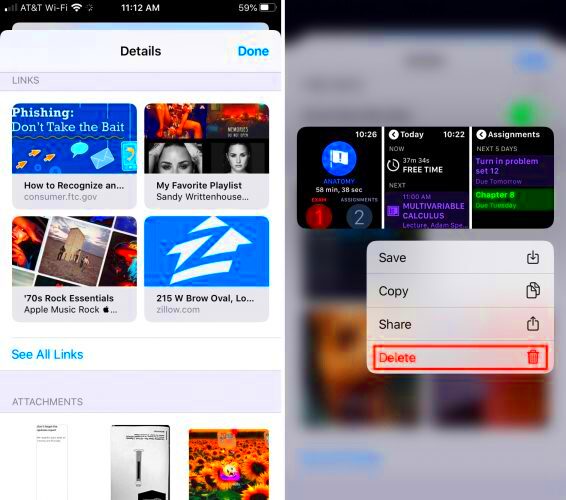
- Tap and hold on the image. You should see a few options pop up, including one to delete.
- Tap "Delete" or "Remove from conversation." The image will be deleted from that thread.
Method 2: Deleting Multiple Images at Once
If you have several images to delete, there’s a quicker way to remove them all at once:
- Open your messaging app and go to the conversation you want to clean up.
- Tap on the three vertical dots in the top-right corner to open the menu.
- Select "Manage Messages" or "Select Messages" (this may vary depending on your device).
- Select all the images you want to delete, then tap the trash icon.
- Confirm your choice, and the images will be deleted.
Method 3: Using the File Manager to Delete Images
Alternatively, you can use your phone’s file manager to delete images directly from the storage folder:
- Open the "Files" app or any file manager app on your phone.
- Navigate to the "Messages" folder or a similar folder where images are stored.
- Select the images you want to delete and tap the trash icon.
By using these methods, you can easily get rid of unwanted images and keep your Android device organized and running smoothly. Remember, deleting images regularly can help ensure that your device stays fast and clutter-free.
How to Remove Images from Messages on iPhone Devices
Deleting images from messages on your iPhone is a quick and easy process. Whether you want to free up storage or just tidy up your conversations, Apple’s iOS offers a user-friendly way to remove images without any hassle. Let’s walk through the different methods you can use to delete those images from your iPhone’s message threads.
Method 1: Delete Images from a Single Message
If you only need to delete a few images from a specific conversation, here’s what to do:
- Open the Messages app and navigate to the conversation where the image is stored.
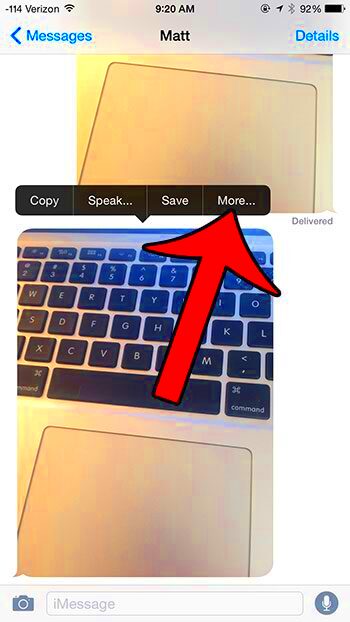
- Find the image you want to delete. Tap and hold on the image thumbnail.
- When the options appear, tap "More..." to select the image.
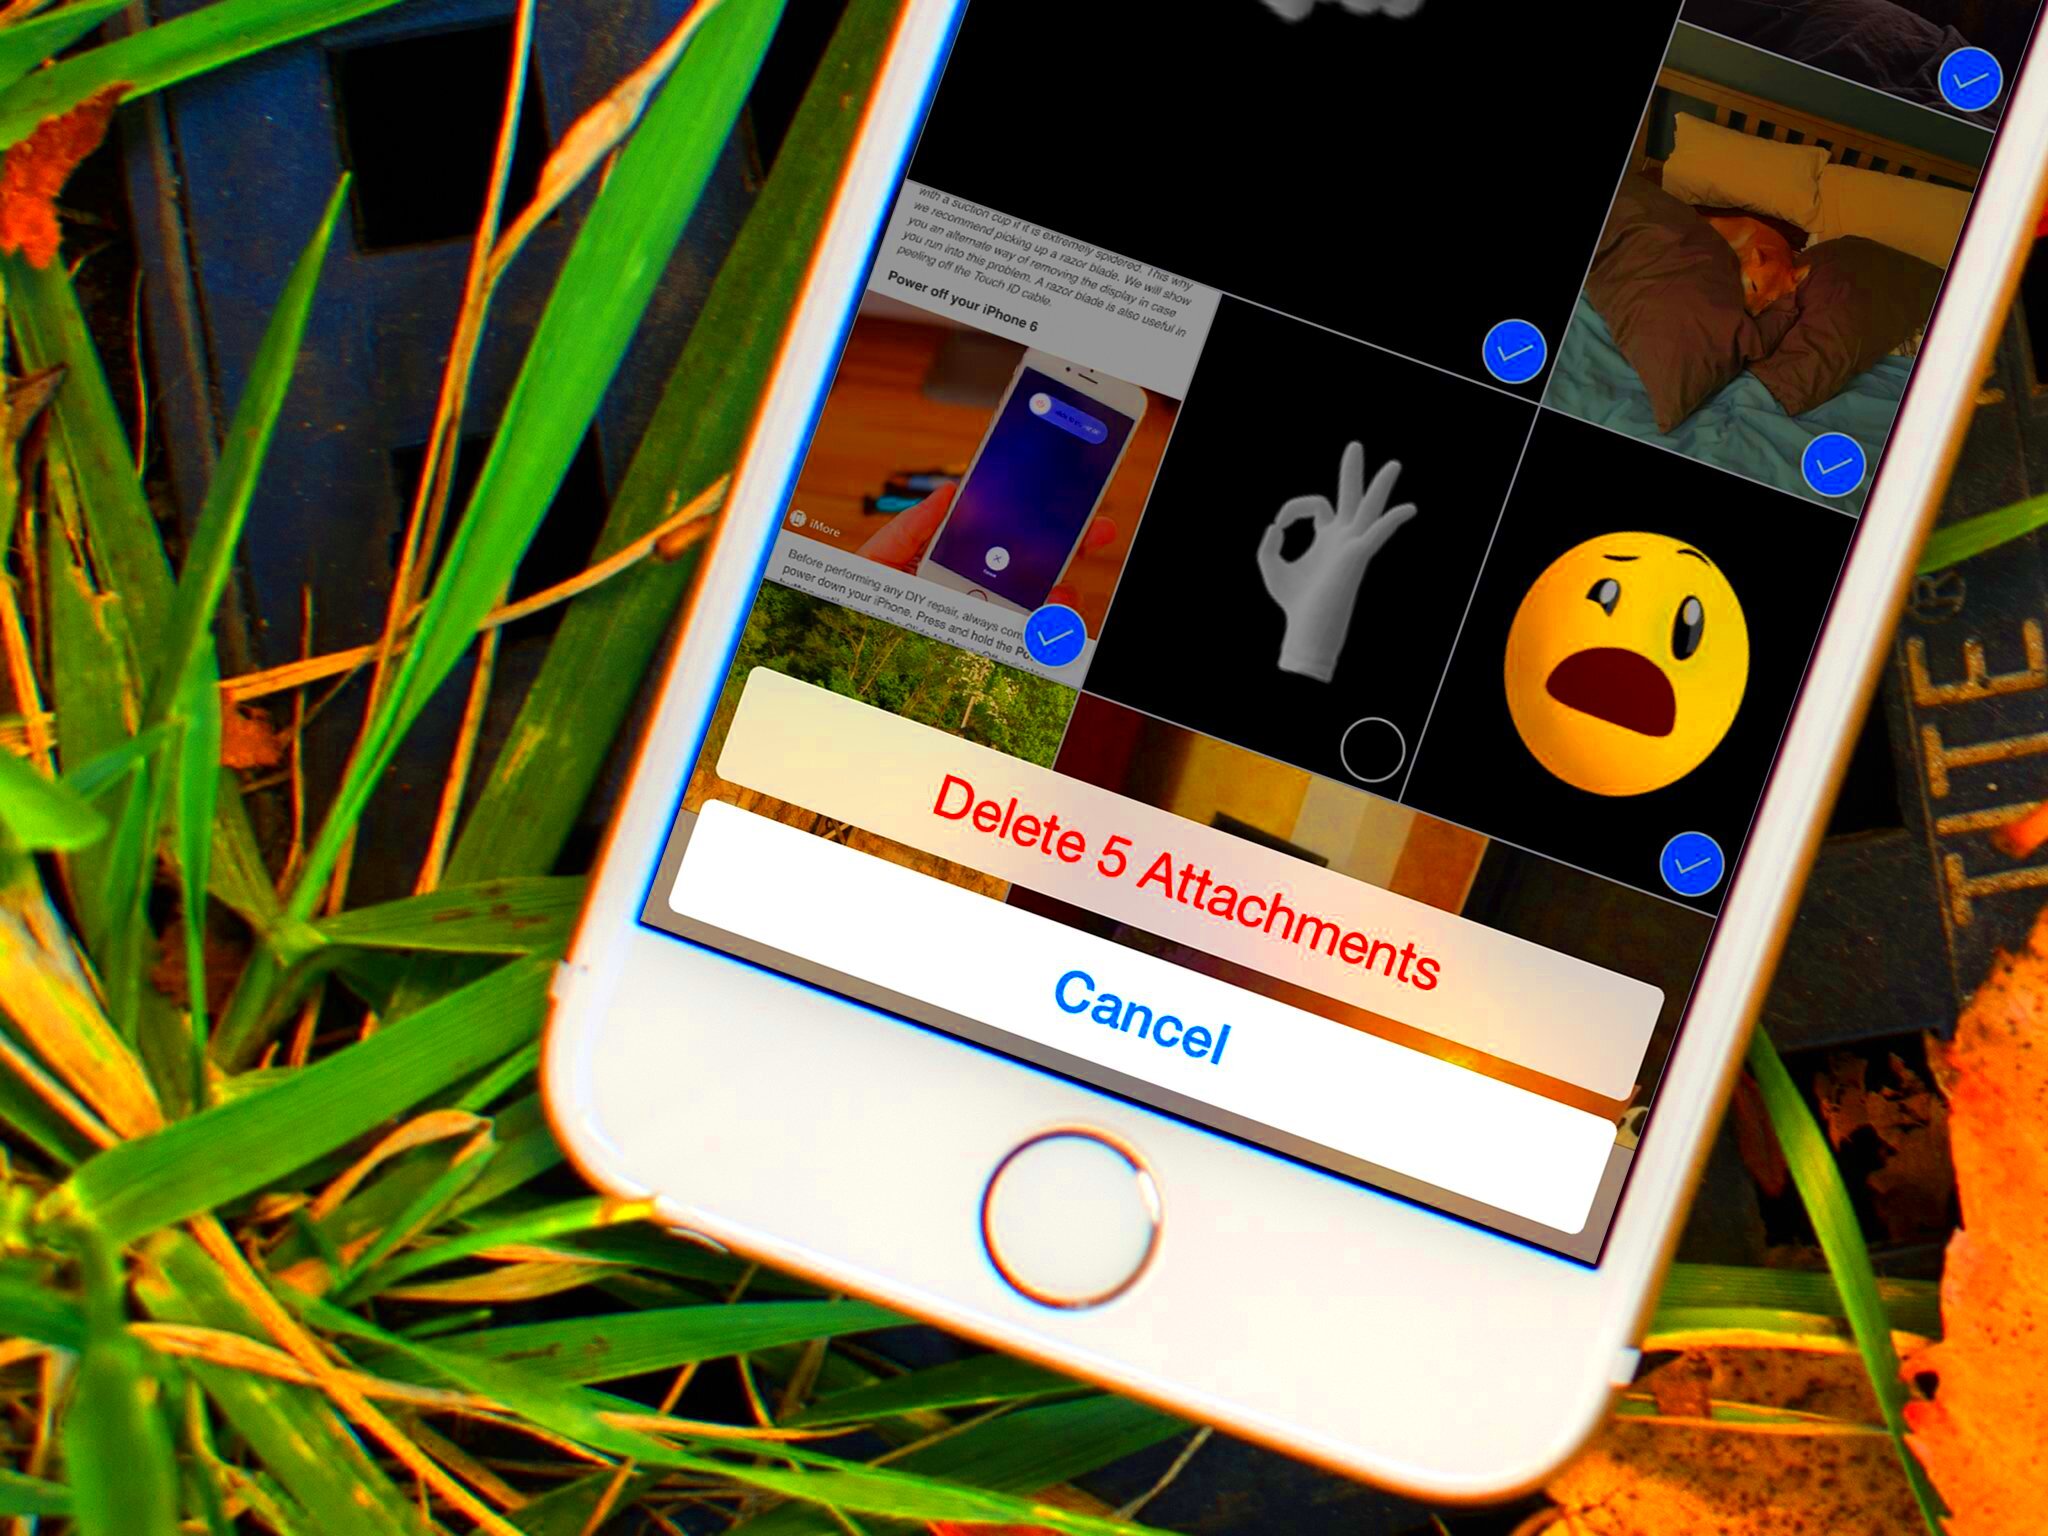
- Tap the trash can icon in the bottom-left corner, then confirm that you want to delete the image.
This method is great for removing individual images without affecting the entire message thread.
Method 2: Deleting Multiple Images from a Conversation
If you have multiple images in a conversation and want to remove them all at once, follow these steps:
- Open the Messages app and enter the conversation with the images you want to delete.
- Tap and hold on one image until you see the "More..." option.
- Select "More..." and tap on all the images you want to delete.
- Once selected, tap the trash can icon at the bottom left, then confirm your decision.
Deleting multiple images at once can help you clean up large conversations quickly, especially if they’re filled with unnecessary pictures.
Method 3: Delete Images Using the Photos App
Sometimes, images from your messages end up saved in your iPhone’s Photos app. If you want to delete them from there:
- Open the Photos app and go to the "Recents" album.
- Find the images you want to delete, tap and hold on each one to select it.
- Tap the trash can icon at the bottom-right corner and confirm your decision to delete them.
This method is perfect if you’ve saved message images to your photo library and want to clear them out.
Using Third-Party Apps for Better Image Management
If you’re looking for more control over how you manage images in your messages, third-party apps can offer enhanced features that make deleting, organizing, and sorting your photos much easier. These apps often provide more options than the built-in apps on your device. Here’s how they can help:
Why Use Third-Party Apps?
There are several reasons you might consider using third-party apps to manage your message images:
- Bulk Deletion: Some apps allow you to delete images in bulk from multiple conversations or albums, saving you time.
- Automatic Sorting: Apps like Google Photos can automatically sort images based on time, location, or content, making it easier to find what you’re looking for.
- Cloud Backup: Third-party apps offer cloud storage solutions where you can back up and then delete images from your device, ensuring you don’t lose anything important.
Popular Third-Party Apps for Image Management
Here are a few apps you can use for better image management:
| App Name | Features |
|---|---|
| Google Photos | Cloud storage, automatic backup, sorting by date and location, bulk delete. |
| Gemini Photos | Detects duplicate and similar photos, bulk deletion, and sorting options. |
| Cleaner for iPhone | Deletes junk files, photos, and videos in bulk, freeing up storage. |
How to Use These Apps
- Download the app from the App Store and open it.
- Grant necessary permissions to allow the app to access your photos and messages.
- Follow the app’s instructions to delete or organize your images according to your preferences.
Using third-party apps is a great way to save time and ensure that your images are properly organized and managed.
Tips for Organizing Images in Messages Before Deleting Them
Before you start deleting images from your messages, it’s a good idea to organize them. Not only does this make the process easier, but it also ensures you don’t accidentally delete something important. Here are some tips to help you organize your message images:
1. Create Albums or Folders
If your device supports it, create albums or folders where you can group similar images together. For example, you could create folders like "Vacation Pics," "Work Documents," or "Family Photos." This way, before you delete, you can quickly access specific images you might want to keep.
2. Use Search Functions to Find Specific Images
Both iPhone and Android devices offer search functions within the Messages app and Photos app. Use these features to quickly find the images you need to organize or delete:
- Search for a specific contact or keyword to locate relevant images.
- Search by date to find images from specific events or time frames.
3. Mark Important Images
If there are images you want to keep but are worried about deleting by accident, consider marking them. On some devices, you can favorite or "star" certain images to ensure they stay safe from accidental deletion.
4. Delete Unwanted or Duplicate Images
Before going on a deleting spree, make sure to remove any duplicates or unwanted images. Some apps like Gemini Photos automatically detect similar or duplicate images, making it easier to clear them out.
5. Backup Your Photos
If you’re unsure about deleting an image, back it up to a cloud service or external storage first. This ensures that you can recover the photo later if you change your mind.
By organizing your images before deleting them, you can ensure that important memories and files are preserved while unnecessary ones are cleared out efficiently.
What to Do If You Accidentally Delete Important Images
It’s always a sinking feeling when you realize you've accidentally deleted an important image from your messages or gallery. Whether you’ve deleted it by mistake or cleaned up your device a little too aggressively, don’t panic just yet—there are still ways to recover those precious photos! In this section, we’ll guide you through the steps to take if you find yourself in this situation.
Step 1: Check Your Recently Deleted Folder
Both iPhone and Android devices have a “Recently Deleted” folder in their Photos apps. When you delete an image, it typically isn’t gone forever immediately—it stays in this folder for a set period (usually 30 days). Here’s how you can restore it:
- On iPhone: Go to the Photos app > Albums > Recently Deleted. Select the image you want to restore and tap "Recover."
- On Android: Open the Photos or Gallery app > Albums > Recently Deleted or Trash. Select the images and tap "Restore."
Step 2: Use Cloud Backups
If you have cloud backup services like Google Photos, iCloud, or OneDrive enabled, your images may still be available in the cloud, even if deleted from your device. Simply log in to the cloud service and search for the missing image. If it’s there, you can easily download it back to your device.
Step 3: Use Data Recovery Software
If the image is no longer in your “Recently Deleted” folder or cloud storage, there are third-party data recovery apps that might help. These apps can scan your device's storage and attempt to recover deleted files. Some popular options include:
| App Name | Platform | Features |
|---|---|---|
| Dr.Fone | iPhone, Android | Recover deleted photos, messages, and more. |
| DiskDigger | Android | Restore lost photos and videos. |
Remember, the sooner you act, the higher the chances of recovery. If you’ve already saved new data on your device, it may overwrite the space where your deleted images were stored, reducing the likelihood of successful recovery.
How to Keep Your Device Organized After Deleting Images
Once you’ve deleted unnecessary images and cleared some space on your device, it’s time to think about keeping things organized to prevent future clutter. A clean, well-organized device not only makes it easier to find what you need but also improves your device’s performance. Here are some tips to help keep your device in top shape after deleting images:
1. Regularly Organize Your Photos
Taking the time to regularly organize your photos will keep things in order and prevent a massive pile-up of files. Set a weekly or monthly reminder to go through your images and categorize them. You can create albums or folders based on events, people, or themes.
2. Use Cloud Storage
One of the easiest ways to keep your device organized is by backing up your images to cloud storage. This not only frees up space on your device but also keeps your photos safe and accessible from any device. Popular options include:
- iCloud: Ideal for iPhone users to back up photos, videos, and other files.
- Google Photos: Offers unlimited photo storage (high quality) and automatic syncing across all devices.
- Dropbox: Provides easy file sharing and organizing features for both photos and documents.
3. Delete Photos After Uploading or Sharing
If you’re sharing images with others or uploading them to social media, consider deleting them from your device afterward. If the photos are stored in the cloud or on a platform like Google Photos, you can always access them later if needed.
4. Use Storage Management Apps
There are apps designed to help you manage your storage more efficiently. These apps will automatically find large files or duplicate images and give you the option to delete them. Some apps you might consider are:
| App Name | Platform | Features |
|---|---|---|
| Files by Google | Android | Manages storage by identifying unused apps and large files. |
| Clean Master | Android | Helps with clearing junk files, organizing photos, and boosting device performance. |
By staying on top of organizing and managing your photos, you’ll keep your device running smoothly and avoid running out of storage in the future.
FAQ
Q1: How do I delete multiple images from messages at once?
A1: On both Android and iPhone, you can select multiple images within a conversation and delete them at once. Tap and hold an image, then choose "Select" or "More..." to select other images, followed by tapping the trash icon to delete them.
Q2: Can I recover deleted images from my device?
A2: Yes, you can! If the images are in the "Recently Deleted" folder or have been backed up to the cloud, you can easily recover them. If not, you can try using data recovery apps to attempt a restore.
Q3: Will deleting images from messages delete them from my gallery or cloud storage?
A3: Deleting images from messages typically only removes them from the message thread, not from your gallery or cloud storage. If you want to delete them completely, you will need to delete them from both locations.
Q4: How do I avoid accidentally deleting important images in the future?
A4: To avoid accidental deletion, consider organizing your images into folders or albums, backing them up regularly to the cloud, and marking important photos with favorites or labels.
Conclusion
Deleting images from messages and keeping your device organized is an essential part of maintaining a smooth and efficient user experience. Whether you’re trying to free up storage, protect your privacy, or simply declutter your phone, knowing how to delete images properly is a skill every smartphone user should have. By following the methods and tips outlined, you can manage your photos more effectively, avoid losing important files, and ensure your device performs at its best.
Remember, it’s always a good idea to back up your images before deleting them, especially if they’re important. Cloud storage and third-party apps can be great tools to keep your photos organized and safe. Whether you’re using Android or iPhone, the steps are relatively simple, and with a little bit of organization, you can ensure your phone remains tidy and efficient for years to come.


