Managing your Adobe Stock portfolio doesn’t end with uploading files; it also includes knowing how to delete them when necessary. Whether you’ve made a mistake, want to refresh your content, or simply change directions, understanding the proper procedure for removing an uploaded file is crucial. In this guide, we’ll walk you through the essentials of Adobe Stock uploads and the simple steps to delete any unwanted files.
Understanding Adobe Stock Uploads

Adobe Stock is a powerful platform for photographers, videographers, and designers to showcase their work and make it available for purchase. Before diving into how to delete uploaded files, it's important to understand the concept of uploads on Adobe Stock.
When you upload a file to Adobe Stock, you're essentially contributing to a massive library of digital assets. This includes:
- Photos: High-quality images that can be used for various projects.
- Illustrations: Vector graphics or hand-drawn artwork that clients may seek.
- Videos: Short clips that can enhance storytelling in video projects.
- Templates: Pre-designed layouts for various needs, from marketing to social media.
Each uploaded file goes through a review process to ensure it meets Adobe Stock's quality and content guidelines. Once accepted, your work becomes part of a broader marketplace available to customers worldwide.
However, situations arise where you may feel the need to delete an uploaded file, such as:
- Outdated content that no longer aligns with your style or skills.
- Files that have been rejected or are missing essential metadata.
- Content you no longer wish to share due to personal or legal reasons.
Understanding these aspects will set the foundation for successfully managing your Adobe Stock uploads, including knowing when and how to delete files effectively.
Also Read This: Adding YouTube Videos to CapCut for Content Creators
Steps to Delete an Uploaded File

Deleting an uploaded file from Adobe Stock is a straightforward process, but it's essential to follow each step carefully to ensure you're making the right choice. Here's a step-by-step guide to help you through the deletion:
- Log into Your Account: Begin by visiting the Adobe Stock website and logging into your account. Make sure you're using the same credentials you used to upload your files.
- Access Your Contributor Dashboard: Once logged in, navigate to your contributor dashboard. This area contains a comprehensive overview of all your uploaded files, statistics, and other useful information.
- Locate the File: Scroll through your uploaded files or use the search function to quickly find the specific file you want to delete. You can identify files by their thumbnails or titles.
- Select the File: Click on the file you wish to delete to open its details. You will see various options related to that specific file.
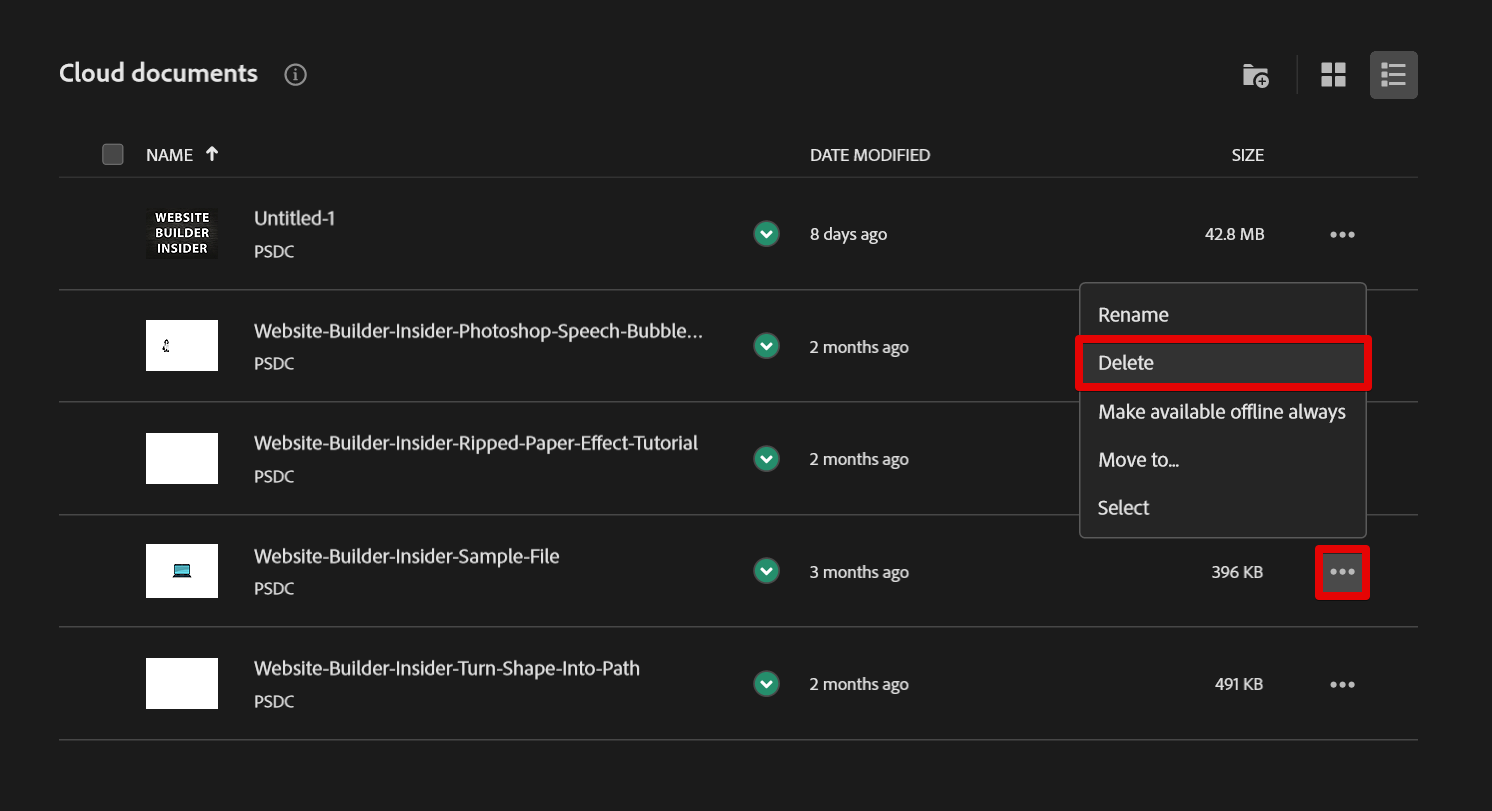
- Click on the Delete Option: Look for the option that says “Delete” or a trash can icon. This is usually located near the file details or in an action menu. Clicking this will prompt a confirmation message.
- Confirm Deletion: Read the warning message carefully. It will inform you that once deleted, the file cannot be recovered. If you're sure about your decision, hit “Confirm” or “Delete” to finalize the process.
- Check for Success: After deletion, you should receive a notification confirming that the file has been successfully removed.
And that’s it! In just a few simple steps, you've successfully deleted an uploaded file from Adobe Stock. Now, let’s move on to verifying that the deletion was successful.
Also Read This: How to End My Adobe Stock Seller Account
Verifying Successful Deletion

After going through the process of deleting your uploaded file, it's important to verify that the deletion was indeed successful. Here’s how to do that:
- Return to Your Contributor Dashboard: Navigate back to your contributor dashboard. This is where you'll find a list of all your uploaded files.
- Check the Recently Uploaded Section: If you had just deleted the file, check this section for the recently uploaded content. If it’s no longer there, that’s a good sign!
- Use the Search Function: If you have numerous files, use the search bar to look for the file name. If nothing appears, it indicates that the file has been successfully deleted.
- Review Notifications: If you received a confirmation message during the deletion process, double-check any notifications or emails from Adobe Stock for additional confirmation.
- Contact Support if Necessary: If for some reason you still see the file listed, don’t hesitate to reach out to Adobe Stock support for assistance. They can provide insight into any issues you might be experiencing.
By taking these steps, you can rest assured that your file has been properly deleted. Verifying deletion not only gives you peace of mind but also helps manage your account effectively!
Also Read This: Alamy vs Shutterstock: Which Stock Photography Platform is the Best?
Troubleshooting Common Issues
Deleting uploaded files from Adobe Stock can sometimes hit a few snags. But don't worry; troubleshooting these issues is often straightforward! Here are some common problems users encounter and how to resolve them:
- File Not Found: It’s possible you’re trying to delete a file that doesn’t exist in your account anymore. Double-check to ensure the file hasn't already been removed or that you're logged into the correct account.
- Permissions Error: If you're part of a team or sharing an account, ensure you have the correct permissions to delete files. Check with your account administrator if necessary.
- Server Errors: Occasionally, Adobe Stock may experience server issues or downtime. If you're receiving error messages, try refreshing the page or returning later to see if the problem resolves.
- Cache Issues: Sometimes, stored browser data can cause glitches. Clear your browser cache or try using a different browser to see if that resolves the issue.
And if all else fails, don’t hesitate to reach out to Adobe Support. They can provide additional assistance tailored to your situation. Just remember, you're not alone in this!
Conclusion
Deleting uploaded files in Adobe Stock is generally a straightforward process, but knowing how to navigate potential issues can make the experience smoother. Whether you're doing a bit of spring cleaning in your portfolio or removing outdated material, following the steps outlined ensures a hassle-free deletion.
Remember, if you run into challenges:
- Check your account permissions.
- Ensure the file exists.
- Look out for any server alerts from Adobe.
- Clear your browser's cache or switch browsers if needed.
By keeping these tips in mind, you'll not only manage your Adobe Stock account more effectively, but you'll also save time and energy in the long run. Happy editing, and may your creative journey be as smooth as possible!
 admin
admin


