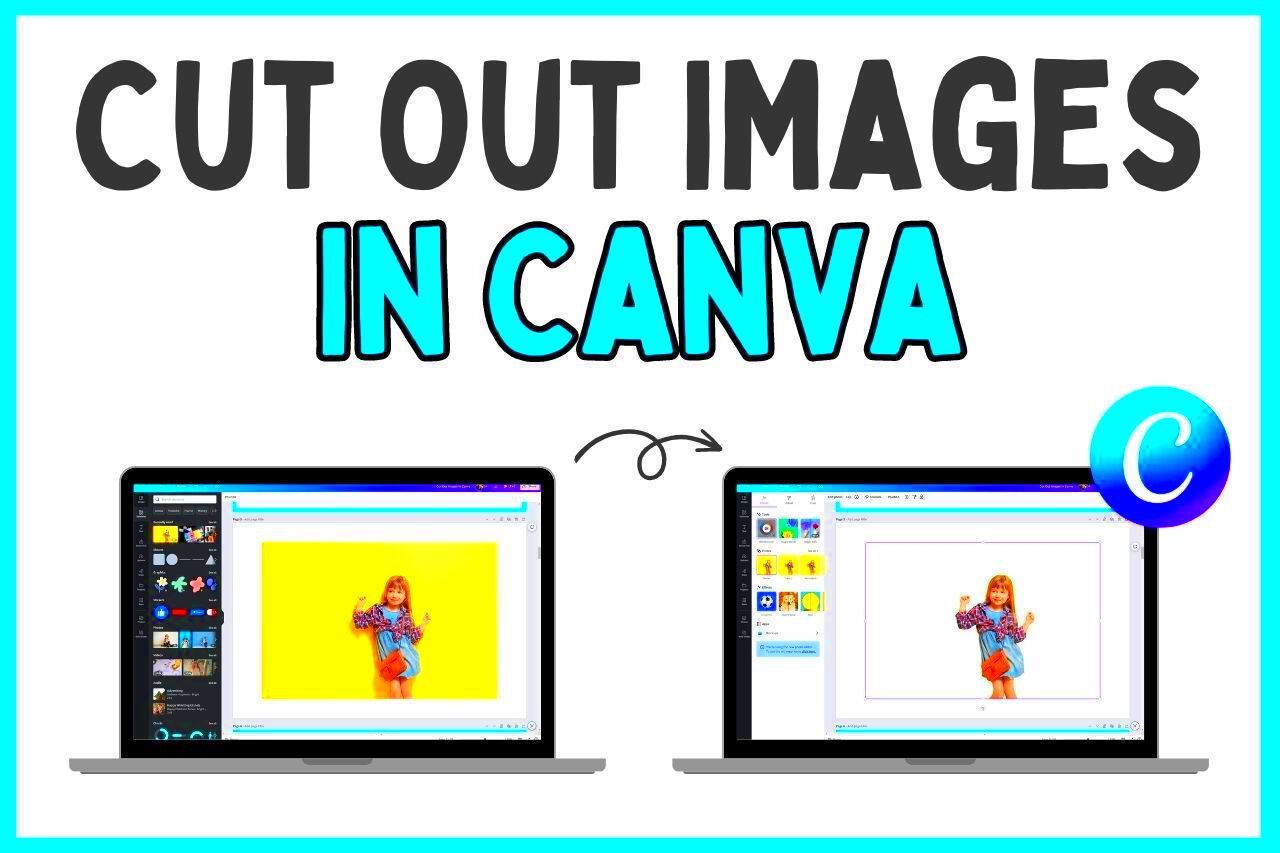
Image cutting in Canva refers to the process of removing parts of an image or isolating a specific section, often to create visually appealing layouts. This feature is widely used for crafting engaging graphics, unique presentations, or even social media posts. By cutting out images, you can focus on the most important elements and remove distractions.
But why does it matter? Well, cut-out images help bring attention to the core message of your design. Whether you’re working on marketing materials or creative projects, this skill allows you to elevate your designs, making them cleaner and more professional. Plus, Canva’s user-friendly interface makes it accessible for everyone, regardless of design experience.
With Canva, image cutting is not only easy but also a powerful way to make your visuals stand out. Let’s explore how to get started!
How to Start with Canva for Image Cutting

Getting started with Canva for image cutting is simple. Follow these steps to set up your design workspace and get ready to cut out images effortlessly:
1. Create or Log into Your Canva Account:
- If you’re new to Canva, visit the official Canva website to sign up for a free account.
- Existing users can simply log in using their email and password.
2. Open a New Design:
- Click on the “Create a Design” button and choose your preferred template size (e.g., Instagram post, presentation, custom dimensions).
3. Upload Your Image:
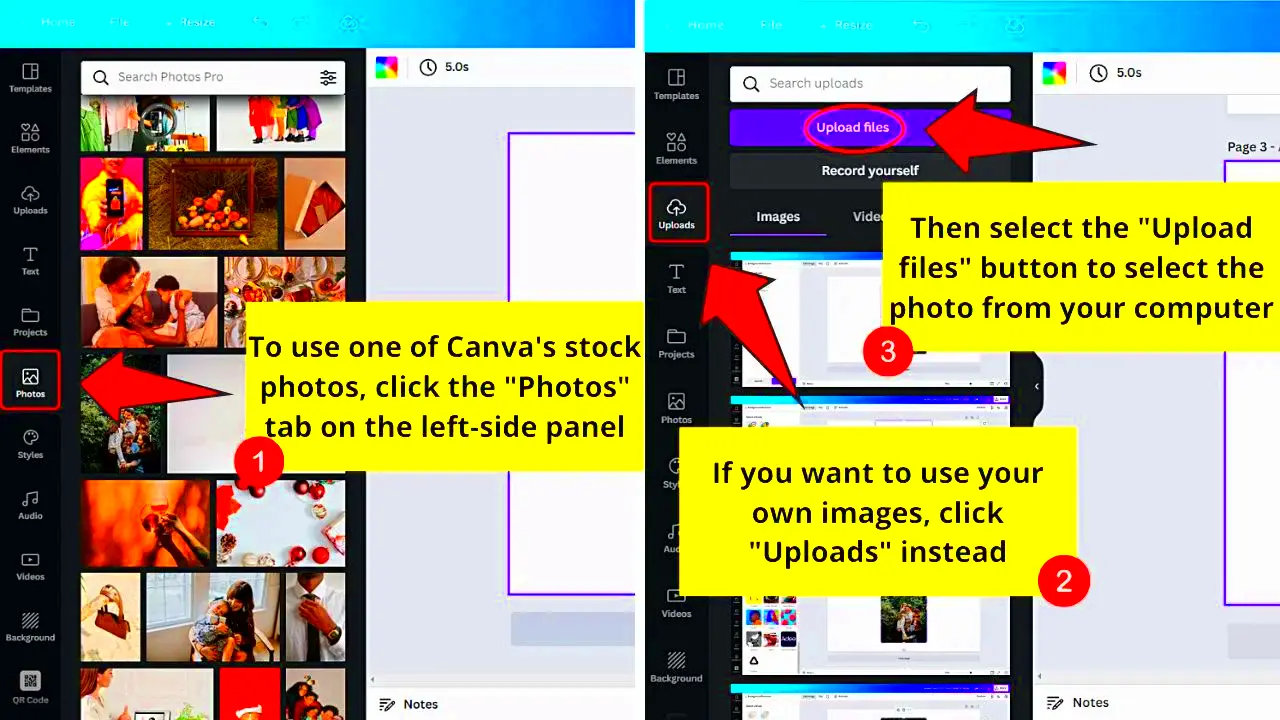
- Navigate to the “Uploads” tab on the left-hand panel.
- Drag and drop your image or select it from your device to upload.
With your workspace ready, you’re now set to begin cutting out images. Next, let’s go through the step-by-step process!
Also Read This: Simple Steps to Mirror an Image on Epson Printers
Steps to Cut Out Images on Canva
Cutting out images on Canva is straightforward and can be completed in just a few steps. Here’s how you can do it:
1. Select the Image:
- Click on the image you uploaded to bring it into your design workspace.
2. Use the Background Remover Tool:
- Go to the “Edit Image” option in the toolbar above the design space.
- Click on “Background Remover.” Canva will automatically detect and remove the background.
3. Adjust and Refine:
- If needed, use the “Erase” or “Restore” tools to manually adjust the cut-out areas.
- Zoom in for finer details and ensure clean edges.
4. Resize and Position:
- Resize the cut-out image by dragging its corners.
- Position it wherever it fits best in your layout.
5. Save Your Design:
- Once you’re satisfied, click on “Share” or “Download” to save your design.
With these steps, you can effortlessly cut out images and use them creatively in your projects. Practice makes perfect, so don’t hesitate to experiment!
Also Read This: Explore How to Easily Download Bilibili Video to Mp4 Format
Creative Ways to Use Cut-Out Images
Once you’ve mastered the art of cutting out images on Canva, the fun part begins—getting creative with how you use those cut-out images! There are countless ways to integrate them into your designs to make them stand out. Let’s explore some exciting ideas:
1. Combine with Unique Backgrounds:
- Use cut-out images to create interesting contrasts by placing them on vibrant, colorful backgrounds. This can give your design a modern, dynamic look.
2. Create Layered Collages:
- Layer different cut-out images on top of each other. This technique is perfect for making a visually rich and complex design, such as posters or album covers.
3. Design Custom Icons:
- Cut out specific parts of images to create custom icons for web designs or mobile apps. For example, cut out a part of an object and use it as a stylized button or logo.
4. Add to Social Media Posts:
- Use cut-out images to highlight products, people, or unique elements in your social media posts. Place them on stylish backgrounds to draw attention to the message you’re trying to convey.
5. Create Product Mockups:
- Place cut-out images of your products onto realistic mockups like posters, T-shirts, or coffee mugs to showcase your brand in a professional manner.
As you can see, cut-out images can be versatile. By thinking outside the box, you can create stunning and unique designs that will grab attention and communicate your ideas effectively!
Also Read This: Download Likee Videos Without Watermark Using Online Tools or Apps
Common Mistakes to Avoid While Cutting Images
When cutting images, especially for the first time, it’s easy to make some common mistakes that can affect the overall quality of your design. Let’s take a look at a few things you should avoid to get the best results:
1. Over-Cutting or Cutting Too Much:
- It’s tempting to remove too much of the background, but leaving a little bit can help the image blend better with the design. Be careful not to lose important details.
2. Not Refining the Edges:
- Even though Canva does a good job with the background remover tool, some areas may still need a little extra work. Don’t skip refining the edges, as rough or jagged lines can ruin the look of your cut-out image.
3. Using Low-Quality Images:
- Starting with a low-resolution image can make your cut-out look pixelated or blurry. Always use high-quality images for the best results when cutting out parts of the photo.
4. Forgetting to Check Image Alignment:
- Sometimes, after cutting, the image doesn’t align properly with the rest of the design. Always check that your cut-out images are placed correctly within the composition.
5. Using Inconsistent Styles:
- Mixing cut-out images with different styles or themes can create a disjointed design. Aim for consistency to keep the look cohesive and professional.
By avoiding these mistakes, you can ensure that your cut-out images will enhance your designs and not detract from their impact. With practice and attention to detail, your image cutting skills will improve rapidly!
Also Read This: How to Change Photo Background in Adobe Photoshop 7.0
Tips for Perfect Image Cutting Results
Achieving perfect image cuts requires both technique and patience. If you want to ensure that your cut-out images look crisp and polished, here are some tips to help you get the best results:
1. Use High-Quality Images:
- Start with high-resolution images to ensure that your cuts remain sharp and clear. Low-quality images tend to lose detail, making them harder to cut cleanly.
2. Zoom In for Fine Details:
- When cutting out intricate areas like hair or small objects, zoom in on the image to make more precise cuts. This will help you avoid rough edges and ensure accuracy.
3. Take Your Time with the Background Remover Tool:
- Canva’s background remover tool is efficient, but you may need to spend a little extra time cleaning up any leftover background or fine-tuning the edges. The more you refine, the better your final result.
4. Use Layers for Complex Designs:
- When working with multiple cut-out images, use layers to manage and organize your design elements. This allows you to adjust the size and position without affecting other elements.
5. Try Different Effects and Filters:
- Once the image is cut out, you can enhance it by applying filters or effects to blend it into your design. Experimenting with shadows, glows, or blurring the background can help create depth and visual interest.
6. Preview Your Design:
- Before finalizing your work, take a moment to preview the cut-out images in your design. This gives you a chance to spot any imperfections and make necessary adjustments.
By following these tips, you’ll be able to achieve professional-level image cuts that look polished and seamlessly integrated into your designs. Happy cutting!
Also Read This: How to Search for Keyed Images on Getty Efficient Methods for Finding Photos
Frequently Asked Questions about Image Cutting on Canva
If you’re new to image cutting in Canva, you may have some questions about the process. Let’s go over some of the most frequently asked questions to help you get the most out of this powerful feature:
1. Can I cut out any image on Canva?
Yes, you can cut out most images in Canva, but the quality of your result depends on the quality of the image itself. Higher resolution images are easier to cut and provide better results. Canva’s background remover tool works best with clear and sharp images, especially when the subject is distinct from the background.
2. Do I need a Canva Pro account to cut out images?
Yes, the background remover tool is only available to Canva Pro users. However, if you're using the free version, you can still cut out images manually by using the “Crop” tool or by removing the background in external editing software before uploading it to Canva.
3. Can I cut out multiple images at once?
No, Canva does not allow batch processing of images for cutting. Each image needs to be cut individually, but you can upload and cut multiple images one after the other.
4. How do I refine the edges after cutting?
To refine the edges, use the “Erase” or “Restore” tool under the "Edit Image" options. This lets you manually remove or bring back areas to make your cut-out cleaner. Zooming in while refining the edges will help you make more precise adjustments.
5. Can I use cut-out images for commercial purposes?
Yes, as long as the images you use are your own or fall under the appropriate usage rights. Ensure you have the necessary rights for any stock images or photos used in your design if you plan to use them commercially.
Conclusion
Cutting out images on Canva is a great way to make your designs more dynamic and professional. With the right tools and techniques, you can easily remove backgrounds, refine edges, and use cut-out images in creative ways. Keep practicing and experimenting to improve your skills, and soon, you’ll be creating stunning designs in no time!

 admin
admin


