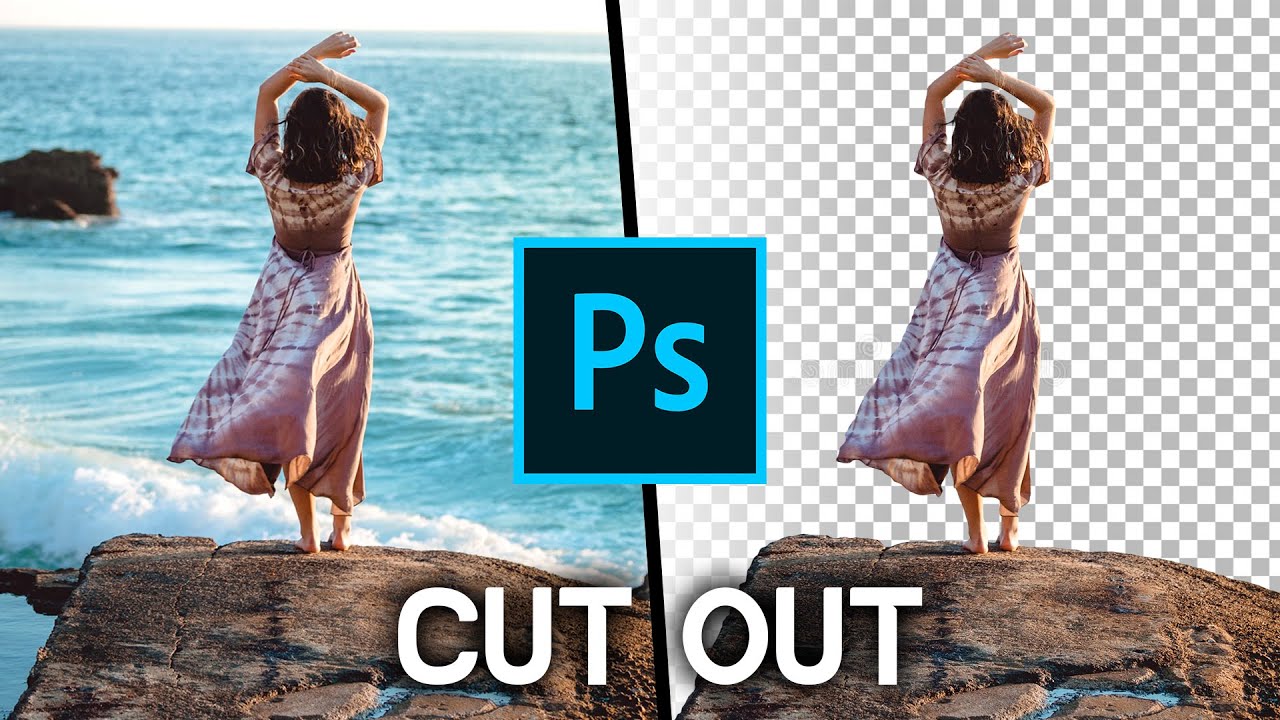
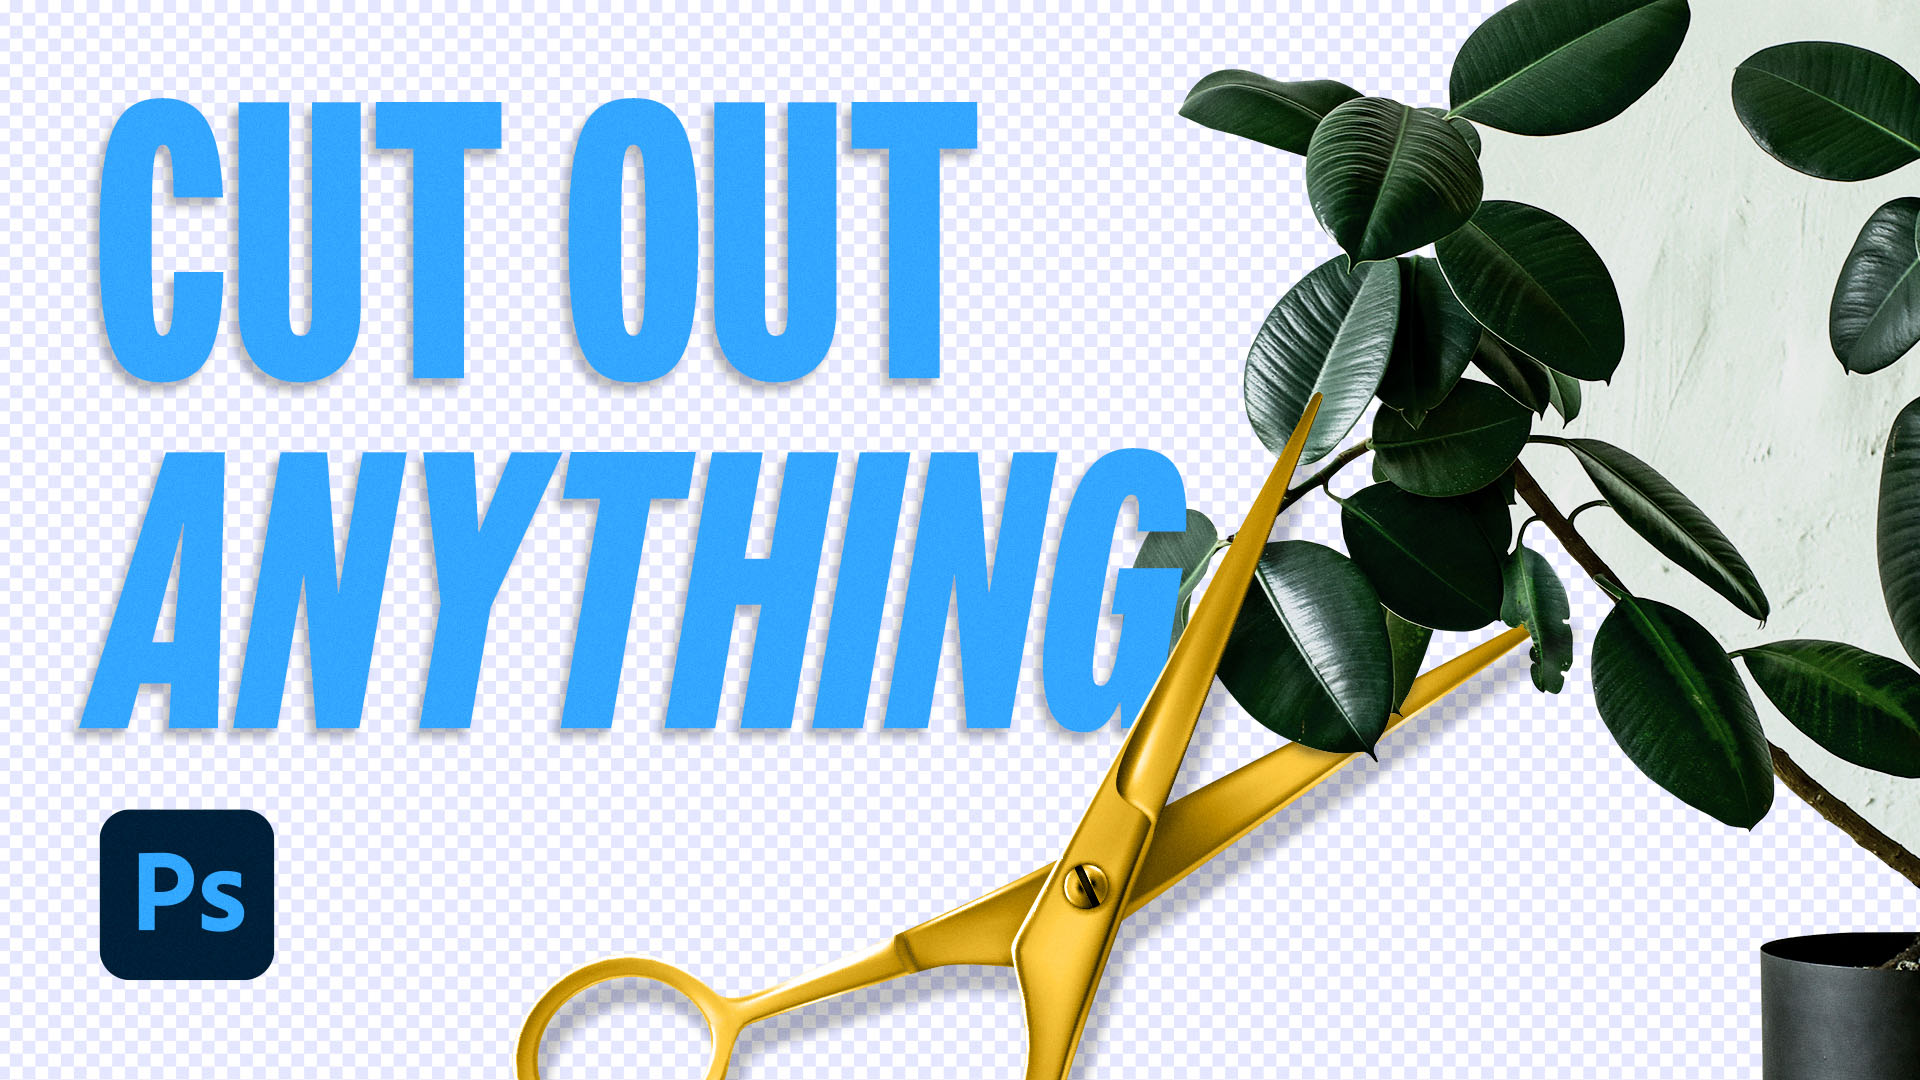
Cutting out an image in Photoshop is a fundamental skill that can open doors to endless creative opportunities. Whether you're looking to create stunning graphics, manipulate photos, or develop your own digital artwork, mastering the art of cutting out images can be incredibly useful. In this blog post, we’ll guide you through the process, using Photoshop's powerful tools and techniques to achieve clean and professional cuts.
Tools and Techniques for Cutting Out Images
Photoshop offers a variety of tools tailored for cutting out images, each designed for different scenarios. Here’s a rundown of some prominent tools you can use:
- Quick Selection Tool: Ideal for selecting areas of similar color or texture, the Quick Selection Tool allows you to brush over the image to select. Simply click and drag to create your selection—it's fast and efficient!
- Magic Wand Tool: This tool is perfect for selecting large, single-colored areas. Just click on the color you want to select, and Photoshop will automatically highlight pixels that match. Use the Tolerance setting to refine your selection.
- Pen Tool: For precise and detailed selections, the Pen Tool is your best friend. It lets you create paths around your subject, allowing for intricate cuts. This is particularly useful for complex images with fine details.
- Lasso Tool: The Lasso Tools (Straight, Polygonal, and Magnetic) allow for free-form selections. Though not as precise as the Pen Tool, they are great for quick selections when you need to work with simple shapes.
Each of these tools can be used in conjunction with one another. Experimenting with combinations can often yield the best results—so don’t hesitate to mix and match! Once you've made your selection, you can refine it using options like feathering or adjusting the mask edges, which can help create a smoother blend with the background. Happy cutting!
Also Read This: Learn How to Make a Link for a Video to Share Your Streamable Videos with Others
Step-by-Step Guide to Cutting Out an Image
Cutting out an image in Photoshop might sound daunting, but don’t worry! With a few simple steps, you’ll be able to achieve a clean and professional cut-out in no time. Let’s dive into it!
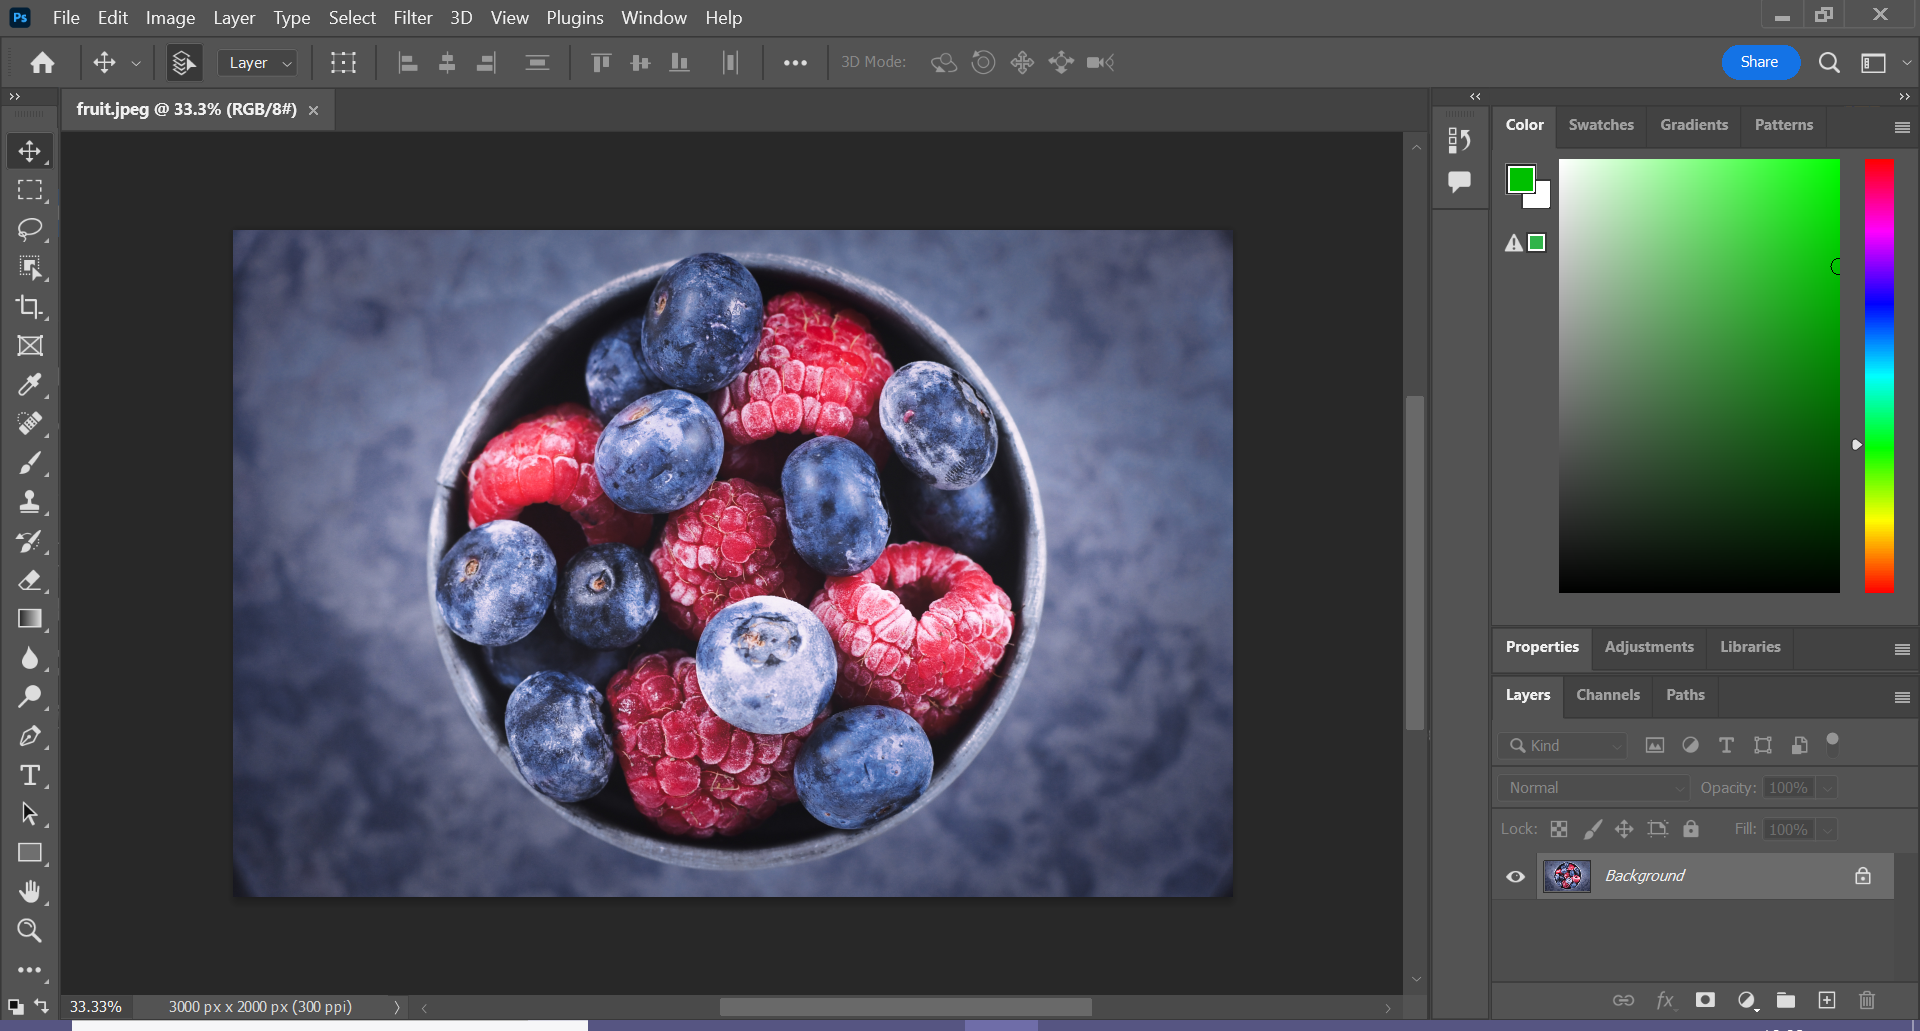
- Open Your Image: Start by launching Photoshop and opening the image you want to cut out. You can do this by clicking on File in the top menu, then selecting Open and finding your image file.
- Select Your Tool: For cutting out, the Quick Selection Tool is pretty handy. You can find it on the left toolbar or simply press the W key on your keyboard.
- Make Your Selection: Click and drag over the area of the image you wish to cut out. You can hold down the Shift key to add more areas to your selection, or the Alt key to remove parts.
- Fine-Tune Your Selection: If you see areas that need adjustments, feel free to use the Refine Edge option in the options bar at the top. This allows for more precise adjustments.
- Create a Mask: Once you're satisfied with the selection, click on the Add Layer Mask button at the bottom of the layers panel. This will hide everything outside your selection, effectively cutting it out!
- Save Your Work: Finally, save your project by clicking File, then Save As, to choose a format that works for you.
And just like that, you’ve successfully cut out an image! Practice makes perfect, so keep experimenting with different images and techniques!
Also Read This: How to Make Rugs at Home with a Step-by-Step Guide
Refining the Cut-Out Edges
Now that you've got the basic cut-out down, let’s continue to refine those edges! A good cut-out isn't just about separating the subject from the background; it's also about making sure those edges look clean and natural.
Here are a few tips to help you refine those edges:
- Use the Refine Edge Tool: Go back to your selection and select Select and Mask. From there, you can adjust edge settings like Radius and Smooth to soften hard edges.
- Feather Edges: Slightly feathering the edges (about 1-2 pixels) can help blend them better into the new background you might be adding.
- Adjust Contrast: Use the Levels or Curves adjustment layers to enhance the contrast of the edges, making your subject pop more against its background.
- Clone Stamp and Healing Brush: If there are any jagged areas, these tools can be your best friends. Use them to paint over imperfections and achieve a seamless look.
In the end, a little patience goes a long way! Take your time with the edges, and soon enough, you’ll have a polished cut-out that you can be proud of.
Also Read This: How to Update Your LinkedIn Profile Picture
5. Saving and Exporting Your Cut-Out Image
Once you've meticulously cut out your image in Photoshop, the next step is to save and export it. This process is crucial because it ensures you maintain the quality of your edited image while also selecting the format that suits your needs best.
Here’s how to go about it:
- Saving Your Project: First, you should save your project in Photoshop's native format (.PSD) to preserve all your layers and edits. Go to File > Save As and choose the .PSD format. This allows you to re-open and modify your work later without losing any details.
- Exporting for Other Uses: If you’re looking to share the image online or use it in another project, then exporting is key. Go to File > Export. You can then select:
- JPEG: Good for photographs and images with gradients. Adjust the quality and size as needed.
- PNG: Ideal for images requiring transparency. It’s a lossless format, so none of your hard work goes to waste!
- GIF: Best for simple images and animations.
- TIFF: Excellent for high-quality images, often used in print media.
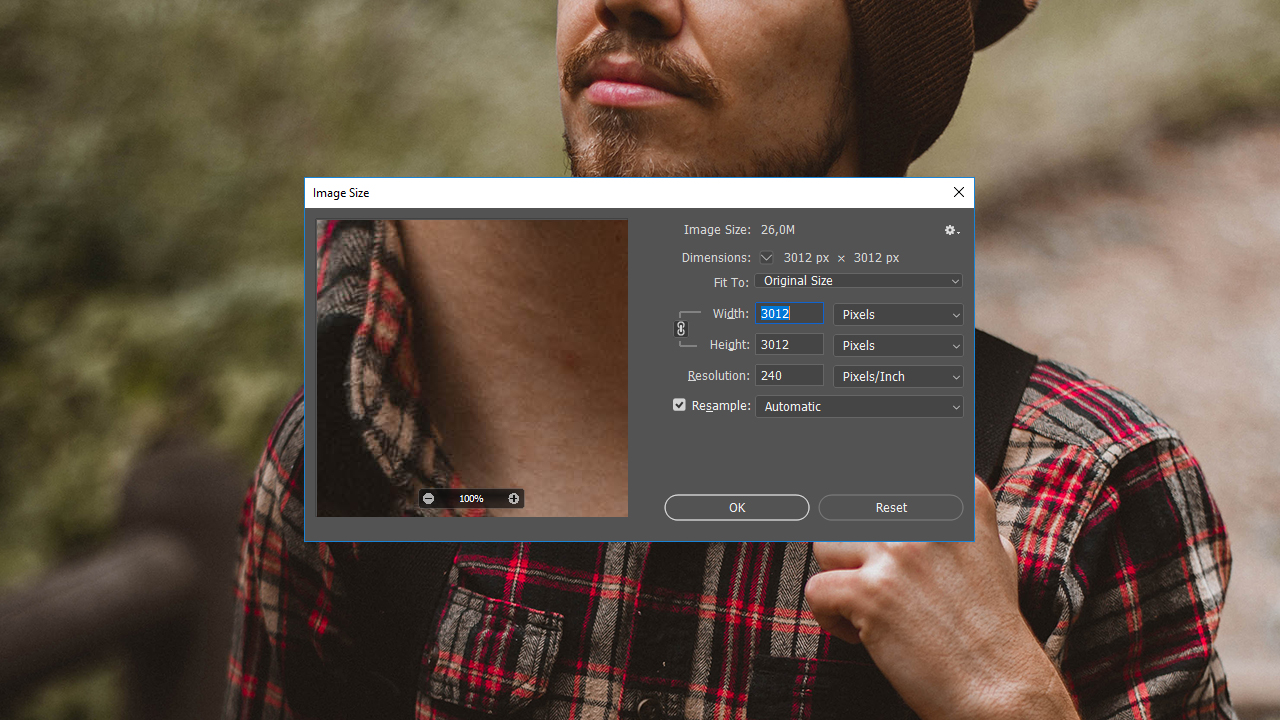
- Setting Your Preferences: When exporting, pay close attention to the dimensions and resolution. For web use, a resolution of 72 DPI (dots per inch) is typically sufficient, whereas, for print, you might want to go for 300 DPI.
Once you’ve made your selections, click Export or Save and voila! Your cut-out image is ready for the world.
Also Read This: Quick Way to Download Instagram Reels on PC With Free Tool
6. Troubleshooting Common Issues
Even seasoned Photoshop users run into a snag now and then. Don't worry if things aren’t going smoothly while trying to cut out an image. Here are some common issues and how to resolve them:
- Jagged Edges: If your cut-out has jagged edges, try using the Refine Edge or Select and Mask tools to smoothen them out. Adjust the settings, and you’ll see your edges becoming cleaner.
- Image Quality Loss: When exporting, always be mindful of the quality settings. If you notice pixelation, ensure you’re saving at a higher resolution or using PNG to maintain quality.
- Background Still Visible: This can often happen if some areas weren't fully selected. Zoom in and check the edges of your cut-out. You may need to adjust your selections or erase parts of the background manually.
- Accidental Deletions: If you accidentally erase too much, don’t panic! Use the Undo command (Ctrl + Z or Command + Z on Mac) or check your Layers panel to see if you still have your original image intact.
- Software Crashes: This is frustrating but not uncommon. Always make sure to save regularly and work with smaller files if you're facing stability issues.
If you run into issues not covered here, take a moment to search online or consult Adobe's help resources. The Photoshop community is vast, and chances are, someone has faced the same hurdle before!
How to Cut Out an Image in Photoshop
Photoshop is a powerful tool for editing images, allowing you to cut out and isolate subjects with precision. Whether you're working on graphic design, creating collages, or simply enhancing your photography, cutting out images is a fundamental skill every Photoshop user should master. This guide will walk you through the methods of cutting out images and provide useful tips for achieving the best results.
Here are the main methods to cut out an image in Photoshop:
- Using the Quick Selection Tool:
1. Select the Quick Selection Tool from the toolbar (W key).
2. Click and drag over the area you want to select.
3. Refine your selection with the 'Refine Edge' or 'Select and Mask' feature.
- Using the Pen Tool:
1. Select the Pen Tool from the toolbar (P key).
2. Create anchor points around the subject for precise control.
3. Right-click and choose ‘Make Selection’ to turn it into a selection.
- Using Layer Masks:
1. Make a selection using any preferred tool.
2. Click the 'Add Layer Mask' button at the bottom of the Layers panel.
3. Use a brush to refine the mask and make adjustments.
For the best results, consider the following tips:
| Tip | Description |
|---|---|
| Zoom In | Always zoom in on the image for detailed work to ensure accuracy. |
| Use High-Resolution Images | Work with high-resolution images to maintain quality in the final cut-out. |
| Refine Edges | Utilize the 'Refine Edge' tool to create smooth outlines around your subject. |
By following these steps and tips, you'll be well on your way to mastering the art of cutting out images in Photoshop, creating stunning visuals that stand out.
Conclusion: Cutting out images in Photoshop is a valuable skill that enhances your editing capabilities. Whether you prefer using selection tools or layer masks, practice and attention to detail will lead to better results and more polished images.
 admin
admin


