The way of bending images into shapes could improve your designs by giving them some distinctive or special appearances that would make them different from others among the visuals around them. Thus, a thorough comprehension on how to do it right might help promote your visual narrative in such things as facebook posts, web banners or even slides presentations. For this reason, this article aims at providing fundamental concepts related to old pictures and one stepping stones towards initiation into the same. Let’s begin!
Understanding Image Curvature Basics
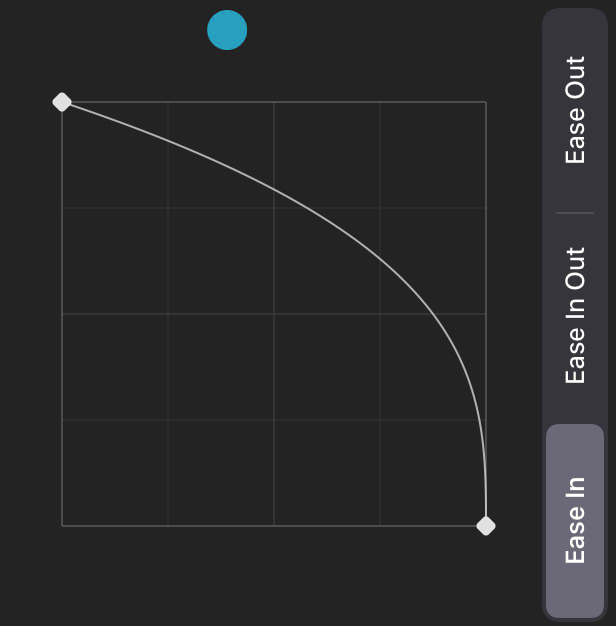
Image curvature is the procedure of changing an image’s shape in order to achieve a rounded or bent effect. In contrast with flat images, this could result in a more lively and interesting appearance. Consider these crucial ideas:
- Types of Curvature: Curvature can range from subtle adjustments to dramatic bends. Think of how a photo might wrap around a sphere or be used within a circular frame.
- Visual Balance: When curving an image, it’s important to maintain balance so the focal point remains clear. Too much distortion can lead to confusion.
- Context Matters: Consider where the curved image will be used. The style and depth of the curve should match the overall design theme.
Understanding the basics of this will help you have a clearer understanding of how to curve your images for different projects.
Also Read This: How Much is Adobe Stock Images in 2023?
Tools Needed for Curving Images
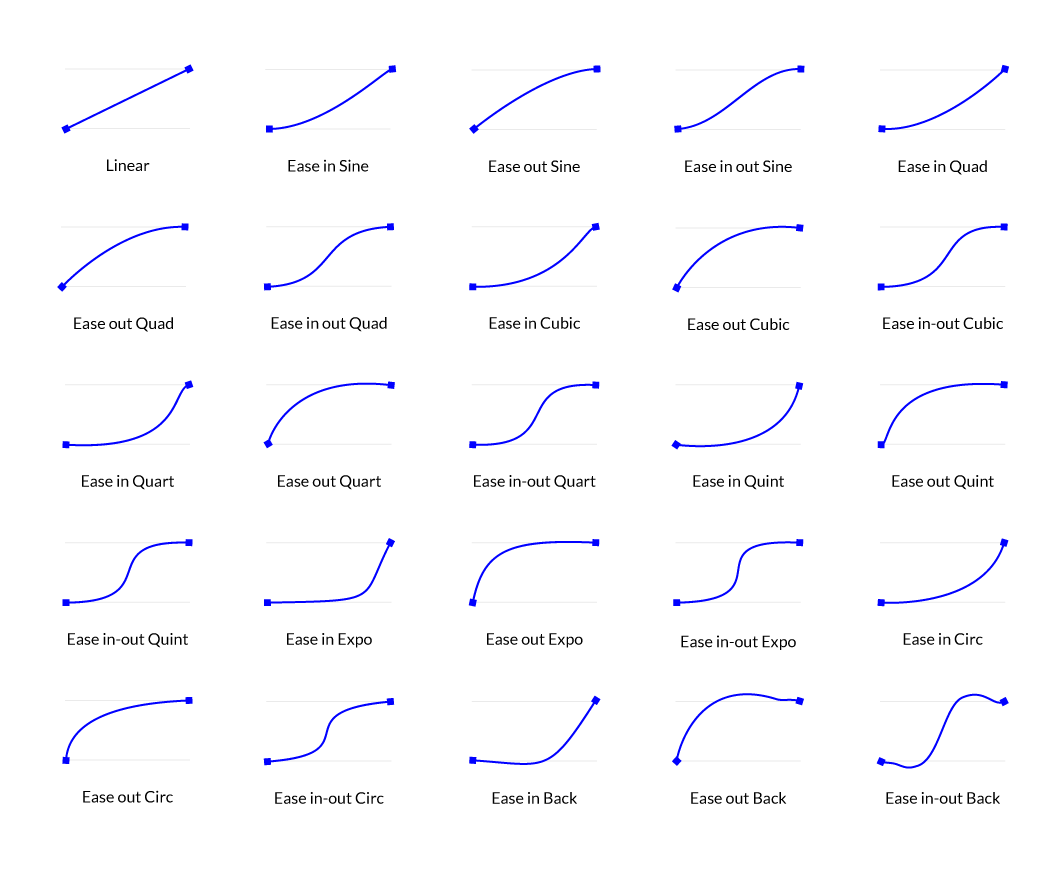
For best results in curving your images, you have to get the right tools. Luckily for you, there are many alternatives, starting with basic online editors and ending with more sophisticated software. Below is a list of some frequently used items:
| Tool | Best For | Cost |
|---|---|---|
| Adobe Photoshop | Advanced users looking for full control | Paid (subscription model) |
| Canva | Beginners needing easy-to-use options | Free with premium features available |
| GIMP | Those wanting a free alternative to Photoshop | Free |
| Fotor | Quick edits and online accessibility | Free with premium features available |
All the tools come with distinctive features meant to assist you in making curved images as per your requirements. Choose the one that is suitable for your skills and project specifications.
Also Read This: Secure and Ethical Methods to Maximize Your Online Presence
Step-by-Step Guide to Curving Images

Bending a picture may appear difficult at first sight however it actually is much simpler than one can imagine! Thus, here’s a simple but effective guide on how to bend your images in no time at all:
- Select Your Image: Start by choosing the image you want to curve. Make sure it’s high-quality, as this will make a difference in the final look.
- Open Your Editing Tool: Launch the software or online tool of your choice, like Adobe Photoshop or Canva.
- Import the Image: Upload your image into the editing platform. Most tools have a simple drag-and-drop feature.
- Choose the Curvature Option: Look for the “Transform” or “Warp” feature in the tool. In Photoshop, for instance, you can use the “Edit” > “Transform” > “Warp” option.
- Adjust the Curve: Use the control points to bend your image as desired. Be patient and make small adjustments to see what looks best.
- Preview Your Changes: Always take a moment to preview how the image looks with the curvature applied. This will help you catch any awkward distortions.
- Save Your Image: Once you're satisfied, save the image in the desired format, like JPEG or PNG, depending on your needs.
By adhering to these procedures, beautifully curved images which accentuate your designs can be made!
Also Read This: How to Create a Channel on Rumble and Start Sharing Your Content
Common Mistakes to Avoid When Curving Images

Though it may be enjoyable to curve images, there are typical traps that one should avoid. It is better to circumvent these errors as they will help you manage your time and energy:
- Overdoing the Curve: One of the biggest mistakes is making the curve too extreme. This can distort the image and make it look unprofessional.
- Ignoring Image Quality: Always use high-resolution images. Curving a low-quality image can lead to pixelation, ruining the effect.
- Not Testing Different Angles: Don’t settle for the first curve you create. Experiment with different angles and intensities to find the most appealing look.
- Neglecting Background Compatibility: Ensure the curved image complements the background. A busy background can make the image hard to read.
- Forgetting to Save Progress: Always save your work regularly. Losing changes can be frustrating, especially after putting in the effort to curve your image.
In case you consider such mistakes, you can improve your image curving skills and create enthralling designs.
Also Read This: Are iStock Photos Royalty Free
Enhancing Curved Images for Better Impact
After curving your pictures, you may wish to make them pop some more! Below are several pointers that can help you spice up your curved samples:
- Add Shadows: Incorporating shadows can give depth to your image. This technique creates the illusion that the image is popping off the page.
- Use Color Gradients: Applying color gradients can make your curved images more vibrant and visually appealing. Gradients can help blend the image with the background seamlessly.
- Incorporate Text: Adding text around or over the curved image can provide context and enhance storytelling. Just ensure the text is readable against the image background.
- Adjust Brightness and Contrast: Sometimes, a simple adjustment to brightness and contrast can significantly impact the overall look of your image.
- Utilize Filters: Filters can change the mood of your image. Consider using filters that complement your design theme.
Once you improve your distorted pictures, you will have more interesting images which can hold the attention of your viewers. Keep in mind that just a burst of imagination can lead to a bigger impact!
Also Read This: What Are the Safest Canva Template Downloader Tools for Professional Use?
Using Stock Images for Curved Designs
Stock photos or stock photography typically refers to a kind of photographic content which is available for using in any type of projects and purposes. When you are interested in making some curved design, these kind of images would be great source for inspiration. This works best for designers working on projects which require curves as they can use it effectively.
- Choose the Right Image: Look for high-quality images that suit your design vision. Websites like HD Stock Images offer a great selection of stock photos that are perfect for various projects.
- Check Licensing: Always verify the licensing agreement. Some stock images may have restrictions on commercial use, so it's important to know what you can and cannot do with the images.
- Customize Your Selection: Don’t hesitate to edit stock images to fit your needs. Curving an image can make it feel unique, even if it’s widely used.
- Combine Multiple Images: Consider blending different stock images to create a more dynamic design. Curving multiple elements can create an engaging layout.
- Maintain Cohesion: When using several images, ensure they share a consistent style or color palette. This helps create a harmonious look in your curved designs.
With proper use of stock images, you can improve the designs that are curved and also uplift your works with little effort.
Also Read This: How to Widescreen Dailymotion Videos
Frequently Asked Questions About Image Curving
When you are starting with curving your images, you might have several questions that come to your mind. In this regard, here are some frequently asked queries along with their responses:
- What is image curving?
- Image curving involves altering the shape of an image to create a rounded or curved effect, adding depth and interest to your designs.
- Do I need special software to curve images?
- No, you can use a variety of tools, from advanced software like Photoshop to simpler online editors like Canva.
- Can I curve any image?
- Most images can be curved, but high-resolution images work best to avoid pixelation. Always choose quality over quantity.
- Will curving an image affect its quality?
- Curving can affect the perceived quality if overdone. Aim for subtle curves to maintain clarity.
- Is it legal to use stock images in curved designs?
- Yes, as long as you adhere to the licensing agreements of the stock images you use. Always double-check before using them in commercial projects.
Conclusion on Curving Images with Ease
Curving images can significantly enhance your design projects, giving them a unique flair that captures attention. With the right tools and techniques, anyone can master this skill. Remember to choose high-quality images, avoid common mistakes, and always strive for balance in your designs. Whether you’re a seasoned designer or just starting, curving images can open up new creative possibilities. So why wait? Start experimenting with your images today, and enjoy the journey of creativity!
 admin
admin


