Getting beautiful, bouncy waves in your hair has never been easier! You don’t need to carry around hot curling irons or spend hours with rollers. Instead, all you need is a blow dryer and a few simple techniques. In this post, we’ll go over how to master the art of curling your hair with a blow dryer, leaving you with stunning, effortless waves. So, grab your tools, and let’s get started on this fabulous hair journey!
Benefits of Curling Hair with a Blow Dryer
Curling your hair with a blow dryer offers several advantages over traditional curling methods. Here’s why you might want to consider this quick and effective technique:
- Speed: Using a blow dryer, especially with a round brush attachment, can significantly reduce the time it takes to get those gorgeous curls. You can go from wet to waved in just a matter of minutes!
- Less Heat Damage: While all heat can potentially damage hair, blow drying generally distributes heat more evenly across your hair, which could help minimize localized heat damage often associated with curling irons. By using a lower heat setting, you also further reduce the risk.
- Versatility: One of the best things about using a blow dryer is the variety of styles you can achieve. Depending on your technique, you can create tight ringlets, soft beachy waves, or voluminous curls—all with the same tool!
- Volume: Blow drying inherently helps to add volume to your hair. By directing heat away from the roots while curling the ends, you can achieve that coveted lift and bounce at the crown of your head.
- Natural Look: Curls made with a blow dryer tend to have a more natural, softer appearance compared to the sometimes rigid look of traditional curling methods. This can give your hair that effortless, lived-in texture.
- Easy to Refresh: If your curls start to drop throughout the day—no worries! A quick blast from the blow dryer can help revive those waves and give you a fresh, polished look with minimal effort.
- Less Equipment: You likely already have a blow dryer at home, and when paired with a good round brush, you have everything you need to create stunning curls. This can save you time and money on more specialized curling tools.
Overall, the benefits of curling your hair with a blow dryer make it an appealing option for anyone looking to achieve beautiful waves without the fuss. Whether you're getting ready for a casual day out or preparing for a special occasion, this method can help you craft the perfect hairstyle in no time!
Also Read This: How to Create a Page on Facebook: Step-by-Step Instructions Featured on Dailymotion
3. Essential Tools and Products Needed
Before diving into the world of curling your hair with a blow dryer, it’s crucial to gather the right tools and products. Having everything ready will make the process smoother and ensure you achieve those stunning waves you desire. Here’s what you’ll need:
- Blow Dryer: Opt for a blow dryer equipped with a concentrator nozzle. This attachment helps direct the airflow, making it easier to curl your hair.
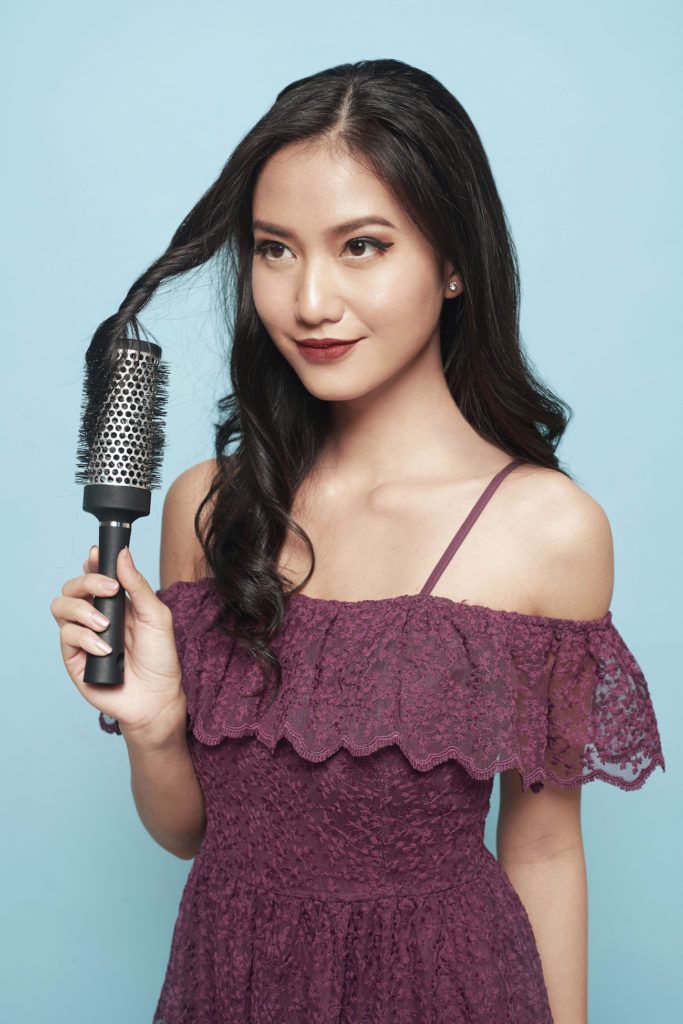
- Round Brush: A medium-sized round brush works wonders. Look for one with a ceramic or ionic coating to help distribute heat evenly and reduce frizz.
- Heat Protectant Spray: Protecting your hair from heat damage is key. A good heat protectant will shield your strands and leave them looking shiny and healthy.
- Styling Mousse or Cream: Applying a lightweight styling mousse or cream before curling can add volume and hold to your waves without weighing them down.
- Hair Clips: Sectioning your hair is easier with hair clips. Use these to keep your sections neat and manageable as you work through your hair.
- Comb or Brush: A wide-tooth comb or a paddle brush will help detangle your hair before you start curling.
With these tools and products in hand, you’re ready to create those gorgeous waves. Remember, while these are the essentials, you can always experiment with different products to find what suits your hair type best.
Also Read This: How to Use Dailymotion on Roku Firestick and Other Devices
4. Step-by-Step Guide to Curling Hair with a Blow Dryer
Now that you have your tools ready, let’s get into the fun part—actually curling your hair with a blow dryer! Follow these simple steps for beautiful waves:
- Start with Clean, Dry Hair: Make sure your hair is freshly washed and completely dry. Damp hair can become frizzy and won’t hold the curl as well.
- Apply Heat Protectant: Spray your heat protectant evenly through your hair, focusing on the lengths and ends. This step is vital for keeping your hair healthy.
- Use a Styling Product: Apply a lightweight mousse or cream to add some hold and texture. Work it through your hair with your fingers or a comb.
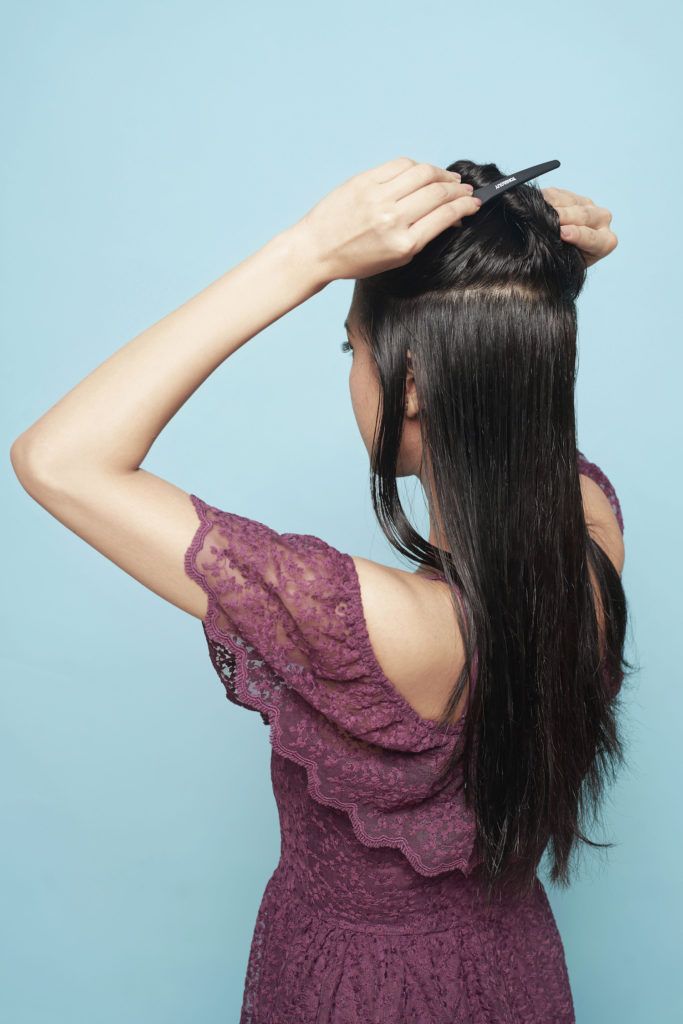
- Section Your Hair: Divide your hair into manageable sections using your clips. Typically, I recommend working with three sections: bottom, middle, and top. Start with the bottom section.
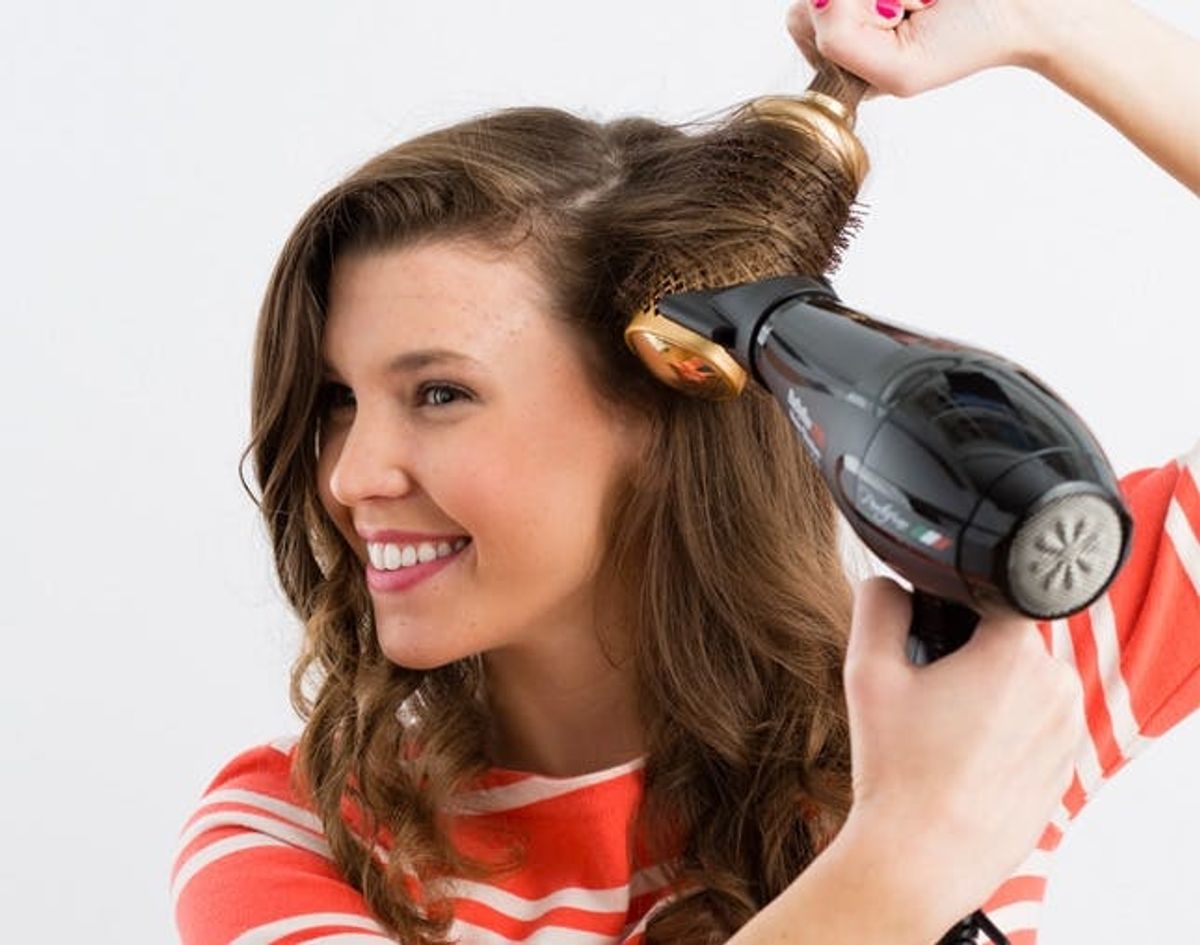
- Start Blow-Drying: Take a small subsection of hair (about 1 inch) and wrap it around your round brush. Direct your blow dryer at the brush, moving it from the roots to the tips. Make sure to keep the nozzle pointed downwards to smooth the hair cuticle.
- Roll and Hold: Once you reach the ends, roll the hair around the brush and hold it there for a few seconds while you blast it with cool air. This helps set the curl.
- Release the Curl: Carefully pull the brush out of the curl, allowing it to fall into place. Don’t touch it just yet; let it cool for a moment before styling further.
- Repeat: Continue this process for each section of hair until you’ve curled all of your hair. Remember to alternate curl directions for a more natural, tousled look.
- Finishing Touches: Once you're done, you can gently tousle your curls with your fingers and apply a light-hold hairspray to keep them in place without feeling stiff.
And there you have it! By following these steps, you’ll have beautiful waves that are bound to turn heads. Remember, practice makes perfect, so don’t be discouraged if it doesn’t turn out exactly as planned the first time. Enjoy your styling session!
Also Read This: How to Download Videos from Dailymotion on Mobile
5. Tips for Achieving the Perfect Curls
So, you’re ready to master the art of curling your hair with a blow dryer? Fantastic! Here are some pro tips to help you achieve those gorgeous waves you’ve been dreaming of:
- Use the Right Tools: Make sure you have a quality blow dryer with a concentrator nozzle. This nozzle directs the airflow and helps shape your curls more effectively. Additionally, a round brush will be your best friend!
- Choose the Right Products: Apply a heat protectant spray before you start. This not only safeguards your hair from heat damage but also helps in holding the curls longer. Consider using a mousse or styling cream to add texture and volume.
- Section Your Hair: Working in small sections is key! It ensures that every strand gets the attention it needs for well-defined curls. Divide your hair into manageable sections—with about 1-2 inches in width—so that you can focus on one area at a time.
- Timing is Everything: When curling, keep your hair wrapped around the round brush for about 10-15 seconds to ensure the heat sets the curl properly. Remember, the thicker your section, the longer it might need to curl!
- Cool Down Your Curls: Once you release each section from the brush, allow it to cool for a few seconds before tossing it around. This helps the curl to set in place and hold its shape longer. Bonus tip: Pin each curl with a hairpin right after curling!
Combining these tips will not only enhance your curling technique but also ensure your waves last throughout the day. Practice makes perfect, and soon you'll be curling like a pro!
Also Read This: A Beginners Guide to Downloading Dailymotion Videos on Laptops
6. Common Mistakes to Avoid
Curling your hair with a blow dryer can be a game-changer, but it’s easy to make a few mistakes along the way. Here’s a list of common pitfalls to be aware of and how to avoid them:
- Skipping Heat Protectant: One of the biggest no-nos! Always apply heat protectant before using a blow dryer, as this is crucial to preventing damage to your locks. Treat your hair with care!
- Using Too High Heat: While you might think higher heat equals better curls, that’s not always the case. Using excessive heat can cause your hair to frizz or even lead to breakage. Stick to a medium heat setting for best results.
- Neglecting to Section: Trying to curl all your hair in one go will lead to uneven curls (or none at all!). Always section your hair; it’s a sure way to ensure every part of your mane is curled beautifully.
- Not Allowing Curls to Cool: Releasing your curls too quickly can cause them to fall flat. Make it a habit to let each curl cool down before styling them further.
- Over-brushing or -combing: Once your curls are set, gently tousle them with your fingers instead of vigorously brushing! Over-brushing can create frizz and ruin the defined look you’ve worked hard for.
Avoiding these common mistakes will set you on the right path to creating stunning, salon-worthy waves using just your blow dryer. Remember, practice is key, so don’t be discouraged if it doesn’t turn out perfect at first!
Also Read This: Natural Solutions for Removing Facial Hair Permanently
7. Post-Curling Care and Maintenance
Congrats on achieving those gorgeous, bouncy waves! But the journey doesn’t end once you’ve curled your hair; proper care and maintenance are essential to keep those lovely curls looking fresh and beautiful. Here are some tips to ensure your waves last:
- Cool Down: After curling, let your waves cool down completely. This helps to set the curl and ensures longer-lasting waves. Avoid touching them right away; giving them a moment will make a world of difference!
- Use a Light Hairspray: Once your curls have cooled, lightly mist them with a flexible hairspray. Choose one that offers hold without leaving your hair feeling crunchy. A good option is a humidity-resistant spray that keeps your curls intact despite the weather.
- Avoid Over-Touching: While it’s tempting to run your fingers through those fabulous waves, try to resist! Over-tousling can lead to frizz and cause your curls to fall flat faster than you'd like.
- Sleep Gently: The way you treat your hair at night can affect its look the next day. Consider using a silk or satin pillowcase to reduce friction or tie your hair in a loose bun or braid to preserve your curls while you sleep.
- Refresh Your Curls: If your curls start to lose their shape the next day, you can revitalize them. Lightly spritz your hair with water, then scrunch or touch them up with your blow dryer set on a low heat. You can also use a curl refresh spray, which is specifically designed to bring your waves back to life!
- Regular Detangling: To maintain texture without ruining your waves, use a wide-tooth comb or your fingers to detangle your hair. This minimizes breakage and helps keep your curls looking their best.
In addition to these tips, don’t forget to nourish your hair regularly. Incorporating deep conditioning treatments into your routine will keep your strands healthy and hydrated, ensuring your waves stay beautiful for longer.
8. Conclusion
And there you have it! Curling your hair with a blow dryer is a fantastic way to achieve beautiful, natural-looking waves that can elevate any look, whether it’s for a casual day out or a special occasion. It's all about mastering the technique and giving your hair the care it deserves.
Remember, practice makes perfect! The first time you try out this method, don’t be discouraged if your curls aren’t exactly how you envisioned them. Keep experimenting with different products, dryer settings, and techniques, and you’ll soon find what works best for you.
If you’ve enjoyed curling your hair using this method, why not try it out for some variations? You can experiment with different partings, curl sizes, and even create half-up hairstyles that showcase your gorgeous waves. The possibilities are endless, and that’s what makes styling your hair so much fun!
Now, go out there and rock those beautiful waves! Embrace your unique style, and don’t forget to share your experiences and any tips you’ve learned along the way. Here’s to fab hair days ahead!
 admin
admin


