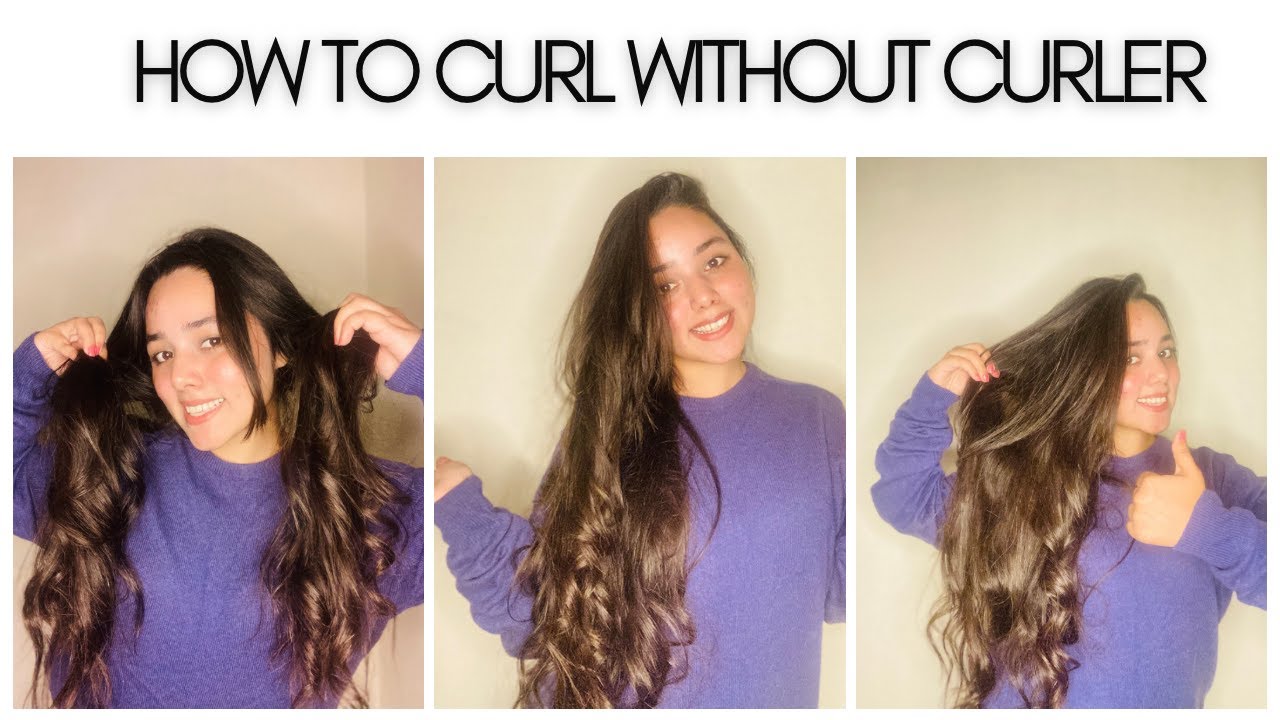
Curling your hair at home can be a fun and creative way to switch up your look, especially if you don’t have rollers on hand. Whether you’re preparing for a night out or just want to feel fabulous for the day, there are plenty of easy methods to achieve those gorgeous curls. In this post, we'll explore some simple techniques you can use to get beautiful, bouncy curls without the hassle of traditional rollers.
Understanding Different Curling Techniques
When it comes to curling your hair without rollers, there are several methods you can try, each with its own unique benefits. Let’s dive into some popular techniques that can help you achieve beautiful curls at home!
1. The Flat Iron Method
- What You Need: A flat iron and heat protectant spray.
- Steps:
- Start with clean, dry hair. Apply a heat protectant to prevent damage.
- Section your hair into manageable parts.
- Take a small section of hair, clamp it with the flat iron, and twist it away from your face while sliding the iron down the length of your hair.
- Release the hair, and let it cool. Repeat with the remaining sections!
This method is great for achieving tight, defined curls. Just be cautious with the heat to avoid any damage!
2. The Braiding Method
- What You Need: Hair ties and a bit of styling cream (optional).
- Steps:
- Start with slightly damp hair. If it's too wet, your curls may not hold.
- Divide your hair into sections, depending on how tight you want the curls.
- Braid each section and secure with a hair tie. For looser waves, opt for larger sections.
- Leave the braids in for a few hours or overnight, then gently unravel them for beautiful waves!
This technique is heat-free and perfect for creating beachy waves while you sleep!
3. The Twist-and-Pin Method
- What You Need: Hairpins and hairspray.
- Steps:
- Start with slightly damp hair. Apply a light styling product for hold.
- Take small sections of hair, twist them tightly, and coil them into small buns at the roots.
- Secure each bun with bobby pins and allow them to dry completely.
- Once dry, remove the pins and gently separate the curls for volume.
This method is fantastic for achieving soft, romantic curls that look effortless!
Experimenting with these techniques can help you discover which one works best for your hair type and the look you want to achieve. Remember, practice makes perfect, so don’t hesitate to try different methods until you find your favorite!
Also Read This: Creative Ways to Make Tutu Dresses with Dailymotion Videos
3. Preparing Your Hair for Curling
Before diving into the fun of curling your hair, it’s essential to prepare it properly. Think of this step as laying the groundwork for beautiful, bouncy curls. Here’s how to get started:
- Wash and Condition: Start with clean hair. Use a good quality shampoo and conditioner to ensure that your hair is not only clean but also nourished. This helps in achieving a smoother finish when you curl.
- Dry Thoroughly: Make sure your hair is completely dry before curling. Wet hair can lead to frizz and uneven curls. Using a blow dryer on a medium heat setting can help speed up this process.
- Use Heat Protectant: Apply a heat protectant spray or serum to shield your hair from the heat of styling tools. This is crucial to prevent damage and keep your curls looking shiny.
- Detangle: Use a wide-tooth comb or a brush to remove any knots. Tangled hair can lead to uneven curls, and no one wants that!
- Section Your Hair: Divide your hair into sections using clips. This makes the curling process easier and ensures every strand gets the attention it deserves. Typically, you can work in 2-4 sections depending on your hair's thickness.
By taking these steps, you’ll ensure that your hair is primed for the curling process, leading to more defined and long-lasting curls. Happy prepping!
Also Read This: How to Hack a Facebook Account – What You Need to Know on Dailymotion
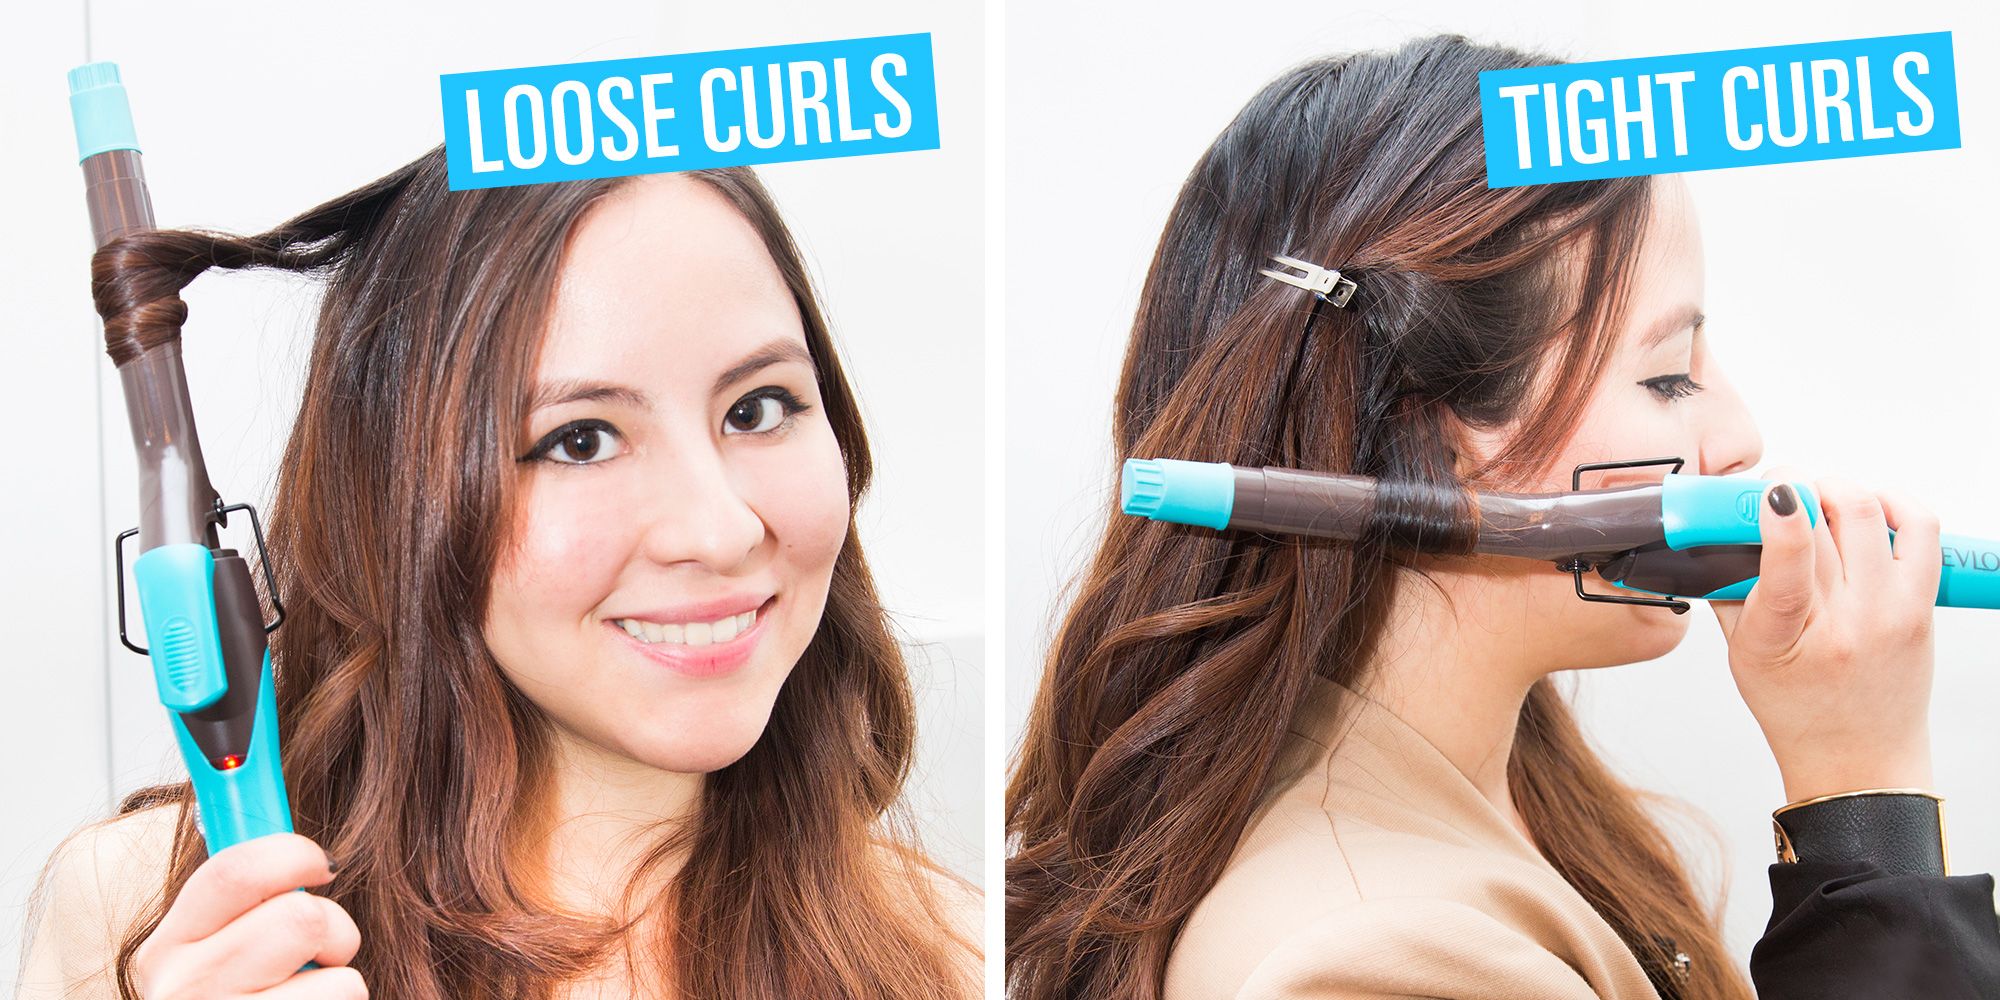
4. Method 1: Using a Flat Iron
If you thought a flat iron was only for straightening, think again! This versatile tool can give you beautiful curls with the right technique. Here’s a step-by-step guide to curling your hair with a flat iron:
- Choose the Right Flat Iron: Opt for a flat iron with rounded edges. This design helps in creating curls rather than just straightening. Also, make sure it has adjustable heat settings so you can find the right temperature for your hair type.
- Heat it Up: Turn on your flat iron and set it to a suitable temperature. For fine hair, 300°F (150°C) is often enough, while thicker hair may need up to 400°F (200°C).
- Take a Section: Grab a small section of hair, about 1 inch wide. The smaller the section, the tighter the curl will be.
- Clamp and Twist: Clamp the flat iron at the top of the section, then twist it away from your face. While twisting, glide the flat iron down the length of your hair. The twist is key to creating that bouncy curl.
- Hold for a Few Seconds: Keep the flat iron in the hair for about 5-10 seconds, depending on how well your hair holds a curl. Remember, don’t hold it too long to avoid burning your hair!
- Release and Set: Release the hair gently and let the curl fall. If you want to keep the curl intact, consider pinning it up while it cools. This helps set the curl longer.
Repeat this process with the remaining sections of hair. Once you’re done, you can tousle your curls with your fingers for a more relaxed look. Finish off with a light-hold hairspray to keep your curls in place.
Using a flat iron for curling might take a little practice, but once you get the hang of it, you’ll be amazed at the results!
Also Read This: Don’t Be a Menace on Dailymotion – A Fun Comedy to Stream
5. Method 2: Using a Hair Dryer and a Brush
If you're looking for a quick and effective way to curl your hair without the hassle of rollers, using a hair dryer and a brush is a game changer! This method is not only fast but also gives you beautiful, bouncy curls that look salon-fresh. Here’s how to achieve those gorgeous curls:
What You'll Need:
- Your favorite heat protectant spray
- A round brush (the bigger the brush, the looser the curl)
- A hair dryer with a concentrator attachment
- Hairspray (optional, for long-lasting hold)
Steps:
- Prep Your Hair: Start with clean, dry hair. Apply a heat protectant spray to shield your locks from heat damage.
- Section Your Hair: Divide your hair into sections. Working in smaller sections will give you more defined curls.
- Heat Things Up: Turn on your hair dryer to a medium heat setting. Attach the concentrator nozzle for focused airflow.
- Brush and Blow-Dry: Take a section of hair and wrap it around the round brush. Aim the dryer at the brush while gently pulling the brush down and away from your roots. This technique helps shape the curl.
- Hold and Release: After a few seconds of blow-drying, gently release the hair from the brush. You can clip the curl in place for a few minutes to set it before letting it down.
Tips for Success:
- For tighter curls, use smaller sections of hair.
- Experiment with different brush sizes to see which gives you your desired curl style.
- Finish with a light hairspray for lasting curls without stiffness.
And there you have it! With this method, you can achieve stunning curls in no time, making it perfect for those busy mornings or last-minute outings.
Also Read This: Is There Porn on Dailymotion? Exploring the Platform’s Content Policies
6. Method 3: Braiding for Natural Waves
If you’re after soft, beachy waves, braiding is one of the easiest and most natural methods to curl your hair at home. Plus, it requires no heat, making it a fantastic option for those who want to keep their hair healthy. Here’s how to create beautiful waves by simply braiding your hair:
What You'll Need:
- Hair ties or clips
- Texturizing spray or mousse (optional)
- Water bottle (to dampen hair if needed)
Steps:
- Start with Damp Hair: For best results, start with slightly damp hair. If your hair is dry, you can lightly spritz it with water.
- Section Your Hair: Divide your hair into two or more sections, depending on how many braids you want. More sections will yield more waves.
- Braid Your Hair: Take each section and braid it tightly or loosely, depending on your desired wave tightness. For a more textured look, you can create fishtail braids or twist braids.
- Set Your Braids: Secure the ends of the braids with hair ties. You can leave the braids in for a few hours, or overnight for more defined waves.
- Unravel and Style: When you’re ready, carefully undo the braids and use your fingers to tousle your hair for a more natural look.
Pro Tips:
- For added texture, spritz some texturizing spray before braiding.
- Use a leave-in conditioner to keep your waves soft and manageable.
- Experiment with different types of braids to change up your wave pattern!
This method not only gives you lovely waves but is also super easy and gentle on your hair. Plus, it’s a fantastic way to add some fun to your hairstyle without any heat damage!
Also Read This: Making a Jumping Frog with Paper: Fun DIY on Dailymotion
7. Tips for Long-Lasting Curls
We all love those bouncy curls that last all day, but sometimes it feels like they vanish before lunchtime! Here are some tried-and-true tips to help your curls stay put longer:
- Start with Clean, Dry Hair: Curls hold better on clean hair. If your hair is too oily or product-laden, it can weigh curls down. Wash your hair the day before you plan to curl it. This way, you have some natural oils to help hold the style.
- Use the Right Products: A good curl-enhancing mousse or cream can work wonders. Apply a small amount evenly throughout your hair before curling. Look for products labeled as "long-lasting" or "curl-defining."
- Heat Settings Matter: Adjust the heat on your curling iron. Fine hair might need lower heat (around 300°F), while thicker hair can handle higher temps (up to 400°F). Experiment to find what works best for your hair type.
- Cool Down Your Curls: After curling each section, pin it up while it cools. This helps set the curl shape. Use a bobby pin or clip to secure it to your scalp until your hair is cool to the touch.
- Finish with Hairspray: Once you’ve curled all your hair, give it a light spritz of hairspray. Choose a flexible hold spray so your curls can still move but remain defined.
- Avoid Touching: Resist the urge to run your fingers through your curls too much. The more you touch them, the more they can lose their shape. If you need to separate them for volume, do it gently with your fingers or a wide-tooth comb.
- Sleep on It: If you want to extend the life of your curls, consider sleeping with a silk or satin pillowcase. These materials reduce friction, helping your curls stay intact.
By following these tips, you’ll be on your way to flaunting beautiful curls that last from morning until night. Remember, every head of hair is unique, so don’t hesitate to adjust these methods to find your perfect routine!
8. Conclusion
Curling your hair at home without rollers can be a fun and creative way to change up your look. Whether you’re getting ready for a night out or just want to feel fabulous on a regular day, the methods we've discussed can help you achieve gorgeous curls without the hassle of traditional rollers.
From using a curling iron to trying out braids or even the sock curl method, there’s a technique for everyone. With a few simple products and some practice, you can master the art of curling your hair at home. Just remember to keep hair health in mind and choose styles that suit your lifestyle.
So go ahead, experiment with different techniques, and find what makes your curls pop. With these easy methods and tips for long-lasting curls, you’re all set to rock that beautiful, bouncy hair!
 admin
admin


