Images may be cropped in any way they want . Some consider this process only needed when removing unwanted areas while others see it as an essential method of creating unique artwork like logos or graffiti. An essential part of art using Cricut is cropping because cropping something forms part of a design. Determine specific designs or patterns on different fabrics once you have already made available some pictures to crop them according to your own specifications before actually cutting the fabric out on your own machine. This will guide you through what actually needs cropping out entirely leaving the rest of the image behind intact while attributing any qualities that matter most for example concentration or brilliant energy (for instance chat rooms). However, this contributes much towards improving its general appearance.
Here are some reasons that make cropping images literally necessary:
- Better Fit: Cropping helps your images fit perfectly within your design space.
- Increased Clarity: By removing unnecessary elements, you can highlight key features.
- More Professional Look: Cleanly cropped images give a polished and professional finish to your projects.
Getting Started with Cricut Software

Cricut computer applications should be well understood before attempting to crop photographs. This program has an easy-to-understand interface and many functions that help in designing as well as customizing any project. And here is how to start:
- Install Cricut Software: Download and install the software on your computer or mobile device.
- Create an Account: Sign up for a Cricut account to access all features.
- Explore the Interface: Take some time to navigate through the various tools and options available.
After getting used to the software, you can now crop images accurately.
Also Read This: Uncover the Benefits of Adding Subtitles to Instagram Reels and How to Do it Effortlessly
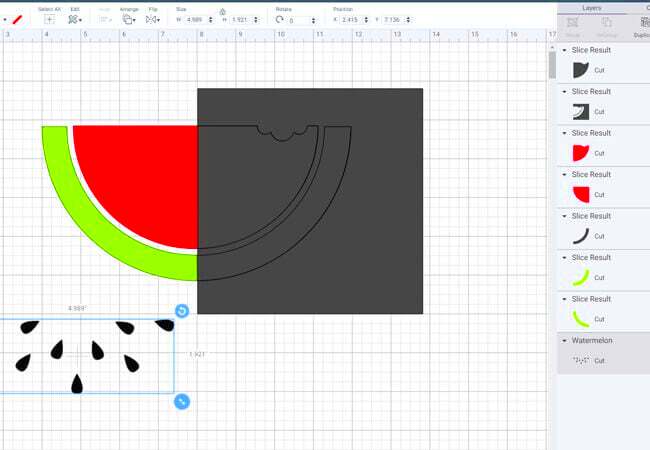
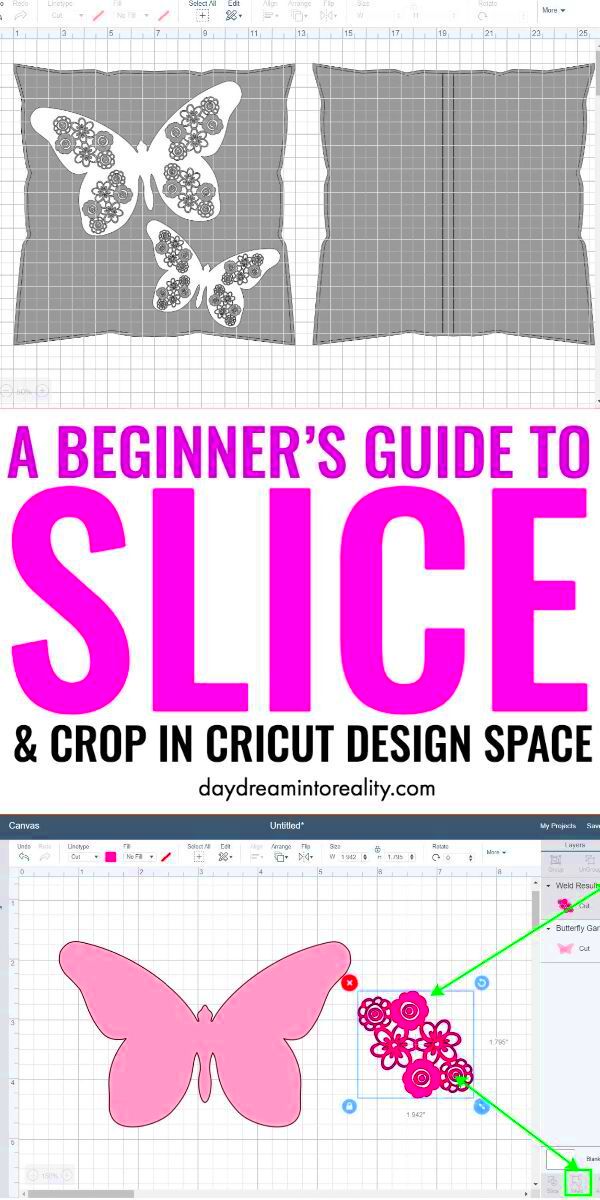
Step by Step Guide to Crop Images on Cricut
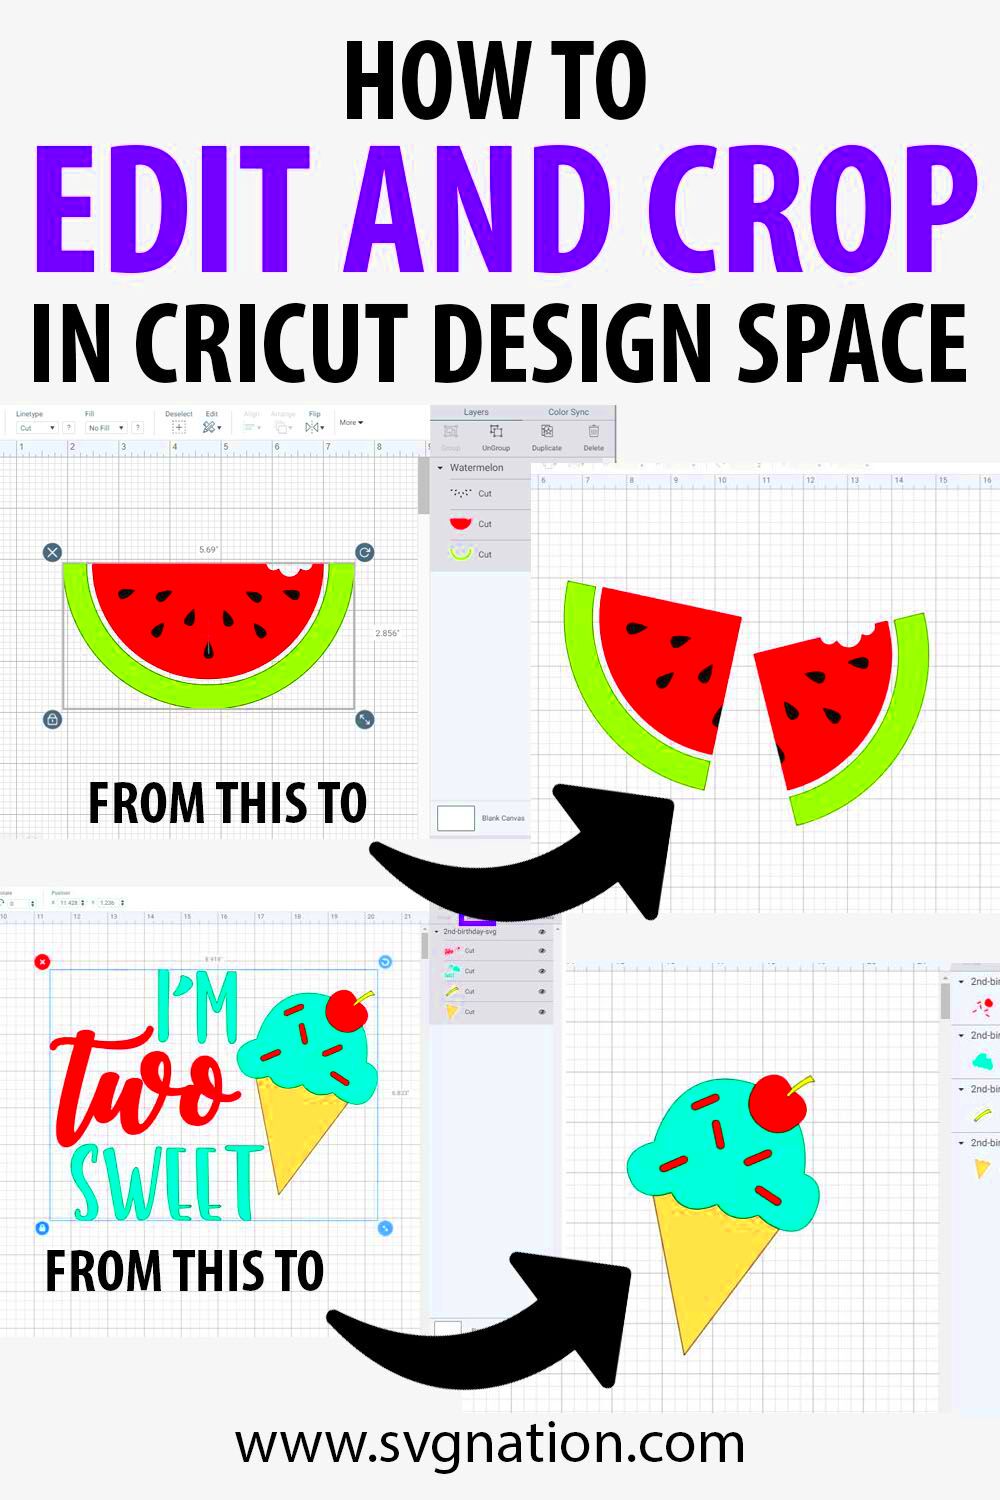
It is simple to crop pictures using the Cricut software program. To achieve the best results, you can follow these guidelines:
- Upload Your Image: Start by uploading the image you want to crop. You can do this by clicking on the “Upload” button.
- Select the Image: Once uploaded, select your image from the library.
- Use the Crop Tool: Locate the crop tool in the editing menu. Click on it to activate.
- Adjust the Crop Area: Click and drag the corners of the crop box to select the area you want to keep. Make sure to cover the essential parts of the image.
- Apply the Changes: After adjusting, click on “Apply” to finalize your cropped image.
- Save Your Image: Don’t forget to save your cropped image for future use.
That’s all there is to it! You’ve got yourself a wonderfully cropped image this time around, which you can use as part of your Cricut projects.
Also Read This: How to Edit a Project in Behance
Tips for Choosing the Right Images to Crop
The choice of images for cropping is as important as cropping process itself. The right image can save your project or burst it into pieces, therefore, you need to select the best ones from that lot. Here are some things to consider when making selections:
- High Resolution: Always opt for high-resolution images. This ensures that your final product looks sharp and clear, even after cropping.
- Clear Subject: Look for images with a clear subject. The main focus should stand out from the background, making it easier to crop effectively.
- Simple Backgrounds: Images with simple or solid-color backgrounds are easier to crop and can help emphasize the main subject.
- Consider the Aspect Ratio: Think about how the cropped image will fit into your design. Make sure it aligns with the intended project size and shape.
- Personal Relevance: Choose images that resonate with your project’s theme or message. This connection can add more meaning to your work.
If you follow these tips, you will find images that get along with cropping and also dynamic to your project in general.
Also Read This: Step-by-Step Instructions for Uploading a Video to YouTube Using iMovie
Common Mistakes to Avoid When Cropping Images
Although cropping images may appear to be an easy task, it is not devoid of various challenges that could lead to lackluster outcomes. To assist you in attaining wonderful results avoid these common blunders:
- Over-Cropping: Be cautious not to crop too much. This can lead to losing important details that are essential for your design.
- Ignoring Aspect Ratios: Not paying attention to aspect ratios can result in distorted images. Always check the dimensions before finalizing your crop.
- Skipping Quality Checks: After cropping, always zoom in to check for pixelation or blurriness. If the image isn’t clear, consider choosing a different one.
- Neglecting to Save Original Images: Always keep the original files intact. If you don’t like the cropped version, you can easily go back to the original image.
- Not Experimenting: Don’t be afraid to try different crops. Sometimes the first attempt isn’t the best, so experimenting can lead to better results.
Thus avoiding the errors stated above would make cropping more efficient process.
Also Read This: How to Rotate and Flip an Image for Presentations
How to Save Your Cropped Images for Future Use
It’s very important that after cropping or modifying the images you are working on, you save them correctly for later use. You should follow these guidelines:
- Choose the Right Format: Save your images in formats like PNG or JPG. PNG is great for maintaining quality, while JPG is ideal for smaller file sizes.
- Name Your Files Clearly: Use descriptive names that make it easy to identify the images later. Avoid generic names like “image1” or “crop2.”
- Organize into Folders: Create folders based on themes or projects. This will make it easier to locate your images when you need them.
- Back Up Your Files: Consider using cloud storage or an external hard drive to back up your images. This protects your work from being lost.
- Keep a Record: If you use a lot of images, keep a document that lists what images you have and where they are saved. This can save you time in the long run.
If you observe these procedures, it is certain that all the images you have cropped will be kept safe and prepared for any future work!
Also Read This: how to reduce image kb size
Exploring Creative Ways to Use Cropped Images
Post receiving the cropped images, you can do practically anything with them. Why not get creative instead of storing them for another day? Displayed below are various fun and unique ways to utilize cropped images:
- Custom Stickers: Turn your cropped images into personalized stickers. Use sticker paper and a Cricut machine to cut them out for fun party favors or planner decorations.
- Unique Greeting Cards: Use your images to design one-of-a-kind greeting cards. A cropped image can serve as the perfect focal point, making your card stand out.
- Home Decor: Frame your cropped images for a stylish gallery wall. You can even use them in scrapbooking projects to add a personal touch.
- Social Media Posts: Enhance your social media presence by using cropped images as eye-catching graphics. They can boost engagement and make your posts more appealing.
- Customized Apparel: Use your cropped images on t-shirts or tote bags. Iron-on transfers can help you create unique clothing items that reflect your personal style.
Not only do these inventive concepts utilize your pictures to their fullest advantage, but they also encourage you to generate ideas for upcoming endeavors!
Also Read This: How to Sell My Photos to Getty Images
Frequently Asked Questions About Cropping Images on Cricut
It's possible that you'll have a few inquiries about cutting pictures on Cricut. Let's solve some usually made queries to clear up all doubts:
- Can I crop images directly on the Cricut machine? No, you need to use the Cricut Design Space software for cropping images before sending them to the machine.
- What file formats can I upload for cropping? You can upload various formats such as PNG, JPG, and SVG. Just ensure that they are high-quality for the best results.
- How do I know if my cropped image is high resolution? Check the image properties; ideally, your image should be at least 300 DPI (dots per inch) for clear printing.
- Is there a way to undo my crop? Yes, as long as you haven’t saved the cropped image, you can simply go back and adjust the crop settings.
- Can I use cropped images for commercial purposes? It depends on the original image’s licensing. Always check the usage rights before selling items featuring cropped images.
Should you find yourself with additional inquiries, it would be wise to consult numerous references or reach out into the Cricut community!
Conclusion and Final Thoughts on Image Cropping
To be a good Cricut user it is important to learn how to crop images. Properly cropping the pictures can help in elevating your craft regardless if you are making them for pleasure or as a job. This guide has focused on the significance of cropping, tips on picking up the best images and resourceful methods of using the cropped images.
Recollect that practice results in excellence. You will improve your confidence in making design decisions if you keep trying out different kinds of cropping. Thus, allow your artistic self to show through; crop like it’s no big deal and make those pictures used in assignments dazzle!
We appreciate your reading this piece, and we wish you all the best in your craftsmanship!
 admin
admin


