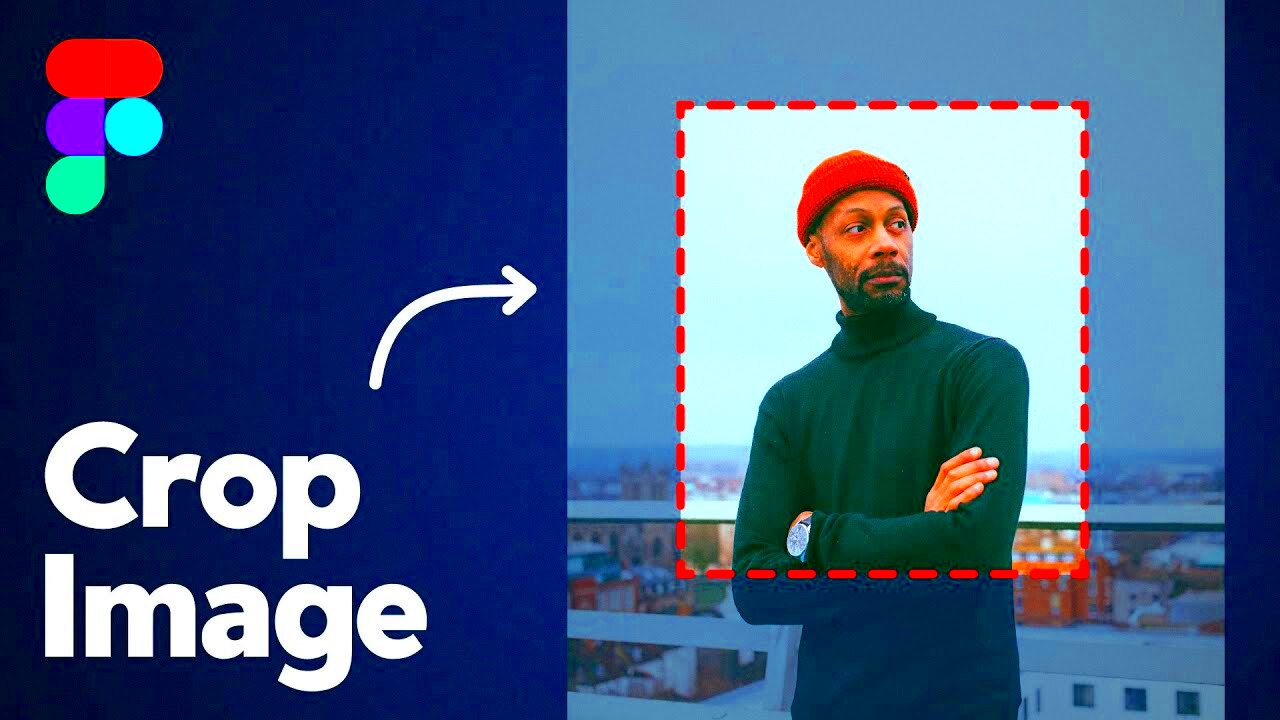
Image cropping in Figma is a straightforward way to refine your designs by trimming unnecessary parts of an image. It helps you focus on the most important parts of an
By cropping an image, you not only improve aesthetics but also ensure the image aligns with the overall design. Figma’s intuitive cropping tools make this process simple, even for beginners.
Steps to Upload Images in Figma

Before cropping an image in Figma, you need to upload it to your project. Uploading images is easy and can be done in just a few clicks. Here’s how you can do it:
- Drag and Drop: Open your Figma project and drag the image file from your computer into the Figma canvas.
- Use the “Place Image” Option:
- Go to the “File” menu in the top-left corner of Figma.
- Select “Place Image”.
- Choose the image file from your computer and click “Open”.
- Click on the canvas where you want the image to appear.
Once the image is uploaded, you can resize or reposition it to fit your design before moving on to cropping.
Also Read This: Mastering the Smokey Eye Makeup Technique with Dailymotion Video Tips
How to Use the Crop Tool in Figma

Cropping an image in Figma is a simple process that can be done in a few steps:
- Select the Image: Click on the image you want to crop to highlight it.
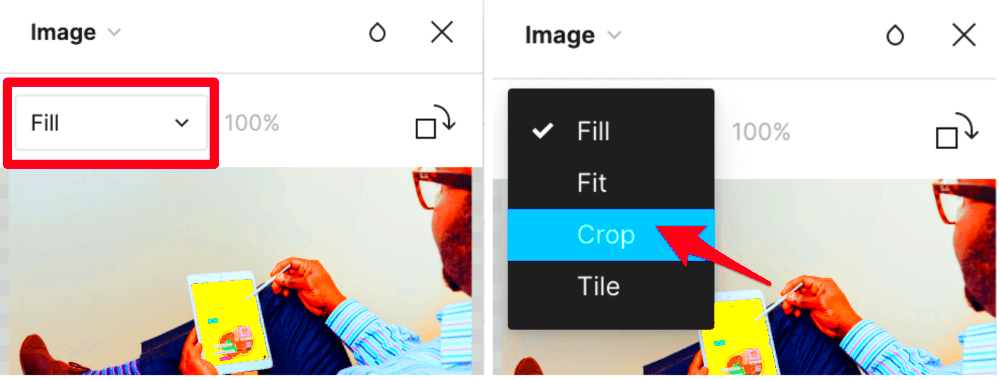
- Choose the Crop Tool: Look for the toolbar at the top and click the “Crop” option. Alternatively, you can right-click the image and select “Crop” from the menu.
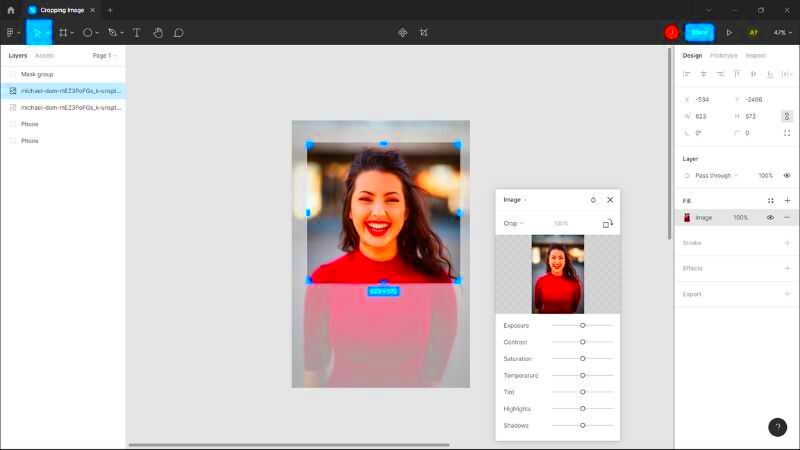
- Adjust the Crop Area: Drag the edges or corners of the bounding box to select the part of the image you want to keep.
- Apply the Crop: Once satisfied, press Enter or click outside the crop area to apply the changes.
You can always undo or refine the crop by selecting the image and repeating the steps. This flexibility ensures you can tweak your design until it’s perfect.
Pro Tip: Hold down the Shift key while cropping to maintain the image’s original aspect ratio.
Also Read This: How to Make Fabric Handbags at Home with Dailymotion Tutorials
Tips for Cropping Images Perfectly

Cropping images may seem simple, but doing it perfectly requires attention to detail. A well-cropped image enhances the design by emphasizing the most relevant elements while maintaining balance and visual appeal. Here are some tips to ensure your cropping is spot-on:
- Focus on the Subject: Ensure the main subject of the image is well-framed. Remove distractions or irrelevant parts to highlight the essential details.
- Maintain Proportions: Use Figma's tools to keep the original aspect ratio unless a specific design requires custom dimensions.
- Use Grid Lines: Enable grid or alignment tools in Figma to position your cropped image perfectly within your design layout.
- Consider Context: Think about where the image will be used. Cropping for a banner might differ from cropping for a mobile app.
- Zoom In: After cropping, zoom in to check for pixelation or blurry edges. This is crucial for ensuring a professional finish.
Remember, the goal is to make your image work harmoniously with the overall design while ensuring it remains visually appealing and functional.
Also Read This: Discover Must-Have Tips for Tiktok Pic Downloading
Common Issues While Cropping in Figma

Even with Figma’s user-friendly tools, you might encounter challenges while cropping images. Here are some common issues and ways to fix them:
| Issue | Solution |
|---|---|
| Image edges appear pixelated after cropping | Ensure the image resolution is high enough before cropping. Low-resolution images may lose quality. |
| Cropping doesn’t align with the design layout | Use grid or alignment tools to position the image correctly. |
| Accidentally cropping too much | Press Ctrl+Z (or Cmd+Z on Mac) to undo, or readjust the crop area. |
| Aspect ratio gets distorted | Hold the Shift key while cropping to maintain proportions. |
By being aware of these issues, you can troubleshoot quickly and keep your workflow smooth.
Also Read This: How to Download Files and Projects from Behance
How Cropping Images Helps in Better Design
Cropping is not just about cutting an image; it’s about creating balance and harmony in your design. By focusing on specific parts of an image, you can direct the viewer's attention to what matters most. Here's how cropping contributes to better designs:
- Enhances Visual Hierarchy: Cropping allows you to remove distractions and emphasize the key elements, making your design more structured.
- Improves Responsiveness: Cropping helps optimize images for different screen sizes, ensuring your design looks great on all devices.
- Aligns with Branding: Cropped images can be tailored to fit your brand’s style, ensuring consistency across designs.
- Saves Space: Removing unnecessary parts of an image reduces file size, which improves loading times for digital platforms.
Overall, mastering image cropping allows you to create cleaner, more engaging designs that leave a lasting impression.
Also Read This: How to Describe an Image to a Friend
Frequently Asked Questions About Cropping Images in Figma
Many beginners and even experienced designers have questions about cropping images in Figma. Below are some commonly asked questions along with straightforward answers to help you understand the process better:
-
Can I crop multiple images at once in Figma?
No, Figma does not allow cropping multiple images simultaneously. You need to crop each image individually to ensure precision.
-
Does cropping in Figma reduce file size?
Not directly. Cropping only hides parts of the image without reducing its actual file size. To decrease file size, you’ll need to export the cropped image and compress it using an external tool.
-
Can I undo a crop after applying it?
Yes, you can adjust the crop area or reset the image to its original size by selecting the image and using the “Reset” option in the cropping menu.
-
What shortcut can I use for cropping?
There isn’t a specific shortcut for cropping in Figma, but you can quickly access the cropping tool by double-clicking on the image or using the toolbar.
-
How do I crop to a specific shape like a circle?
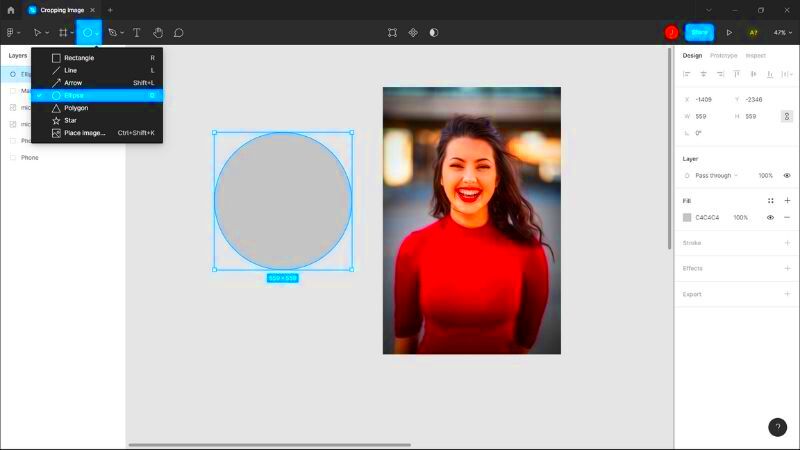
Figma doesn’t have a direct crop-to-shape feature, but you can use masks. Place the shape (e.g., a circle) over the image, select both, and apply a mask.
If you have more questions, Figma’s documentation and community forums are great resources to explore.
Conclusion
Cropping images in Figma is an essential skill for creating clean and professional designs. By mastering this tool, you can enhance your visual compositions, eliminate distractions, and make your designs more engaging. Whether you’re a beginner or an experienced designer, understanding how to crop efficiently will significantly improve your workflow.

 admin
admin


