Cropping an image is a vital skill in design. It allows you to focus on the essential elements of your image, improving the overall look and feel of your projects. In Figma, cropping is straightforward and powerful. Whether you’re working on a simple graphic or a complex user interface, understanding how to crop images can enhance your design process. Let's explore the basics of cropping in Figma and how it can benefit your projects.
Getting Started with Figma for Image Cropping
Before diving into cropping, make sure you have Figma installed and open on your device. Here's how to get started:
- Create a New File: Open Figma and click on “New File” to start a fresh project.
- Import Your Image: Drag and drop your image into the workspace or use the “File” menu to import it.
- Select the Image: Click on the image to make sure it’s selected before you start cropping.
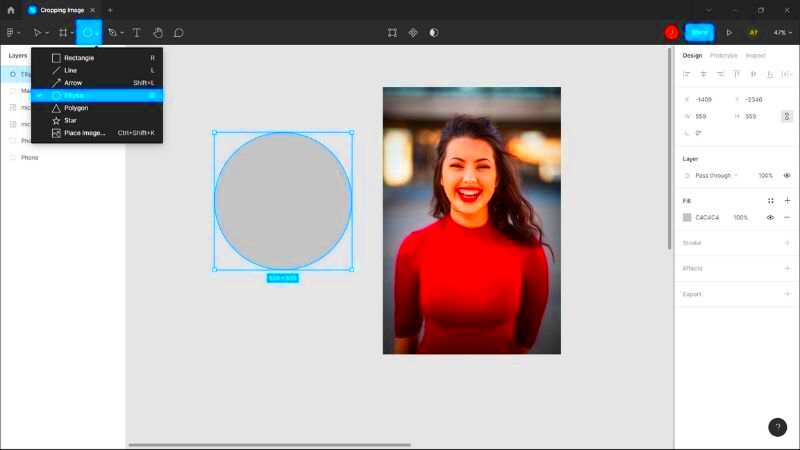
- Familiarize Yourself with the Interface: Take a moment to look around and see where the tools are located. The cropping tool is easy to find in the toolbar.
Once you’ve completed these steps, you’re ready to explore the cropping features in Figma!
Using the Crop Tool Effectively
The Crop Tool in Figma allows you to remove unwanted parts of an image quickly. Here’s how to use it effectively:
- Select the Image: Click on the image to highlight it.
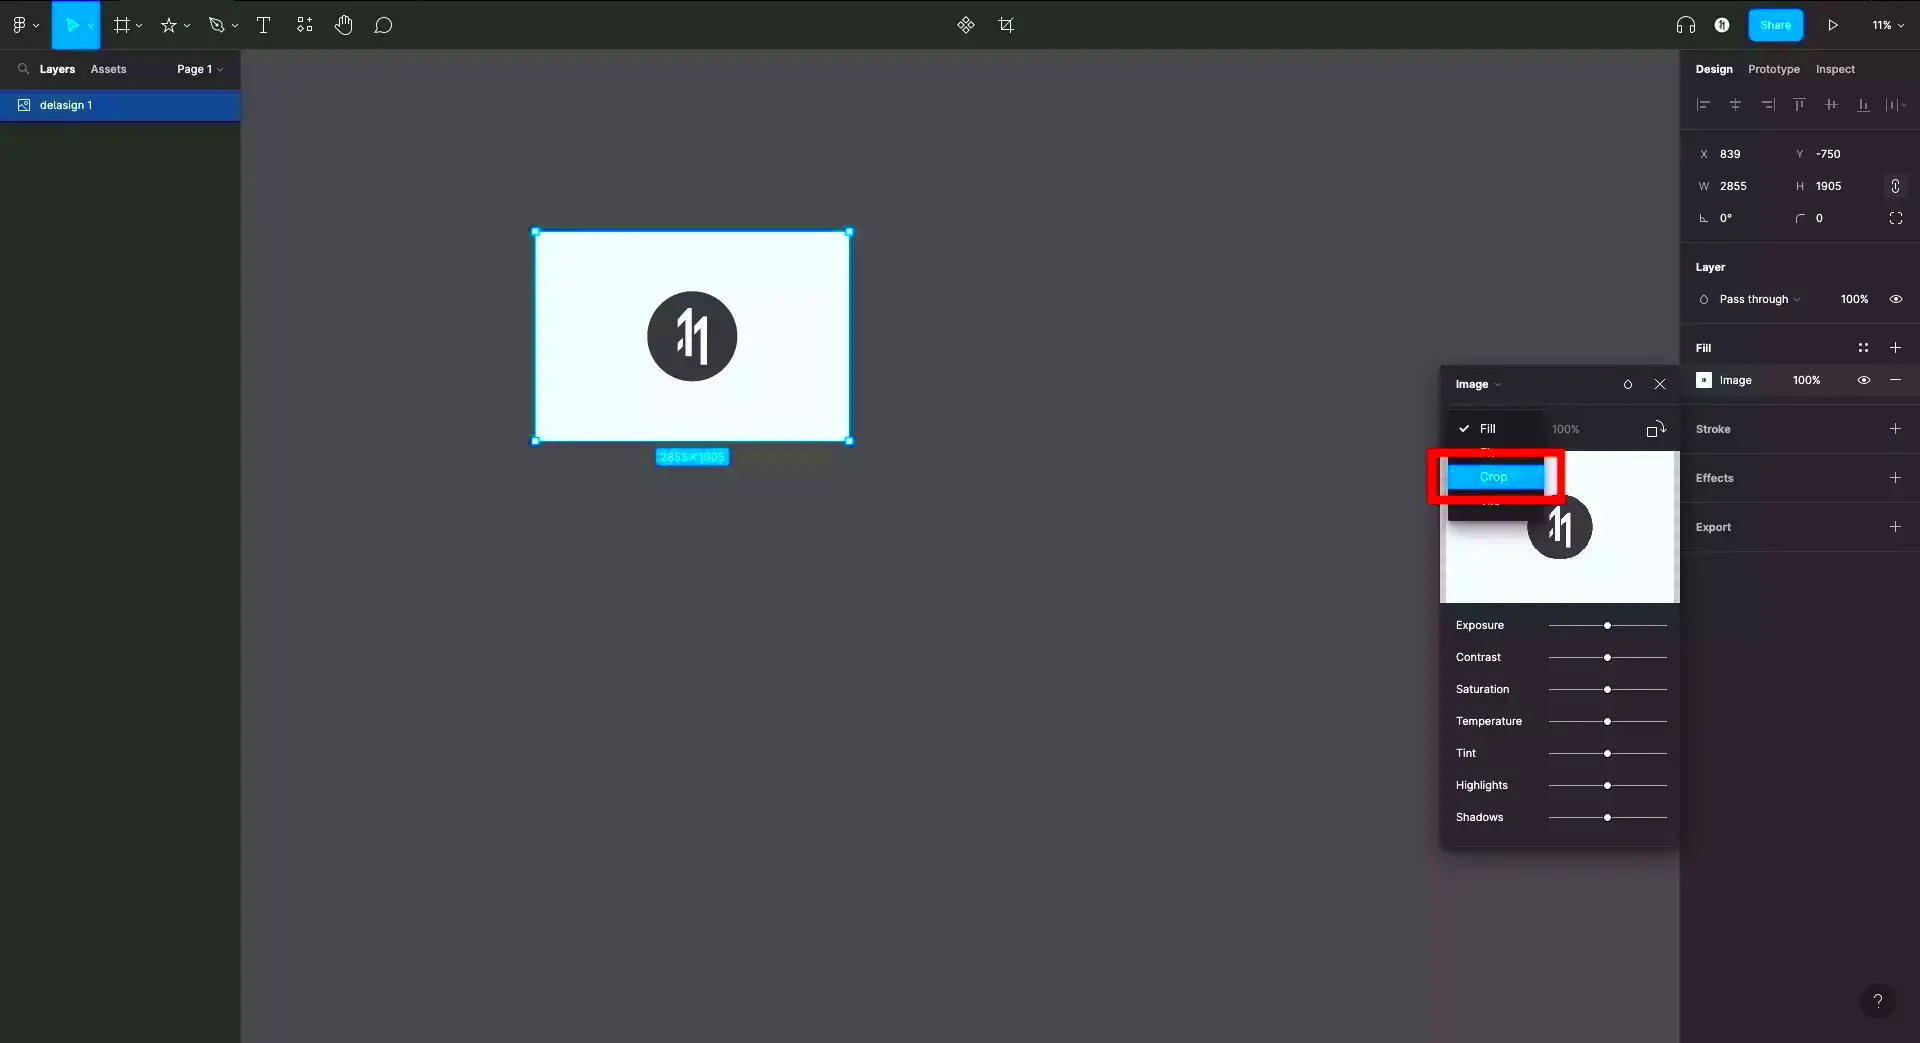
- Activate the Crop Tool: Click on the “Crop” button in the toolbar or use the shortcut Shift + C.
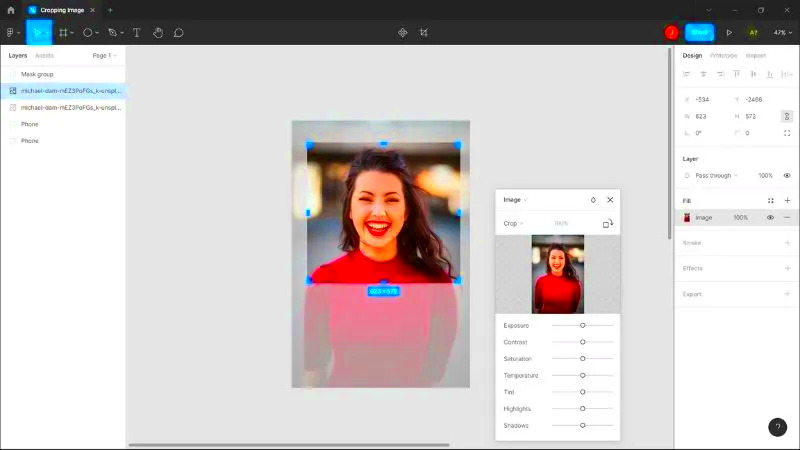
- Adjust the Crop Frame: Drag the edges of the crop frame to select the area you want to keep. You can move the frame around to get the perfect positioning.
- Fine-tune the Crop: Use the handles to adjust the dimensions and aspect ratio. This is useful for maintaining the image's proportions.
- Apply the Crop: Once satisfied with your selection, hit “Enter” to apply the crop. If you change your mind, you can alwa
Adjusting Crop Settings for Better Results
 Once you’ve cropped an image in Figma, you might want to adjust the crop settings to get even better results. Figma offers various options to refine how your image looks after cropping. Here’s how you can adjust these settings:
- Aspect Ratio: When cropping, you can maintain a specific aspect ratio by holding down the Shift key while dragging the crop handles. This is especially useful for creating images that fit standard sizes, like social media posts or website banners.
- Flip or Rotate: If your image isn’t quite right, consider flipping or rotating it. You can find these options in the toolbar. Just select the image and choose “Flip Horizontal” or “Flip Vertical” to change its orientation.
- Padding and Margins: Use padding to create space around your image. This can help you frame your subject better and make it more visually appealing. Simply increase the size of your crop frame without changing the aspect ratio to add padding.
- Preview Options: Take advantage of the preview features in Figma. You can toggle between different views to see how your cropped image will look in the final design. This is a great way to catch any mistakes before finalizing your work.
By adjusting these crop settings, you can ensure that your images are perfectly tailored to fit your design needs.Common Mistakes to Avoid While Cropping
Cropping images may seem simple, but there are a few common pitfalls that can lead to unsatisfactory results. By being aware of these mistakes, you can improve your cropping skills and enhance your designs. Here are some mistakes to watch out for:- Over-Cropping: It’s easy to crop too much and lose important details. Always take a step back and ask yourself if the cropped image still communicates the intended message.
- Ignoring Aspect Ratios: Not considering the aspect ratio can lead to distorted images. Make sure to maintain the aspect ratio unless you have a specific design need for a different ratio.
- Forgetting to Preview: Failing to preview your cropped image can result in surprises later on. Always check how it looks in your overall design to ensure it fits well.
- Neglecting Image Quality: Cropping without considering image quality can lead to pixelation. Always use high-resolution images to begin with, as mentioned in earlier sections.
- Not Saving a Copy: Once you crop an image, it’s easy to lose the original. Always save a copy of the original image before cropping, so you have the flexibility to make changes later.
Avoiding these mistakes will help you create better designs and ensure your images are visually appealing.FAQs About Cropping Images in Figma
Let’s address some frequently asked questions regarding cropping images in Figma. These can help clarify any uncertainties you may have:- Can I undo a crop? Yes, you can undo a crop by using the Ctrl + Z shortcut. This allows you to revert to the original image before cropping.
- Is there a way to adjust the crop after applying it? Absolutely! You can click on the cropped image and re-enter the crop mode to adjust the cropping frame as needed.
- What file formats does Figma support for images? Figma supports various formats, including PNG, JPEG, and SVG, so you can use images that best suit your design.
- Can I crop vector images? Yes, you can crop vector images in Figma, and the process is similar to cropping raster images.
- Will cropping affect my design layout? Cropping can affect your layout, so it’s essential to consider how the cropped image fits with other elements in your design.
If you have more questions, don’t hesitate to explore Figma’s help resources or community forums!Conclusion on Cropping Images in Figma
In conclusion, cropping images in Figma is a valuable skill that can significantly enhance your design projects. By understanding the basics of cropping, utilizing effective techniques, and avoiding common mistakes, you can create visually appealing graphics. Remember to always focus on image quality and explore the powerful features Figma offers. Whether you’re a beginner or an experienced designer, mastering the art of cropping will help you present your ideas more effectively. Happy designing!
 admin
admin


