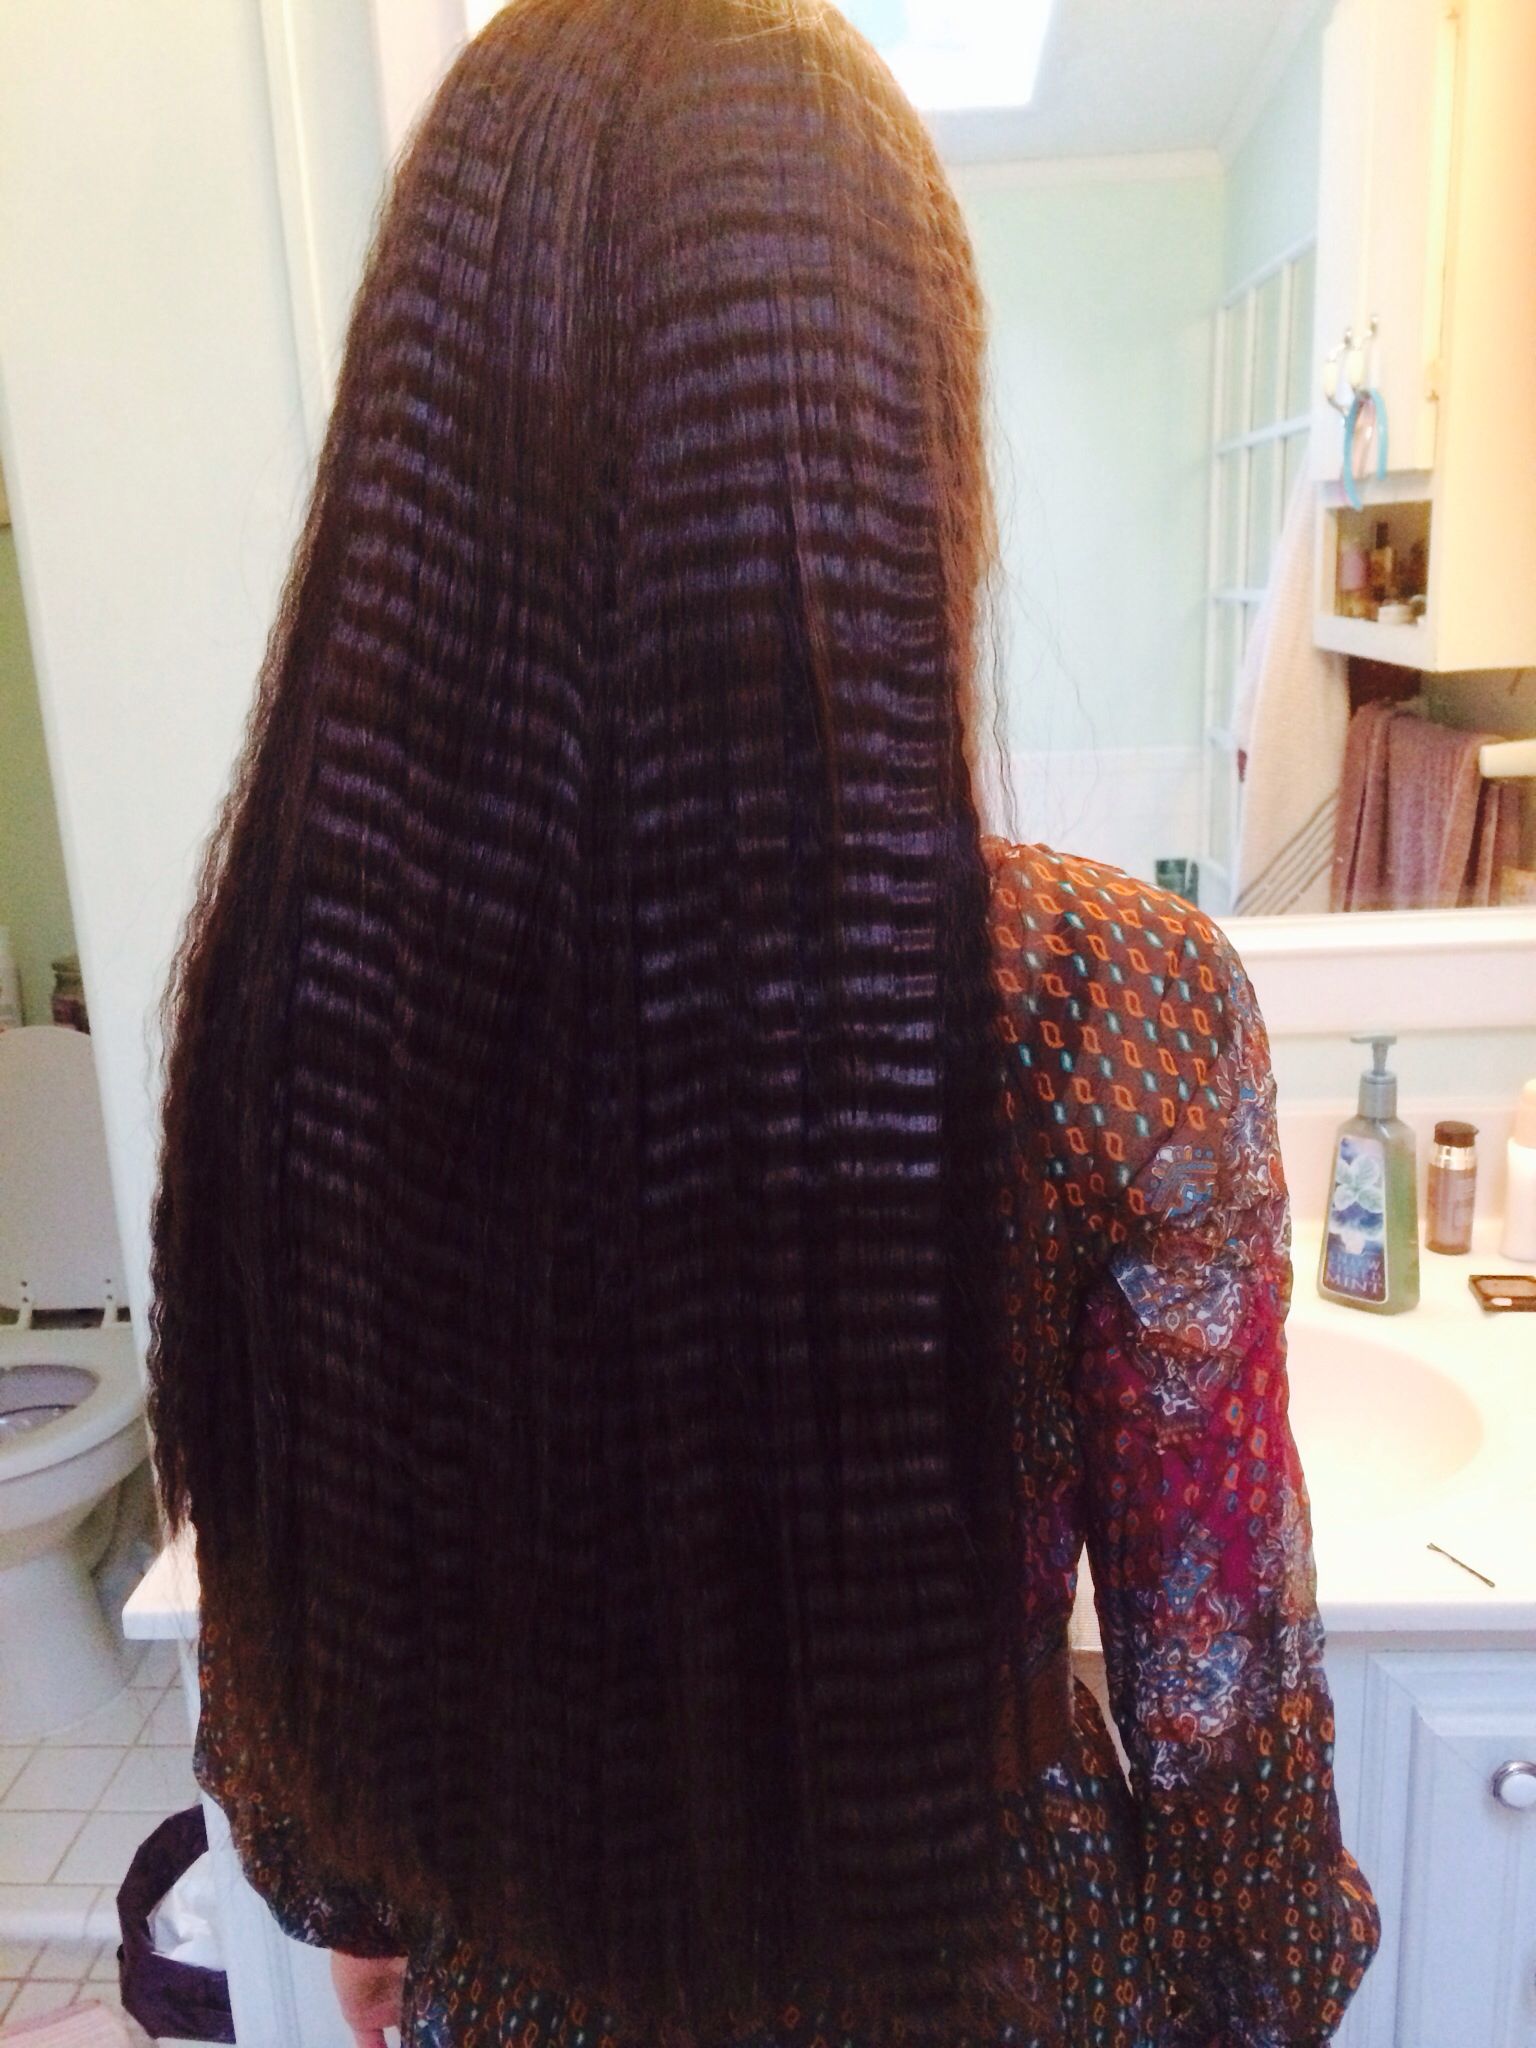
Have you ever admired those fun, wavy hairstyles that look effortlessly chic? Crimping hair adds texture and volume, giving your locks a playful twist. While crimpers are popular tools, they aren't the only way to achieve this trendy look. In fact, there are several creative methods to crimp your hair without a specialized tool, making it accessible for everyone. Whether you're preparing for a night out or just want to switch up your style, let's dive into the world of hair crimping!
Why Crimp Hair Without a Crimper?
So, why would you want to crimp your hair without investing in a crimper? Here are a few compelling reasons to consider:
- Cost-Effective: Crimpers can be pricey, and if you don’t use them often, it might not be worth the investment. Using household items can save you money and still give you fabulous results!
- Accessibility: Not everyone has a crimper lying around. Techniques like braiding or using flat irons are easy and often require tools you probably already have at home.
- Versatility: Crimping with alternatives allows for more creative styles. You can experiment with different techniques to achieve varying levels of crimp and wave, from subtle texture to bold volume.
- Less Heat Damage: Frequent use of heat styling tools can lead to damaged hair. By using methods that don’t rely solely on heat, you can maintain healthier locks while still enjoying great styles.
- Fun and Creative: Crimping your hair without a crimper can be a fun DIY project! It encourages you to explore different techniques, and it can be a great activity to enjoy with friends or at a sleepover.
In summary, crimping your hair without a crimper opens up a world of possibilities. Whether it's a special occasion or just a day when you want to feel fabulous, using alternative methods can give you that stylish, crimped look without the need for fancy gadgets. Plus, it's a fun way to express your individuality!
Also Read This: How to Do Applique Work by Hand on Dailymotion: Easy Steps for Beginners
3. Tools and Materials Needed
Before diving into the art of crimping your hair without a crimper, it’s essential to gather all the tools and materials you'll need. This ensures a smooth and enjoyable crimping experience. Here’s a handy list:
- Flat Iron: A good-quality flat iron is crucial. It should have a wide enough plate to create those lovely crimps. Make sure it can reach a high temperature for the best results.
- Heat Protectant Spray: Protecting your hair from heat damage is vital. Look for a spray that offers protection while also adding some shine.
- Hair Clips: These will help you section your hair, making the process easier and more organized. You can use alligator clips or simple hair ties.
- Comb or Brush: A wide-tooth comb or a brush will help detangle your hair before starting. This is essential to ensure even crimping.
- Hair Oil or Serum: A little product can go a long way in adding shine and reducing frizz, giving your crimped hair a polished look.
- Holding Spray: After you finish crimping, a good hairspray will help hold those waves in place. Choose one that isn't too stiff for a more natural finish.
Once you have all these tools at your disposal, you’re ready to move on to the next step! Each item plays a critical role in achieving those gorgeous crimped locks, so don’t skip any of them.
Also Read This: The Meaning of Dailymotion and Its Purpose
4. Step 1: Preparing Your Hair
The first step to crimping your hair without a crimper is preparation. Proper preparation can make all the difference in achieving flawless results. Here’s how to get your hair ready:
- Start with Clean Hair: Wash your hair with a gentle shampoo and follow up with a moisturizing conditioner. This will ensure your hair is clean and hydrated, which is essential for styling.
- Towel Dry Your Hair: After washing, gently towel dry your hair to remove excess moisture. Be careful not to rub too hard, as this can cause breakage. Instead, pat your hair dry.
- Detangle Your Hair: Use a wide-tooth comb or a brush to detangle your hair. Starting from the ends and working your way up to the roots will minimize damage and make the process easier.
- Apply Heat Protectant: Spray a generous amount of heat protectant throughout your hair, focusing on the ends. This step is crucial for preventing heat damage from the flat iron.
- Section Your Hair: Divide your hair into manageable sections using hair clips. This can make the crimping process more efficient and ensure you don’t miss any spots. I recommend starting with the bottom layer and working your way up.
By following these steps, you’ll set the stage for beautiful crimped hair! Taking the time to prepare your hair properly will make the styling process smoother and yield better results. Now that your hair is prepped, you’re all set to move on to the actual crimping process!
Also Read This: Discover Creative Handmade Things to Make at Home
5. Step 2: Sectioning Your Hair
Now that you've gathered your tools, it's time to prepare your hair for crimping. The key to achieving those perfect waves or crimps lies in how you section your hair. You want to start with clean, dry hair for the best results. Here’s how to section your hair effectively:
- Divide into Manageable Sections: Depending on the thickness of your hair, divide it into 4-6 sections. For finer hair, you might only need 4 sections, while thicker hair could require more to ensure every strand gets crimped.
- Use Hair Clips: Grab some hair clips to keep the sections in place. Start with the lower layers of hair and clip the upper sections out of the way. This prevents any confusion and keeps your focus.
- Start from the Bottom: Always begin crimping from the bottom sections. This way, you can work your way up without disturbing the already-crimped hair.
Remember, the smaller the sections you take, the more defined the crimp will be. For a more subtle look, larger sections will yield looser waves. Experiment with section sizes to find what works best for your desired look!
Also Read This: How to Verify Your Dailymotion Channel: Ensure Your Channels Authenticity
6. Step 3: Crimping Techniques to Use
With your hair neatly sectioned, it’s time to dive into the fun part — the crimping techniques! While you might not have a professional crimper, you can still achieve stunning results using simple tools like a flat iron or even braiding. Here are some techniques to consider:
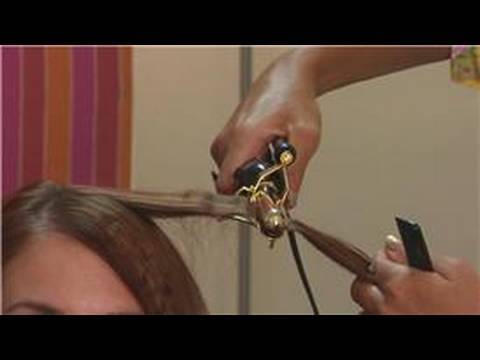
- Flat Iron Method: If you're using a flat iron, make sure it’s a good quality one with a wide plate. Here’s how:
- Take a small section of hair and place it between the plates of the flat iron.
- Twist the iron 180 degrees and hold it for a few seconds.
- Release and move down the section, repeating until the whole strand is crimped.
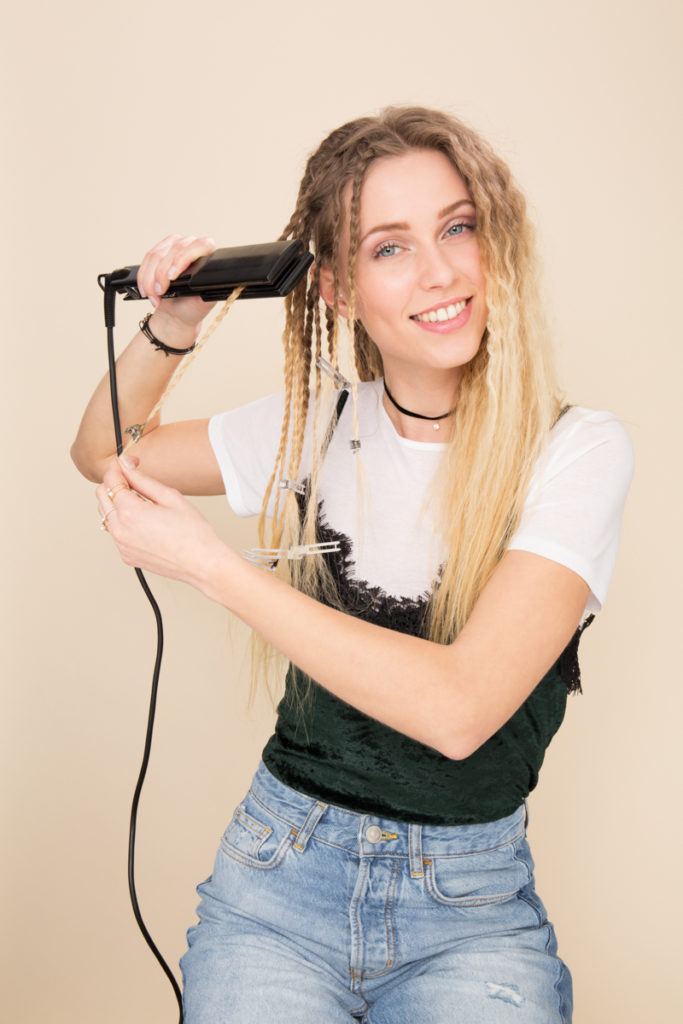
- Braid Technique: For a heat-free option, braiding works wonders!
- Divide your hair into small sections and braid each one tightly.
- Leave the braids in overnight or for several hours.
- Once you undo them, you’ll have beautiful, natural-looking crimps!
- Twist and Pin Method: Another creative technique involves twisting sections of hair:
- Take a small section and twist it tightly.
- Wrap the twisted hair around itself and pin it to your scalp with a bobby pin.
- Leave it in for a few hours or overnight for a defined crimp.
Whichever technique you choose, be sure to use a heat protectant spray if you're applying heat. This keeps your hair healthy and shiny. After crimping, finish off with a light-hold hairspray to keep those gorgeous waves in place!
Also Read This: Easy Paper Crafts for Beginners to Learn on Dailymotion
7. Step 4: Finishing Touches for Long-Lasting Crimps
Now that you’ve mastered the art of crimping your hair without a crimper, it’s time for the finishing touches! These steps are crucial for ensuring that your beautiful crimps last as long as possible and look fabulous all day. Let’s dive into what you need to do.
1. Apply a Setting Spray: Once you’ve completed all your crimping, grab a good-quality setting spray. A light mist will help hold your style without making your hair feel stiff. Look for sprays that specifically mention they provide a flexible hold. Simply hold the spray about 10-12 inches away from your hair and mist it evenly.
2. Avoid Touching Your Hair: It might be tempting to run your fingers through those gorgeous waves, but try to resist! Touching your hair can cause the crimps to fall out faster. If you do need to fluff them up a bit, use a wide-tooth comb or your fingers gently, just to avoid disturbing the shape too much.
3. Use Hair Oil or Serum: To add a bit of shine and tame any frizz, apply a few drops of hair oil or serum. Focus on the ends of your hair, as this is where most dryness can occur. This will not only make your crimps look more polished but also keep them from looking dull.
4. Pinning for Extra Hold: If you have fine hair or are expecting a long day ahead, consider pinning some of your crimps for a couple of hours after you finish styling. Use small clips to secure sections of hair in the crimp shape. This will help them set and enhance their staying power!
With these finishing touches, you’ll be ready to flaunt your stylish crimped hair confidently. Trust us, your friends will be asking how you achieved such beautiful texture!
8. Tips for Maintaining Crimped Hair
Congratulations on achieving those stunning crimps! Now, let’s ensure they stay looking fabulous for as long as possible. Here are some practical tips to help you maintain your crimped hair:
- Protect While Sleeping: To prevent your crimps from flattening while you sleep, consider loosely braiding your hair or tying it in a high ponytail. You can also wrap it in a silk scarf or use a silk pillowcase to minimize friction.
- Limit Washing: Frequent washing can strip your hair of the natural oils that help maintain style. Aim to wash your hair no more than twice a week. On non-wash days, dry shampoo can be a lifesaver for keeping your roots looking fresh.
- Use the Right Products: Choose sulfate-free shampoos and conditioners which are gentler on your hair and won’t weigh down your crimps. Look for products that enhance texture and volume.
- Be Mindful of Heat: If you plan to use heat tools again, ensure your hair is completely dry and use a heat protectant spray. This will help prevent damage while keeping your crimps intact.
- Regular Trims: Keeping your hair healthy with regular trims will help maintain the structure of your crimps. Split ends can lead to frizz and dullness, making your stylish look less appealing over time.
By following these tips, you’ll keep your crimped hair looking lively, vibrant, and ready for any occasion. Enjoy rocking those crimps!
 admin
admin


