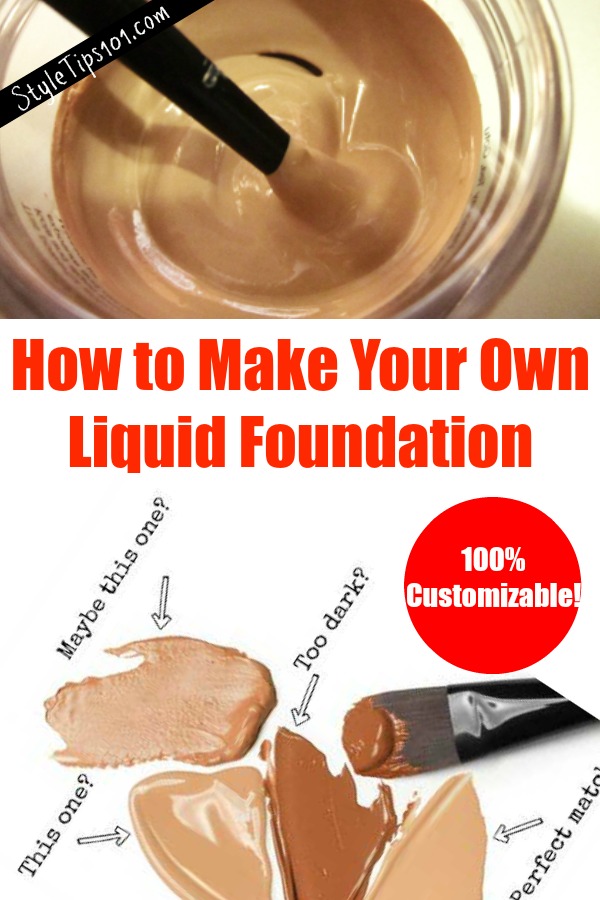
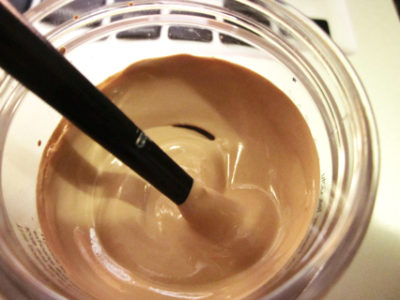
Creating your own foundation at home can be an incredibly rewarding experience. Not only does it allow you to tailor the product to your specific skin type and tone, but it also gives you control over the ingredients that go into it. Imagine having a foundation that perfectly matches your complexion and is free from harsh chemicals! In this post, we'll explore the many benefits of homemade foundation and guide you through the process of making your own.
Benefits of Homemade Foundation

Homemade foundation isn't just a trendy DIY project; it comes with a plethora of benefits that make it a sound choice for skincare enthusiasts. Let’s dive into some of the most compelling reasons to whip up your own batch:
- Customization: One of the biggest advantages is the ability to tailor your foundation to match your unique skin tone and type. You can experiment with different pigments until you find the perfect shade!
- Quality Control: When you make foundation at home, you have complete control over the ingredients. This means you can choose organic, natural components that are good for your skin, avoiding harmful chemicals often found in commercial products.
- Cost-Effective: DIY foundation can save you money in the long run. Many ingredients are inexpensive, and you can make multiple batches without shelling out for pricey designer brands.
- Environmentally Friendly: By creating your own products, you reduce the need for packaging and other waste associated with store-bought cosmetics. You can even reuse containers you already have at home!
- Safe for Sensitive Skin: If you have sensitive skin or allergies, homemade foundation allows you to avoid irritating ingredients, ensuring that you protect your skin health.
In summary, making your own foundation at home offers a blend of customization, quality, cost-effectiveness, and skin safety that is hard to beat. So, are you ready to jump into the world of DIY cosmetics?
Also Read This: Tracing an Image in Canva: How-To Guide
Essential Ingredients for DIY Foundation

Creating your own foundation at home can be a fun and fulfilling experience, especially when you have the right ingredients at your fingertips. Here are the essential components you'll need to whip up your perfect DIY foundation:
- Base Oils: The foundation of your foundation! Some popular options include coconut oil, jojoba oil, or sweet almond oil. These oils not only help in blending but also nourish your skin.
- Butters: Adding shea or cocoa butter gives your foundation a creamy consistency. They also provide extra hydration and softness to your skin.
- Colorants: Natural pigments are crucial for achieving the right shade. You can use cocoa powder for warmth or beet root powder for a rosy tone. Experiment until you find that ideal color!
- Powders: Incorporating cornstarch or arrowroot powder helps to absorb excess oil and gives your foundation a matte finish. Plus, using a mineral powder like kaolin clay can boost your formula’s staying power.
- Essential Oils: For added benefits, consider including a few drops of lavender or tea tree oil. Not only do they lend a pleasant fragrance, but they can also offer skin benefits.
- Preservatives: To ensure your homemade foundation lasts longer, consider adding a natural preservative, especially if you’re using water-based ingredients.
When choosing your ingredients, think about your skin type and preferences. Are you looking for hydration or a matte finish? Tailoring your blend will leave you with the perfect DIY foundation!
Also Read This: Adding a GIF to an Image: Simple Steps
Step-by-Step Guide to Making Foundation

Now that we've gathered our ingredients, it’s time to dive into the fun part—making your own foundation! Follow these simple steps to create a custom blend that suits your unique skin tone:
- Gather Your Ingredients: Make sure to have all your chosen base oils, butters, powders, and colorants ready to go.
- Melt the Butters: In a double boiler, gently melt your butters (like shea or cocoa). This helps them blend smoothly.
- Add Base Oils: Once melted, add your base oils. Stir them in well to create a uniform mixture.
- Mix in Colorants and Powders: Gradually introduce your colorants and powders, using a whisk or fork. This is where you can customize the shade! Mix until you achieve the desired color.
- Incorporate Essential Oils: If you’re adding essential oils, this is the stage to do it. Just a few drops will add a lovely scent and skin benefits.
- Test the Consistency: It’s essential to ensure your foundation is the right consistency. If it's too thick, add a bit more oil. If it's too thin, add more powders.
- Cool and Store: Once you're satisfied, pour your mixture into a clean container and allow it to cool completely before sealing it up. Your homemade foundation is now ready to use!
Creating your own foundation is an adventure in personal care and creativity. Enjoy the process and have fun experimenting with different shades and ingredients!
Also Read This: Adding a Getty Images Watermark to Your Photos
Different Shades and Customizations

Creating your own foundation at home allows you to customize not only the shade but also the texture and finish according to your skin type and preference. It’s a fun process that lets you take full control over your makeup routine!
To start, let’s talk about shades. Skin tones aren’t one-size-fits-all; they can range from cool to warm, light to deep. Here’s a simple way to determine your undertone:
- Cool Undertones: If your skin has a pink, red, or blue hue.
- Warm Undertones: If your skin has a peach or golden hue.
- Neutral Undertones: A mix of both, making it easier to match multiple shades.
Once you've identified your undertone, you can mix shades to achieve your perfect color. Here’s a basic formula to get you started:
| Base Color | Add Color | Resulting Shade |
|---|---|---|
| Light cream | Brown tint | Beige foundation |
| Beige | Yellow tint | Warm beige |
| Medium tan | Red tint | Cool tan |
You can also experiment with customizations like the finish! Want a matte look? Use a light powder. Prefer dewy? Just add a drop of facial oil. The possibilities are endless!
Also Read This: How to Do Makeup at Home Step by Step with Easy Tips for Beginners
Application Techniques for Flawless Finish
Getting that flawless foundation finish is all about the right application techniques. No matter how perfect your custom foundation is, if it’s not applied well, it won’t look its best.
Here are some tried-and-true methods to consider:
- Brush Method: Use a flat foundation brush for a smooth, airbrushed look. Start from the center of your face and blend outward. This technique provides good coverage and is great for liquid foundations.
- Beauty Blender or Sponge: For a natural finish, dampen a beauty blender and bounce it on your skin. This helps to blend the foundation seamlessly, giving a soft, polished look.
- Fingers: Sometimes the best tool is your finger! Your body heat helps to warm the foundation, making it easier to blend into your skin. Just make sure your hands are clean.
Don’t forget to prep your skin beforehand! A good moisturizer and primer can make a world of difference. Also, set it with a light dusting of powder to keep your foundation in place.
So, are you ready to mix your custom shade and apply it flawlessly? With a bit of practice, you’ll be a pro at creating your own foundation that looks amazing!
Also Read This: How 123RF Enhances Creative Workflows
7. Storage Tips for Homemade Foundation
Storing your homemade foundation properly is key to maintaining its quality and longevity. When crafted with love, your concoction deserves the best care. Here are some helpful storage tips:
- Choose the Right Container: Use airtight containers made of glass or high-quality plastic. Glass is preferable because it’s non-reactive and won’t leach harmful chemicals over time.
- Take Advantage of Dark Glass Jars: If possible, opt for amber or cobalt blue glass jars. These help protect your foundation from light, which can deteriorate certain ingredients.
- Store in a Cool, Dry Place: Avoid placing your foundation in direct sunlight or near heat sources. A cool, dark cabinet or drawer is ideal.
- Keep It Sealed: Always ensure the lid is tightly sealed after use. This prevents any unwanted contaminants from spoiling your formula.
- Label Your Products: Don’t forget to label your foundation with the creation date and ingredients. This can help keep track of freshness and ensure you use it while it's still good.
Most homemade foundations last about six months to a year, depending on the ingredients used. Always watch for signs of spoilage, like changes in smell or texture. If your foundation starts to smell off or changes in consistency, it’s safest to toss it and whip up a new batch!
8. Conclusion
Creating your own foundation at home can be both a fun and rewarding experience. It not only allows you to customize your shade to perfectly match your skin tone but also gives you control over the ingredients you apply to your skin. With a little experimentation, you can discover formulations that work best for you, whether you prefer a dewy finish, full coverage, or something lightweight.
Remember, the process isn't just about following a recipe; it’s also about finding the textures and effects that make you feel your best. Embrace the learning curve, and don't hesitate to tweak your blend until you find that perfect match.
In the end, with proper storage tips and a bit of care, your homemade foundation can provide you with a clean, beautiful canvas for your makeup routine. Enjoy the journey of creating and using your customized foundation, and revel in the compliments that follow!
 admin
admin


