Hey there, hairstyle enthusiasts! If you’ve ever found yourself mesmerized by Elsa’s stunning locks in Frozen, you’re not alone. Her iconic hairstyle is not only beautiful but also surprisingly achievable with a little guidance. In this blog post, we’ll dive into the essence of Elsa’s look and share some quick tips to help you create the perfect Elsa hairstyle. Whether you’re getting ready for a themed party or just want to channel your inner ice queen, we’ve got you covered!
Understanding Elsa's Iconic Look
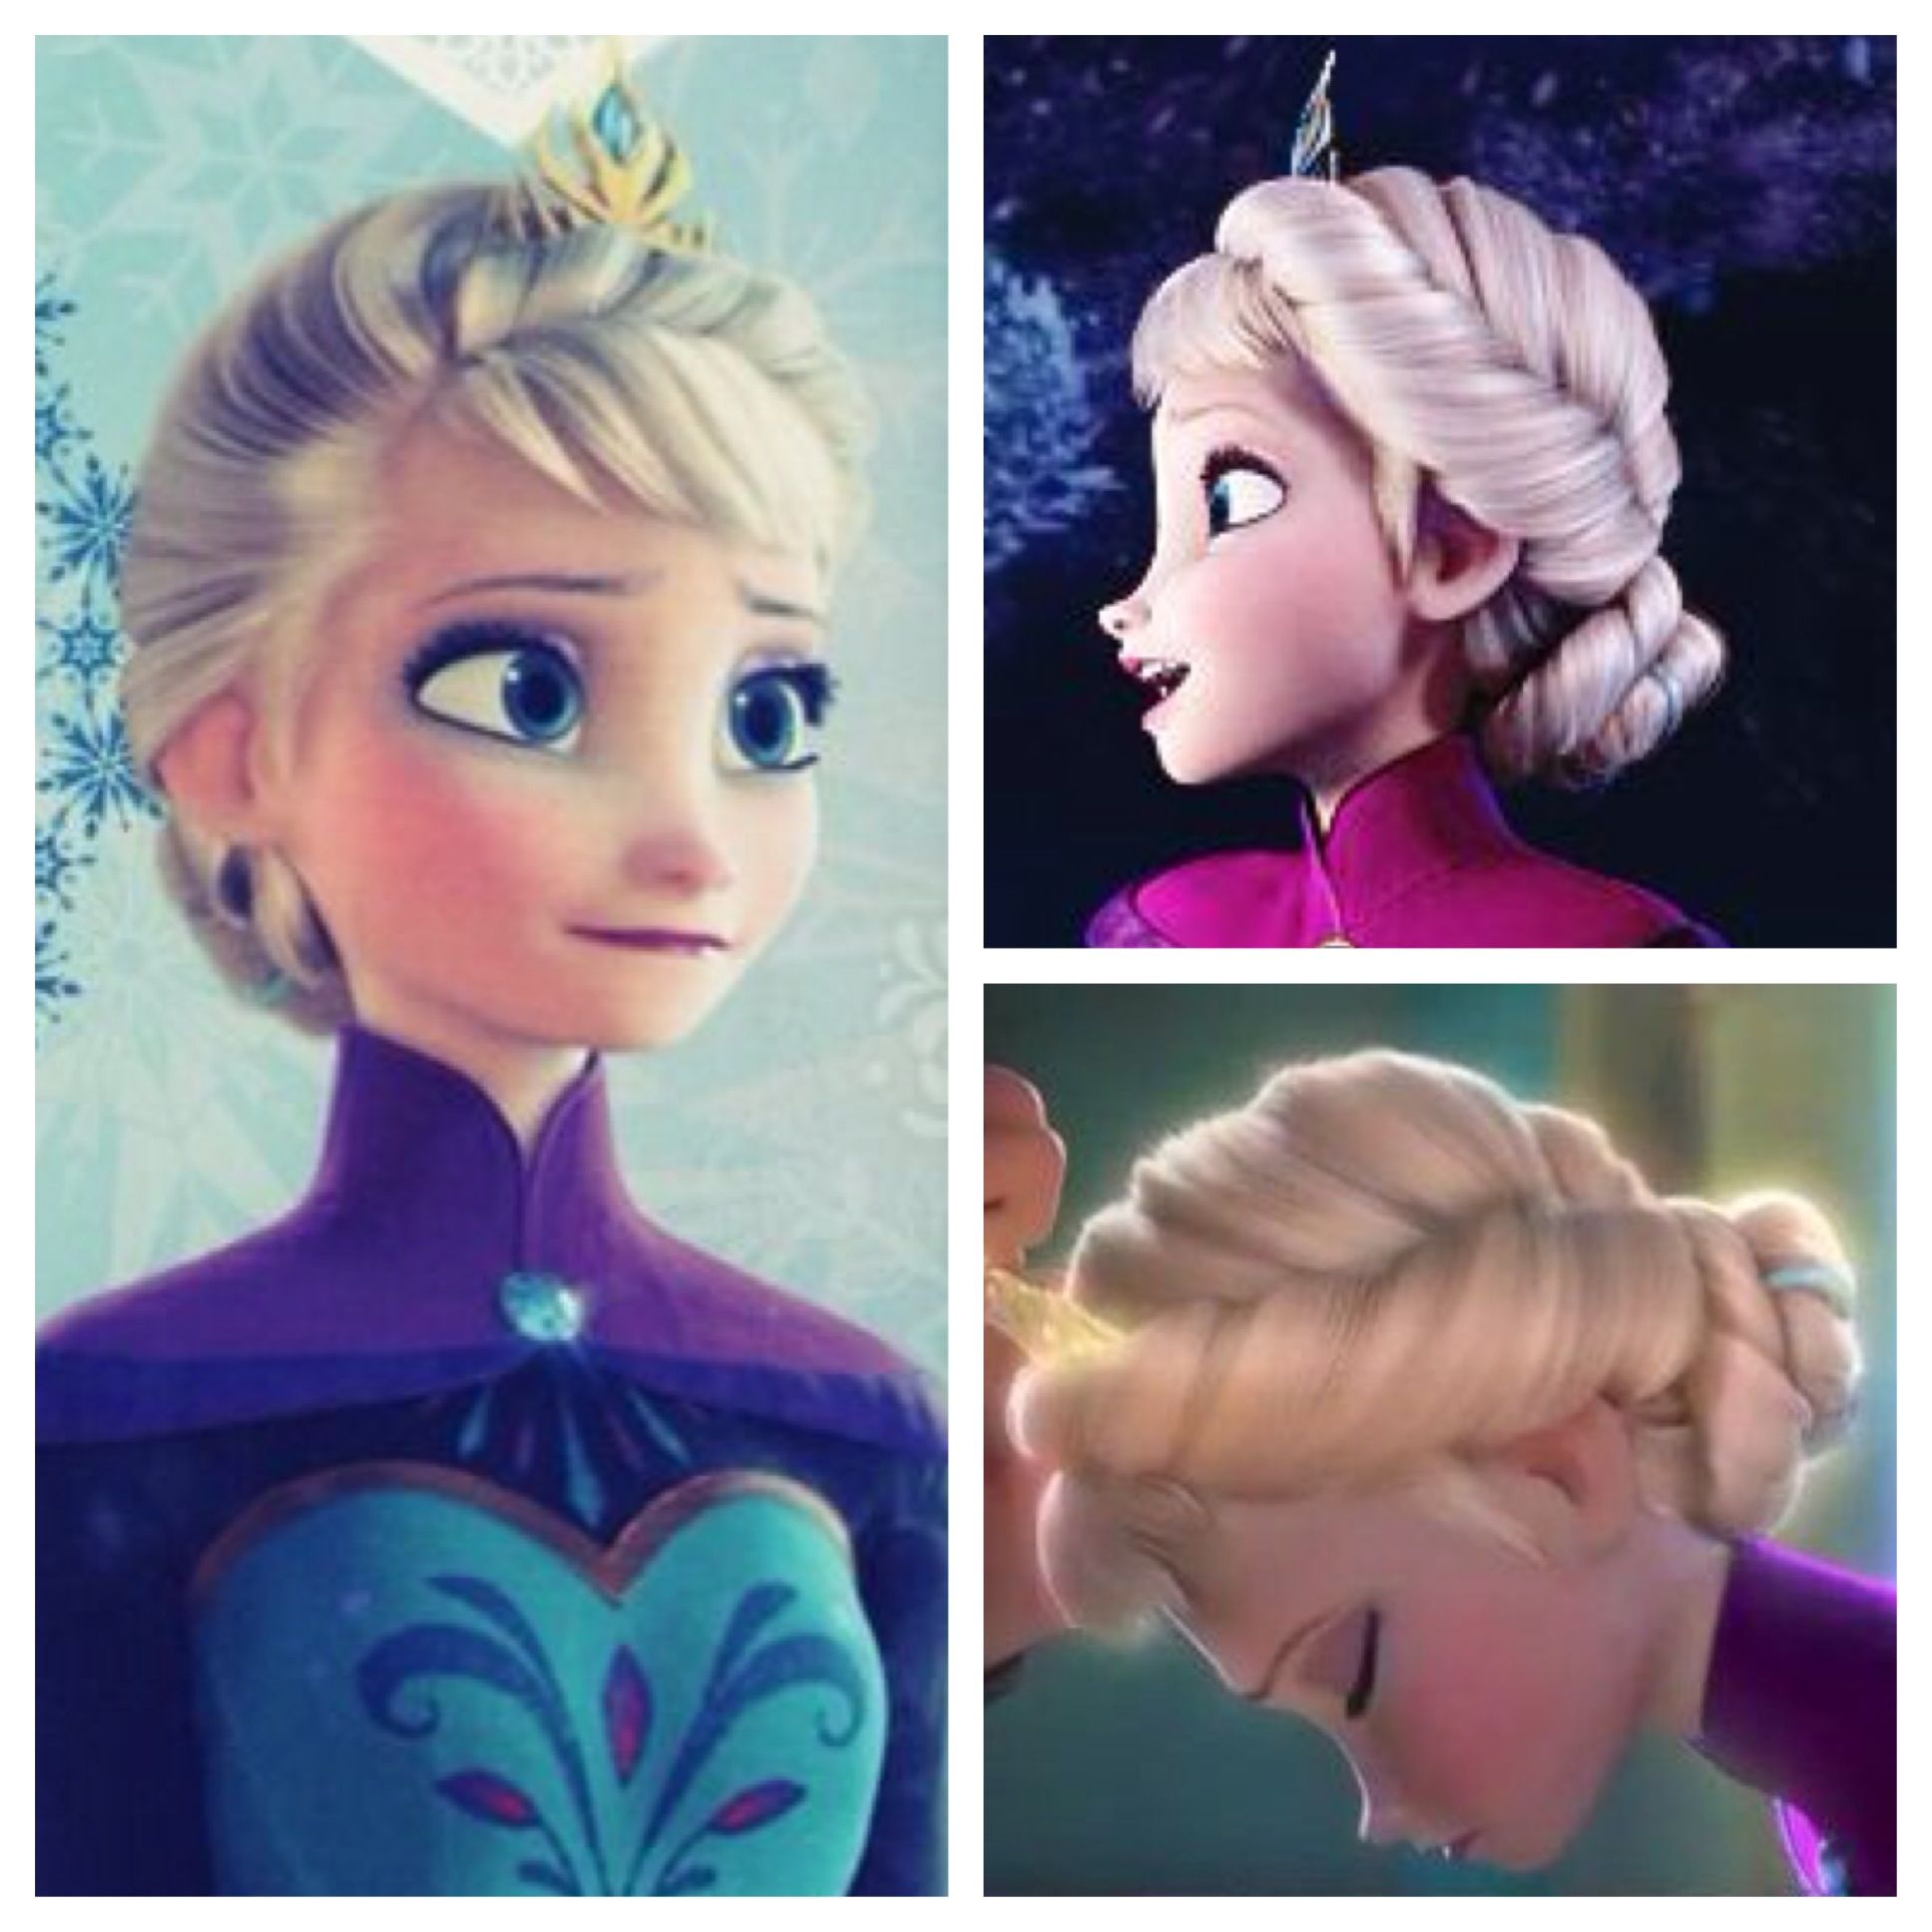
Elsa’s hairstyle from Frozen is not just a typical updo; it’s a symbol of her character’s elegance and strength. To recreate her look, it's essential to understand the key elements that make it so memorable. Here’s what you need to know:
- Long, Platinum Blonde Hair: Elsa's flowing locks are a signature element of her style. The color is a striking platinum blonde, often portrayed with a slight shimmer that captures the light.
- Elegant Braid: The most defining feature of Elsa’s hairstyle is her beautiful braid. It’s intricately woven, starting right from the front and cascading down her back, giving a feeling of both sophistication and movement.
- Side Swept Bangs: Elsa sports side-swept bangs that gently frame her face. This softening touch adds a bit of femininity to her otherwise regal appearance.
- Delicate Accessories: In many scenes, Elsa's hair is adorned with small, elegant accessories such as snowflakes or sparkling clips. These tiny details enhance her ethereal look and connect her style to her icy powers.
To truly capture Elsa's essence, consider the overall vibe she represents—grace, poise, and a touch of magic. Understanding these aspects will lay a solid foundation for recreating her mesmerizing hairstyle. Ready to jump into the tips? Let’s go!
Essential Tools and Products

Before embarking on your journey to create the perfect Elsa hairstyle, it's crucial to gather the right tools and products. Having everything ready will save you time and make the process smoother. Here’s a checklist of what you need:
- Hairbrush: A good quality detangling brush is essential for smooth and manageable hair.
- Hair ties: Opt for clear or soft hair ties that won’t cause breakage.
- Bobby pins: These little wonders will help secure your hairstyle in place.
- Hairspray: A flexible hold hairspray will keep your style without making it stiff.
- Heat protectant spray: If you plan to use heat tools, don’t forget this to protect your hair.
- Curling iron or wand: For achieving those signature Elsa waves, a 1-inch or 1.5-inch curling iron works best.
- Hair gel or mousse: For added texture and hold, particularly useful if you have naturally wavy hair.
- Decorative accessories: Consider adding some sparkly hairpins or a tiara for that extra touch.
With these essentials in hand, you're set to create a stunning Elsa-inspired hairstyle that will wow everyone around you. Just remember, the right tools can make all the difference!
Step-by-Step Guide to Achieving the Hairstyle
Now that you have your tools and products ready, let’s delve into the step-by-step guide to achieving that iconic Elsa hairstyle:
- Start with Clean Hair: Begin with freshly washed and dried hair. Apply a heat protectant spray to keep your locks safe if you're using any hot tools.
- Brush Thoroughly: Use a detangling brush to gently remove any knots and tangles. This makes styling much easier!
- Create Volume: If your hair is straight, add some volume by curling the ends of your hair lightly. Use a 1-inch curling iron for a natural wave look.
- Section Your Hair: Divide your hair into two sections: one for the braid and the other for shaping the front. Use hair ties to keep the sections separated.
- French Braid: Start braiding your hair from the front to the back. A French braid can be achieved by adding small sections of hair as you go, keeping it tight near the scalp for that polished look.
- Pancake the Braid: Once you reach the end, gently pull on the braid sections to create a fuller, more relaxed look.
- Pin it Up: Secure the braid at the back with bobby pins, tucking in any loose ends.
- Finish with Hairspray: Lightly spritz with hairspray to hold everything in place. You can add decorative accessories at this point for that magical touch!
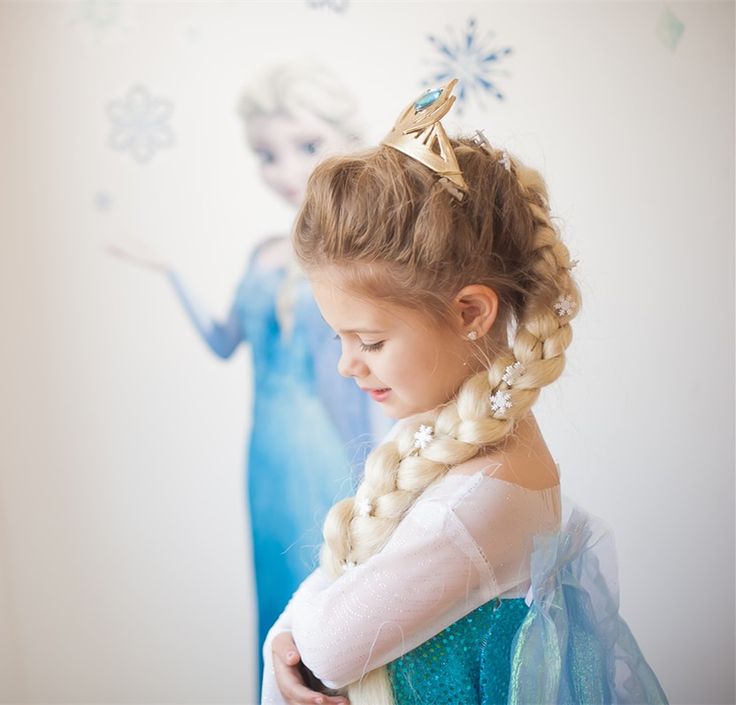
And voila! You’ve transformed into a real-life version of Elsa, ready for any winter adventure that comes your way! Whether it’s a themed party or just a little dress-up at home, you’ll surely dazzle everyone with your enchanting hairstyle.
Quick Hairstyling Tips for Efficiency
When it comes to achieving the perfect Elsa hairstyle, efficiency is key. We all appreciate a look that dazzles without spending hours in front of the mirror! Here are some quick hairstyling tips to save time while still rocking that iconic Frozen look:
- Prep Your Hair: Before you even start styling, use a good detangling spray to make sure there are no knots. This will make the styling process smoother and quicker.
- Divide and Conquer: Sectioning your hair can drastically cut down styling time. Use clips to keep sections separated as you work, allowing you to focus on one part at a time.
- Use the Right Tools: Invest in tools that make styling easier. A good quality brush, bobby pins, and hair ties are essentials for the perfect Elsa look.
- Go for Heat Protection: If you're using any heat styling tools, be sure to apply a heat protectant. This not only protects your hair but also speeds up the styling process, as it prevents damage that requires extra care later.
- Practice Your Braid: Braiding can be tricky; practice makes perfect! Take some time to master the French braid or fishtail braid over the weekend so you can do it swiftly when you're ready.
Following these tips means you can achieve that enchanting Elsa look without the fuss and muss, giving you more time to enjoy your day! So go ahead, and let your hair sparkle just like our favorite ice queen!
Common Mistakes to Avoid
While creating an Elsa hairstyle can seem straightforward, there are some common pitfalls that many people fall into. Avoiding these mistakes can save you time and frustration in your hairstyling journey:
- Skipping Hair Preparation: Never underestimate the importance of prepping your hair. Failing to detangle or apply heat protection can lead to a messy style or even damage.
- Not Using Enough Product: If your hair is slippery or resistant to holding styles, you might not be using enough product. Be sure to use gel or mousse to provide that extra hold.
- Over-Braiding: While it might be tempting to braid tightly for a polished finish, over-braiding can lead to tension and breakage. Keep it loose for a softer look.
- Neglecting to Secure Well: Don’t forget to secure your braids and updos with enough bobby pins or hair ties. A well-placed pin can make all the difference between a secure style and a hairstyle mishap!
- Ignoring Face Shape: Not all hairstyles suit every face shape. Ensure you consider your unique features when styling, as this can affect the final look significantly.
By avoiding these common mistakes, you’ll be well on your way to rocking that beautiful Elsa hairstyle with confidence and flair! Enjoy the process, and let your inner ice queen shine!
How to Create the Perfect Elsa Hairstyle with Quick Tips
The iconic hairstyle of Elsa from Disney's Frozen has captured the hearts of many. Whether it’s for a costume party, a themed event, or simply to feel magical, replicating her look can be fun and easy with the right techniques. Here are some quick tips to help you create the perfect Elsa hairstyle:
Step-by-Step Guide
- Start with Clean Hair: Begin with freshly washed and dried hair to ensure your style stays intact.
- Use Styling Products: Apply a smoothing serum or light mousse for added grip and shine.
- Create a Deep Side Part: Part your hair deeply on one side to mimic Elsa's signature look.
- Begin Twisting: Take a section of hair from the front and start twisting it back towards the nape of your neck.
- Secure with Pins: Use bobby pins to secure the twist, ensuring it stays in place.
Adding the Braid
To achieve Elsa's beautiful braid:
- Gather Hair: Assemble the remaining hair into a low ponytail.
- Divide into Three Sections: Separate the ponytail into three equal parts for braiding.
- Braid and Secure: Braid the sections together and secure the end with a hair tie.
Final Touches
Spray your hairstyle with a strong-hold hairspray for lasting support. You can also add glitter or hair accessories for a more royal touch!
Conclusion: By following these simple steps, you can achieve an enchanting Elsa hairstyle that not only looks great but also feels secure, allowing you to channel your inner queen throughout the day.


