Creating dough flowers is a delightful blend of artistry and craftsmanship. This unique craft allows you to unleash your creativity while creating beautiful, long-lasting floral arrangements, perfect for any occasion. With just a few simple materials and a bit of practice, you can make stunning floral decorations that look as good as fresh flowers but without the need for constant maintenance. Whether you’re a seasoned crafter or just dipping your toes into the world of DIY, dough flower crafting is a joyful experience that can brighten up your day and your space.
Gathering Your Materials

Before you dive into the world of dough flowers, it's essential to have all the right materials at your fingertips. Proper preparation ensures that your crafting journey goes smoothly and is as enjoyable as possible. Here’s a comprehensive list of what you'll need:
- Basic Ingredients for Dough:
- Flour
- Salt
- Water
- Vegetable oil
- Food coloring (optional, for colored dough)
- Tools:
- Mixing bowl
- Wooden spoon or spatula
- Rolling pin
- Cookie cutters (for shaping petals)
- Craft knife or blade
- Paintbrush (for adding details)
- Wire (for flower stems)
- Floral tape
- Green floral foam or oasis (optional for arrangement)
- Decorative Additions:
- Glitter or shimmer dust
- Beads or small gems (to embellish flowers)
- Ribbon (for finishing touches)
Having everything organized before you start will not only save you time but also make the crafting experience much more enjoyable. Now that you have your materials ready, you’re one step closer to creating those stunning dough flowers!
Also Read This: Cross-Platform Harmony: Moving a Song from SoundCloud to Spotify – A Seamless Connection
Preparing the Dough

Creating stunning dough flowers starts with preparing the perfect dough. The right consistency and texture are crucial for achieving beautiful and realistic flowers. Let’s dive into how to prepare your dough step by step.
First, you’ll need to gather your materials. Here’s a simple list of what you need:
- Flour (all-purpose or bread flour)
- Salt
- Water
- Food coloring (if desired)
- Mixing bowl
- Rolling pin
- Cutting tools (cookie cutters, knives)
Now, let's get mixing! Follow these steps:
- Mix Dry Ingredients: In your mixing bowl, combine equal parts of flour and salt. For small batches, start with 2 cups of flour and 2 cups of salt.
- Add Water: Gradually add water to the dry ingredients while mixing. Aim for a dough that's neither too sticky nor too dry. A good rule of thumb is to start with about 1 cup of water.
- Incorporate Color: If you wish to color your dough, add food coloring now. Knead the dough until the color is evenly distributed.
- Knead the Dough: For about 5 to 10 minutes, knead the dough. It should be smooth and pliable.
Once your dough is ready, let it rest for about 15-30 minutes. This will help it become even more workable as you start crafting your fabulous dough flowers.
Also Read This: How to Change Background in Adobe Photoshop 7.0
Shaping Your Flowers

Now that you’ve got your dough all prepped and ready to go, it’s time to shape those flowers! This is where the fun truly begins, allowing your creativity to shine through.
Here’s a straightforward method to shape beautiful dough flowers:
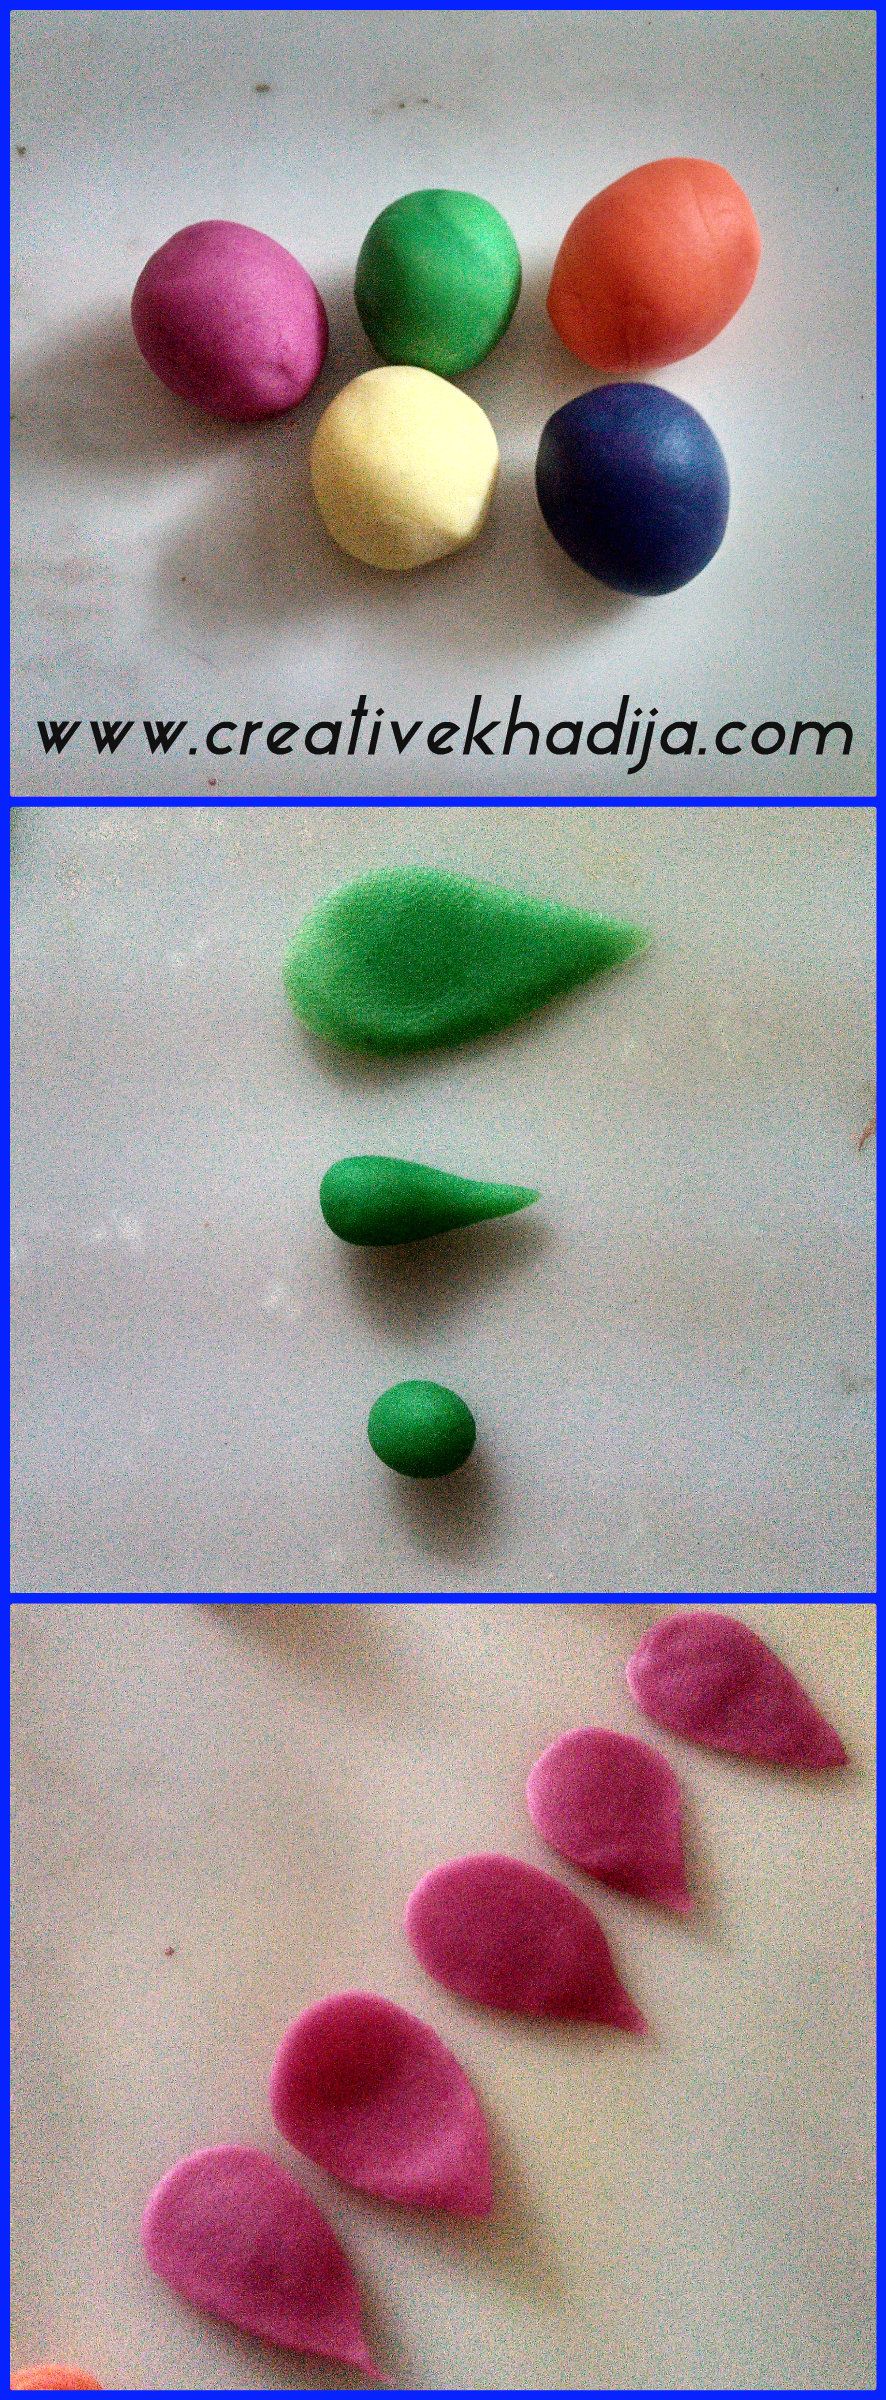
- Roll Out the Dough: Using your rolling pin, roll out a portion of dough to about ¼ inch thick. Make sure it’s an even thickness for uniform petals.
- Cut the Petals: Use cookie cutters or a knife to cut out petal shapes. Think about the type of flower you want to create—daisies, roses, or tulips all have distinct petal shapes.
- Shape the Petals: Gently pinch the center of each petal and curl the edges to create dimension. For roses, you'll want to create layers, slightly overlapping the petals as you place them.
- Add Stamen and Leaves: Don’t forget the details! Create small balls of dough for the stamen and leaf shapes from your rolled dough. Attach them using a little water as glue.
- Paint or Color Details: Once you’re satisfied with the shape, you can add details using edible paint or additional coloring. Consider shading for realistic effects!
With practice, you’ll be shaping stunning flowers in no time. It’s all about having fun and letting your personality show through each petal you create!
Also Read This: How to Stack Images in Deep Sky Stacker
5. Adding Details and Textures
Now that you’ve shaped your dough flowers, it’s time to bring them to life with some fabulous details and textures. This stage is all about elevating those blooms and making them look as realistic and eye-catching as possible. So, grab your tools and let’s get crafting!
Here are some tips to add those wonderful finishing details:
- Piping: Use a piping bag fitted with small tips to create delicate elements like stamens or decorative borders.
- Stippling: For a bit of texture, use a brush or sponge to stipple the flower petals. This creates a lovely, soft look that mimics the fine details of real petals.
- Veining: A veining tool can help you achieve that natural look on petals or leaves. Simply press the tool into the dough to create realistic veins.
- Painting: Use edible paint or gel food coloring to add depth and life to your flowers. A light wash can create a lovely gradient effect.
- Glazing: After painting, consider adding a glaze for a shiny finish that catches the eye.
Let your creativity flow! Experiment with different textures and designs. You can mix and match techniques to create something unique and personal. Remember, the details are what make your dough flowers stand out!
Also Read This: Simple Party Makeup at Home – A Step-by-Step Guide
6. Drying and Finishing Touches
With your gorgeous detailed flowers ready, it’s crucial to allow them to dry properly. This step not only ensures their durability but also enhances their appearance. Every artist knows that good things take time, and this is where patience pays off.
Here’s how to proceed with drying and adding those important finishing touches:
- Air Drying: Depending on the thickness of your dough, leave your flowers to air dry in a cool, dry place. This usually takes 24-48 hours.
- Oven Drying: You can speed up the process by placing your flowers in a low-temperature oven (around 200°F or 93°C) for about 1-2 hours, flipping them halfway.
- Checking Firmness: To ensure they’re thoroughly dry, gently press on a petal. It should be firm to the touch.
- Final Touches: Once dried, you might want to add a final sprinkle of edible glitter for a touch of magic or secure any loose parts with a dab of edible glue.
Once your flowers are fully dried and decorated, they are ready to be showcased! You can use them for cake decorations, party favors, or just as delightful home decor. Enjoy your beautiful creations and marvel at the stunning dough flowers you've crafted!
Also Read This: Blending Two Images in Canva: A How-To
Creative Ideas for Dough Flower Arrangements
When it comes to showcasing your beautiful dough flowers, the world is your oyster! There are countless ways to arrange them to create a visually stunning display. Here are some creative ideas to get your imagination flowing:
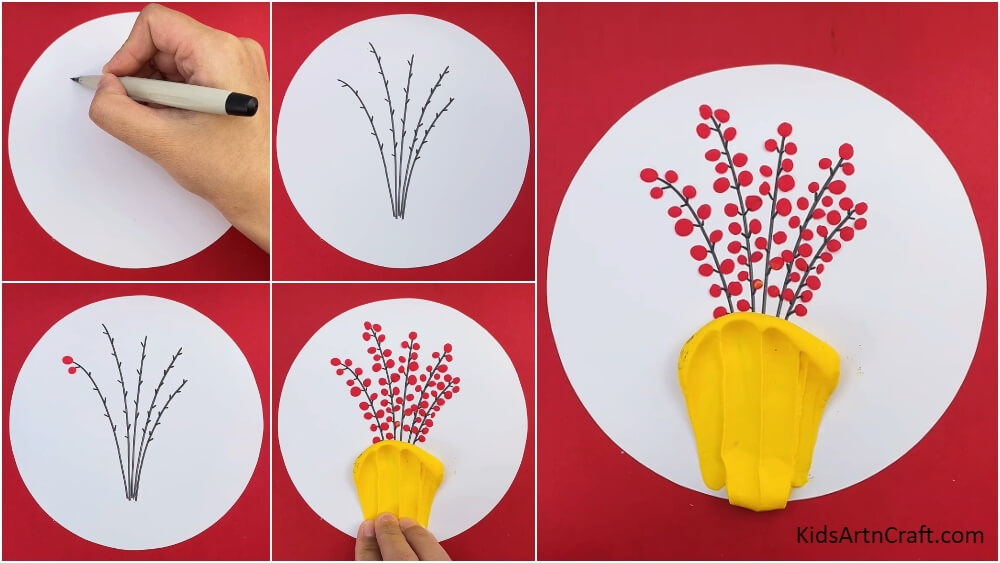
- Centerpiece Wonders: Arrange your dough flowers in a beautiful vase as a centerpiece for your dining table. Use various heights and sizes to create depth. Mixing in some artificial greenery can also add a pop of color and texture.
- Wreath Creations: Use your dough flowers to make a stunning wreath for your door or wall. A circle of flowers can represent unity and beauty, perfect for any season when crafted in appropriate colors.
- Gift Wrapping: Add a personal touch to your gifts by attaching small dough flowers as embellishments. They make lovely decorations for birthdays, weddings, or any special occasion.
- Seasonal Displays: Change your arrangements based on the season! Use pastel shades for spring, bright colors for summer, warm tones for autumn, and icy blues for winter.
- Wall Art: Create wall hangings using your dough flowers. Use a canvas or wooden board as a base and glue your flowers to form a beautiful, textured art piece.
Don’t be afraid to experiment! Mix and match different flower styles, colors, and materials to create an arrangement that speaks to you. Remember, the beauty of art lies in its diversity.
Conclusion and Next Steps
Creating stunning dough flowers is not only a fun and rewarding craft but also an opportunity to express your creativity! We've journeyed through the step-by-step process of making these delightful creations and explored various arrangement ideas. Now, let’s wrap up and look at your next steps:
- Practice: The more you practice making dough flowers, the better you'll become. Don’t hesitate to try new techniques and shapes!
- Share Your Creations: Show off your beautiful arrangements on social media or with friends and family. They might even be inspired to join you!
- Experiment: Try mixing colors and styles. Experiment with different dough recipes as well, such as adding scents or using edible glitter for a sparkling effect.
- Join a Community: Look online or in local craft groups for fellow dough flower enthusiasts. Sharing tips and tricks can be incredibly valuable!
- Explore Seasonal Themes: Keep your arrangements fresh by creating seasonal themes. It could be fun to shift from summer blooms to winter frost!
Remember, creating dough flowers should be joyous and fulfilling. Enjoy the process, and don’t hesitate to let your unique style shine through!
 admin
admin


