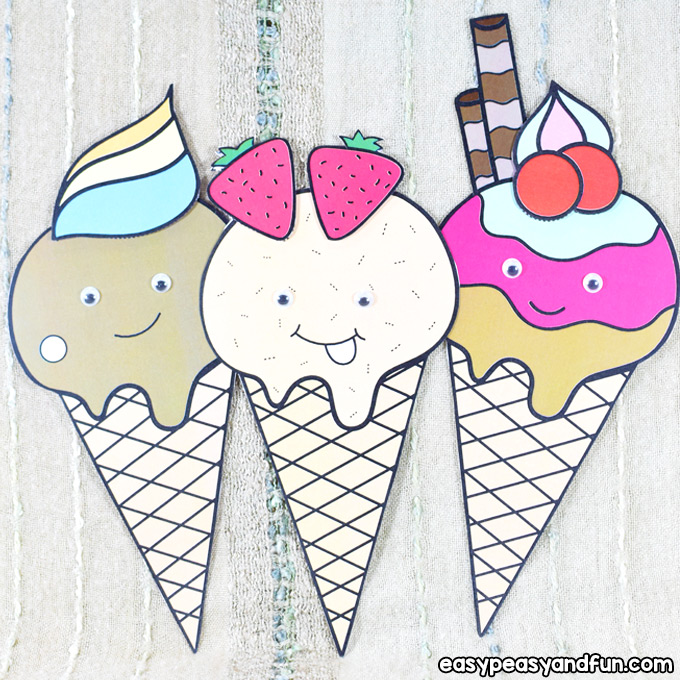
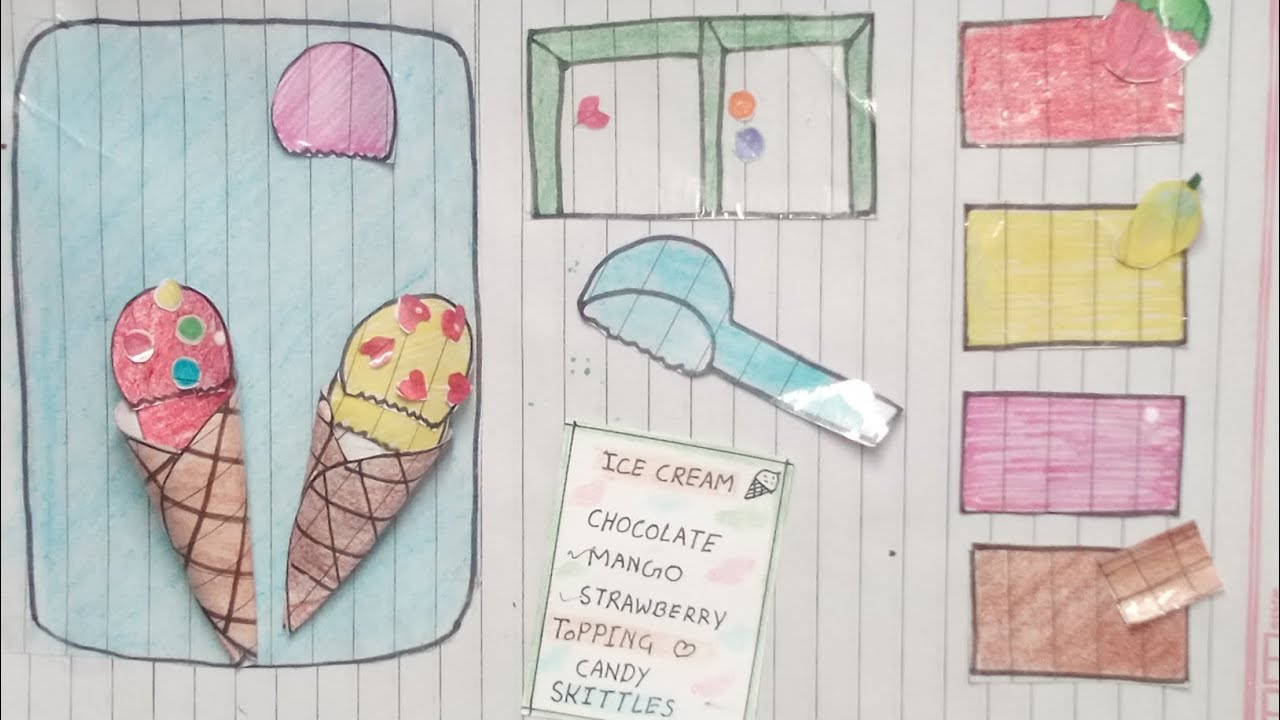
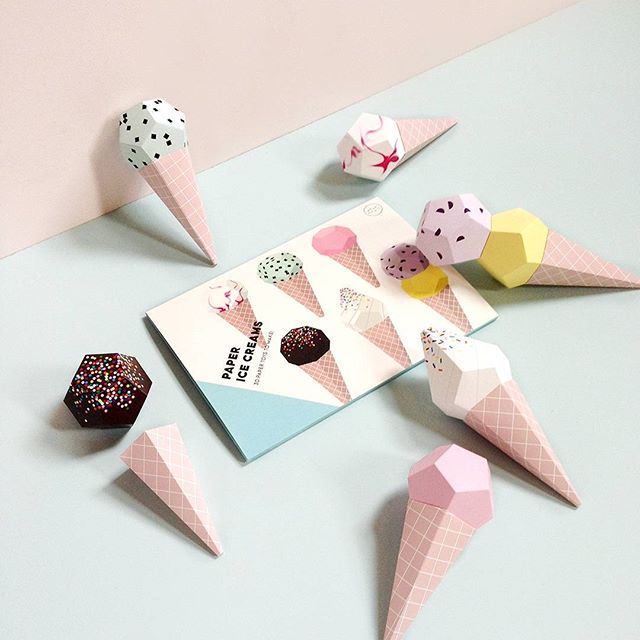
Creating paper ice cream is not just a fun craft; it's a fantastic way to unleash your creativity! Whether you're looking to entertain your kids, spruce up a school project, or simply enjoy some quiet time with a hands-on activity, making faux ice cream from paper can be a delightful experience. Let's dive into the exciting world of DIY paper ice cream and learn how to bring these colorful, tasty-looking creations to life!
Materials Needed

Before jumping into the crafting process, it’s essential to gather all your materials. Here’s a comprehensive list of what you will need to create your stunning paper ice cream creations:
- Colored Paper: Choose vibrant colors to represent different flavors—think pink for strawberry, brown for chocolate, yellow for banana, and so on!
- Scissors: A good pair of scissors will help you cut out shapes and details with ease.
- Glue Stick or Liquid Glue: You’ll need this to hold your paper creations together; glue sticks are often less messy.
- Markers or Colored Pencils: Use these for adding details, such as sprinkles, cherries, or any decorative elements you’d like.
- Cardstock (Optional): For sturdy ice cream cones, cardstock provides a nice thickness and durability.
- Brown Paper Bags or Craft Paper: These can be used to give your cones a more realistic texture and color.
- Templates: Having templates for cones and scoops can make your process easier. You can create your own or find free printable ones online.
- Wiggle Eyes (Optional): For a whimsical touch, you can add googly eyes to give your paper ice cream some personality!
With these materials at hand, you're well on your way to creating your own delightful paper ice cream treats. Now that you're equipped, let’s get crafting!
Step-by-Step Guide to Creating Paper Ice Cream

Creating paper ice cream is a fun and simple craft that sparks creativity, making it perfect for kids and adults alike! Here’s a step-by-step guide to help you whip up your paper ice cream treats.
- Gather Your Materials:
- Colored paper (construction paper or scrapbook paper)
- Scissors
- Glue or a glue stick
- Markers or crayons
- Stickers or embellishments (optional)
- Design the Cone:
Start by cutting a triangle out of your brown or tan paper. This will serve as the ice cream cone.
For added flair, you can create a waffle cone texture by making small criss-cross lines on the paper using a ruler and pencil.
- Create the Ice Cream Scoops:
Next, cut out circles from your colored paper to represent ice cream scoops. You can choose as many colors as you'd like! Think strawberry pink, mint green, and chocolate brown, or get inventive with rainbow colors.
- Assemble the Ice Cream:
Using glue, layer the paper scoops on top of the cone, starting with the biggest scoop at the bottom and working your way up to the smallest. Feel free to let some scoops overlap for a more realistic look!
- Personalize Your Creation:
Finish off by decorating your paper ice cream. Use markers to add sprinkles, chocolate syrup, or even faces on the scoops. Stickers and paper cut-outs can also add a fun touch.
And voilà! Now you've got a delightful paper ice cream treat to showcase or share with friends!
Creative Techniques for Decoration

Once you've mastered the basics of making paper ice cream, it’s time to get creative with decorative techniques to elevate your craft! Here are some imaginative ideas:
- Texture Techniques:
- Ruffled Edges: Use scissors to create ruffled edges on the ice cream scoops for a whimsical look.
- 3D Elements: Try adding puffy paint or foam stickers on top of the scoops to give a real ice cream texture.
- Color Blending:
Use watercolors or color pencils to blend multiple shades together on the scoops for a more realistic, mouth-watering effect.
- Fun Add-ons:
Add embellishments like:
- Miniature paper umbrellas
- Cut-out fruit shapes for toppings
- Little chocolate or candy cut-outs
- Creative Backgrounds:
Consider making a fun background for your paper ice cream. Use patterned scrap paper or draw a sunny landscape to showcase your treat.
Decorating your paper ice cream can turn a simple craft into a unique piece of art, perfect for playtime or even as a party decoration!
Where to Share Your Paper Ice Cream Creations
After putting your heart and creativity into making those delightful paper ice cream creations, you're probably eager to show them off! Fortunately, there are plenty of platforms where you can share your artistic flair and connect with other DIY enthusiasts.
Here are a few awesome places to consider:
- Social Media: Platforms like Instagram, Facebook, and Pinterest are perfect for sharing visual content. You can post captivating photos of your creations along with fun captions. Using hashtags like #DIYArt, #PaperCrafts, and #CreativeProjects can help you reach a broader audience.
- Crafting Websites: Sites like Instructables or Craftster are fantastic for sharing step-by-step guides and tutorials. You can also find inspiration from others!
- Blogs: If you love to write, consider starting your own blog dedicated to craft projects. Share your process, tips, and finished pieces. This can create a community where like-minded crafters can interact.
- Local Craft Fairs: Don't underestimate the power of in-person interactions! Local craft fairs or community events are ideal for displaying your work and even selling it if you choose.
Remember, sharing your creations not only showcases your talent but can also inspire others to start their own fun DIY projects. So, be proud of your paper ice cream, snap those pics, and don’t hesitate to share with the world!
Conclusion
Creating paper ice cream is more than just a fun activity; it's an avenue for unleashing your creativity and honing your crafting skills. Whether you're making these paper treats for a party, as a gift, or just for your own enjoyment, there's something truly magical about transforming simple materials into something delightful and eye-catching.
As you embark on this DIY adventure, remember to:
- Gather all necessary materials before starting your project.
- Explore different designs and techniques to make your paper ice cream unique.
- Share your finished creations for others to enjoy and be inspired.
So grab your paper, scissors, and glue, and get ready to create some amazing paper ice cream! It’s an engaging project that can be enjoyed solo or with friends and family. Don't be afraid to experiment and have fun — that's what crafting is all about!
 admin
admin


