Edible images are a fun and creative way to add a personal touch to your baked goods. These images can be printed on edible paper using special food-grade inks and are perfect for birthdays, weddings, or any special occasion. They allow you to transform ordinary cakes, cupcakes, cookies, and other treats into stunning edible art. With endless design possibilities, you can print images of loved ones, favorite characters, or custom logos. The beauty of edible images lies in their ability to make any celebration more memorable.
Gathering Your Supplies for Edible Images
Before you start creating edible images, it's essential to gather all the necessary supplies. Here’s a handy list to help you:
- Edible Ink Printer: A printer designed specifically for printing edible images.
- Edible Ink Cartridges: Special ink that is safe for consumption.
- Edible Paper: Typically made from rice or frosting, this paper is where you will print your images.
- Image Editing Software: Software to adjust your images, like Photoshop or free alternatives such as GIMP.
- Food Items: Cakes, cookies, or cupcakes where you will apply the edible image.
- Scissors: For cutting out your printed images.
Make sure to have a clean workspace to ensure your images come out perfectly. This will help avoid any contamination and maintain the quality of your edible creations.
Also Read This: Editing Your LinkedIn Posts After Publishing
Choosing the Right Image for Edible Printing

Picking the right image is crucial for creating stunning edible images. Here are some tips to help you choose wisely:
- High Resolution: Opt for images that are at least 300 DPI (dots per inch) to ensure clarity and quality when printed.
- Bright Colors: Images with vibrant colors tend to stand out better and look more appealing.
- Simple Designs: Intricate details may not translate well to edible images. Choose designs that are clear and bold.
- Personal Touch: Consider using family photos, pet pictures, or personal artwork for a unique and special touch.
Once you've selected your image, you can use editing software to make any necessary adjustments. Cropping the image or adding text can enhance its appeal, ensuring it looks great on your baked goods.
Also Read This: Essential Strategies for Avoiding Copyright Issues on YouTube
Preparing the Image for Printing
Once you have chosen the perfect image, it's time to prepare it for printing. This step is crucial for ensuring that your edible image looks fantastic when applied to your treats. You'll want to ensure that your image fits well on the edible paper and is set up correctly for printing. Here’s how to do it:
- Resize the Image: Use image editing software to adjust the dimensions of your image. Make sure it fits the size of the edible paper you're using.
- Adjust the Resolution: Set the resolution to at least 300 DPI. This ensures your printed image will be sharp and clear.
- Edit Colors: If your image looks a bit dull, enhance the colors to make them pop. Remember that colors may appear differently once printed, so keep that in mind.
- Test Print: Consider doing a test print on regular paper first to see how it looks. This can help you spot any adjustments needed before using the edible paper.
After preparing your image, make sure to save it in a compatible format, such as JPEG or PNG. Once everything looks perfect, you are ready to move on to the printing process!
Also Read This: The Fastest-Growing YouTube Channel Trends for 2024
Printing Your Edible Image
Now that your image is ready, it's time for the exciting part—printing! Follow these steps to ensure a smooth printing process:
- Load the Edible Paper: Carefully load the edible paper into your printer. Make sure to follow the manufacturer's instructions for proper placement.
- Set Printer Settings: Adjust your printer settings. Use a high-quality print setting and make sure to select the appropriate media type for edible paper.
- Print a Test Image: It’s wise to print a test image to ensure everything is functioning correctly before printing your final design.
- Print Your Edible Image: Once everything is set up, hit the print button! Watch as your edible image comes to life.
After printing, allow the image to dry for a few minutes. This will help the colors set and prevent smudging when you apply it to your treats.
Also Read This: How to Save PDFs as Images on iPhone
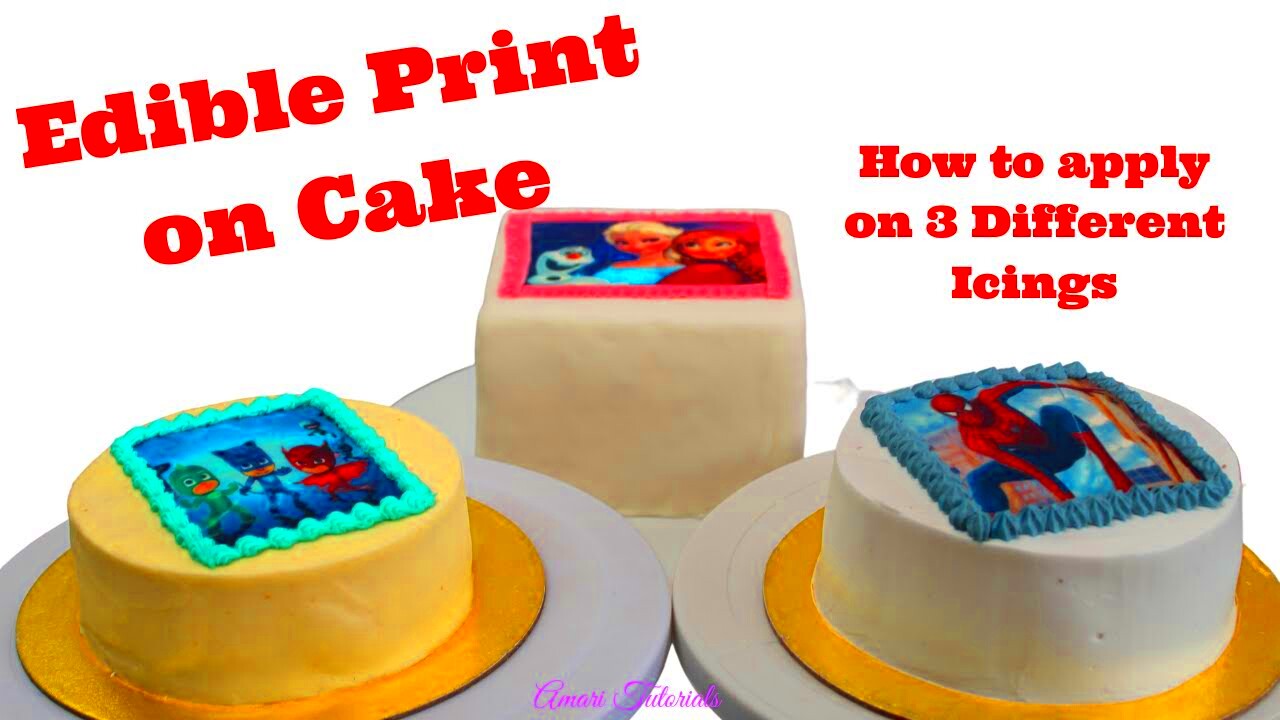
Applying the Edible Image to Your Treats
Now comes the fun part—applying your edible image to your delicious creations! This step can make or break the look of your treats, so here’s how to do it right:
- Prepare the Surface: Make sure your cake, cupcake, or cookie is clean and dry. A smooth surface helps the image adhere better.
- Trim the Edible Image: Use scissors to carefully cut out your printed image, leaving a small border if desired.
- Moisten the Surface: Lightly mist the surface of your treat with water or use a small amount of edible glue. This helps the image stick.
- Apply the Image: Gently place the edible image on your treat. Smooth it out carefully to avoid air bubbles or creases.
- Let It Set: Allow the edible image to set for a few minutes before serving. This ensures it adheres well and looks great.
And there you have it! With a little patience and care, your edible images will transform your baked goods into delightful, personalized masterpieces.
Also Read This: How to Download Videos from the Dailymotion App
Storing Edible Images for Later Use
After you've gone through the effort of creating your edible images, you'll want to ensure they stay fresh and usable for future projects. Proper storage is key to maintaining their quality and longevity. Here are some simple tips to help you store your edible images:
- Keep Them in a Cool, Dry Place: Store your images in a cool and dry area, away from direct sunlight. Humidity and heat can affect their texture and usability.
- Use an Airtight Container: Place your edible images in an airtight container. This protects them from moisture and helps prevent them from sticking together.
- Label the Container: If you have multiple images or different types of edible paper, label the container. This way, you’ll know what’s inside without opening it.
- Check Expiration Dates: Edible papers and inks can have expiration dates. Be sure to check these dates before using your stored images.
By following these simple storage tips, you can ensure that your edible images remain fresh and ready for your next baking adventure. A little care goes a long way in preserving your delicious creations!
Also Read This: Make Money on Alamy by Selling Your Stock Photos
Frequently Asked Questions About Edible Images
As you dive into the world of edible images, you might have a few questions. Here are some common inquiries and their answers to help clarify any confusion:
- Can I use any printer for edible images? No, you need a printer specifically designed for edible ink. Standard printers use inks that are not safe for consumption.
- How long do edible images last? When stored properly, edible images can last several months. However, it's best to use them before the expiration date on the packaging.
- Are edible images safe to eat? Yes! Edible images are made from food-grade ingredients, so they are safe for consumption.
- Can I use edible images on any type of dessert? Yes, you can use edible images on cakes, cookies, cupcakes, and even chocolate-covered treats!
- Do I need special tools to apply edible images? No special tools are required, but having a pair of scissors, a clean surface, and a light mist of water or edible glue can help.
If you have more questions or need additional clarification, don't hesitate to reach out to suppliers or fellow bakers. They can provide valuable insights!
Conclusion on Creating Edible Images at Home
Creating edible images at home can be a rewarding and enjoyable experience. It allows you to personalize your treats and add a unique touch to any celebration. By understanding the entire process—from selecting your image to printing and applying it—you can elevate your baking game.
Remember to gather the right supplies, prepare your images carefully, and store them properly for future use. Don't shy away from experimenting with different designs and techniques. With a bit of practice, you'll find it easier and more enjoyable to create stunning edible images that impress family and friends.
So, roll up your sleeves, unleash your creativity, and start making your treats even more delightful with edible images. Happy baking!
 admin
admin


