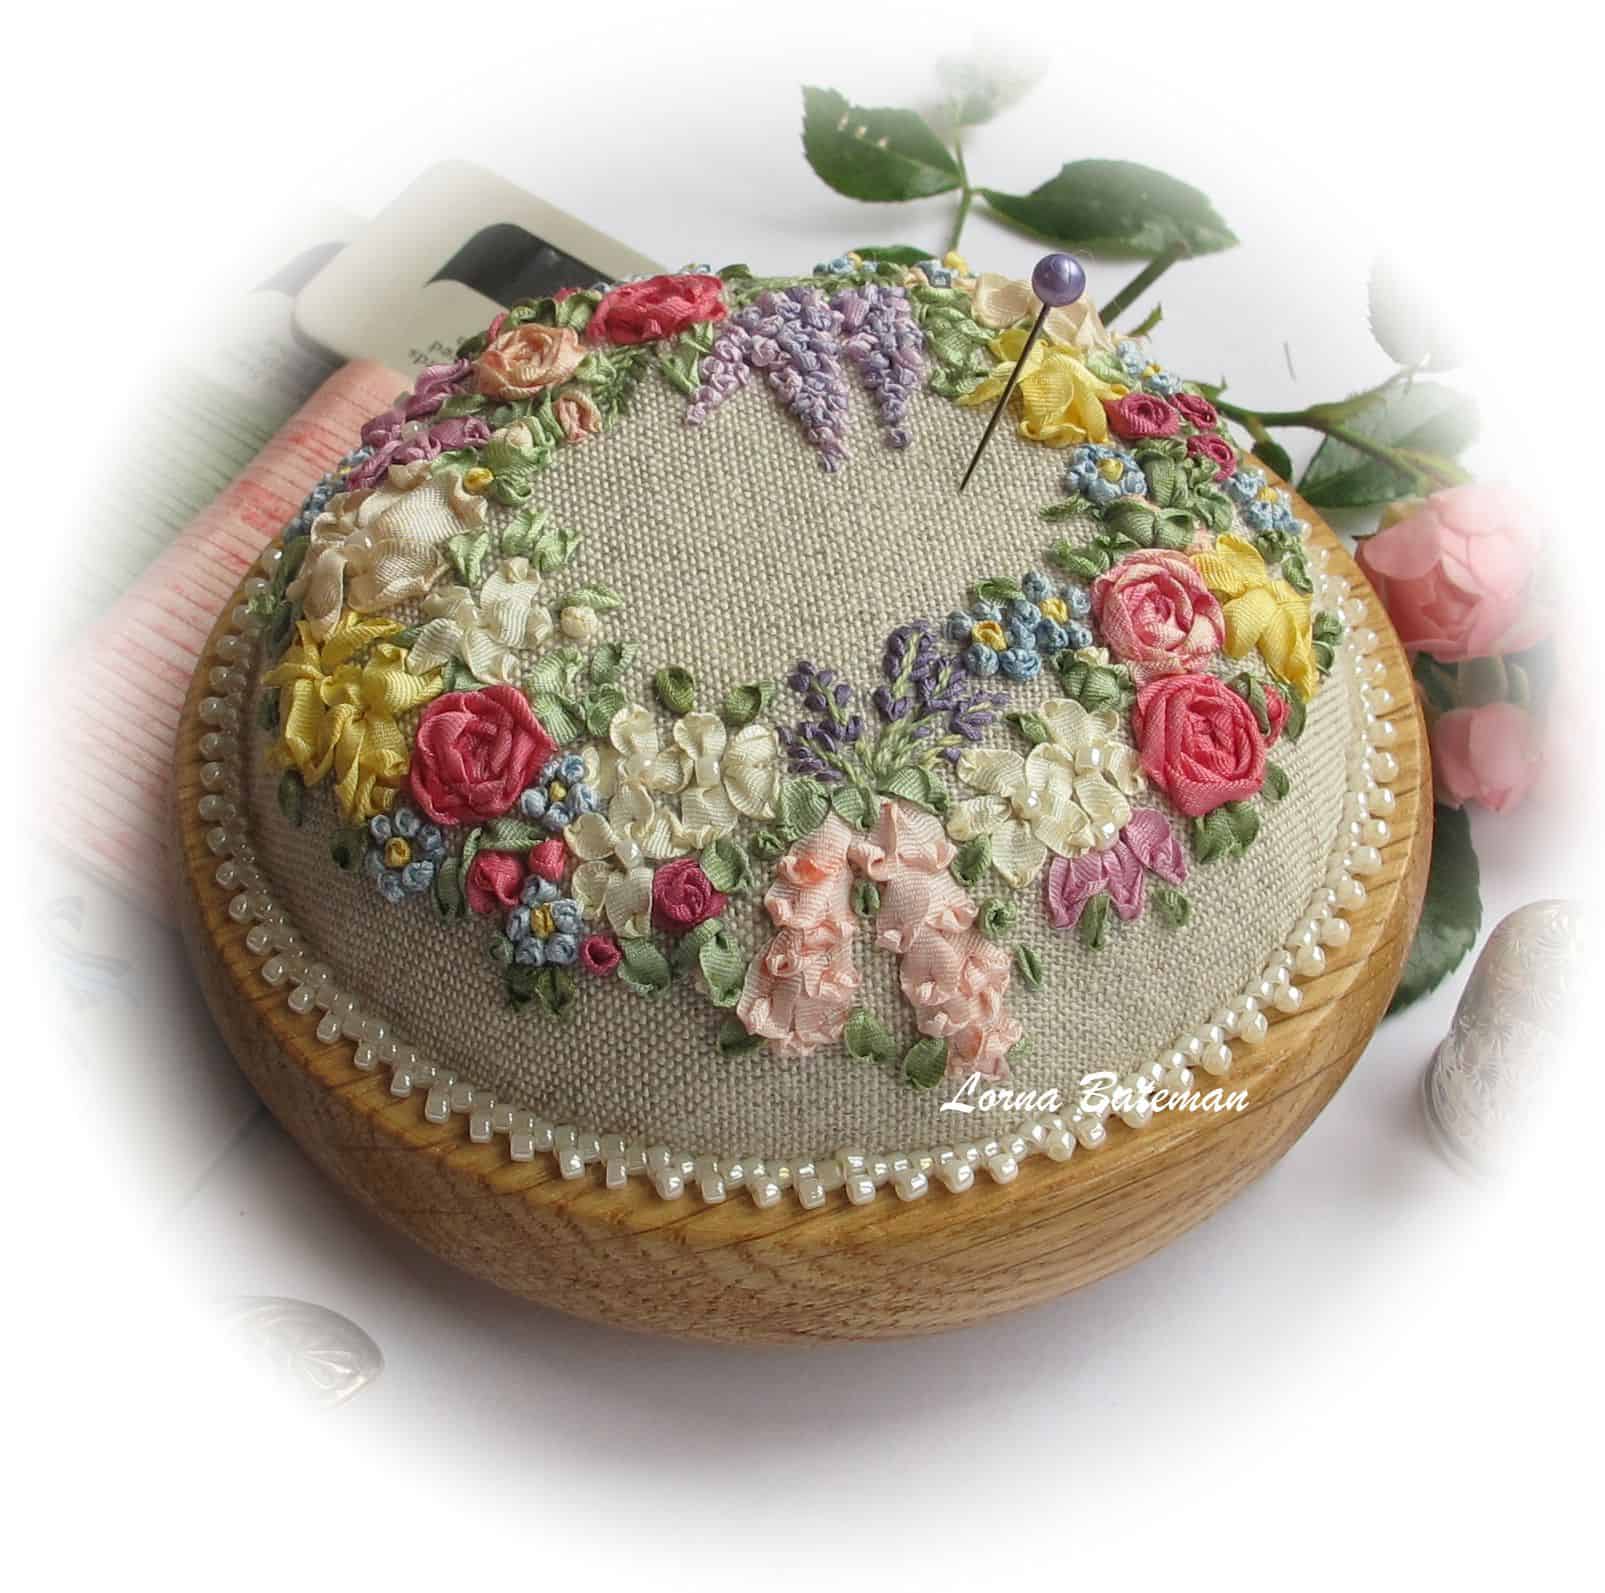
Welcome to the vibrant world of ribbon embroidery! This delightful craft combines the elegance of ribbon with the art of needlework, allowing you to create stunning and textured designs. Whether you're a seasoned embroidery enthusiast or a complete beginner, ribbon embroidery offers a unique way to express your creativity. Imagine transforming a simple piece of fabric into a breathtaking work of art, adorned with beautiful flowers, intricate patterns, and unique embellishments. In this guide, we’ll walk you through everything you need to know to get started on your ribbon embroidery journey.
Essential Materials for Ribbon Embroidery

Before you dive headfirst into the delightful realm of ribbon embroidery, you'll want to gather a few essential materials. Having the right tools will make your stitching experience smoother and more enjoyable. Here’s a list of what you’ll need:
- Ribbons: Choose high-quality satin or silk ribbons in various widths and colors. A variety of sizes will allow for more creative designs.
- Needles: Use specialized embroidery needles that have a larger eye to accommodate the thickness of the ribbons. Chenille needles work beautifully for this purpose.
- Fabric: Select a sturdy fabric like cotton or linen as your base. You can also try a fabric with some texture, like muslin, for added interest.
- Embroidery Thread: You'll need a selection of embroidery floss for outlining and adding detail to your designs.
- Scissors: A sharp pair of fabric scissors will be essential for cutting ribbons to your desired lengths.
- Hoops: An embroidery hoop is great for keeping your fabric taut and making your stitching easier.
- Design Patterns or Templates: Having a few designs sketched out or printed can help guide your embroidery and inspire your creativity.
With these materials in hand, you're ready to unleash your creativity and explore the enchanting art of ribbon embroidery!
Also Read This: How to Create a Dollhouse with This Simple Craft Tutorial
Basic Stitches and Techniques

When it comes to ribbon embroidery, mastering some of the basic stitches is crucial for beginners and experts alike. These stitches form the foundation of your projects and can lead to some truly stunning results. Let’s take a closer look at a few essential stitches you should get comfortable with.
- Straight Stitch: This is the simplest stitch and a great starting point. Just thread your ribbon through the fabric and pull it straight through. You can move your needle up and down in even intervals to make it neat.
- French Knot: This stitch adds texture and a three-dimensional element to your work. To create it, wrap the ribbon around the needle several times, insert it back into the fabric, and pull it tight.
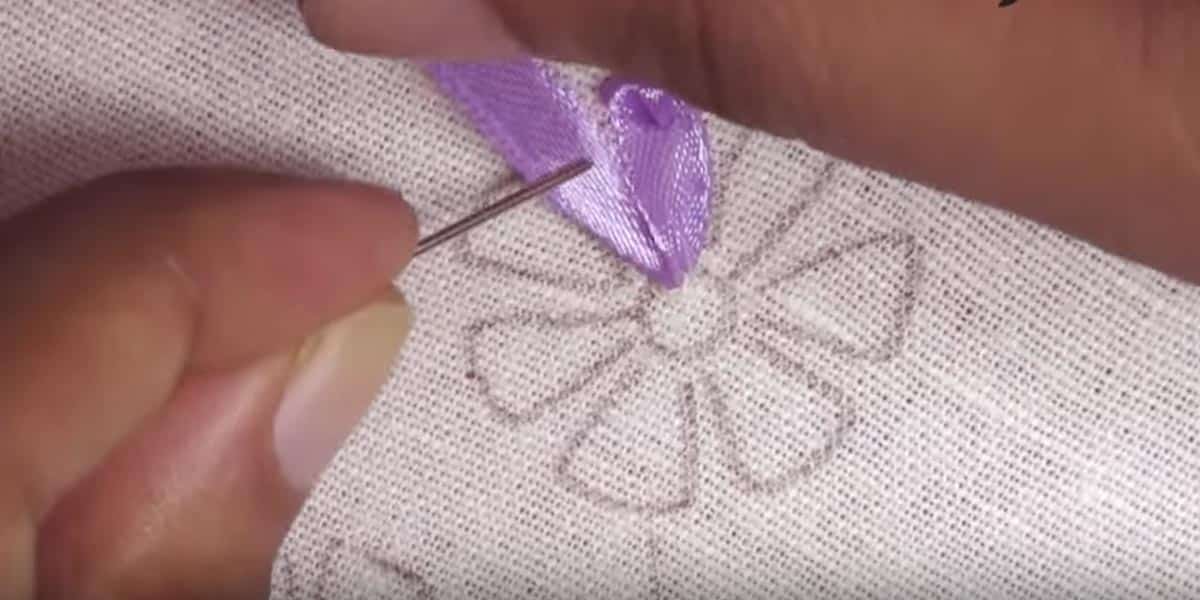
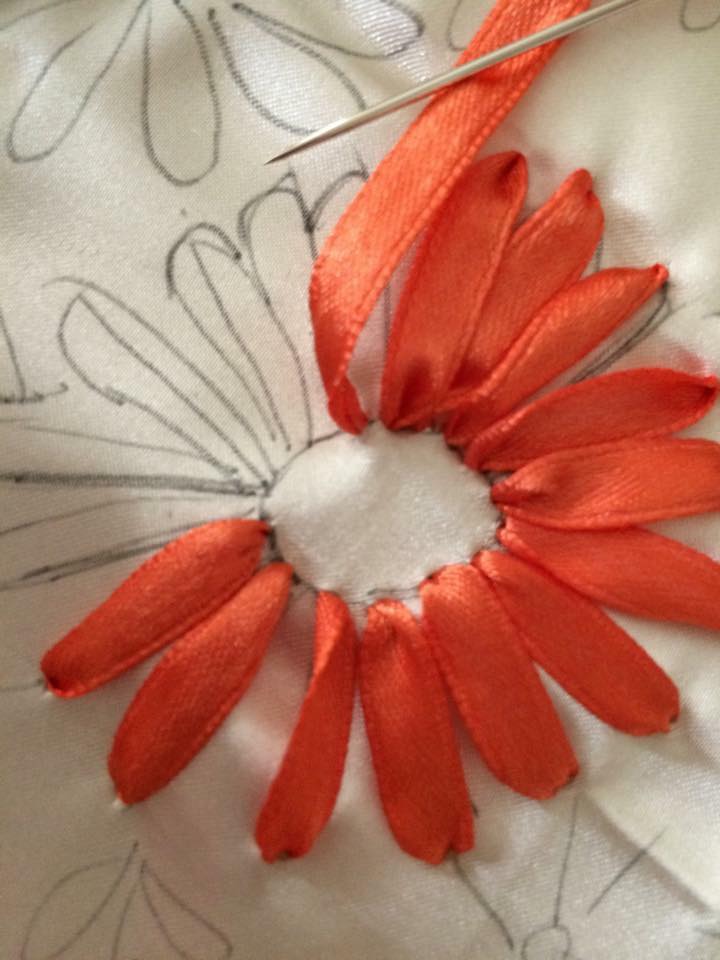
- Lazy Daisy: Known for its cute, petal-like appearance, the lazy daisy stitch involves creating a loop and attaching it to the fabric with a tiny stitch. It’s perfect for floral designs!
- Peking Knot: This is a fun stitch that creates a bumpy appearance, great for filling in spaces. It involves looping the ribbon around a finger and threading it back through to secure.
Once you’ve practiced these basic stitches, you'll find them much easier to incorporate into your projects. Remember, the beauty of ribbon embroidery lies not only in the techniques but also in your ability to combine them creatively!
Also Read This: Showcasing Honor Society Memberships on LinkedIn
Exploring Creative Designs

Now that you’re familiar with the basic stitches, it’s time to dive into the world of creative designs. The beauty of ribbon embroidery is that there are virtually no limits to what you can create. Let's explore some exciting design ideas that can inspire your next project!
| Design Idea | Description |
|---|---|
| Floral Patterns | Utilize various stitches to create beautiful flowers like roses, daisies, and sunflowers. Play with colors to give life to your garden scene! |
| Nature Scenes | Incorporate trees, mountains, or water elements. Use different shades of green and blue ribbons to mimic the natural world. |
| Animal Designs | Bring adorable creatures to life. Think bunnies, birds, or even butterflies—expertly placed stitches can mimic fur or feathers! |
| Seasonal Themes | Reflect the changing seasons with appropriate colors and motifs. Use warm tones for fall leaves or soft pastels for spring flowers. |
Feel free to mix and match these ideas! By combining various stitches and designs, you can create unique artwork that reflects your personal style. So grab your ribbons, thread your needle, and let your creativity flow!
Also Read This: How to Increase Image Size in GIMP
5. Step-by-Step Guide to a Simple Ribbon Embroidery Project

Jumping into ribbon embroidery doesn’t have to be intimidating! Let’s walk through a simple project that will have you creating beautiful designs in no time. Here’s what you’ll need:
- Selection of ribbons (satin or silk works beautifully)
- Embroidery hoop
- Needle (make sure it’s wide enough for your ribbon)
- A piece of fabric (cotton or linen is ideal)
- Scissors
- Fabric marker or pencil
- Embroidery floss (optional for details)
Now, let’s get started!
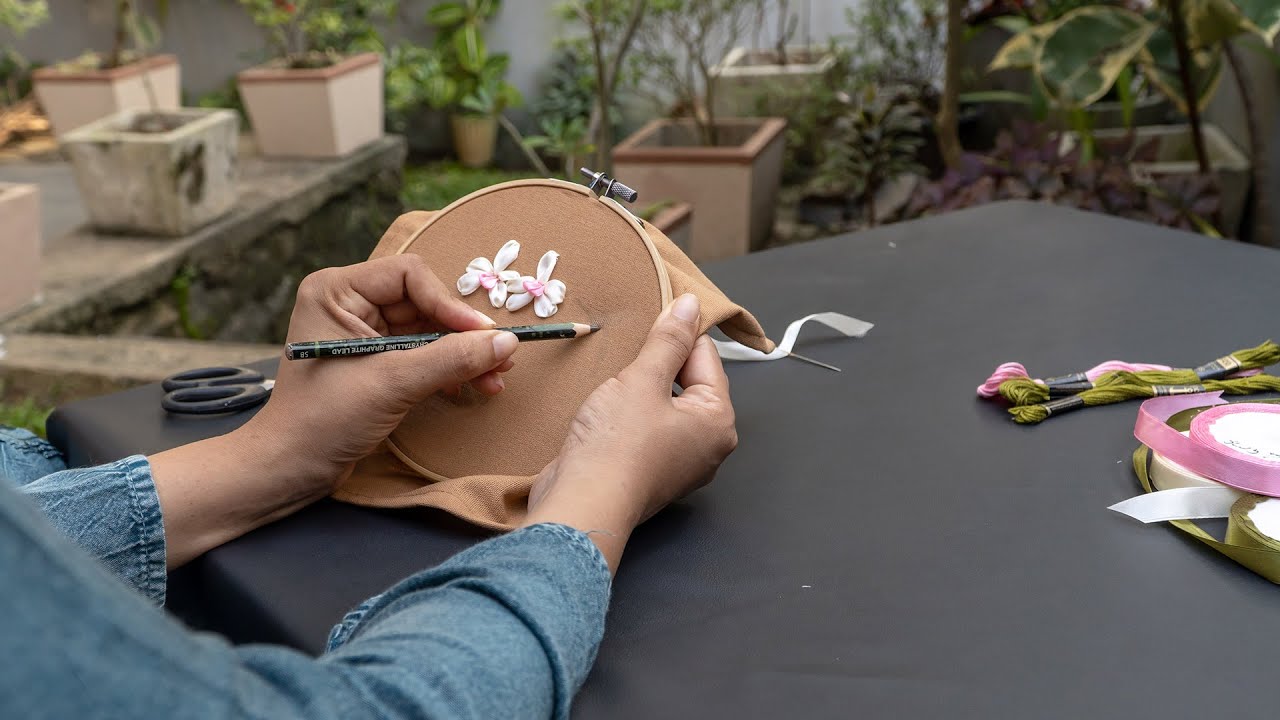
- Choose Your Design: Sketch a simple floral or leaf pattern on your fabric using the fabric marker. This gives you a clear guide as you sew.
- Prepare Your Ribbons: Cut different lengths of ribbons in your chosen colors. Remember, varying lengths can add depth!
- Secure the Fabric: Place your fabric in the embroidery hoop. This keeps it taut and makes stitching easier.
- Start Stitching: Thread your needle with a ribbon and tie a knot at the end. Use basic stitches—like the straight stitch or lazy daisy—to outline your design.
- Add Details: Use the embroidery floss to add accents, like little dots or swirls, to enhance your design.
- Finish Up: Once you’re satisfied with your creation, tie off your ribbons and trim any excess fabric around the hoop.
And just like that, you have a lovely piece of ribbon embroidery! Remember, practice makes perfect, so don’t hesitate to try it again!
Also Read This: Whiteboard Wonders: Unlocking More Colors on Microsoft Whiteboard
6. Tips for Enhancing Your Ribbon Embroidery Skills
As you embark on your ribbon embroidery journey, you might be eager to elevate your skills further. Here are some simple yet effective tips that can help you shine in your embroidery projects:
- Experiment with Ribbons: Different materials can create unique effects. Try organza, velvet, or even cotton ribbons to see how they change the look of your work.
- Play with Colors: Use a color wheel to choose complementary colors for your ribbons. This can greatly enhance the visual appeal of your designs.
- Practice Various Stitches: Familiarize yourself with a range of stitches, such as the French knot, stem stitch, and chain stitch. Each adds a distinct texture.
- Invest in Quality Tools: Good scissors, a thimble, and high-quality ribbons can make a world of difference in your embroidery experience.
- Join a Community: Consider joining online forums or local groups where you can share tips, ask questions, and showcase your work. Collaboration sparks creativity!
- Patience is Key: Like any art, ribbon embroidery takes time to master. Don't rush the process; enjoy each stitch!
By incorporating these tips into your practice, you’ll find your ribbon embroidery skills taking a delightful leap. Happy stitching!
How to Create Beautiful Ribbon Embroidery with Creative Techniques
Ribbon embroidery is a stunning textile art form that incorporates beautifully textured ribbons into traditional embroidery techniques. This unique form of embroidery results in three-dimensional floral designs and intricate patterns, offering a new dimension to your fabric projects. Here are some creative techniques that can enhance your ribbon embroidery skills.
Essential Tools for Ribbon Embroidery
Before you start your ribbon embroidery journey, gather the following tools:
- Ribbons: Use satin, organza, or silk ribbons in various widths and colors.
- Needles: Opt for embroidery or tapestry needles with a wider eye to accommodate the ribbon.
- Fabric: Choose a sturdy fabric like cotton, linen, or canvas as your base.
- Scissors: Make sure you have sharp scissors to cut the ribbons cleanly.
- Embroidery Hoop: An embroidery hoop helps keep your fabric taut while you work.
Basic Stitches for Ribbon Embroidery
Familiarize yourself with these basic stitches that are fundamental to ribbon embroidery:
| Stitch Name | Description |
|---|---|
| Satin Stitch | A smooth stitch used for filling shapes with ribbon. |
| Lazy Daisy | A petal stitch that creates floral designs. |
| French Knot | A decorative knot for adding texture and whimsy. |
Creative Techniques to Enhance Your Work
To take your ribbon embroidery to the next level, consider these creative techniques:
- Layering: Combine different colors and sizes of ribbons for depth.
- Color Blending: Use ombre ribbons to create a gradient effect.
- Combining Mediums: Incorporate beads or sequins for added glamour.
By exploring these techniques and utilizing the right tools, you can create exquisite ribbon embroidery projects that showcase your artistic flair.
Conclusion: Embrace your creativity with ribbon embroidery and don't be afraid to experiment with different stitches and materials to create your unique designs.
 admin
admin


