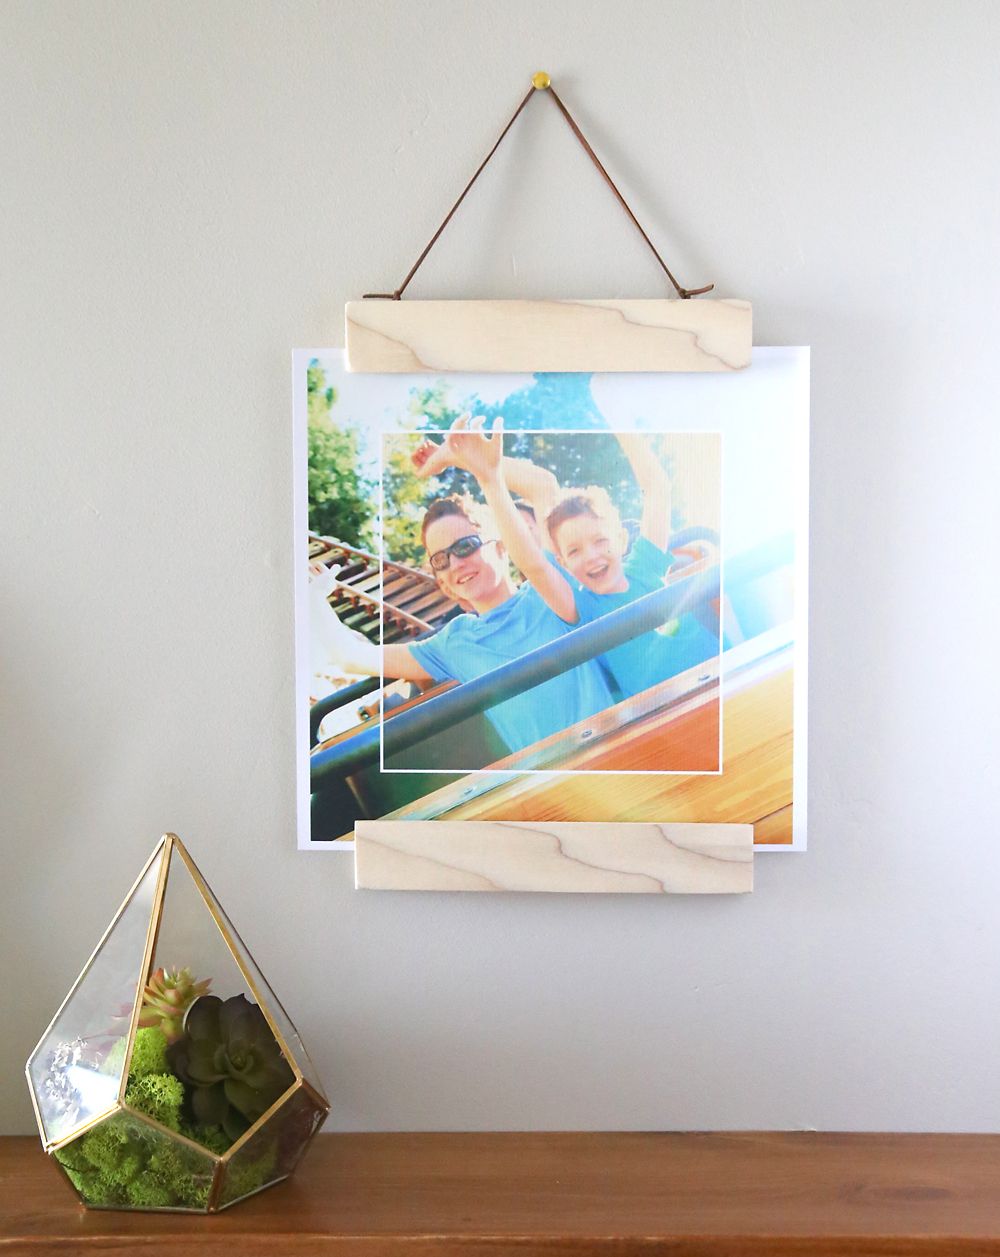
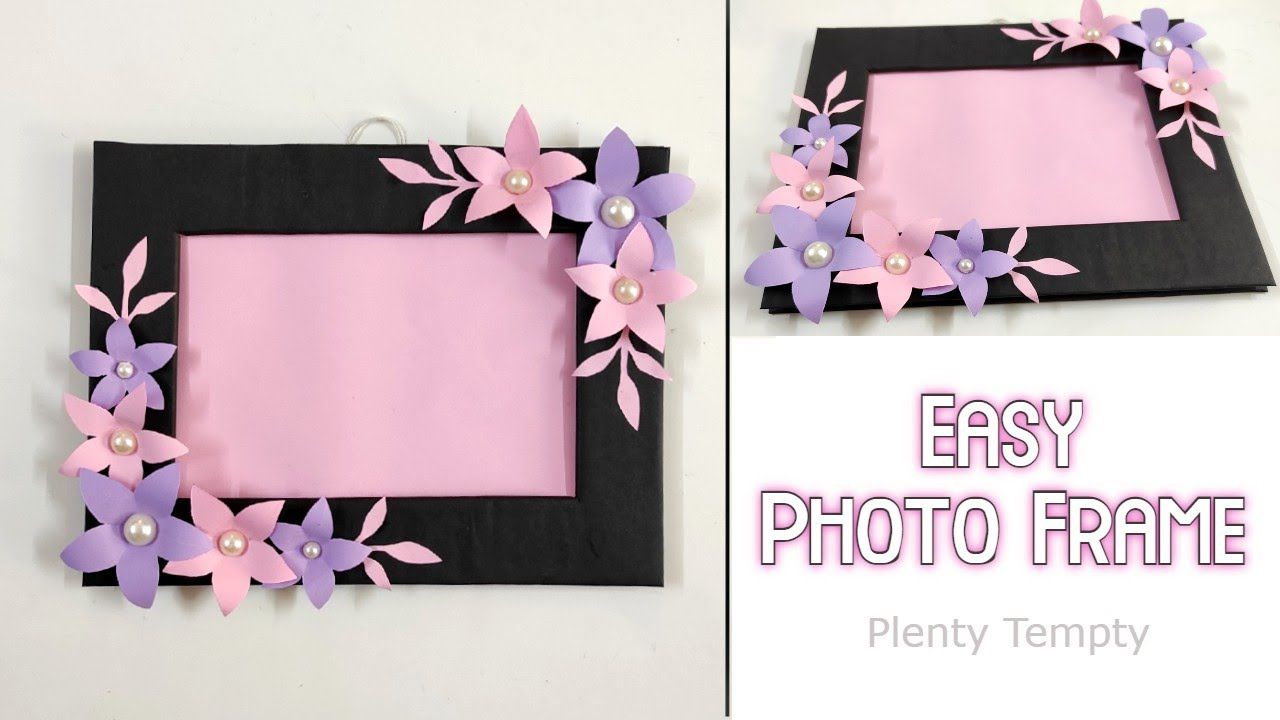
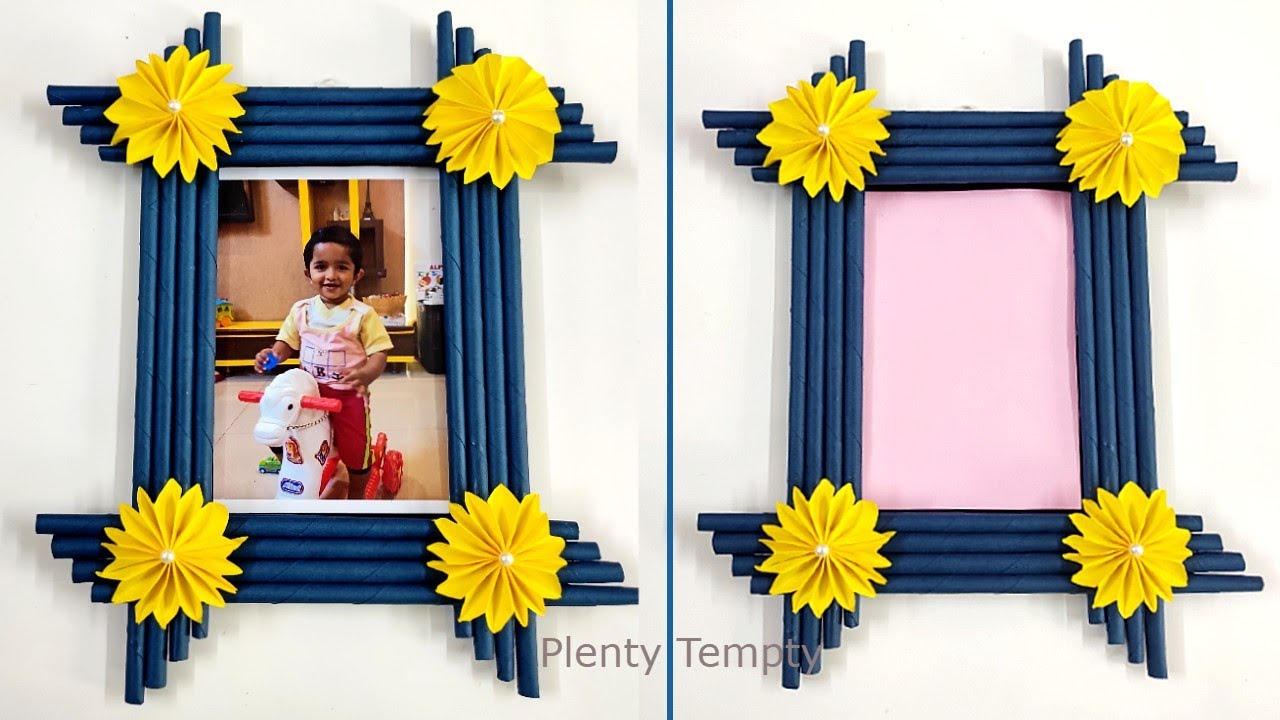
Creating handmade photo frames can add a personal touch to your home decor, making your space feel inviting and uniquely yours. With just a few materials and a sprinkle of creativity, you can transform simple elements into beautiful, custom frames that showcase your most cherished memories. Whether you're looking to decorate your living room, bedroom, or even a home office, crafting your own frames is not only fulfilling but also allows you to express your style. Let’s dive into the materials you’ll need to get started on this exciting project!
Materials Needed

Before you dive into crafting stunning photo frames, it’s crucial to gather all the necessary materials. Below is a comprehensive list of items that will help you create beautiful frames effortlessly:
- Wood or Cardboard: Use wood pieces for a rustic look or thick cardboard for lightweight frames.
- Paint or Stain: Choose your colors to match your home decor; acrylic paint works great for wood, while wood stain can enhance natural grain.
- Brushes: A variety of sizes will help you achieve different designs, from wide strokes to fine detailing.
- Glue or Adhesive: Strong glue or a glue gun is ideal for attaching photo backing and embellishments.
- Glass or Plastic Sheets: Protect your photos and keep them looking fresh by using glass or clear acrylic sheets as a cover.
- Cardstock: This can serve as the backing for your frame and provide a sturdy base for your photos.
- Decorative Elements: Think ribbons, dried flowers, buttons, or washi tape to personalize your frame!
- Ruler and Cutting Tools: Precision tools like a ruler, craft knife, or scissors will help ensure clean edges.
- Picture Hanging Hardware: If you plan to hang your frames, don’t forget hooks or picture hanging strips.
With these materials in hand, you’ll be well on your way to creating stunning, handmade photo frames that will not only display your favorite moments but also serve as wonderful conversation starters in your home. Happy crafting!
Step-by-Step Guide to Making Handmade Photo Frames

If you're eager to dive into the world of DIY, creating handmade photo frames can be a wonderfully fulfilling project. Plus, it's a great way to personalize your space! Let’s break it down into simple steps:
- Gather Your Materials: Before you start, collect everything you need. You'll need:
- Cardboard or wood for the frame base.
- Scissors or a craft knife.
- Glue or a hot glue gun.
- Paint or decorative paper.
- Your favorite photo!
- Cut the Frame Shape: Start by cutting your base material into the shape of your frame. A classic rectangle is a great place to start, but feel free to get creative! If you're using cardboard, use scissors. For wood, a craft knife or saw will do the job.
- Create the Opening: This step is crucial! You want the photo to fit snugly. Measure and cut out the inner rectangle to hold your photo. Aim for a width of at least half an inch around the edges for a well-proportioned frame.
- Decorate Your Frame: Here comes the fun part! Use paint, decorative paper, stickers, or even fabric to give your frame a unique look. Let your creativity flow—there are no wrong choices here!
- Assemble Your Frame: Once everything is dry, carefully glue your photo to the back of the frame, then attach a backing board if you have one. If you're creating a stand, make sure it's sturdy enough to support the frame.
- Show Off Your Creation: Finally, find the perfect spot to display your handmade photo frame and step back to admire your handiwork!
Creative Design Ideas for Your Photo Frames

Now that you know how to make a frame, let's talk about some imaginative design ideas that can make your frames truly stand out!
- Nature-Inspired Frames: Use twigs, leaves, or even flowers to adorn your frame. A rustic look can be incredibly charming.
- Fabric-Covered Frames: Adding a layer of fabric can introduce texture and color. Just wrap the fabric around the frame and glue it in place for a cozy vibe.
- Colorful Washi Tape: If you're after something playful, use washi tape in various colors and patterns to edge your frame. It's a simple and quick way to add flair!
- Geometric Designs: Use stencils to create triangles, circles, or other shapes. Paint these onto your frame for a modern, abstract look.
- Photo Collage Frames: Instead of a single photo, why not create a collage? Use smaller frames within a larger frame to mix and match your favorite memories.
- Chalkboard Frames: Paint your frame with chalkboard paint for a creative twist. You can write quotes or change the artwork often.
Remember, the best part of crafting photo frames is that there's no right or wrong way to do it—just let your imagination guide you! Happy crafting!
5. Finishing Touches and Customization
Once you've crafted your beautiful handmade photo frames, the fun doesn't end there! Adding those finishing touches can elevate your frames from lovely to absolutely stunning. Here are some ideas to customize your frames and make them uniquely yours:
- Paint and Stain: Consider adding a fresh coat of paint or a wood stain. Choose colors that complement your home decor. You might go for a muted pastel for a subtle look or a bold hue for a statement piece.
- Decoupage: This technique allows you to apply decorative paper or fabric to your frame. Use magazine cutouts, beautiful wrapping paper, or even fabric that matches your style to give your frame a unique flair.
- Embellishments: Get creative with embellishments! Stick on some beads, shells, buttons, or even dried flowers. These little details can add depth and texture to your frames.
- Personalized Engravings: For a more permanent touch, try engraving a name, date, or a meaningful quote onto your frame. This personalization adds sentimental value and makes it a great gift!
- Glass or Acrylic Front: If you want to add a polished finish, consider using glass or acrylic for the front of your frame. This not only protects your photos but also adds a sleek look.
Whichever finishing touches you choose, the goal is to make your frames reflect your unique personality. Have fun with it, and don’t be afraid to experiment!
6. Displaying Your Handmade Photo Frames
You've put in all the hard work to create your gorgeous handmade photo frames, and now it’s time to showcase them! The way you display your frames can really enhance their beauty and make them stand out in your home. Here are some creative ideas to get you started:
| Display Method | Description |
|---|---|
| Gallery Wall | Group several frames together to create a gallery wall. Mix and match sizes, colors, and styles for a visually engaging display. |
| Tabletop Arrangements | Arrange your frames on a console table, mantelpiece, or bookshelf. Layer them with other decorative items like vases and candles for added interest. |
| Shelf Styling | Use floating shelves to display your frames. This allows you to easily swap out photos and change the layout without damaging the wall. |
| Hanging System | Consider using a wire or string with clips to hang frames. This casual display allows for flexibility and makes it easy to change your pictures regularly. |
| Outdoor Displays | If you have a garden or patio, frames can also enhance outdoor spaces. Just ensure you use weather-resistant materials or treat the frames for durability. |
Remember, how you display your frames is all about your personal style. Don't hesitate to play around with different arrangements until you find what feels right for your space. After all, these frames hold memories, and showcasing them beautifully honors those moments!
How to Create Beautiful Handmade Photo Frames for Your Home
Creating beautiful handmade photo frames is an enjoyable and fulfilling project that allows you to personalize your home decor while preserving your cherished memories. With a variety of materials and designs to choose from, you can craft frames that suit your style and complement your living space. Here’s a simple guide to help you get started.
Materials Needed:
- Wooden or cardboard bases
- Paint or stain (optional)
- Decorative elements (buttons, flowers, sequins)
- Strong adhesive or glue gun
- Glass or clear acrylic sheets
- Backing material (cardboard or matboard)
- Scissors or craft knife
Steps to Create Your Handmade Photo Frame:
- Choose Your Base: Decide whether you want to use wood or cardboard as the base of your frame.
- Measure and Cut: Measure the size of your photos and cut the base to the desired dimensions.
- Paint or Decorate: Apply paint or stain to the base. Allow it to dry before adding any decorative elements.
- Attach the Glass: Secure the glass or acrylic sheet onto the frame using adhesive.
- Add Backing: Cut backing material to fit the frame and secure it in place.
- Insert Your Photo: Place your favorite photo in the frame, and secure it if necessary.
Displaying Your Frames:
| Display Method | Description |
|---|---|
| Wall Mounting | Use hooks or nails to hang your frames on the wall. |
| Table Top | Place framed photos on shelves, side tables, or desks. |
| Gallery Wall | Create a collage effect using multiple frames of different sizes. |
In conclusion, crafting your own handmade photo frames not only enhances your home decor but also allows you to showcase your creativity and personal touch. With simple materials and steps, you can create frames that beautifully display your most treasured moments.


