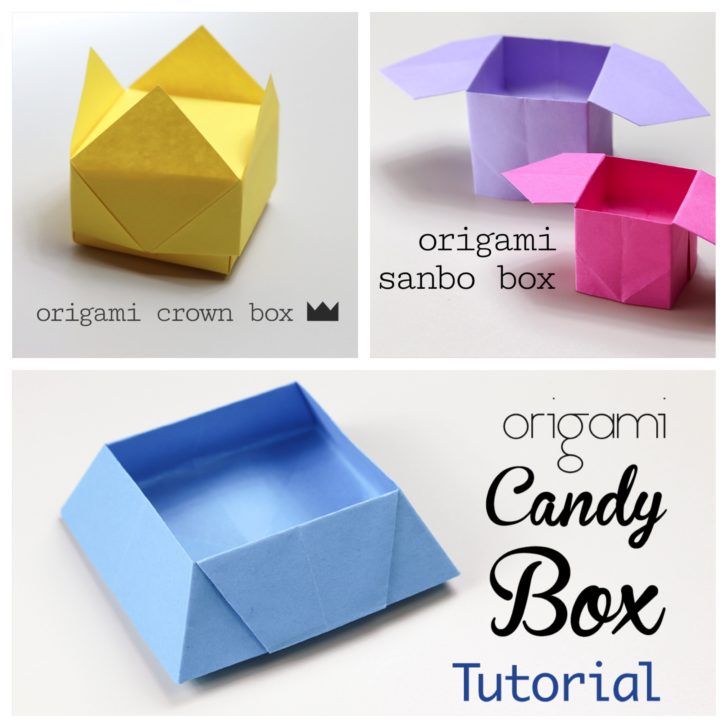
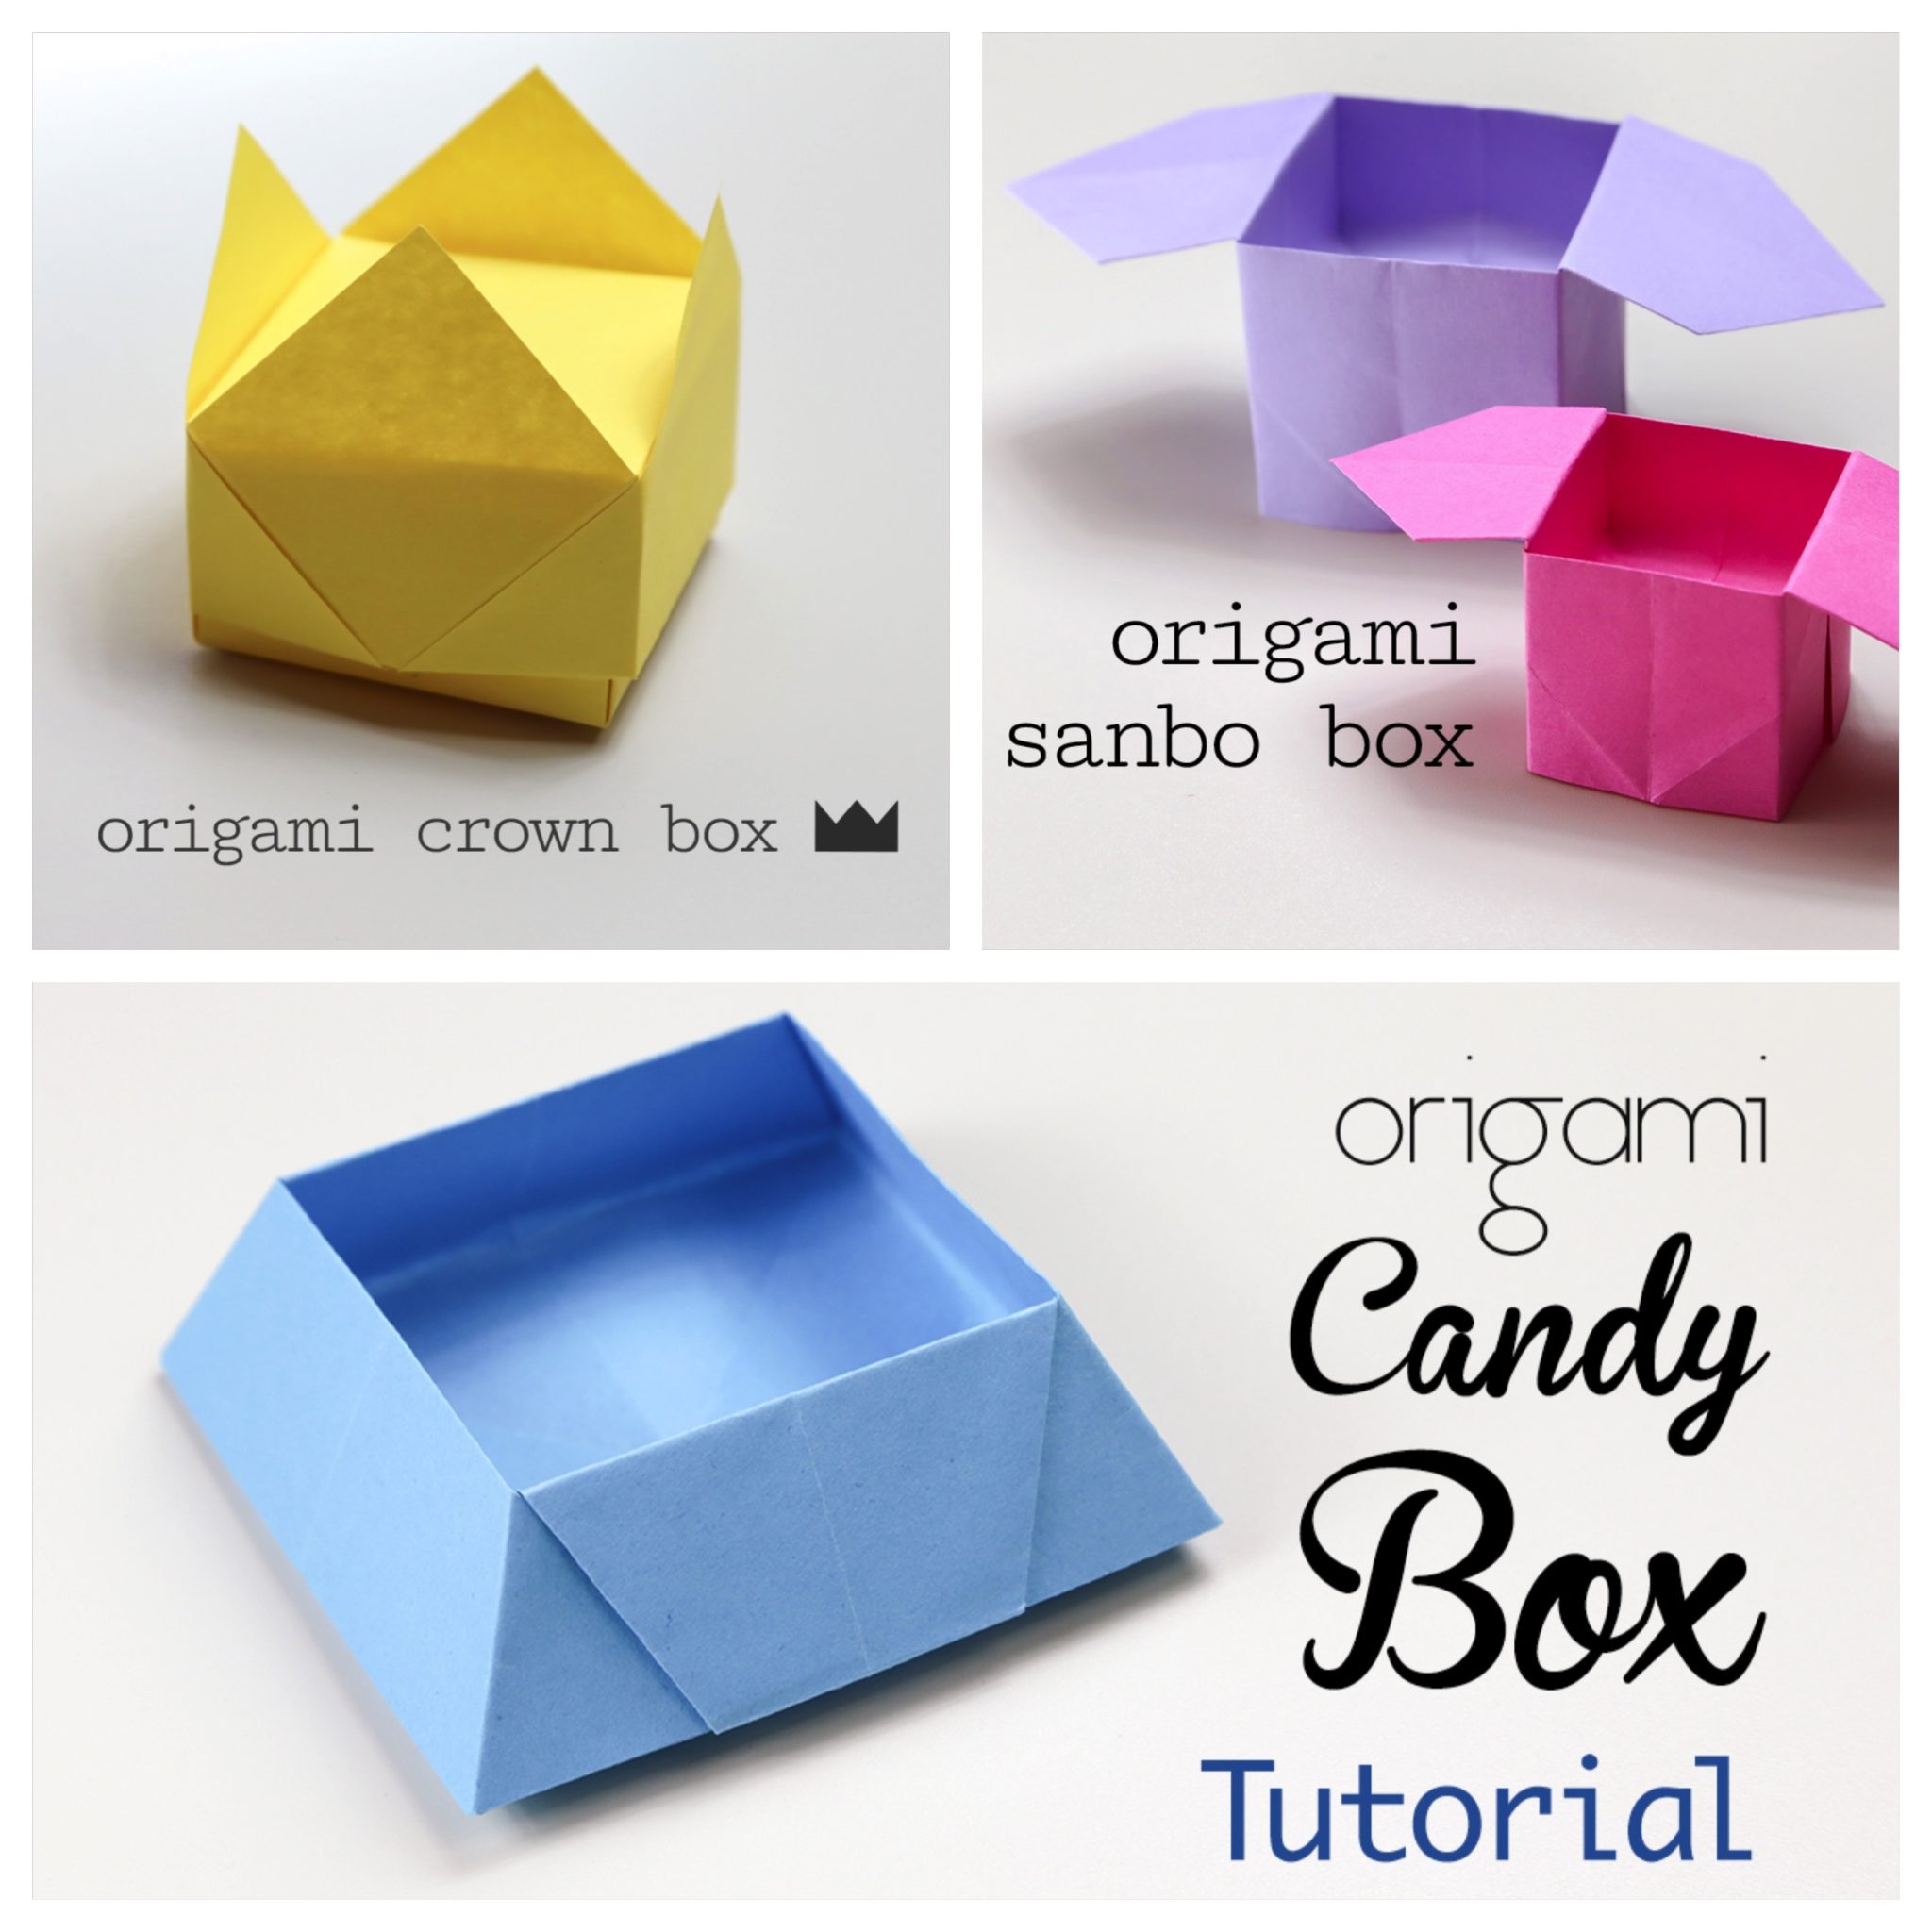
Origami, the ancient Japanese art of paper folding, has captivated the hearts and minds of many for centuries. This creative practice not only transforms simple sheets of paper into intricate designs but also promotes mindfulness and relaxation. If you think about it, the rhythmic folding and concentration required can be incredibly therapeutic. Plus, it’s a fantastic outlet for creativity.
One of the best parts about origami is how accessible it is. Whether you're an experienced crafter or a complete novice, almost anyone can pick up some paper and get started. Plus, it’s a versatile skill - perfect for everything from gift-wrapping to home decor. With origami, you can turn a mundane object into something special with just a few folds!
Here are some of the benefits of practicing origami:
- Enhances Cognitive Skills: The process involves problem-solving and spatial awareness, which can be great for brain development!
- Improves Motor Skills: Folding paper helps fine-tune your hand-eye coordination and dexterity.
- Encourages Patience: Creating intricate designs requires patience and attention to detail.
- Boosts Creativity: Origami encourages you to think outside the box—or paper, in this case!
In summary, indulging in origami is not just about making beautiful paper creations; it's also about reaping the joy and satisfaction that comes from this delightful pastime.
Materials Needed for Making an Origami Paper Box

Ready to dive into the world of origami? Before you can start folding, you'll need to gather a few essential materials. The great thing about making an origami paper box is that it doesn’t require a lot of complicated tools or fancy materials. Simply put, you just need some paper and a flat surface to work on!
Here's a basic list of what you'll need:
- Paper: Any paper will do, but a square sheet works best for creating a box. You can use origami paper, scrapbook paper, or even plain printer paper. If you're feeling adventurous, try colorful or patterned paper to make your box stand out!
- Flat Surface: Find a clean and flat area to work on. A table or desk will be perfect!
- Scissors (Optional): Depending on your origami design, you may need scissors to cut your paper into a square shape, especially if you're starting with rectangular paper.
- Bone Folder (Optional): While you can use your fingers to make folds, a bone folder can help make creases sharper and more precise.
| Material | Description |
|---|---|
| Paper | Square shaped, any type, preferably colorful or patterned for added appeal. |
| Flat Surface | A clean table or workspace where you can comfortably fold. |
| Scissors | Use for trimming your paper into the desired shape if necessary. |
| Bone Folder | Optional tool for making precise folds and creases. |
Once you've gathered your materials, you're all set to embark on your origami adventure. Let's get folding!
Step-by-Step Instructions for Folding the Paper Box

Alright, let’s dive right into the magic of origami! Creating a paper box is not only fun, but it offers a fantastic opportunity to showcase your folding skills. Grab a square piece of paper—origami paper works best because it's designed for just this kind of art. Got your paper ready? Let’s go!
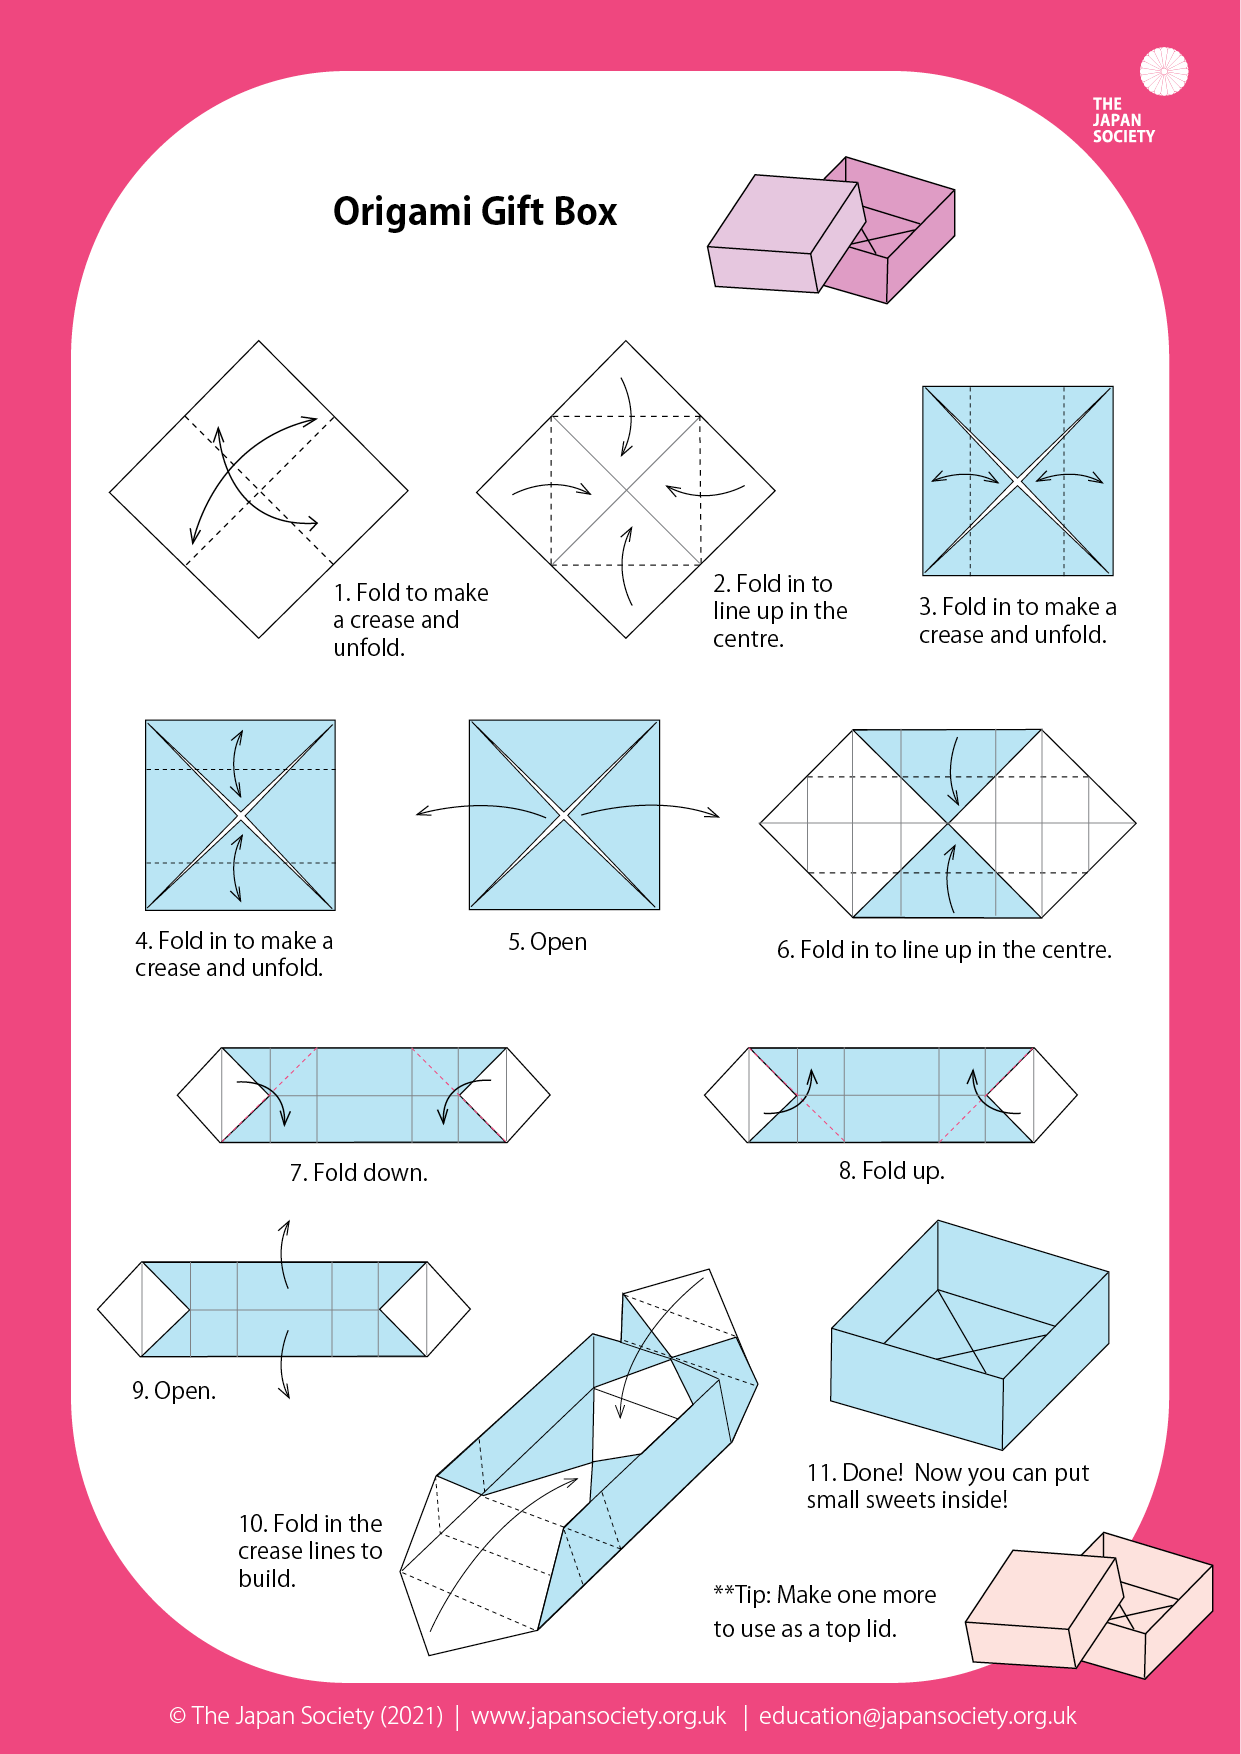
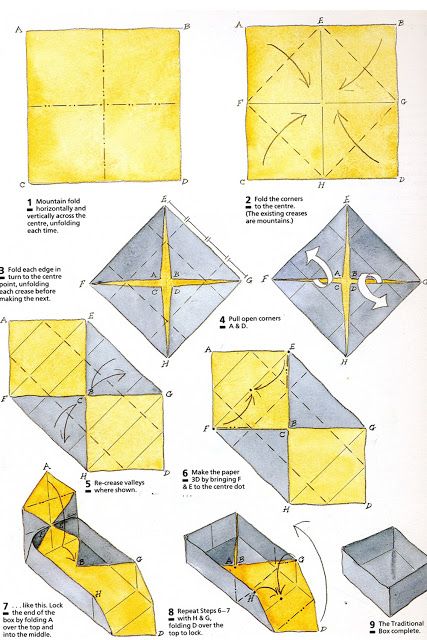
- Start with the Square: Place your square paper with the colored side down. If you’re using plain paper, it doesn’t matter which side is up.
- First Fold: Fold the paper in half diagonally to make a triangle. Make sure the corners match up, and press down firmly to create a crisp crease. Unfold it back to the square.
- Second Fold: Now, fold the paper diagonally the other way, making another triangle. Again, make sure the points line up and create that nice crease. Unfold it again.
- Base Folds: Fold the top and bottom edges of the square towards the center crease line you just made. This should give you a rectangle. Press down those folds securely!
- Lift and Fold: Now, lift up the right and left sides of the rectangle towards the top. This will form the sides of your box. Adjust the folds so they meet in the middle.
- Complete the Box: Fold in the corners of the top flap down towards the center to create the lid. Do the same for the bottom to create the base. Press all the edges firmly, and voila—your origami box is complete!
And there you have it! A simple and beautiful origami box. You can decorate it too, if you’d like!
Common Mistakes to Avoid When Folding Origami

Embarking on your origami journey is thrilling, but it’s also easy to trip over a few common errors. Don’t worry, though! I’ve got the scoop on what to watch out for.
- Uneven Creases: One of the most common mistakes is not pressing down the folds enough. Be sure to create sharp creases, as they can make a big difference in your design's symmetry.
- Incorrect Paper Orientation: Always check the orientation of your paper. Folding with the wrong side up can lead to a confusing set of folds.
- Rushing the Folds: Take your time! Rushing often leads to inaccuracies. It's better to slow down and make sure each crease is how it should be.
- Ignoring Instructions: Stick to the instructions closely, especially in step-by-step guides. Deviating from the steps might lead to frustration and a misshapen final product.
- Using Wrong Paper: Not all paper is created equal! Using paper that's too thick might make folding difficult. Stick with traditional origami paper or any lightweight paper.
By avoiding these common pitfalls, you're setting yourself up for origami success. Happy folding!
Tips for Enhancing Your Origami Skills

So, you’ve started your journey into the fascinating world of origami! Whether you're just beginning or looking to refine your techniques, there’s always room for improvement. Here are some friendly tips to help you enhance your origami skills:
- Practice Regularly: Like any other skill, the more you fold, the better you get. Set aside a few minutes each day to practice your skills, and don’t be afraid to repeat the same model multiple times.
- Start Simple: It can be tempting to dive into complex designs, but starting with simpler patterns builds a solid foundation. Gradually increase the difficulty as your confidence grows.
- Use the Right Paper: Different types of paper can yield different results. For beginners, start with medium-weight origami paper as it’s easy to fold but retains its shape well.
- Follow Video Tutorials: Sometimes, watching someone fold in real-time can be incredibly helpful. YouTube and other platforms have countless origami tutorials to guide you step-by-step.
- Join a Community: Consider joining an origami club or online community. Interacting with others can provide valuable feedback, support, and fresh ideas.
- Be Patient: Not every fold will be perfect, and that’s okay! Embrace mistakes as they are part of the learning process.
- Experiment: Once you’re comfortable with the basics, try creating your own designs. Let your imagination run wild and see what you can come up with!
Conclusion and Encouragement to Try More Origami Projects
Congratulations on taking the first step into the beautiful art of origami! Creating a paper box is a fantastic way to start, but remember, this is only the tip of the iceberg. The possibilities in origami are endless, and there’s a plethora of designs just waiting for you to explore!
Don't shy away from challenging yourself with new projects. Whether it’s animals, flowers, or intricate geometric shapes, each project will bolster your skills and boost your creativity. Here are a few ways to encourage you to keep folding:
- Set Personal Goals: Try to complete a set number of origami projects each month. Setting goals keeps you motivated and allows you to track your progress.
- Document Your Journey: Keep a journal or social media account dedicated to your origami creations. It’s a fun way to see how much you’ve improved over time!
- Share with Friends and Family: Gift your creations or even host an origami night! Sharing your passion with others can be incredibly rewarding.
- Keep Learning: There are countless resources available, from books to workshops. Continuously seeking new knowledge will help you grow as a folder.
So go ahead, grab some paper, and let your creativity soar! The world of origami is waiting for you, and who knows? You may just discover a hidden talent!
 admin
admin


