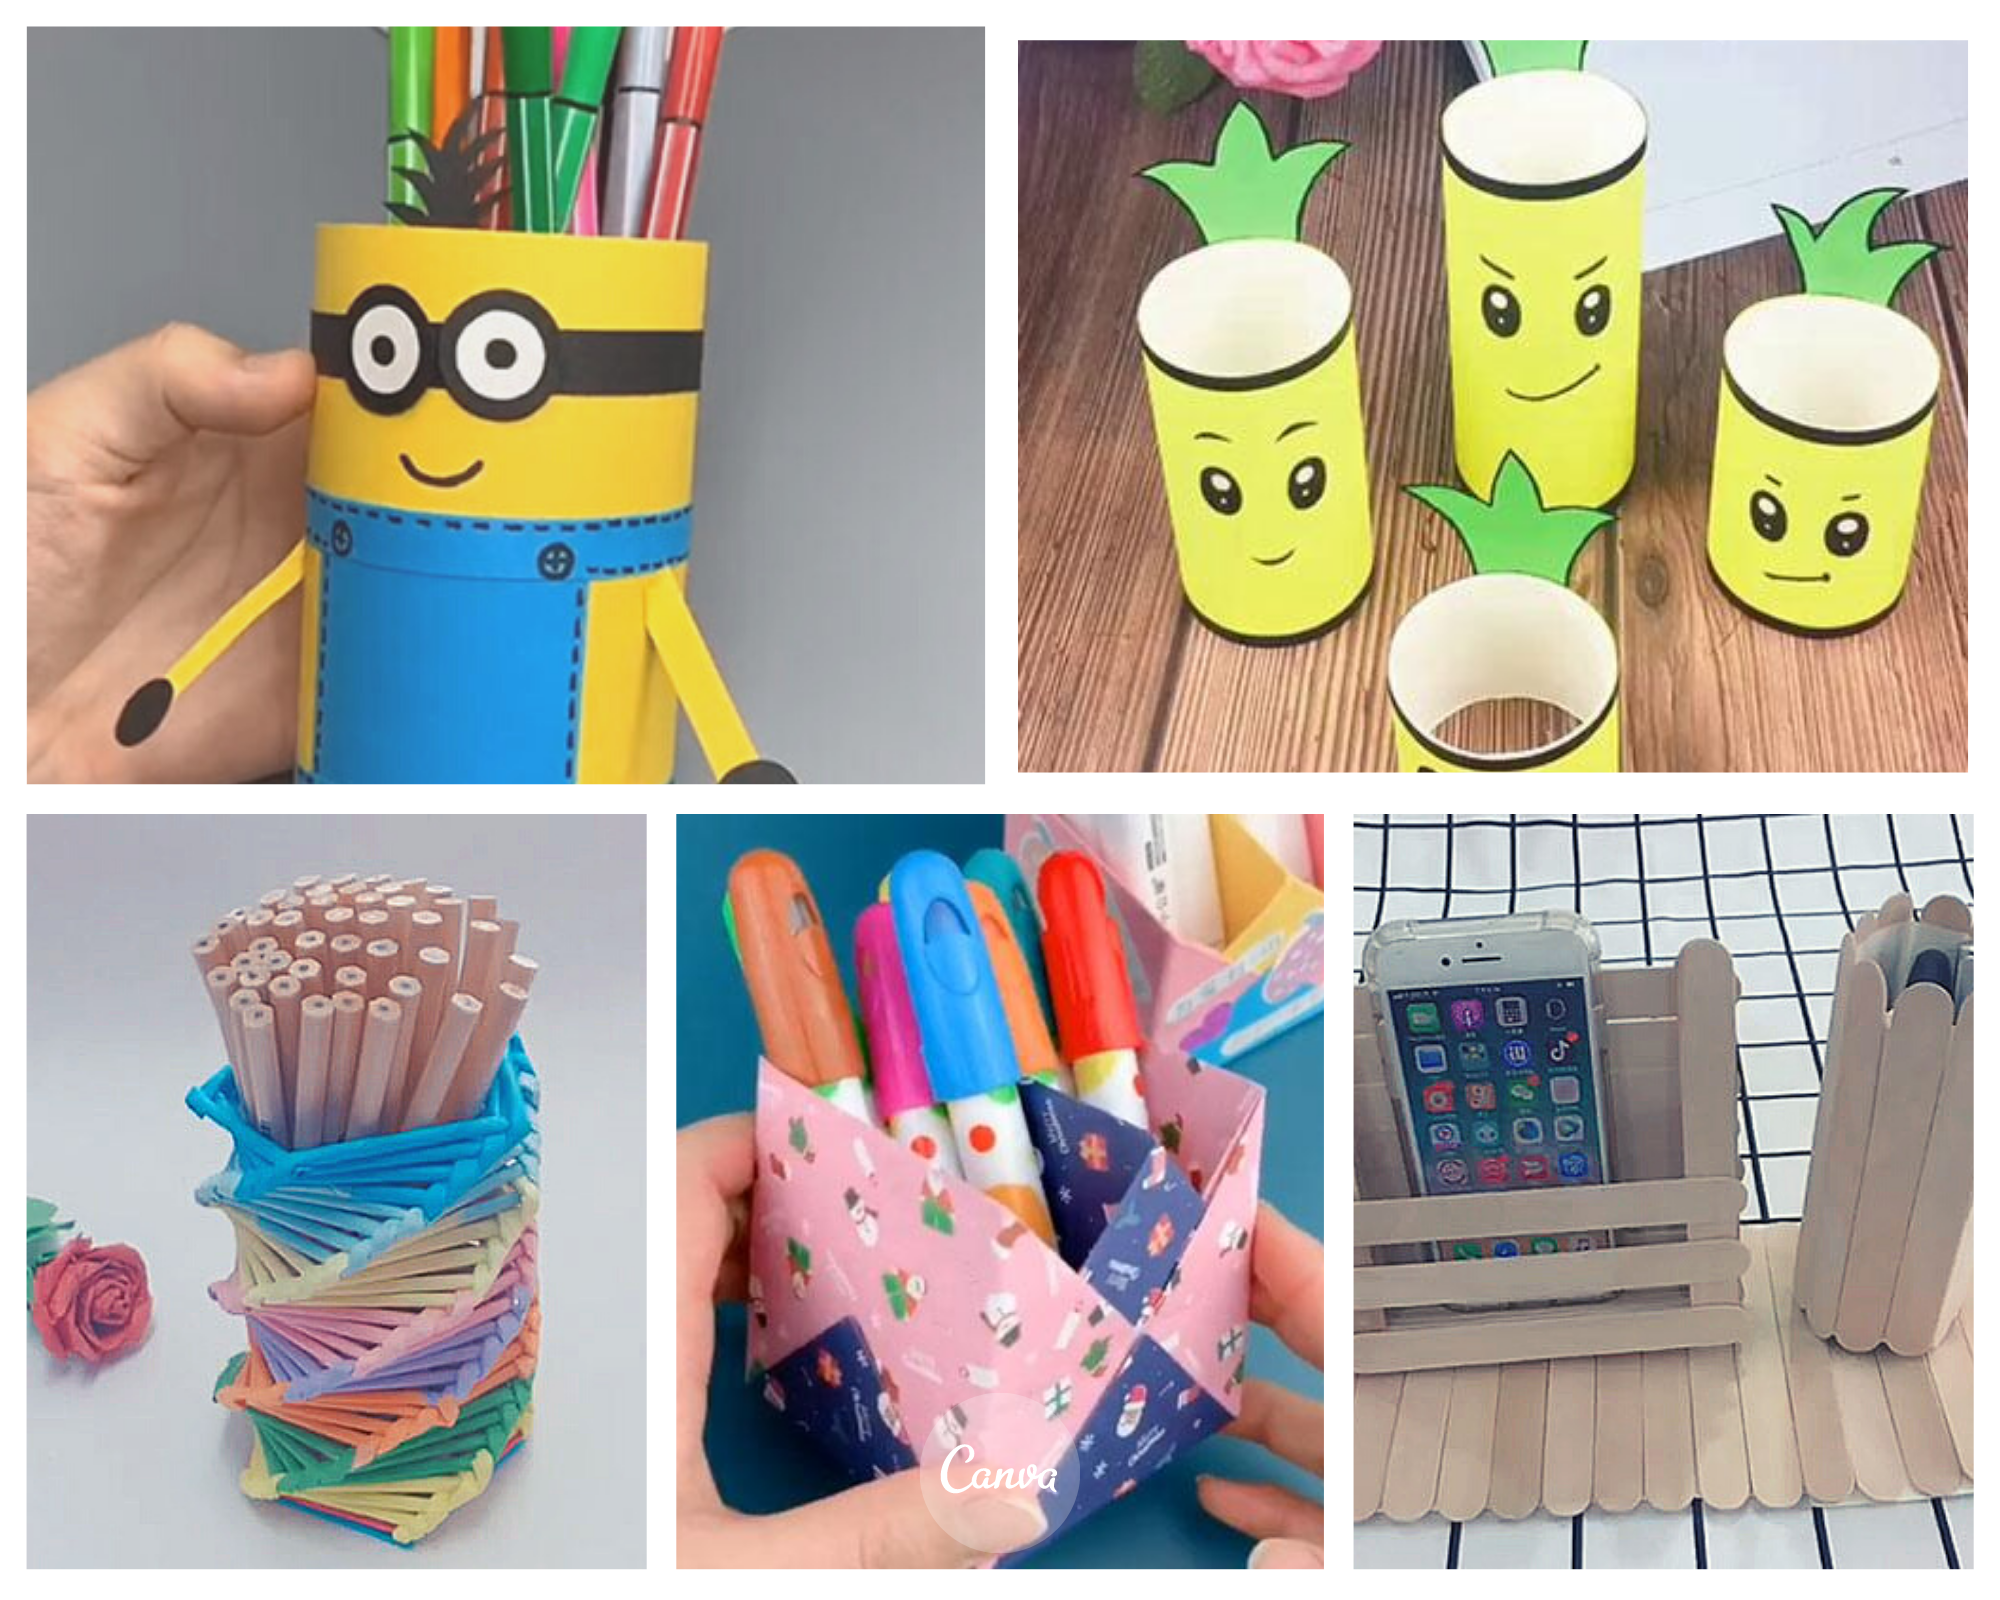
Have you ever looked around your workspace and thought, "I need something fun and functional to hold my pens and pencils?" If you’re nodding your head right now, you’re in for a treat! Creating a unique pencil holder using ice cream sticks is not only a great way to declutter your desk, but it’s also a fantastic craft project that you can do solo or with friends and family. So, gather your creativity and let’s dive into this DIY adventure together!
Materials Needed

Before we start building our fabulous pencil holder, let’s make sure we have all the materials ready. Here’s what you’ll need:
- Ice Cream Sticks: You can use about 20-30 sticks depending on the design you want.
- Hot Glue Gun: Essential for sticking your ice cream sticks together. Be cautious, it gets hot!
- Glue Sticks: Make sure to have plenty on hand for your glue gun.
- Cardboard Base (optional): This adds stability to your holder. You can cut out a square or rectangular piece.
- Paint or Markers (optional): Personalize your pencil holder to match your style.
- Scissors: Useful for cutting any excess materials or adjusting sizes.
- Decorative Items (optional): Think about stickers, washi tape, or embellishments to give it a personal touch.
Once you’ve gathered these materials, you’ll be all set to create a stylish and practical pencil holder that will not only organize your workspace but also showcase your creativity. Ready, set, craft!
Step-by-Step Instructions
Creating a unique pencil holder using ice cream sticks is not only a fun craft but also a great way to repurpose materials. Let’s break it down into simple steps to ensure your project goes smoothly!
- Gather Your Materials:
- Ice cream sticks (around 25-30)
- A clean glass jar or sturdy cardboard base
- Glue (hot glue or craft glue works best)
- Scissors
- Paint (optional)
- Decorative items (stickers, ribbons, etc.) for personalization
- Prepare the Base:
If you’re using a glass jar, ensure it’s clean and dry. For a cardboard base, cut it into a circular or square shape to hold your sticks.
- Attach the Ice Cream Sticks:
Start gluing the ice cream sticks around the base, standing them upright. Alternate the positioning for a visually appealing look. Use enough glue to ensure a strong bond but avoid excess that might seep out.
- Continue Layering:
Add another layer of ice cream sticks on top of the first set, creating a sort of wall. Repeat until you reach your desired height for the pencil holder.
- Let It Dry:
Allow your holder to sit undisturbed for a couple of hours to let the glue set and secure everything firmly.
- Optional Painting:
If you want to add some color, now is the time! Paint the exterior of your pencil holder and let it dry.
- Add Personal Touches:
Decorate your holder with stickers, ribbons, or whatever else you fancy. Get creative!
Tips for Personalization
Now that you’ve crafted your pencil holder, let’s discuss some ways to make it truly your own. Personalization can make your holder stand out and reflect your unique style!
- Color Choices:
Choose colors that match your workspace. Consider using pastel shades for a soft look or bold, bright colors to make a statement.
- Themed Decoration:
If you have a favorite theme or hobby, incorporate it into your design! For example:
- Music lovers can glue on music notes.
- Nature enthusiasts could add small faux flowers or leaves.
- Monograms or Initials:
Add your initials or a fun quote using paint or stickers to give it a personal flair.
- Use of Natural Elements:
Consider embellishing with twine, jute rope, or small pine cones for a rustic feel. It adds texture and a feel of warmth!
- Layered Textures:
Mix ice cream sticks with other materials like fabric or felt to create a layered texture that adds depth to your design.
Remember, there’s no wrong way to personalize your pencil holder. The key is to have fun and let your creativity shine! Happy crafting!
Common Mistakes to Avoid
When diving into the world of DIY crafting, especially when creating something as fun and simple as a pencil holder from ice cream sticks, it's easy to make a few missteps along the way. Here are some common mistakes to avoid to ensure your project turns out fabulous!
- Skipping the Planning Phase: Many newcomers dive straight into crafting without a clear plan. Take a moment to sketch your design and gather your materials before you start. This will save you a lot of frustration down the line!
- Using the Wrong Glue: Not all glues are created equal. Using regular school glue might not hold up to the weight of your pencils. Consider a strong adhesive like hot glue or super glue for a more durable hold.
- Poor Measurement: While ice cream sticks are generally uniform in size, you may still want to measure and cut them accurately. Mistakes in measurement can lead to uneven or unstable designs.
- Not Allowing Enough Drying Time: It might be tempting to rush your project, but don’t skip the drying time. Allow your glue to set properly to ensure a sturdy construction.
- Overcrowding Your Holder: It's easy to get carried away and fill your holder with too many pens and pencils. This can weaken the structure and cause it to collapse, so avoid overloading your creation.
By keeping these common mistakes in mind, you'll be well on your way to creating a sturdy and stylish pencil holder that you’ll be proud to display on your desk!
Conclusion
Creating a unique pencil holder using ice cream sticks is not only a fun project but also a fantastic way to express your creativity. It allows you to repurpose materials you might otherwise throw away, promoting sustainability while adding a touch of personal flair to your workspace. Remember, the process is just as important as the end product!
With the right planning, materials, and attention to detail, you'll craft a pencil holder that not only serves a purpose but also brings a smile to your face every time you see it. Don't forget to explore different designs and embellishments; perhaps adding paint or decorative elements like glitter or washi tape can elevate your pencil holder even further!
Lastly, enjoy the journey of crafting. Each mistake you might encounter is a learning opportunity, adding to your skills and making future projects even easier. Now, gather those ice cream sticks and let your imagination run wild. Happy crafting!
How to Create a Unique Pencil Holder Using Ice Cream Sticks
Creating a unique pencil holder from ice cream sticks is a fun and engaging DIY project that can add a personal touch to your workspace. Not only is it an eco-friendly way to repurpose materials, but it also encourages creativity and artistic expression.
To get started, gather the following materials:
- Ice cream sticks (also known as popsicle sticks)
- Craft glue or hot glue gun
- Scissors
- A small container (for stability)
- Acrylic paint or markers (for decoration)
- Optional: embellishments such as beads, ribbons, or stickers
Here’s a step-by-step guide to creating your pencil holder:
- Prepare Your Base: Take the small container and ensure it is clean and dry. This will serve as the base for your pencil holder.
- Attach Ice Cream Sticks: Start gluing ice cream sticks around the container, standing them vertically. Leave space at the bottom for stability.
- Layering: Continue to layer the sticks, overlapping them slightly for a sturdier construction, until you reach your desired height.
- Let it Dry: Allow the glue to dry completely before handling your new pencil holder.
- Decorate: Use acrylic paint or markers to paint the pencil holder. Personalize it with your favorite colors and designs.
- Add Embellishments: Finally, glue on any additional decorations that you fancy to give your pencil holder a unique touch.
Your unique pencil holder is now ready to be filled with pens, pencils, and other stationery items! This project not only helps organize your desk but also makes a wonderful gift or decor piece.
For further tutorials and inspiration on DIY projects like this, you can explore various crafting websites, YouTube channels dedicated to arts and crafts, or Pinterest boards that showcase similar creations. Happy crafting!
 admin
admin


