Creating a still image from a video is a convenient and creative way to extract precious moments without the need for a dedicated camera setup. Whether it's a breathtaking scene or a memorable expression, turning video frames into still images can elevate your content for social media, presentations, or personal projects. This guide will explore the basics of still images and videos, providing you with important insights and tips to help you capture those perfect snapshots effortlessly.
Understanding Still Images and Videos

To grasp how to create still images from videos, it's essential first to understand the differences between these two formats. While both still images and videos serve to capture moments, they do so in distinct ways.
- Still Images: These are static photographs that capture a moment in time. They are composed of pixels and can be edited using various software tools. A key characteristic of still images is their ability to evoke emotions and tell stories with a single frame.
- Videos: Videos are dynamic sequences comprised of a series of still images (frames) displayed in rapid succession, typically at 24 to 30 frames per second. This moving format allows for storytelling, action sequences, and captures the fluidity of moments. Videos often incorporate audio, making them a comprehensive medium for communication.
When you extract a still image from a video, you essentially take one frame from the continuous flow, freezing it in time. This process can highlight particular moments that might be otherwise lost in a video’s length. Here's a simple table to summarize some key points:
| Aspect | Still Images | Videos |
|---|---|---|
| Format | Static | Dynamic |
| Duration | Momentary | Continuous |
| Content | Single frame | Series of frames |
| Use | Focus on details | Narrate stories |
Understanding these characteristics will not only help you in creating stunning still images from videos but will also refine your perception of visual storytelling as a whole. So, ready to dive in and start catching those still moments?
Also Read This: Checking the Pixel Size of an Image: A Simple Method
Tools Required for Extracting Still Images

Before you dive into capturing still images from videos, it’s essential to have the right tools at your disposal. Fortunately, there are several options available, ranging from software applications to online services. Here’s a breakdown of what you might need:
- Video Editing Software: Programs like Adobe Premiere Pro, Final Cut Pro, and DaVinci Resolve are great for capturing still images. They offer robust editing features along with the ability to easily freeze frames.
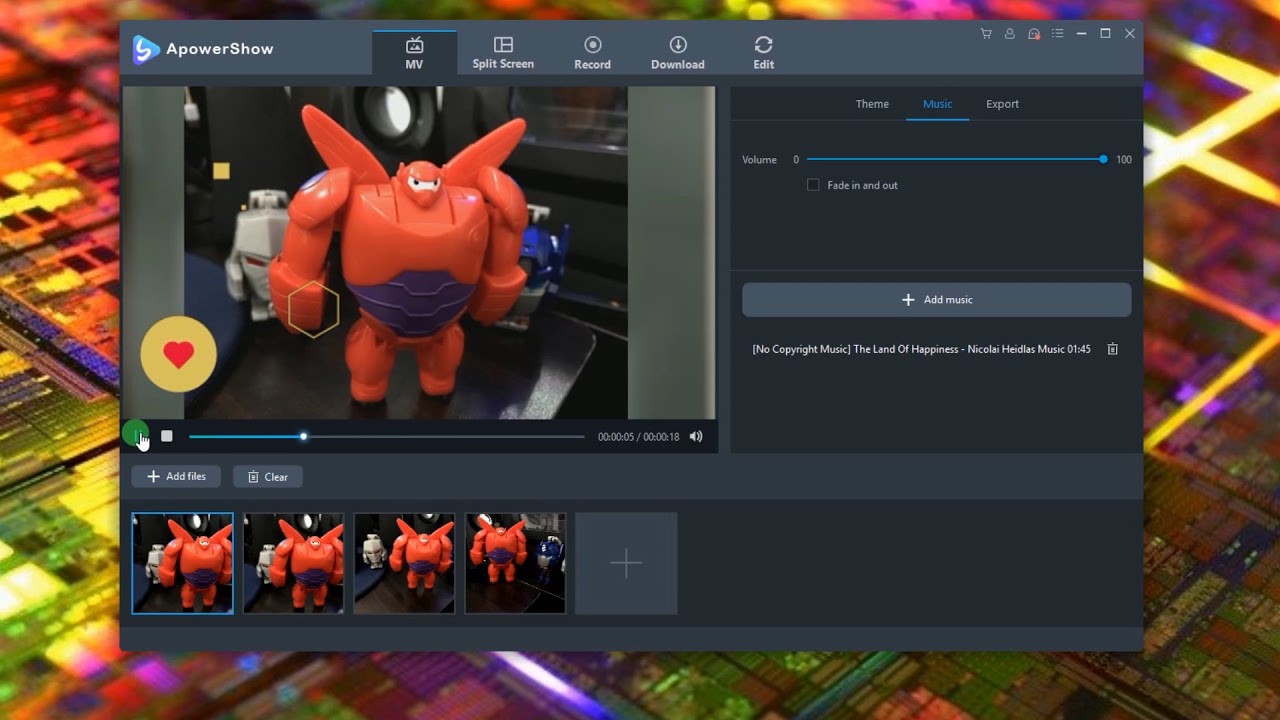
- Media Players: VLC Media Player is an excellent choice because it’s free, open-source, and supports many formats. It also comes with an option to take snapshots during playback.
- Online Services: Websites like Kapwing and Clideo allow you to upload your video and extract still images without downloading any software. This is perfect for users looking for a quick solution.
- Mobile Applications: If you prefer working on your mobile device, apps like InShot and Video to Photo can help you snag still images from your videos right on your phone.
- Screen Capture Tools: Tools like Snagit or even built-in screen capture features on your computer can also do the trick, albeit with slightly lower quality.
Having one or more of these tools on hand will empower you to create still images with ease and professionalism. Choose what fits your workflow best, and you’ll be ready to start!
Also Read This: Easy Tips to printing Four Images on One Page
Step-by-Step Process to Capture a Still Image

Now that you have your tools ready, let’s walk through the process of capturing a still image from a video. Whether you’re using professional editing software or a simple media player, the steps are quite simple. Here’s how you can do it:
- Select Your Video: Begin by choosing the video from which you want to extract a still image. Open it in your selected software or media player.
- Navigate to Your Desired Frame: Play the video and pause it at the exact moment you want to capture. You can use the arrow keys on your keyboard for fine-tuning.
- Take the Snapshot:
- In video editing software: Look for the "Export Frame" option, typically found under the File menu or as a camera icon. Choose your format (PNG, JPEG, etc.) and save it.
- In VLC: Go to the "Video" menu and select "Take Snapshot." Alternatively, you can use the shortcut key (Shift + S for Windows or Command + Option + S for Mac).
- In mobile apps: Tap the capture or snapshot button usually visible on the app’s interface.
- Edit (Optional): Once you have your image, consider editing it with photo editing software to crop, adjust brightness, or apply filters as needed.
- Save Your Image: Finally, ensure you save the image in a location you can easily find later. Name it appropriately for better organization.
And that’s it! With these easy steps, you’re well on your way to creating stunning still images from your videos. Happy capturing!
Also Read This: How to Add an Image to Squarespace for Your Website
Editing the Still Image

Once you've extracted a still image from your video, the fun part begins! Editing allows you to enhance your image and tailor it to your needs. Here’s a step-by-step guide to editing your still
- Choose the Right Editing Software: Depending on your skill level and needs, you can opt for software like Adobe Photoshop, GIMP, or even online tools like Canva.
- Adjust Brightness and Contrast: Start by tweaking the brightness and contrast to make the image pop. Sometimes, still images can look flat, so these adjustments can add depth.
- Crop and Frame: Decide whether you want to remove unwanted parts or focus on a specific area. Cropping can also help improve composition.
- Apply Filters: Filters can dramatically change the mood of your image. Experiment with different options to find one that resonates with your intended vibe.
- Sharpen Details: Use sharpening tools to enhance fine details in the image. This is particularly useful if the original video was slightly blurry.
Remember, editing is both an art and a science. Don't hesitate to try various combinations until you find something that feels just right. And once you’re satisfied with your still image, make sure to save it in the desired format, like JPEG or PNG!
Also Read This: How to Sell My Photos on Getty Images
Common Issues and Troubleshooting
Even the simplest tasks can sometimes hit roadblocks. Here’s a look at some common issues you might encounter when creating a still image from a video and how to overcome them:
| Issue | Possible Solution |
|---|---|
| Image Quality is Poor | Try selecting a frame with better resolution or adjusting the quality settings when exporting. |
| Software Crashes | Ensure your software is updated. Additionally, close unnecessary applications to free up memory. |
| Extracted Image is Blank | Double-check that the frame extraction process was completed properly. Restarting the software often helps. |
| Colors Look Different | Check your color calibration settings or switch between different file formats (like from RAW to JPEG). |
In conclusion, while creating a still image from a video is usually straightforward, issues can arise. The key is to stay patient and methodical in your troubleshooting. Dive in, experiment, and you'll always find a way to make it work!
How to Create a Still Image from a Video
Creating a still image from a video is a straightforward process, and it's incredibly useful for capturing a specific moment that you want to highlight. Whether you want to create a thumbnail for your YouTube channel, grab a frame for a presentation, or simply share a memorable moment on social media, this guide will walk you through the steps required to extract and save a still image from your video.
Here are some common methods to accomplish this:
Method 1: Using Video Editing Software
Most video editing software includes an option to take a snapshot or export a frame from a video. Popular software includes:
- Adobe Premiere Pro: Go to the frame you want, click on the "Export Frame" icon, adjust settings, and save.
- Final Cut Pro: Navigate to the chosen frame, select File > Export > Export Frame, and save.
- iMovie: Pause the video, then select Share > Save Current Frame.
Method 2: Using Online Tools
There are several online tools that can help you extract still images from videos without needing to install software:
- Kapwing: Upload your video, select a frame, and download the still image.
- Clideo: Upload the video and choose the frame you want to capture.
Method 3: Using Screenshots
If you need a quick solution, taking a screenshot is effective:
- Play the video and pause at the desired moment.
- Use the screenshot function on your device.
Regardless of the method you choose, remember to adjust the resolution and aspect ratio settings according to your needs to maximize the quality of your still image. With these methods, you can effortlessly create high-quality still images from your videos in no time.
Conclusion: In summary, creating a still image from a video can be achieved with various methods, be it via video editing software, online tools, or simply using screenshots. Choose the method that best fits your needs for seamless extraction and high-quality images.
 admin
admin


