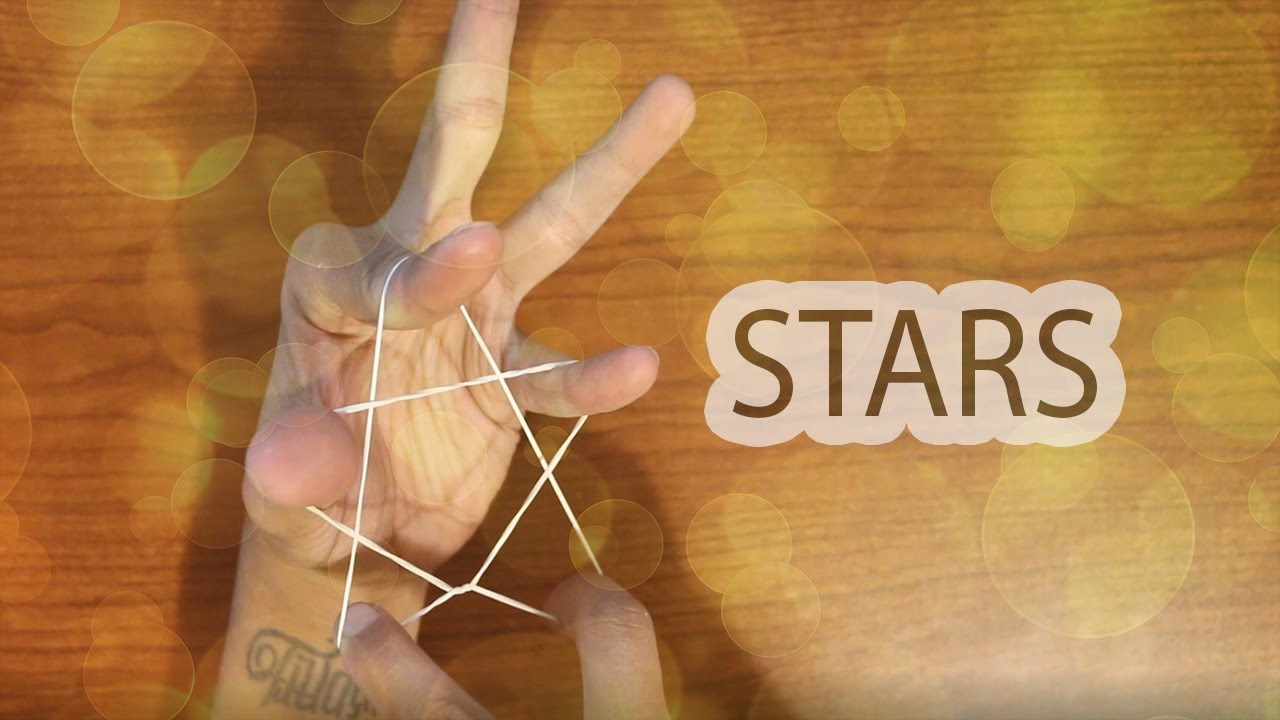
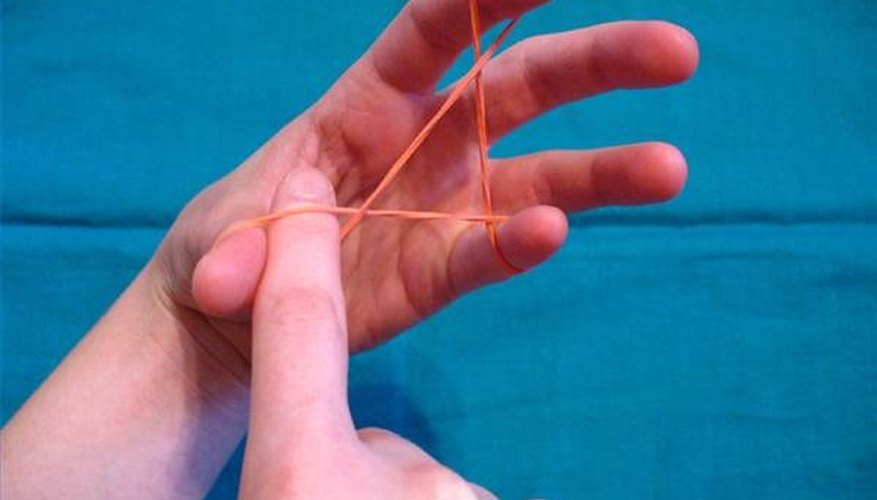
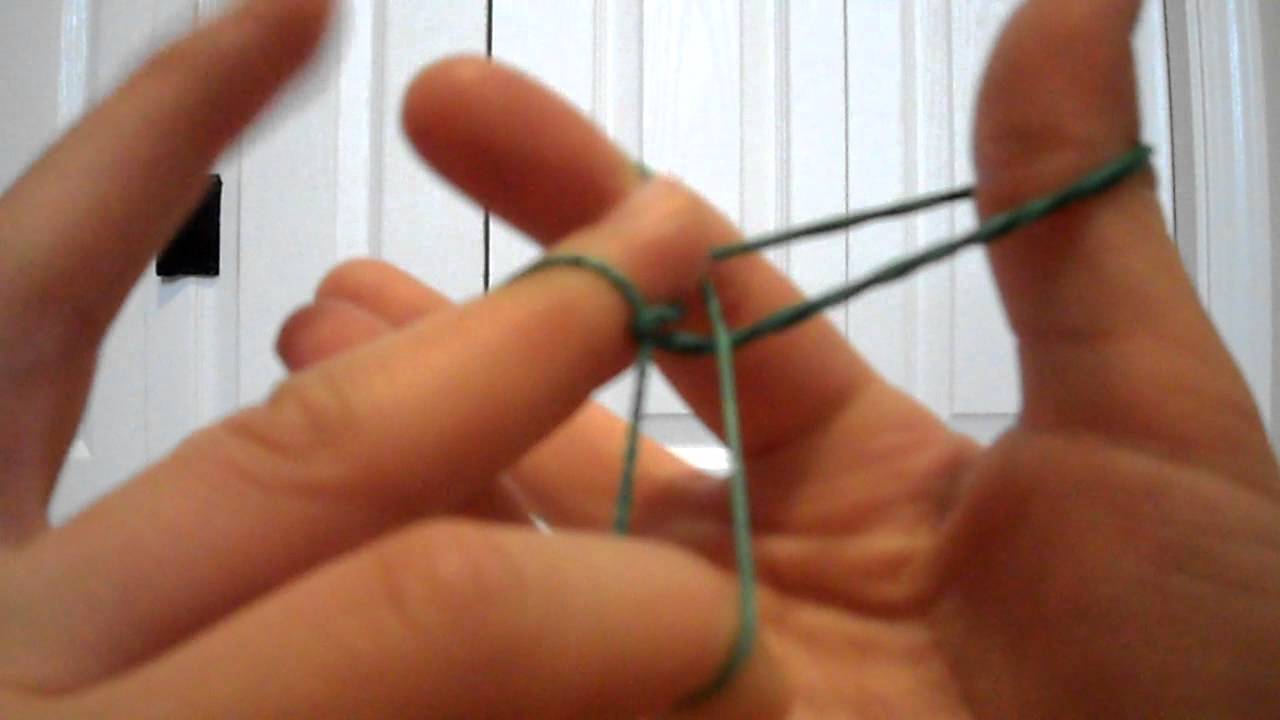
Creating a star using rubber bands is a fun and simple activity that can spark creativity and provide hours of entertainment. Whether you're looking for a cool craft to do with kids, or just want a unique decoration for your room, making a rubber band star is a fantastic choice. This craft doesn’t just help you unwind; it also promotes fine motor skills and can even make for a lovely gift. Let’s dive into what you’ll need to get started!
Materials Needed

Before we jump into the step-by-step process of creating a star, let’s gather all the materials you’ll need. Having everything on hand will make the crafting experience smoother and more enjoyable. Here’s a list of the essential items:
- Rubber Bands: The star's main component! You can choose from various sizes and colors, depending on how big or colorful you want your star to be.
- Cardboard or a Sturdy Base: This will serve as the outline or base for your star. You can use an old pizza box or any unneeded cardboard.
- Scissors: For cutting the cardboard into the desired shape, if needed.
- Pencil: To draw the star shape on the cardboard. You might even find it helpful to use a ruler for precise lines.
- Ruler: Optional, but it helps ensure that your star has equal angles and looks symmetrical.
- Decorative Elements (Optional): If you want to jazz up your star, consider adding glitter, stickers, or even paint once you are done wrapping it with rubber bands!
Gather these materials, and you’ll be ready to create your very own rubber band star in no time! Enjoy the process, and let your imagination run wild!
3. Step-by-Step Instructions

Creating a star using rubber bands is a fun and straightforward project that can be done with just a few supplies. Here’s a simple guide to help you shape your star with ease:
- Gather Your Materials: You'll need a variety of rubber bands, preferably in different colors for a vibrant look. Also, a flat surface to work on would be handy.
- Create the Base: Start by taking five rubber bands, all of the same size. Lay them out in a star pattern, ensuring that they form a pentagon shape with each band representing a side.
- Crossing the Bands: Begin connecting the ends of the rubber bands to form points of the star. Take the first band an connect it to the second, then from the second to the fourth, and so on. Make sure each connection is taut but not too tight to avoid breaking the bands.
- Securing the Shape: Once all bands are connected, adjust them so that the star has a defined shape. You want sharp points, so gently tug at the ends to mold it into a star.
- Finishing Touch: If you want, you can add a loop of rubber band at the top point for easy hanging. Just tie a knot securely.
And there you go! You now have a beautiful star made of rubber bands. You can experiment with different sizes and colors to create a variety of stars!
4. Tips for Making Your Star

Now that you have the basic steps down, here are some handy tips to enhance your star-making experience:
- Use Quality Rubber Bands: Opt for bands that are thick and elastic. They will hold their shape better and last longer.
- Experiment with Sizes: Try using different sizes of rubber bands for unique star dimensions. Larger bands can create bigger stars, while smaller ones add intricate details.
- Showcase Your Creativity: Don’t hesitate to mix colors. A multi-colored star can add a fun and festive flair to your decorations.
- Keep It Loose: While it’s tempting to pull the bands tight, keeping them slightly loose can help maintain the star shape without breaking.
- Secure Ends: If the rubber bands tend to come loose, consider using a small piece of tape to secure the connections for a firmer hold.
With these tips, you’ll find that making rubber band stars can not only be enjoyable but can also turn into a lovely creative outlet!
5. Creative Variations
Creating a star using rubber bands is just the beginning! Once you’ve mastered the basic method, why not explore some creative variations? Here are some fun ideas to inspire your crafting sessions:
- Colorful Stars: Use rubber bands in different colors to create multi-colored stars. You can either alternate colors for each arm of the star or create a gradient effect for a beautiful result.
- Small vs. Large: Experiment with different sizes. Make tiny stars to use as embellishments on cards or larger ones to hang as decorations.
- 3D Stars: Instead of a flat design, try making a 3D star. You can achieve this by layering smaller stars on top of a larger base star, adding depth and dimension.
- Patterned Stars: Incorporate patterned rubber bands into your creation for an eye-catching look. This can add a fun twist and make your stars truly unique.
- Star Keychains: Attach a star to a keychain ring using a rubber band to create a charming accessory. You can make them in various colors and sizes to match your style!
Each variation can reflect your personality and creativity, making the crafting experience even more enjoyable. Try mixing and matching some of these ideas!
6. Conclusion
Making a star out of rubber bands is not just a fun activity; it’s a delightful way to express your creativity and spend time crafting with family or friends. You’ve mastered the process, explored creative variations, and now you have endless possibilities at your fingertips.
Remember that the beauty of crafting lies in experimenting. Don’t hesitate to add your own personal touches to your stars or come up with new designs. Whether you’re making a simple star for your fridge or an elaborate decoration for a special occasion, each piece you create is a reflection of your unique style.
So gather your rubber bands, unleash your creativity, and let your imagination run wild. Happy crafting!


