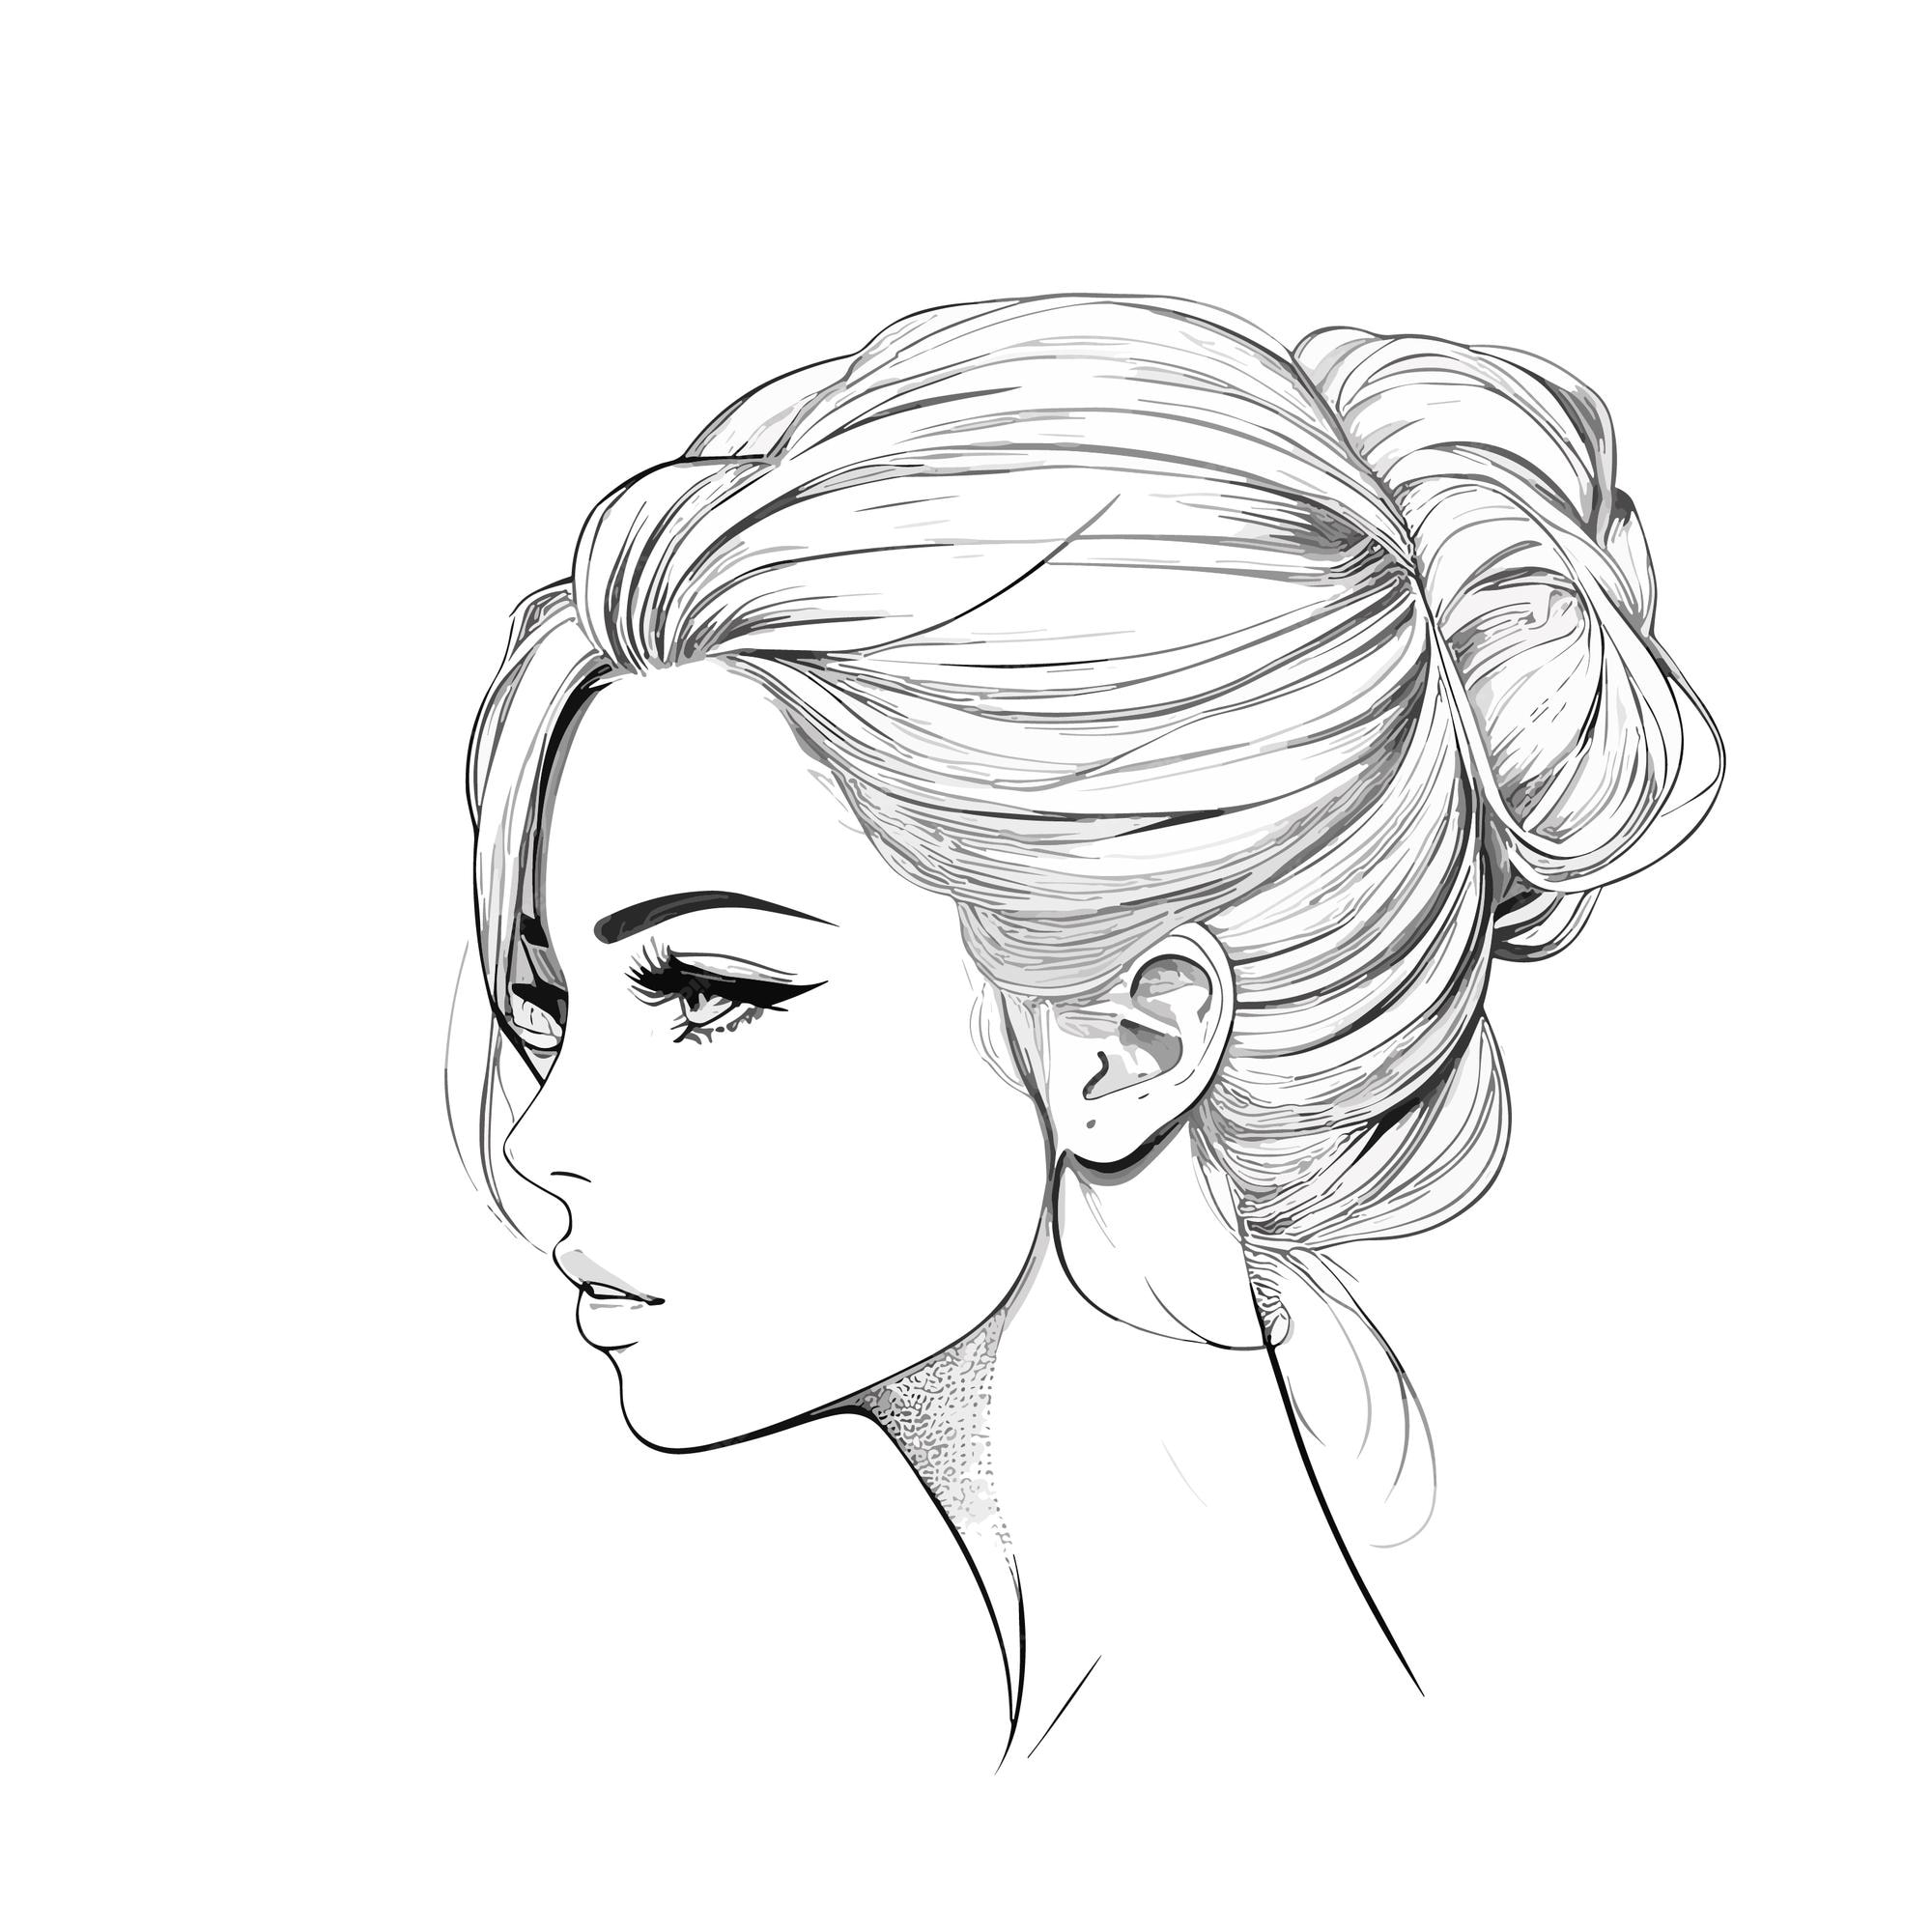
Sketching a face can seem intimidating, especially if you’re new to drawing. But fear not! With a little practice and the right techniques, anyone can create a beautiful face sketch. Whether you're aiming to capture the essence of a friend, a family member, or even a celebrity, face sketching is a fun and rewarding pursuit. It’s all about understanding the basic shapes and proportions of the face and using your creativity to bring it to life on paper. In this guide, we'll break down the process into manageable steps to help you get started on your artistic journey.
Essential Materials Needed for Your Drawing

Before you dive into the world of face sketching, it’s important to gather your materials. Having the right tools can make all the difference in creating a successful sketch. Here's a list of essential materials you'll need:
- Pencils: A range of graphite pencils (from hard H to soft B grades) will help you achieve different shades and details.
- Erasers: A kneaded eraser is perfect for lifting out highlights, while a vinyl eraser can take care of tougher smudges.
- Sketchbook or Drawing Paper: Choose a sketchbook that has medium to heavyweight paper, which will hold the pencil without tearing.
- Blending Tools: Stumps or tortillons are great for blending and softening lines for a more realistic look.
- Ruler: Helpful for measuring proportions and ensuring symmetry.
- Reference Images: A few clear images of faces will provide inspiration and a guide to keep your proportions accurate.
Having these materials at your disposal will set you up for success. And remember, it’s not about having the most expensive tools; it’s about how you use them. Now that you're equipped with the right materials, you’re ready to start your face sketching adventure!
Step-by-Step Guide to Sketching a Face

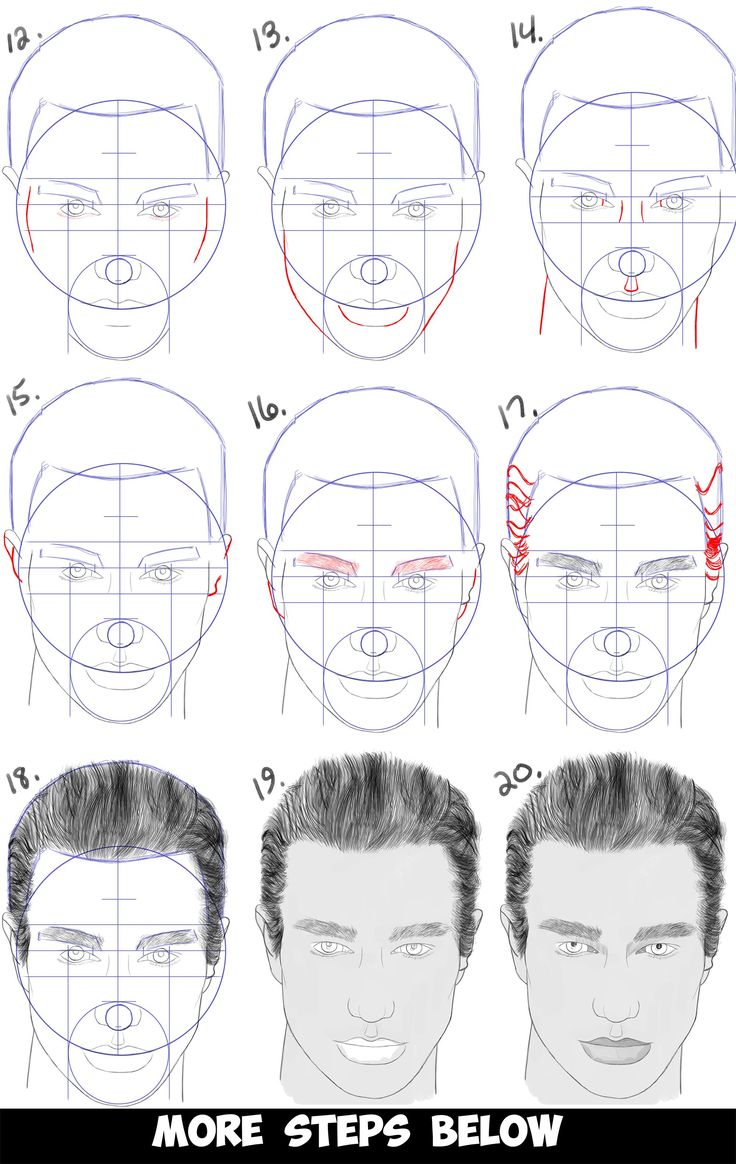
Alright, let’s get down to the nitty-gritty of sketching a face. Don’t worry if you’re a beginner! Just grab a pencil, some paper, and let’s jump into this step-by-step guide. Here’s how you can do it:
- Start with a Basic Shape: Begin by drawing an oval to represent the head. It doesn’t have to be perfect; this is just a foundation.
- Add Guidelines: Lightly draw a vertical line down the center of the oval. This will help you keep the features symmetrical. Then, add a horizontal line halfway down the oval for eye positioning.
- Place the Eyes: On the horizontal line, sketch two almond shapes for the eyes. Make sure there’s roughly one eye-width between them!
- Add the Nose: Approximately one-third down from the eye line, draw the nose. Start with a simple line for the bridge, then add the nostrils.
- Draw the Mouth: Halfway between the nose and the chin, draw a horizontal line for the mouth. You can outline the upper and lower lips as desired.
- Add Details: Now that you have the basic features sketched out, it’s time to add more details! Refine the shapes of the eyes, nose, and mouth. Don’t forget the eyebrows!
- Sketch the Hair: Draw the outline of the hair around the head. Don’t be afraid to let it flow naturally; hair adds character!
- Finalize Your Sketch: Go over your outlines, darkening the lines you’re happy with. Erase any unnecessary guidelines and mistakes.
And there you have it! With a bit of practice, each sketch will surely get better!
Tips for Capturing Facial Features Accurately
When it comes to sketching facial features, accuracy can make your artwork come alive! Here are some handy tips to help you nail those details like a pro:
- Study Proportions: Familiarize yourself with the general proportions of the human face. For instance, the eyes are typically positioned in the middle of the head, and the mouth is about one-third beneath the nose.
- Use References: Don’t shy away from using photographs or real-life models as references. Observing details like lighting and shadows can significantly enhance your understanding.
- Practice Facial Expressions: Different expressions can alter features. Practice sketching a range of emotions; smiles, frowns, and surprise all change the geometry of the face!
- Focus on Eye Position: The eyes can make or break a sketch. Pay attention to their shape, distance, and tilt, as these aspects convey a lot of emotion.
- Highlight Shadows: Use shading to highlight the contours of the face. Shadows can help create depth and realism in your drawings.
- Be Patient: Remember, practice is key! Don’t be too hard on yourself. Each sketch is a stepping stone towards improvement.
With these tips in your pocket, you’ll find yourself capturing faces with ease and confidence!
Common Mistakes to Avoid When Sketching
When diving into the world of face sketching, everyone makes a few rookie mistakes. But don't worry—recognizing these pitfalls will help you grow as an artist! Here are some common mistakes to steer clear of:
- Ignoring Proportions: One of the biggest mistakes is not paying attention to the proportions of the face. The eyes should generally sit halfway down the head, and the space between them is typically the width of one eye. Keep a reference handy to avoid this blunder!
- Rushing the Process: It’s easy to get excited and want to finish quickly, but take your time! Each line should be carefully placed to form realistic features.
- Over-Sketching: While practice is key, overdoing it can lead to smudgy, unclear lines. Use light strokes to establish your guidelines before committing.
- Neglecting the Neck and Ears: The face doesn’t exist in a vacuum! Always remember to sketch the neck and ears to create a more realistic representation.
- Using Too Heavy Lines: While thickness can add depth, overly rigid lines can make your sketch look unnatural. Aim for a mix of light and dark lines to create fluidity.
- Forgetting the Overall Shape: Before diving into details, always outline the general shape of the head. This will serve as your foundation.
By avoiding these mistakes, you'll find that your face sketches improve dramatically. It's all part of the learning process, so embrace the journey!
Enhancing Your Face Sketch with Shading Techniques
Once you've sketched the basic features of a face, it’s time to bring it to life with shading. Shading adds depth and dimension, turning a flat drawing into something that looks three-dimensional. Here are some popular techniques to enhance your face sketch:
- Hatching: This involves drawing closely spaced parallel lines. Vary the distance and density of the lines to create different tonal values. Closer lines make darker areas, and more spaced-out lines result in lighter tones.
- Cross-Hatching: Building on hatching, cross-hatching involves layering sets of parallel lines with another set that crosses them. This technique adds richness to your shading.
- Blending: Using tools like blending stumps or your finger, gently smudge the shading to create smooth transitions. Be careful not to over-blend; you want to retain some texture.
- Stippling: This technique uses tiny dots to create shading. It's especially useful for more detailed work, giving a soft, subtle appearance.
- Layering: Don’t be afraid to apply multiple layers of shading. Start light and gradually build up darker tones to add depth. Each layer gives your drawing more character.
Remember, practicing these shading techniques will greatly enhance the overall quality of your sketches. So grab your pencil, experiment, and watch your artwork spring to life!
How to Create a Simple Face Sketch
Drawing a face may seem daunting, but by breaking it down into manageable steps, anyone can create an impressive face sketch. Here is a step-by-step guide to help you get started:
- Gather Your Materials:
- Pencil
- Eraser
- Paper
- Blending stump (optional)
- Reference image (optional)
- Basic Outline:
Start with a simple oval shape to represent the head. Divide this oval into halves vertically and horizontally using light lines to help place features accurately.
- Facial Guidelines:
Use the horizontal line to place the eyes (they should be about halfway down the head). The vertical guideline will help position the nose and mouth. Remember:
- The center of the eyes should align with the center of the head.
- The bottom of the nose typically falls halfway between the eyes and chin.
- The mouth lies roughly one-third of the way down to the chin from the nose.
- Sketch Features:
Begin adding details to the eyes, nose, and mouth. Maintain a light hand, so you can easily erase mistakes.
- Add Hair and Details:
Once the facial features are laid out, sketch the hair and any additional details like eyebrows or facial expressions.
- Shading:
Use your pencil to create depth by shading different areas. Consider where the light source is coming from and shade accordingly.
As you practice these steps, don't be discouraged by imperfections. Improvement comes with consistency and experimentation.
Conclusion and Next Steps in Your Drawing Journey
Creating a simple face sketch involves practice and patience. By following these steps, you can build a solid foundation for drawing faces. Remember to experiment with different styles and techniques, and consider joining an art community where you can share your work and learn from others.


