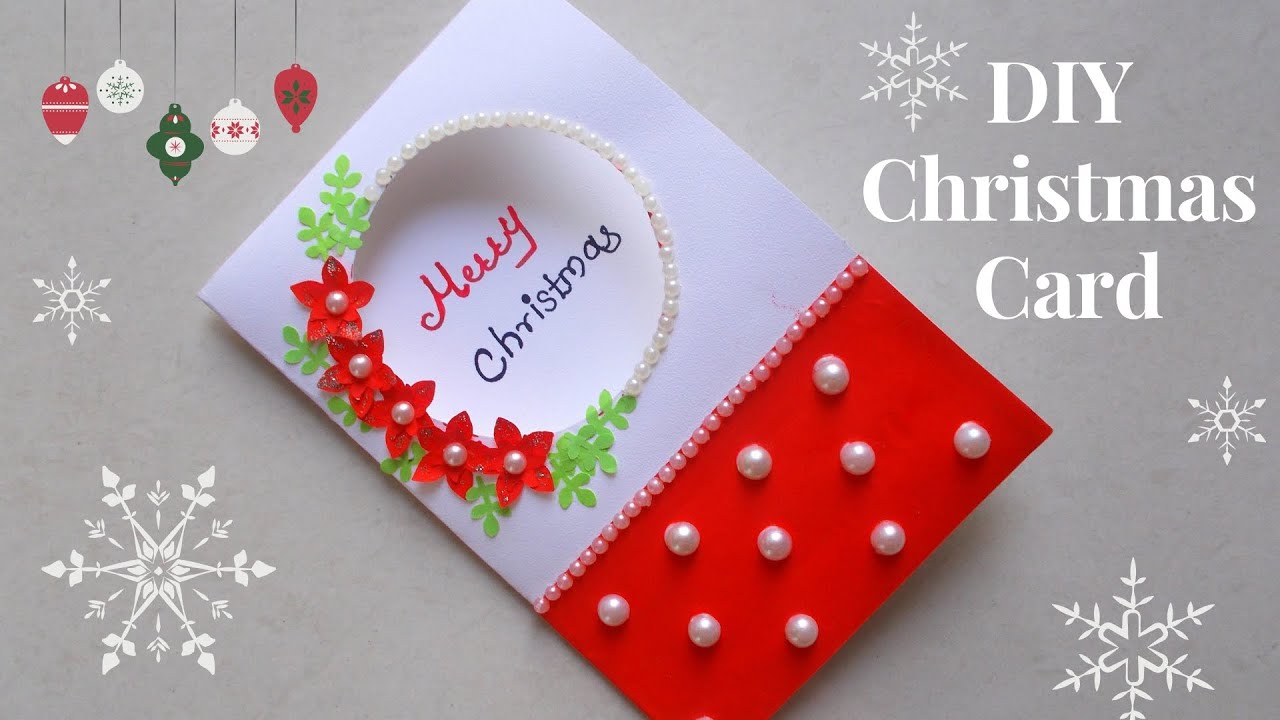
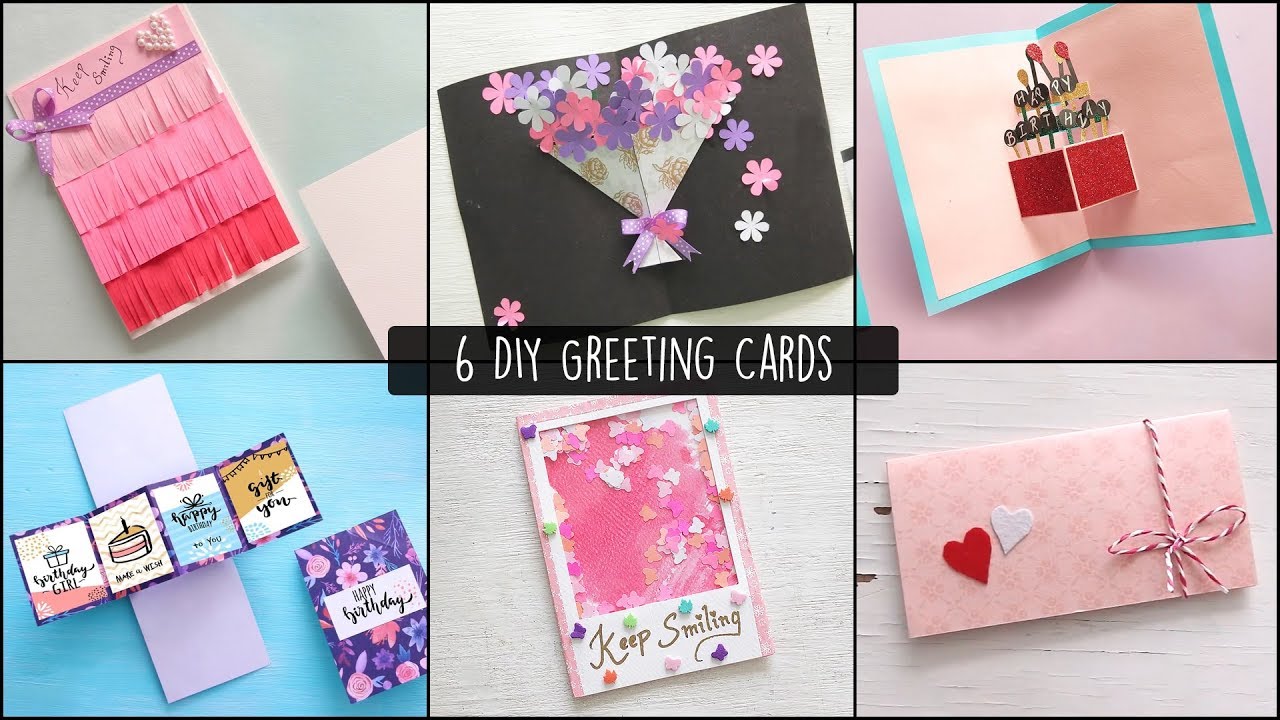
Creating a simple and creative greeting card at home can be a delightful way to connect with loved ones. Whether it's for a birthday, a holiday, or just to say "hello," personalized cards add a special touch that store-bought versions can't match. Plus, the process of making these cards is not only therapeutic but also an excellent opportunity to showcase your creativity. So, roll up your sleeves, and let’s explore how to make something wonderful with just a few materials!
Materials Needed

Before you dive into crafting your greeting card, it's essential to gather all the materials you'll need. Don't worry; it doesn't require a lot, and some items might already be lying around your home. Here’s a handy list to get you started:
- This will serve as the base of your card. Choose colors that fit the occasion or match your style!
- Essential for cutting and shaping your card and any decorations you may want to include.
- Necessary for adhering decorations or attaching layers of paper.
- Perfect for writing messages, doodling, or adding colorful designs.
- This can include stickers, ribbons, washi tape, or any other decorative items you have on hand.
- Great for adding fun designs or messages to your card.
- Helpful for ensuring straight lines and even cuts.
- Useful for sketching out ideas before committing them to paper.
Having these materials ready will set the stage for a fun and enjoyable crafting session. Once you have everything in front of you, the next step is to let your imagination run wild!
3. Step-by-Step Instructions

Creating a greeting card at home can be a delightful experience! Whether it’s for a birthday, thank-you, or just because, let’s break it down into simple steps.
- Gather Your Materials:
You'll need:
- Cardstock or heavy paper for the base
- Scissors
- Glue or double-sided tape
- Markers, colored pencils, or paints
- Decorative items like stickers, washi tape, or glitter
- Optional: a printer for photos or printed designs
- Cut the Card Base:
Fold your cardstock in half to form the base of the card. If you want a standard size, cut it to 5x7 inches. Don’t worry if it’s not perfect; that’s the charm of homemade cards!
- Plan Your Design:
Before you dive in, sketch out your design lightly in pencil. Think about where you want to place your text, any images, or other decorative elements.
- Add Your Message:
Using markers or pens, write a heartfelt message on the inside of the card. This is the most personal part, so make it count!
- Embellish the Front:
Now it’s time to get creative! Use your decorative items to bring your design to life. Stickers, drawings, and even bit of glitter can make your card pop!
- Finish it Off:
Once you’re satisfied with your design, let everything dry (if you used glue or paint) and then you’re ready to gift your creation!
4. Creative Ideas for Design
Need a little inspiration? Here are some fun and creative ideas to help your greeting card stand out!
- Nature-Inspired:
Try using pressed flowers or leaves for a rustic touch. Simply glue them onto the front of the card for a unique texture.
- Pop-Up Elements:
Add a surprise by incorporating pop-up elements inside. Cut shapes, like hearts or balloons, and attach them with small tabs to create a 3D effect when the card opens!
- Interactive Cards:
Make it more fun by including a fold-out section or a mini envelope within the card. You could even add a scratch-off area for raffle ticket-style excitement!
- Personal Photos:
Include a favorite photo that reminds you of the recipient. A candid moment captured can add a personal touch that they’ll treasure.
- Inspirational Quotes:
Incorporate a quote that the recipient loves or one that resonates with the occasion. Hand-letter it for a personal touch!
With these ideas and your creativity, you’ll craft a card that not only looks lovely but also carries heartfelt sentiments. Happy crafting!
Personalization Tips
Making a greeting card is much like pouring your heart into a little envelope; it's all about infusing your unique touch into everything you create. Here are some personalized tips to level up your card-making game and truly make your loved ones feel special:
- Use Their Favorite Colors: Think about what colors your recipient loves! Incorporating their favorite shades can make the card feel more personal. Whether it's a soothing blue or a cheerful yellow, colors can evoke emotions.
- Add Personal Photos: A picture says a thousand words. Including a heartfelt photograph of a cherished moment or a fun memory can add a deeply personal touch to your card.
- Incorporate Inside Jokes: If you share a laugh-inducing memory or an inside joke, don’t hesitate to use it! A humorous reference can create warm memories that bring a smile to their face.
- Handwritten Messages: In an age of digital communication, a handwritten note goes a long way. Use a nice pen, and take your time crafting a sweet message. The recipient will appreciate the effort and sincerity behind your words.
- Use Stickers and Embellishments: Personalize the card with stickers or decorative elements that resonate with the recipient’s interests. It could be anything from flowers and animals to hobbies they enjoy!
By personalizing your card, you're not just sending a piece of paper; you’re sending a piece of your heart, fostering connection and joy.
Conclusion
Creating a simple and creative greeting card at home isn't just about craft supplies and techniques; it's about capturing the essence of your relationship with the recipient. With a splash of creativity and a sprinkle of love, you can turn plain cardstock into a heartfelt keepsake. Remember, it’s the thought and effort that counts, so don’t stress about perfection.
Whether you are celebrating a birthday, an anniversary, or even just saying 'thank you', your personalized card will be a delightful surprise. To wrap things up, here’s a quick recap of what we covered:
| Key Takeaways |
|---|
| Choose Quality Materials: Invest in good paper and tools. |
| Incorporate Unique Designs: Think outside the box with your layout. |
| Add Personal Touches: Use colors and styles that resonate with the recipient. |
| Include Sentimental Elements: Remember to add those cherished memories or sayings. |
So go ahead and unleash your creativity! With a little time and effort, you’ll craft a card that will not only convey your message but also show just how much you care. Happy crafting!
 admin
admin


