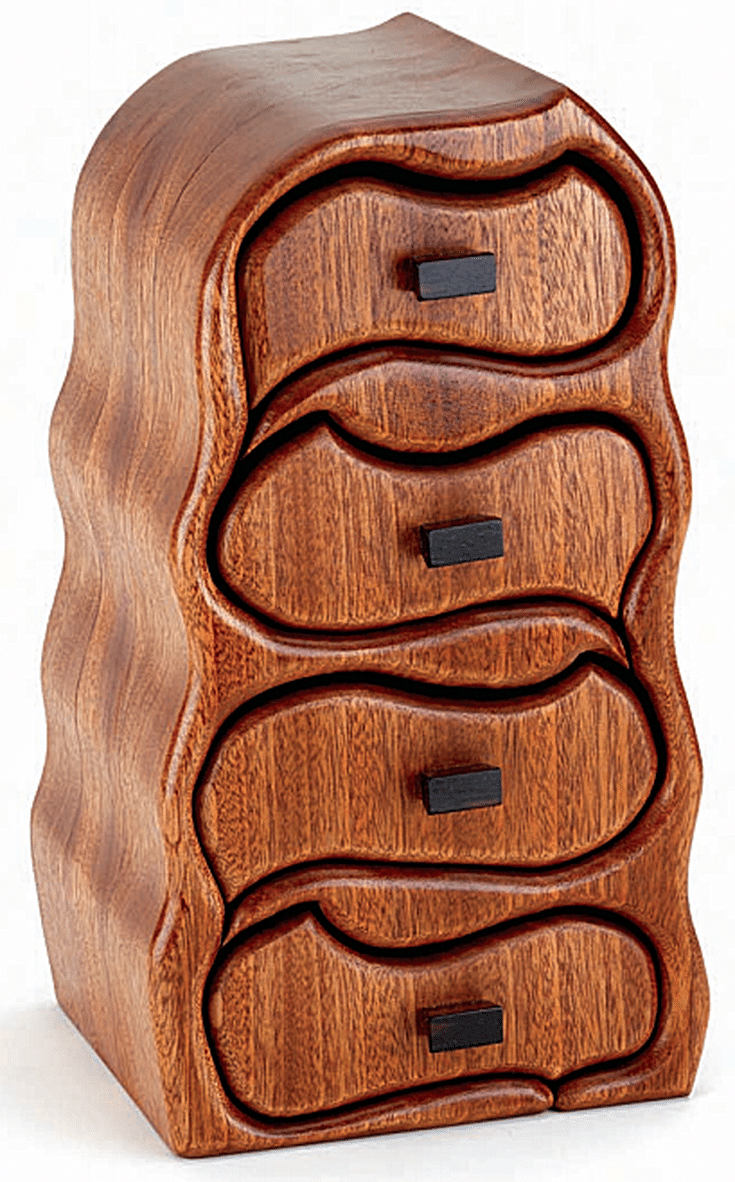
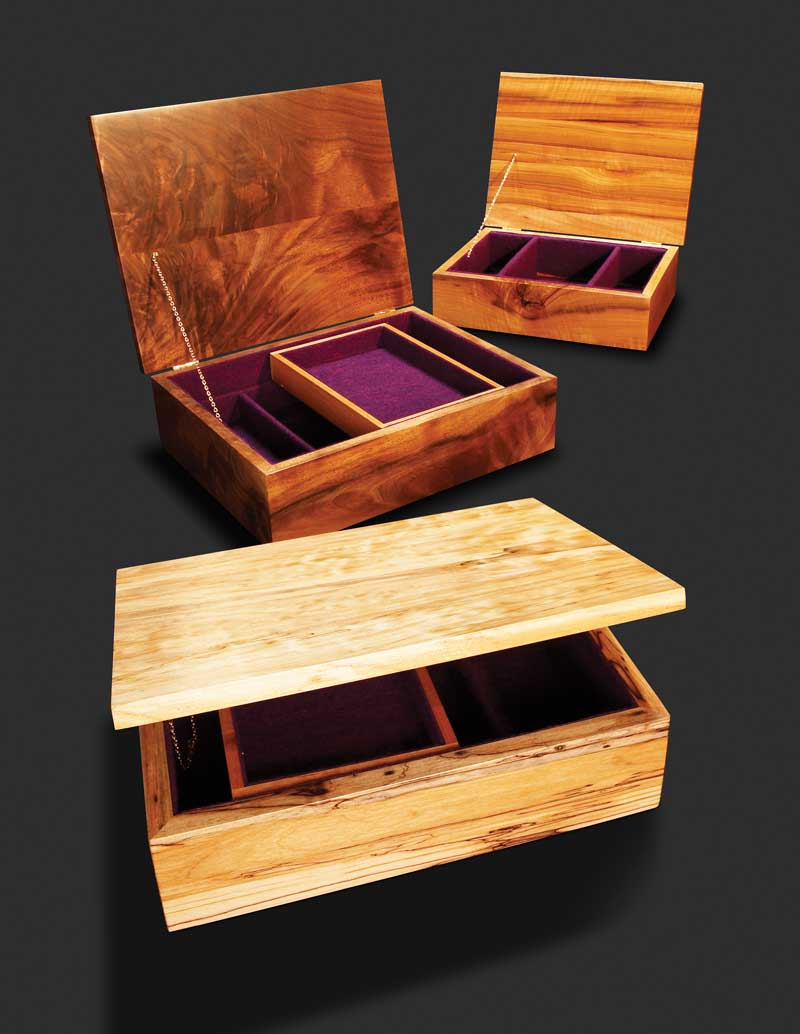
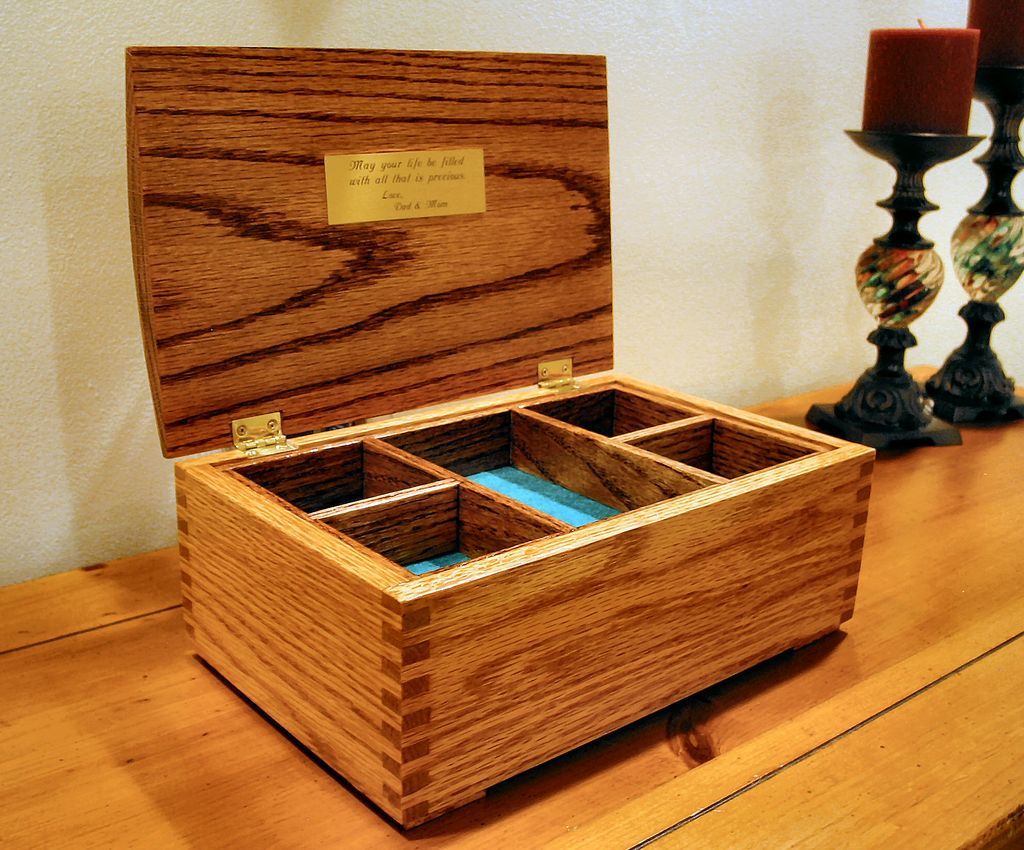
Creating a jewelry box at home can be a fun and fulfilling project. Not only does it give you a place to keep your precious accessories safe, but it also allows you to express your creativity. With just a few materials and some basic tools, you can design a piece that reflects your style, fits your space, and is made with love. Let's dive into what you’ll need to get started on your jewelry box-making journey!
Materials Needed

Before you start crafting your unique jewelry box, it's important to gather all the necessary materials. Here's a handy list to guide you:
- Wood or Cardboard: Choose a sturdy base. Wood is more durable, while cardboard is lighter and easier to manipulate.
- Wood Glue or Craft Glue: This is essential for strong joints, especially if you’re working with wood or paper.
- Paint or Stain: Personalize your jewelry box with colors that reflect your personality. Non-toxic paint is a great choice for safety!
- Decorative Paper or Fabric: Use these to line the inside of your box or to create stylish exteriors. Choose patterns that you love!
- Foam Padding or Felt: This can go inside the box to protect your jewelry from scratches.
- Scissors or a Craft Knife: You'll need these to cut your materials to the right size.
- Measuring Tape or Ruler: Accurate measurements are key to a well-crafted box!
- Paintbrush or Sponge: Use these to apply paint or glue smoothly.
- Decorative Elements: Think beads, ribbons, or even intricate carvings to elevate your design!
Having these materials ready will set you up for success in crafting a jewelry box that not only stores your treasures but also serves as a stunning decor piece.
Step-by-Step Instructions

Creating a jewelry box at home is a fun and rewarding project that allows you to express your creativity while also crafting something useful! Ready to dive in? Just follow these simple steps:
- Gather Your Materials: You'll need some basic supplies. Here’s a checklist to get you started:
- Wood, cardboard, or sturdy fabric for the box
- Scissors or a craft knife
- Glue or nails (for wood)
- Paint or decorative paper
- Dividers (like small boxes or cardstock)
- Design Your Box: Before you jump into construction, sketch a design. Consider:
- Size: How much jewelry do you need to store?
- Style: Do you want it minimalistic, ornate, or something unique?
- Cut Your Material: Based on your design, cut your chosen material into the right shapes: a base, sides, and top for the box.
- Assemble the Box: Use glue or nails to attach the sides to the base. Make sure everything is aligned. If you’re using cardboard, be extra gentle!
- Paint and Decorate: Once assembled, let it dry and then paint or cover it with decorative paper. It’s your chance to add your personal touch!
- Add Dividers: Use additional material to create compartments inside the box to keep your jewelry organized.
And there you go! With a little bit of patience and creativity, you’ll have your own homemade jewelry box ready to showcase your favorite pieces!
Creative Design Ideas

Your jewelry box should be a reflection of your personality, so let’s brainstorm some unique design ideas that can make your box stand out:
- Nature-Inspired Box: Use wood and add a rustic finish. Consider attaching small twigs or decorative stones to the exterior for a natural feel.
- Colorful Fabric Box: Use vibrant fabrics to cover your box, making it pop with color. You can even include pockets for a fun twist!
- Vintage Charm: Upcycle an old, ornate box. A little sanding and new paint can transform it into a chic jewelry holder.
- Modular Design: Create several small boxes that can be stacked or arranged in different ways. This not only provides storage but also lets you play around with how they look together!
- Personalized Touch: Add photos, quotes, or initials on the box. This could make it a lovely gift or a treasured item for yourself.
Remember, the only limit is your imagination! Mix and match elements from these ideas to create something that fits your style perfectly. Happy crafting!
5. Tips for Finishing Touches
Creating a jewelry box at home can be a delightful endeavor, and let’s not overlook the final details that make it truly shine. These finishing touches will elevate your jewelry box from functional to fabulous.
- Choose the Right Lining: Consider using soft fabrics like velvet or felt for the interior. This not only protects your jewelry but also adds a touch of luxury to the box.
- Personalized Accents: Think about adding initials, a favorite quote, or a design that holds special meaning. You can achieve this through wood burning, painting, or decals.
- Add Dividers: If you have a variety of jewelry, adding dividers can help keep everything organized. You could use small pieces of wood or even repurpose materials like cardboard.
- Finish with a Coat: For wooden boxes, consider applying a coat of varnish or sealant. This coats the wood and gives it a polished look, while also protecting it from wear and tear.
- Opt for a Lock: If your jewelry is valuable, think about adding a small lock to your jewelry box. It adds a sense of security, while also giving a touch of elegance.
- Lighting Touches: If your jewelry box has a lid, consider mounting a small LED light inside. This can illuminate your jewelry beautifully, creating a stunning display.
These final details, though small, can really transform your handcrafted jewelry box into a cherished keepsake.
6. Conclusion
Building a jewelry box at home isn’t just about storage; it’s an opportunity to express creativity and create something truly unique. Throughout this project, you've harnessed your imagination—selecting materials, designing interiors, and crafting a piece that reflects your personal style.
As you wrap up your creation, remember that this jewelry box can also make a great gift. Imagine the joy of presenting someone with a handmade piece crafted from love and thoughtful touches.
Here’s a quick recap of the steps we've covered:
| Step | Key Element |
|---|---|
| 1 | Select materials (wood, cardboard, etc.) |
| 2 | Design and measure your box |
| 3 | Construct the box components |
| 4 | Add internal features like dividers |
| 5 | Finish with decorative touches |
So, gather your materials, unleash your creativity, and you’ll soon have a jewelry box that not only organizes your treasures but also serves as a stunning piece of art in your home. Happy crafting!
How to Create a Jewelry Box at Home
Creating your own jewelry box at home can be a rewarding and fun project that allows you to express your creativity while organizing your precious items. Whether you prefer a rustic wooden box or a chic fabric-lined option, here’s a simple step-by-step guide to help you craft your personalized jewelry box.
*Materials Needed:
- Wooden box or cardboard box as the base
- Sandpaper (if using wood)
- Paint, stain, or decorative paper
- Fabric for lining (optional)
- Glue or Mod Podge
- Scissors
- Ruler and pencil
- Hardware (hinges, latch) if needed
Step-by-Step Instructions:*
| Step | Description |
|---|---|
| 1 | Choose your base box and sand it down if it's wooden to ensure a smooth surface. |
| 2 | Paint or stain the box as desired, letting it dry completely between coats. |
| 3 | If lining with fabric, cut the fabric to fit the inside dimensions and glue it in place. |
| 4 | Add any hardware, such as hinges or a latch, for functionality. |
| 5 | Personalize your jewelry box with embellishments like stickers, beads, or engraving. |
Creating a jewelry box at home not only serves a practical purpose but also adds a personal touch to your jewelry storage solutions. With a few materials and some creativity, you can craft a stunning piece that showcases your style while keeping your treasures safe.
 admin
admin


