Paper crafting is a delightful and engaging hobby that invites creativity and imagination. Whether you’re an experienced crafter or just getting started, working with paper offers endless possibilities. It's an accessible medium, allowing you to create vibrant projects using just a few materials. With a simple pair of scissors and some glue, you can transform ordinary paper into stunning artwork.
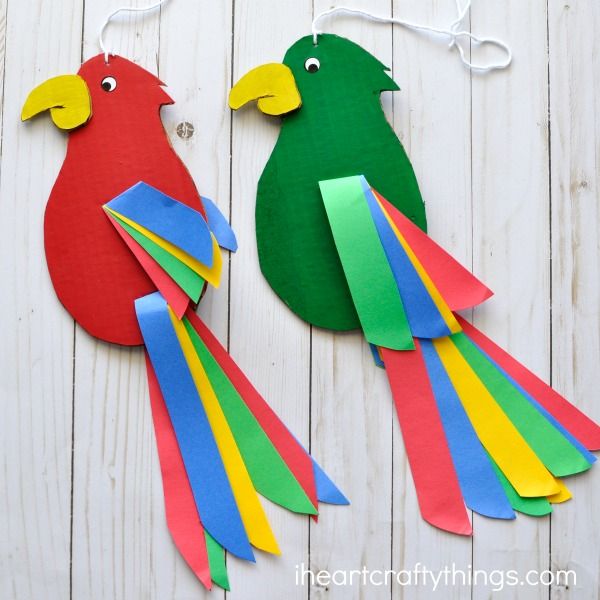
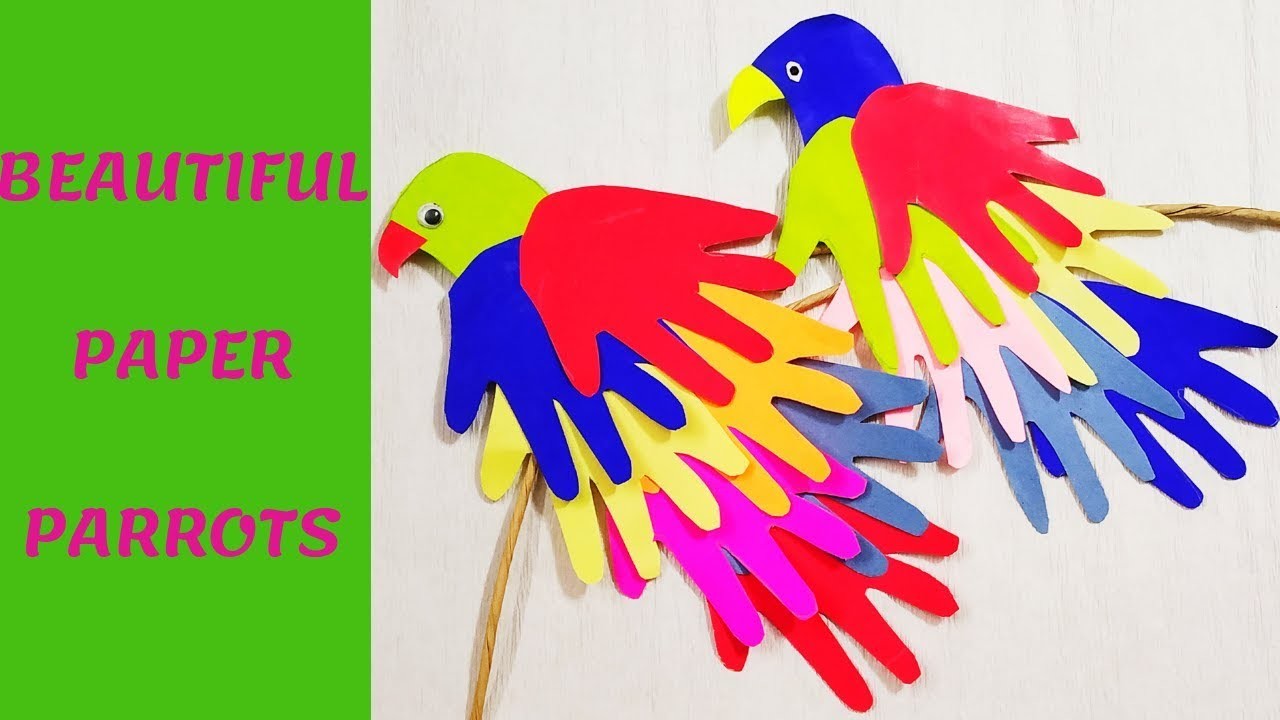
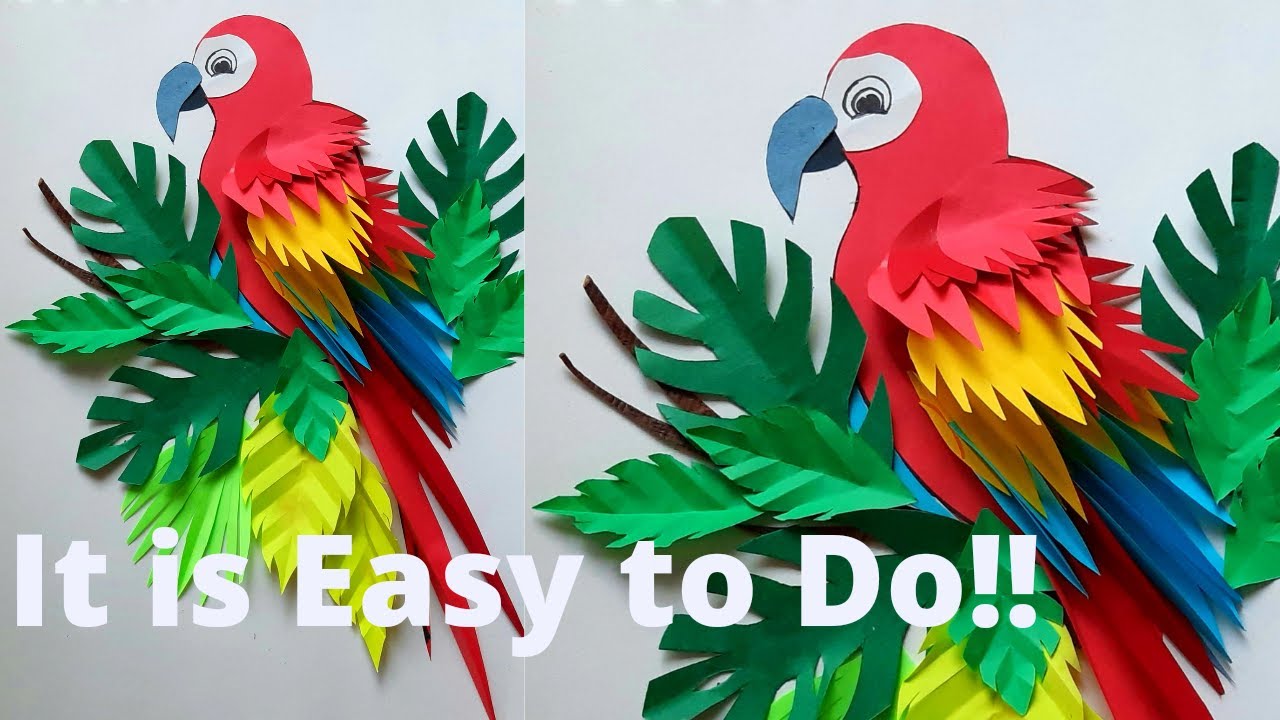
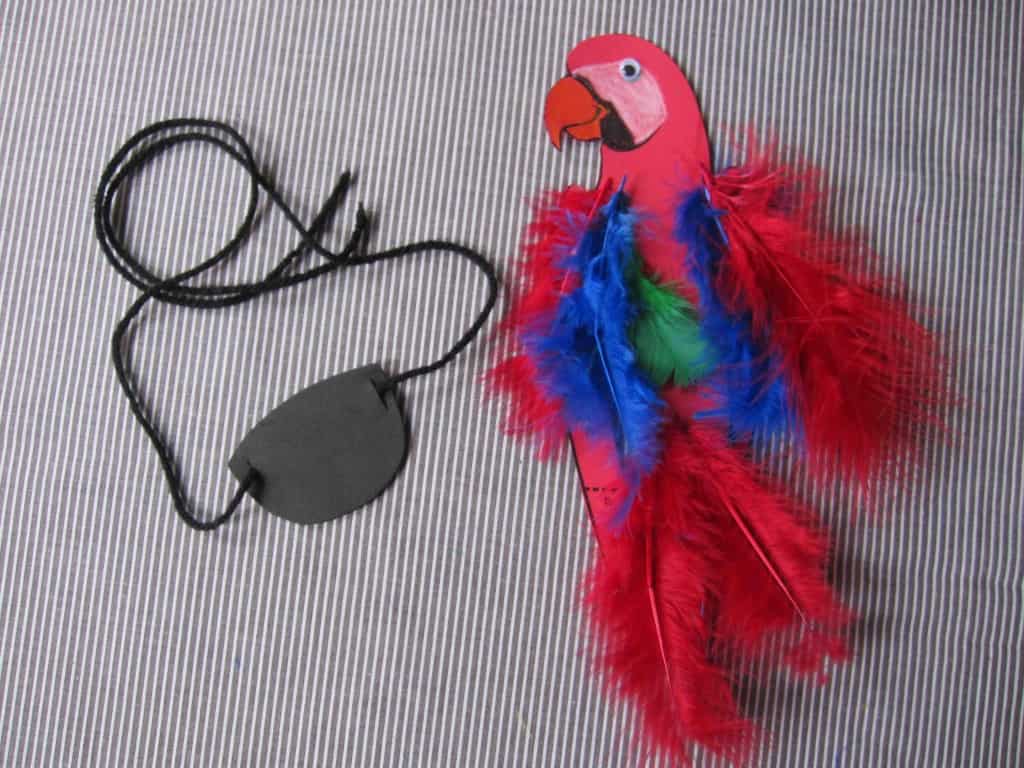
This blog post focuses on a fun project: creating a colorful paper parrot. Not only is this craft perfect for kids and adults alike, but it's also a fantastic way to spend quality time with family or friends. You'll learn how to make your own charming parrot, exploring different colors and designs, so let’s dive into the materials you’ll need!
Materials Needed for Your Paper Parrot

Before you start crafting your colorful paper parrot, you’ll need to gather a few materials. Don’t worry; most of these items are easily accessible and often already found around the house. Here’s a handy list to kick things off:
- Colored Paper: Choose a variety of colors, such as green, blue, red, and yellow for the parrot's body and feathers.
- Scissors: A good pair of scissors will help you cut the paper easily into the shapes you need.
- Glue Stick or Liquid Glue: You’ll need this to hold various parts of the parrot together securely.
- Pencil: Use a pencil to sketch your parrot before cutting, ensuring you have the shapes and sizes just right.
- Googly Eyes (optional): If you want to add a fun, whimsical touch, these will give your parrot a lively personality!
- Markers or Crayons: Use these to add additional details or patterns to your parrot design.
Once you have all your materials ready, you’re set to embark on a vibrant crafting adventure! Gather around your crafting table, put on your favorite music, and let your creativity take flight as you make your colorful paper parrot.
Also Read This: Inspiring DIY Handicrafts Ideas to Watch on Dailymotion
Step-by-Step Instructions to Make Your Parrot

Creating a colorful paper parrot is not just delightful, it's also a wonderful way to enhance your crafting skills! Follow these straightforward steps to make your very own paper parrot.
- Gather Your Materials
Before you dive in, make sure you have everything you need:
- Colored paper (red, green, blue, yellow)
- Scissors
- Glue or tape
- Markers or colored pencils
- Googly eyes (optional)
- Pencil for sketching
- Draw the Parrot Shape
On a piece of paper (preferably white), sketch the outline of your parrot. Start with an oval shape for the body and a circle for the head.
- Cut Out the Pieces
Once you’re satisfied with your drawing, it’s time to cut the shapes out. You should have:
- Body
- Head
- Wings
- Tail feathers
- Assemble the Parrot
Using glue or tape, start to assemble your parrot. Attach the head to the body, and then add the wings and tail. Make sure everything is secure.
- Add the Final Touches
Now comes the fun part! Use your markers or colored pencils to add details like feathers and facial features. Stick on the googly eyes if you have them for some extra charm. Voila! Your colorful paper parrot is complete!
Also Read This: Mastering Project Presentation on Behance to Captivate Your Audience
Tips for Decorating Your Paper Parrot

Now that you've crafted your paper parrot, decorating it can truly bring it to life! Here are some fun tips to enhance your feathered friend:
- Use Bright Colors
Embrace vibrant colors that reflect a real parrot's plumage. Bright greens, yellows, blues, and reds can make your parrot stand out.
- Add Patterns
Consider adding unique patterns to the wings and tail. Polka dots, stripes, or even floral designs can add an artistic touch.
- Textured Details
For a dimensional look, use materials like tissue paper or fabric scraps to layer and create texture on the wings and tail.
- Personalize with Features
Make your parrot unique by creating a name tag or a fun backstory for it. You can even add little accessories like a small hat or a tiny scarf to showcase its personality!
- Involve Others
Invite friends or family to join in on the fun! Everyone can create their own design, leading to a colorful flock of paper parrots!
Remember, crafting is about exploration and creativity, so don’t hesitate to let your imagination fly! Enjoy decorating your paper parrot and sharing it with others.
Also Read This: Printing Full Images Without White Borders
Ideas for Displaying Your Finished Craft

So, you’ve spent time and effort creating your colorful paper parrot, and now it's time to show it off! Displaying your craft can not only enhance your living space, but it can also spark joy and creativity in those who visit. Here are some imaginative ideas to consider:
- Wall Art: Attach your paper parrot to a canvas or frame it under glass. This turns your parrot into a beautiful piece of wall art that can brighten up any room.
- Table Centerpiece: Use a small vase or decorative container as a base and attach your parrot to a stick. Arranging it with flowers or other decorative items makes an eye-catching centerpiece for your dining or coffee table.
- Mobile: Create a whimsical mobile by suspending several paper parrots from a hanger or wooden hoop. Hang it in a room where it catches a breeze and flutters beautifully.
- Kid’s Room Decor: Use your colorful parrots to decorate a child’s bedroom. You can hang them from the ceiling, stick them on the walls, or even attach them to the headboard of the bed for a fun jungle theme.
- Garden Decoration: Waterproof your paper parrot with a sealant and place it among your plants or in your garden. It can add a touch of color and fun to your outdoor space.
These ideas can turn your creative endeavor into an eye-catching display that brightens your home and brings smiles to those around you. So go ahead, get creative, and find the perfect place for your lovely parrot!
Conclusion and Additional Resources
Creating a colorful paper parrot is not just about crafting; it’s about unleashing your creativity and having fun along the way! Whether you’re doing it alone or with family and friends, this project adds a pop of color and whimsy to your life. Remember to try different colors, patterns, and sizes to make your parrot uniquely yours.
If you’re looking for more inspiration or guidance, here are some useful resources:
- YouTube Tutorials: Check out various crafting channels for visual step-by-step guides on making paper parrots and other fun crafts.
- Craft Blogs: Sites like “Crafty Corner” and “Paper Parade” often feature similar projects along with tips and tricks.
- Pinterest Boards: Explore Pinterest for a treasure trove of unique embellishment ideas for your crafty creations.
So don your crafting hat, gather your materials, and let your imagination soar as you craft your paper parrot. Happy crafting!
 admin
admin


