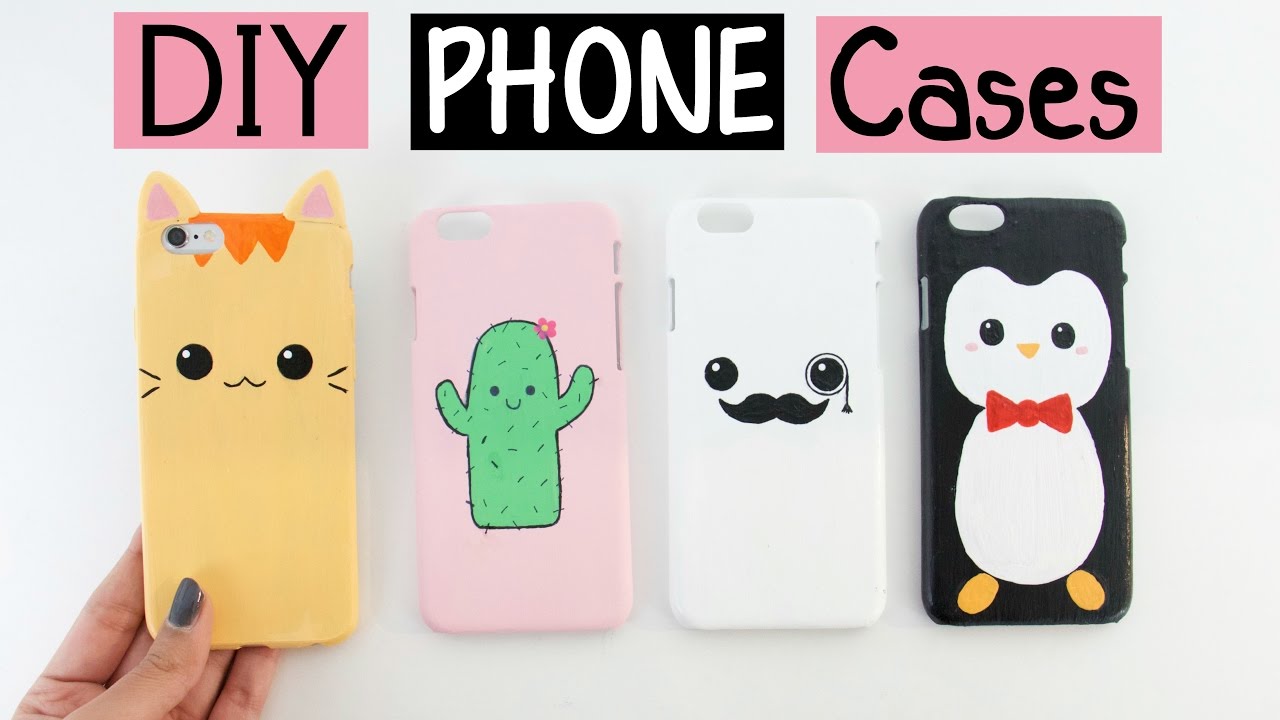
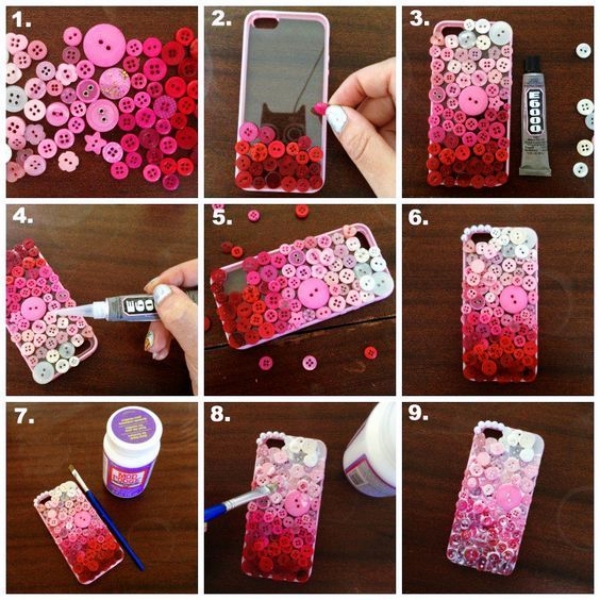
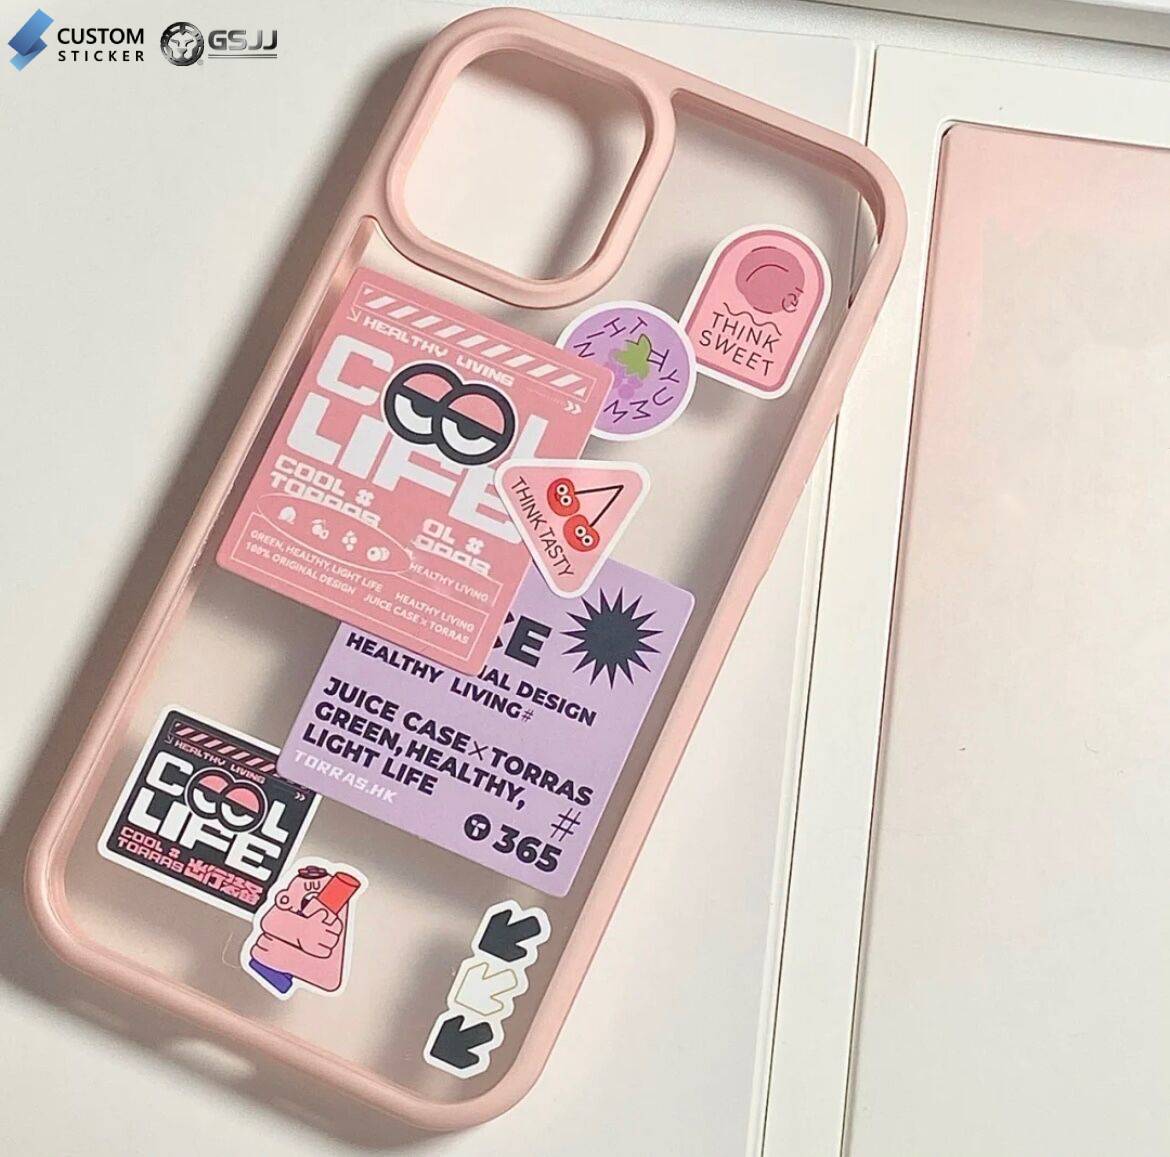
Creating a custom cell phone cover at home is not just a fun and creative project but also a fantastic way to express your personal style. Whether you're looking to revamp an old case or make a unique one from scratch, you’ll find that the possibilities are endless. In this guide, we will walk you through the simple steps and materials needed to make a phone cover that not only protects your device but also tells a story about who you are. Grab your craft supplies, and let's get started on this exciting DIY journey!
Materials Needed

Before we dive into the crafting process, it's essential to gather all the necessary materials. Having everything at hand will make the experience smoother and more enjoyable. Here’s a handy list of what you’ll need:
- Plain Phone Case: Start with a basic, blank phone case. You can find these at craft stores, online, or even repurpose an old, scratched-up one.
- Acrylic Paint or Markers: Choose colors that reflect your personality. Acrylic paint works great for detailed designs, while markers can be perfect for quick doodles.
- Paintbrushes: If using paint, pick a few sizes—fine brushes for details and broader brushes for larger areas.
- Decals and Stickers: Get creative with pre-designed decals, stickers, or washi tape that can add a fun flair with minimal effort.
- Glitter or Gems: Want to add some sparkle? These can be easily glued onto your case for some bling!
- Clear Sealant: This will protect your design from scratches and fading, especially if you're using paint.
- Glue or Double-sided Tape: Essential for attaching any embellishments like gems or fabric pieces.
- Optional: Fabric or Paper: To create a more textured design, consider adding fabric or decorative paper to your case.
With these materials in your crafting arsenal, you'll be ready to unleash your creativity and make a stunning phone cover that stands out in the crowd!
Also Read This: How to Add Links to Your LinkedIn Profile With Helpful Resources
Step-by-Step Instructions

Creating a custom cell phone cover at home can be an enjoyable and rewarding task. Here’s a step-by-step guide to help you through the process. Grab your materials, roll up your sleeves, and let’s get started!
- Gather Materials:
First things first, you need to collect all your materials. You will need:
- Plain phone case (transparent or solid color)
- Craft paints or markers
- Decals or stickers
- Glue or Mod Podge
- Brushes or sponges
- Scissors and craft paper (for stencil creation)
- Ruler and pencil (for measurements)
- Prepare Your Design:
Before diving in, sketch out your design on paper. This will ensure you have a clear vision. Decide on the color palette and any patterns or graphics you want to include.
- Transfer Your Design:
If you're using stencils, cut them out from the craft paper. Position the stencil on the phone case and use painter’s tape to hold it securely while you paint.
- Painting and Decorating:
Using your chosen paints or markers, carefully apply the colors as per your design. Don’t forget to let each layer dry before moving onto the next!
- Finishing Touches:
Once the paint is dry, you can apply any decals or stickers for added flair. A layer of Mod Podge on top can help seal everything and give a glossy finish.
- Drying Time:
Finally, let your creation dry completely before using it. This usually takes a few hours, but it's worth the wait!
Also Read This: How to Crop an Image in Procreate
Creative Design Ideas

When it comes to designing your cell phone cover, the possibilities are virtually limitless! Here are some fun and creative ideas to consider:
- Floral Patterns:
Use bright, colorful paints or decals to create a vibrant floral pattern. Perfect for nature lovers!
- Geometric Shapes:
Try a modern look with geometric shapes. Use painter's tape to create clean lines and bold designs.
- Quotes and Sayings:
Incorporate your favorite inspirational quote. Choose a stylish font and use fine-tipped markers for that chic look.
- Photo Collage:
Print small photos and adhere them to the case for a personalized touch. Mix and match your favorite moments!
- Color Ombre:
Blend colors for an ombre effect. This simple yet stylish design can add a beautiful gradient to your cover.
Remember, the key to creativity is experimentation. Don’t be afraid to mix styles and try new techniques. Your phone cover is your canvas, so make it uniquely yours!
Also Read This: Effective Techniques to Hide Pimples with Makeup
Tips for a Durable Cover
When crafting a cell phone cover at home, durability is key. You want your phone cover to not only look good but also withstand the day-to-day wear and tear. Here are some tips to make sure your creation lasts:
- Choose the Right Materials: Start with sturdy materials like thick felt, silicone sheets, or strong plastic. If you're using fabric, opt for canvas or denim, which are much tougher than regular cotton.
- Reinforce Edges: Pay special attention to the edges of your cover, as they are the most vulnerable parts. You can use extra layers of the material or even add a layer of clear packing tape to protect them.
- Secure with Strong Adhesives: Use a high-quality fabric glue or super glue instead of regular glue. This ensures a better bond that will withstand heat, moisture, and time.
- Consider Double-Layering: For added protection, create a double-layer cover. Use a softer inner layer to cushion your phone while preserving a hard outer layer for rigidity.
- Test Fit: Before you finalize your design, test the fit of your cover. A snug fit will protect your phone better than a loose one, which may allow for damage.
By following these tips, you can create a cell phone cover that not only showcases your creativity but also serves its primary function—keeping your device safe and protected!
Also Read This: Playlist Popularity: Boosting Your Spotify Playlist with More Likes
Alternative Techniques
Exploring alternative techniques can add a unique flair to your homemade cell phone cover. Here are a few creative methods you might consider:
- Decoupage: This technique uses paper cut-outs and glue to create a layered effect. You can decoupage magazine clippings, patterned paper, or even old postcards onto a plain cover for a personalized design.
- Sewing or Quilting: If you enjoy sewing, consider making a fabric cover. Quilted designs can add both style and texture while offering extra padding for protection.
- Resin Casting: For a more modern approach, you can create a cover using epoxy resin. Embed small items like glitter, dried flowers, or coins into the resin for a stunning, one-of-a-kind finish.
- 3D Printing: If you have access to a 3D printer, designing a custom-made cover can be an exciting option. You can tailor the design to perfectly fit your phone’s model.
- Paint Techniques: A simple painted cover can be transformed with techniques like marbling or sponge painting. Use acrylic paint that’s suitable for plastic or fabric, and get creative!
By experimenting with these alternative techniques, you can not only customize your phone cover but also explore your artistic side. The possibilities are endless when it comes to DIY projects!
How to Create a Cell Phone Cover at Home with Easy Craft Ideas
Creating a personalized cell phone cover at home is not only a fun craft project but also a great way to express your creativity. Whether you're looking to extend the life of your phone or to make a fashion statement, DIY phone covers can be simple and stylish. Here are some easy craft ideas to get you started:
Materials Needed
- Plain phone cover (transparent or solid color)
- Decoupage glue or Mod Podge
- Craft paper or scrapbook paper
- Scissors
- Paint brushes or sponge brushes
- Markers or paint for designs
- Embellishments (stickers, rhinestones, fabric flowers)
Step-by-Step Instructions
- Select Your Base: Choose a plain phone cover that fits your phone model.
- Design Your Layout: Cut the craft paper to fit your phone cover, allowing some excess for wrapping around edges.
- Apply Decoupage Glue: Brush a thin layer of glue onto the phone cover, then place your paper on top.
- Secure the Edges: Fold the excess paper around the edges and seal with more glue.
- Decorate: Use markers, paint, or embellishments to add personal touches and designs.
- Finish with a Seal: Once dry, apply a layer of decoupage glue on top to protect your design.
Additional Craft Ideas
| Material | Description |
|---|---|
| Fabric | Use vibrant fabrics to create a soft, textured cover. |
| Washi Tape | Use colorful washi tape to create geometric patterns. |
| Photo Collage | Create a personalized cover using your favorite photos. |
In conclusion, making a DIY cell phone cover at home using simple materials can unleash your creativity while providing a unique and personal touch to your device. Experiment with different techniques and materials; the possibilities are endless!
 admin
admin


