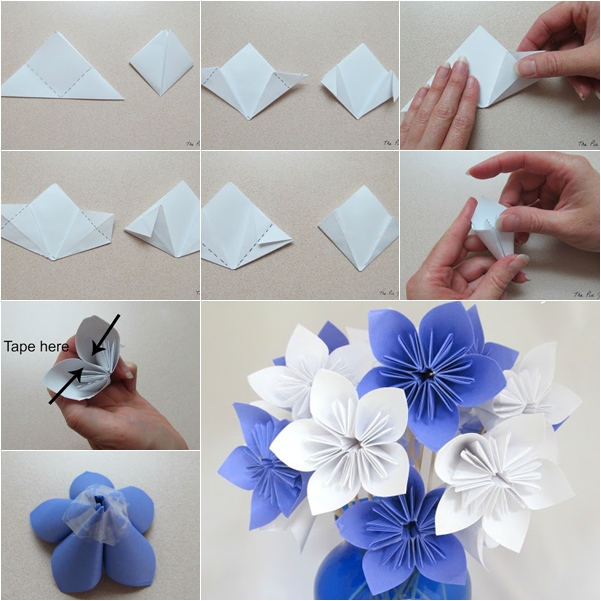
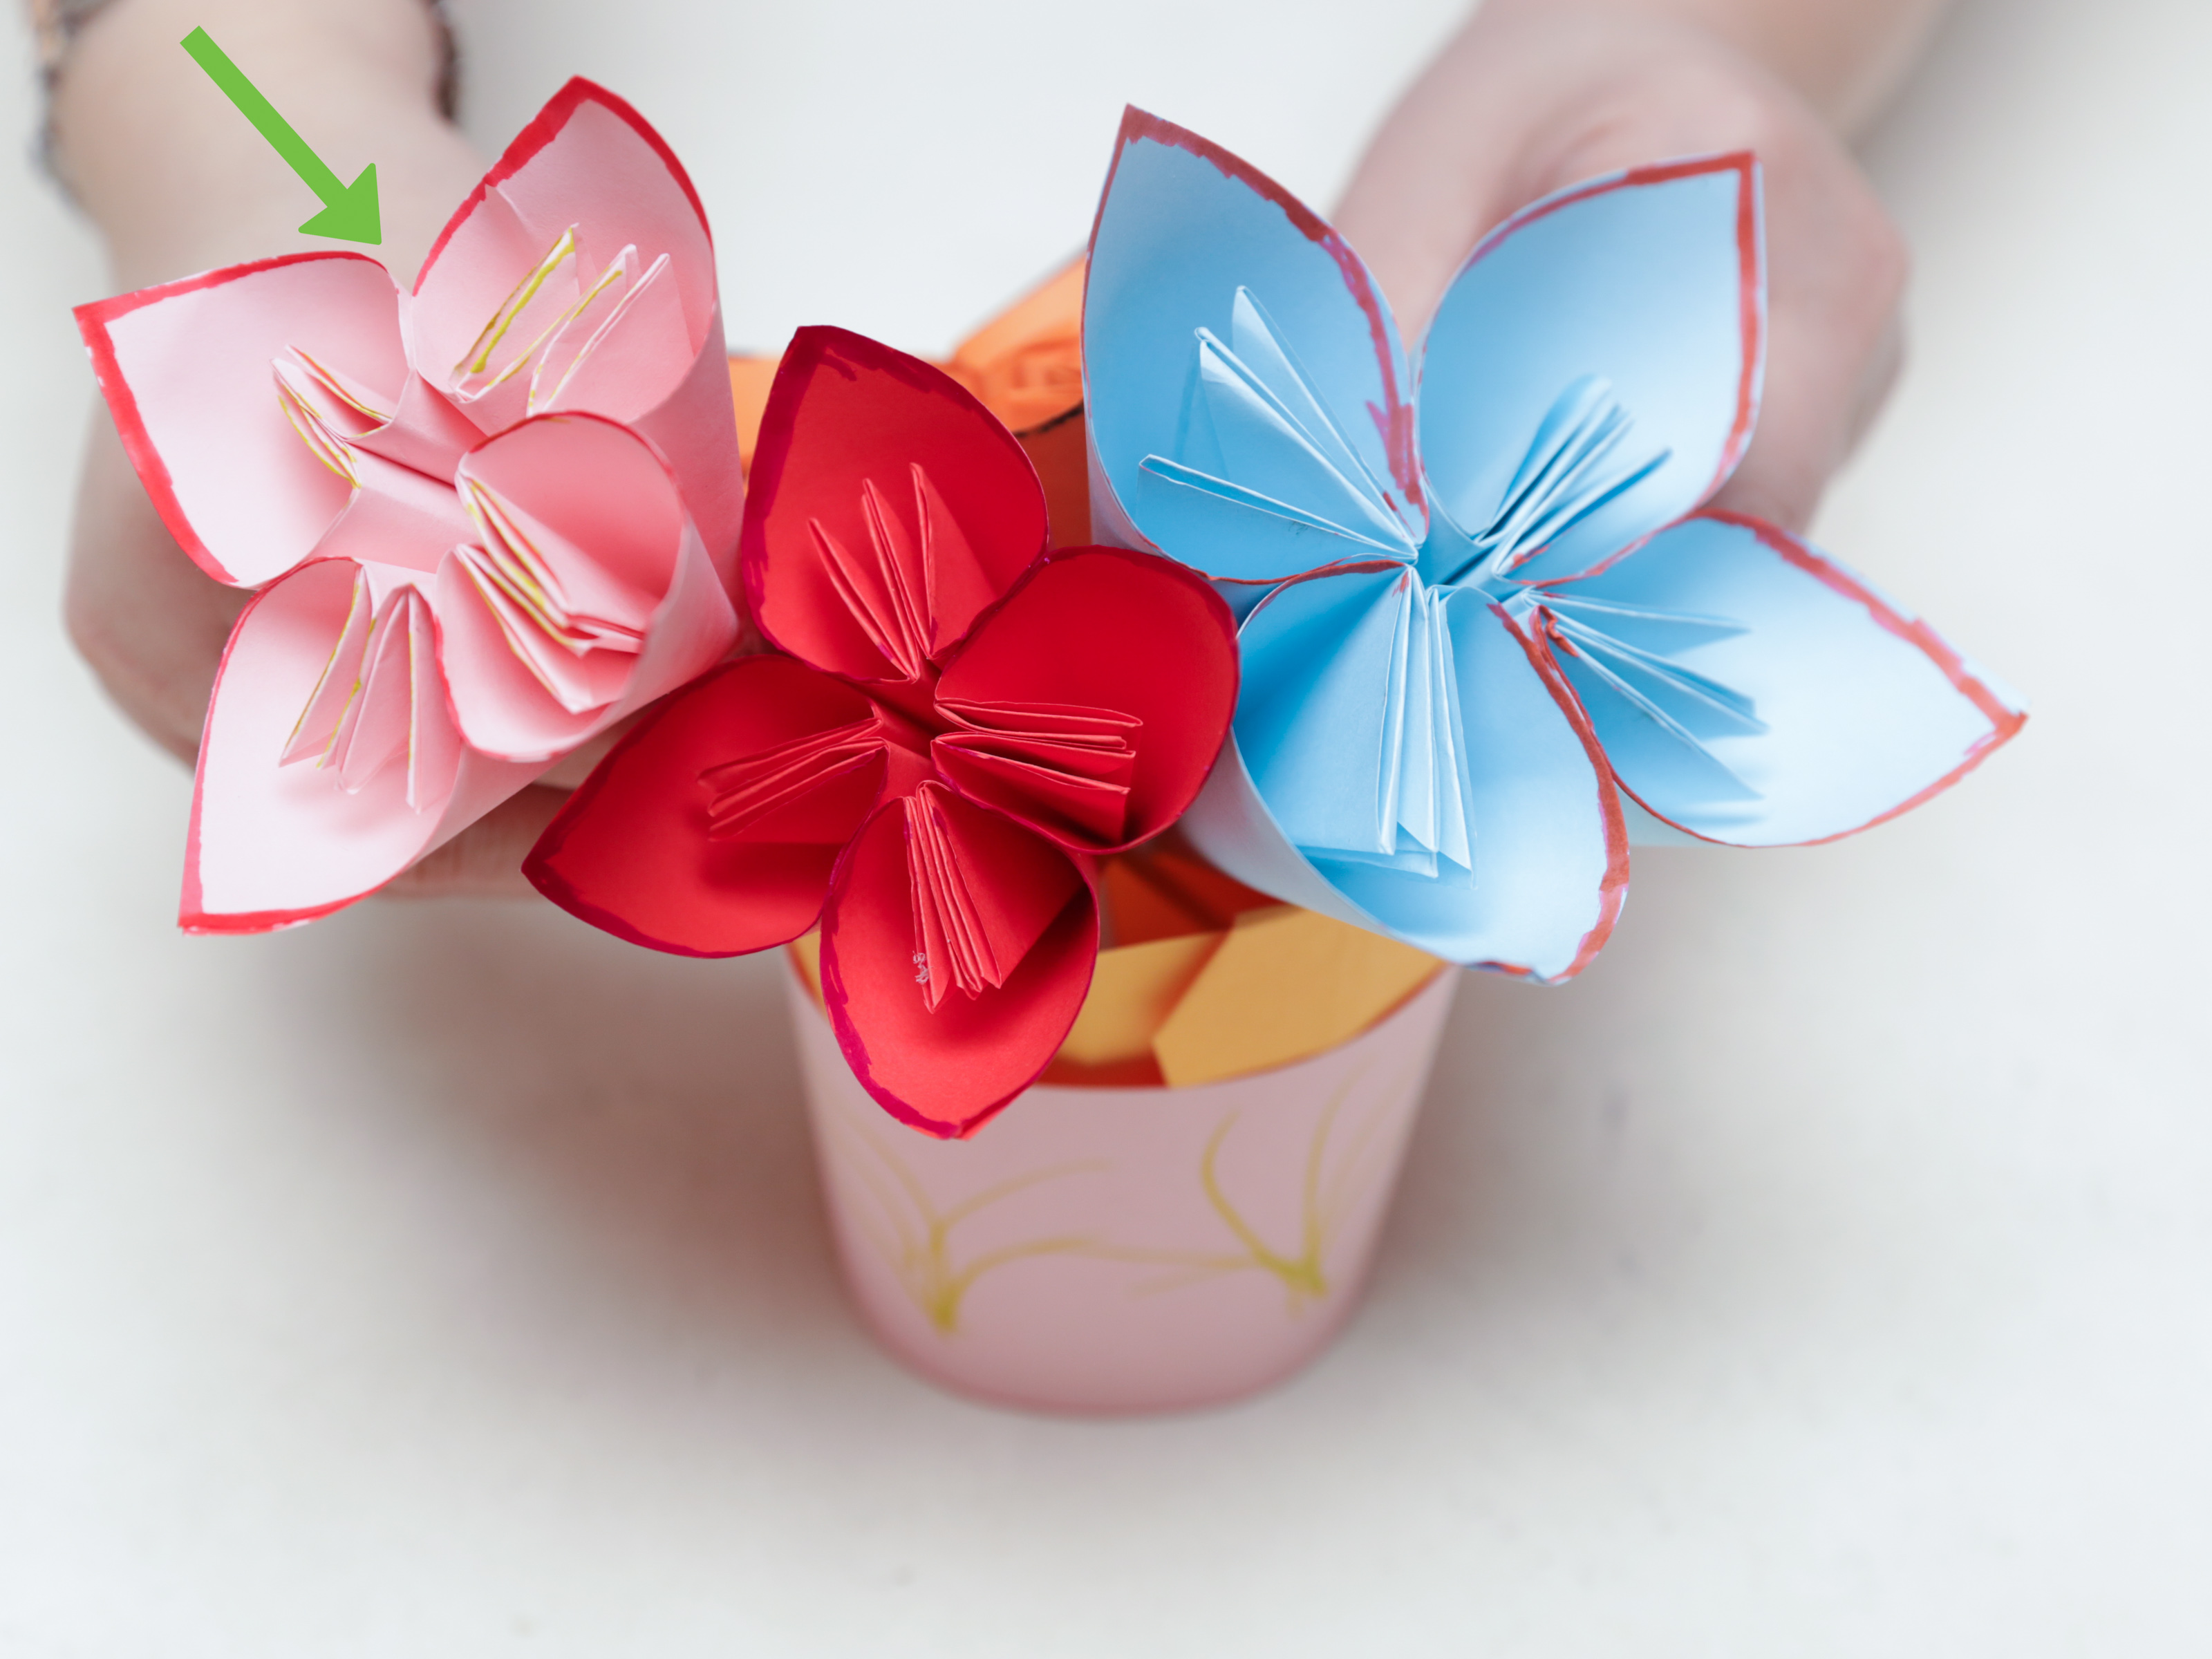
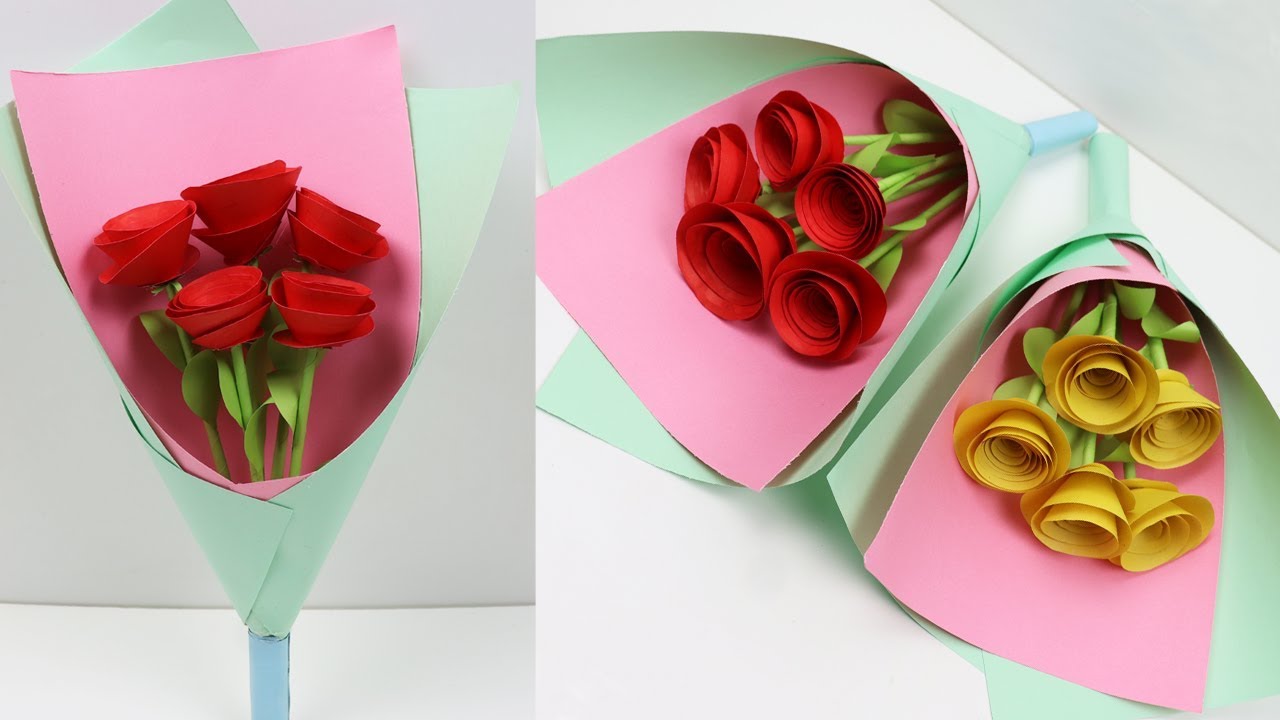
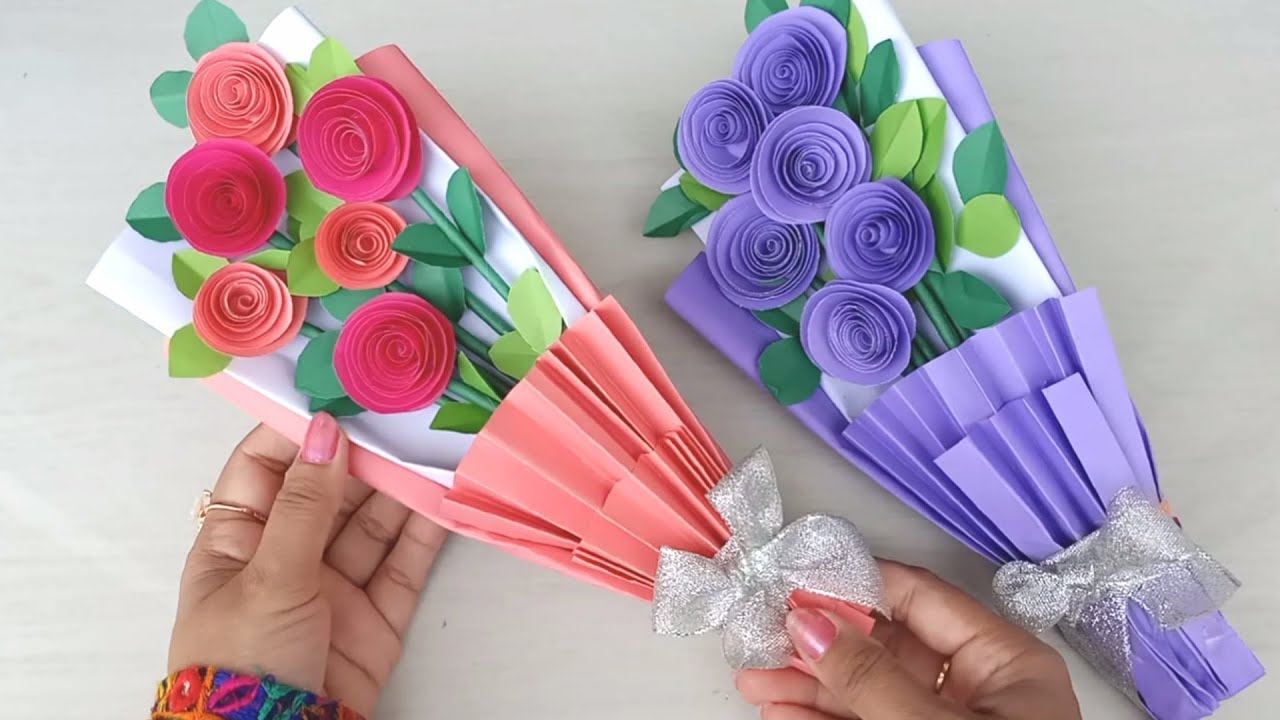
Creating a beautiful paper flower bouquet is a delightful way to express your creativity while crafting something that lasts a lot longer than fresh flowers. Whether you're decorating a space, preparing for a special occasion, or gifting someone a unique present, paper flowers can add charm and elegance to any setting. This craft is not only enjoyable but also offers a chance to personalize your creations with color, shape, and design. Ready to get your hands a little crafty? Let’s dive into the materials you’ll need before we start crafting!
Materials Needed

Before you embark on your paper flower-making journey, it’s important to gather all the necessary materials. Here’s a handy checklist to ensure you have everything you need:
- Papers: Look for a variety of papers, including tissue paper, cardstock, and crepe paper. Each type gives a different texture to your flowers.
- Scissors: A good pair of scissors is key for clean cuts. Consider using specialty scissors that create decorative edges for added flair.
- Adhesive: You’ll need glue. Hot glue works best for a quick hold, but craft glue can also do the job. Just be patient while it dries!
- Floral Wire: This will serve as the stem of your flowers. You can find it in varying thicknesses—choose according to your flower size.
- Floral Tape: This stretchy tape helps cover up the wire and gives your flowers a classy finish.
- Pencil or Marker: Great for tracing petals and leaves. You can also use them to draw designs on your paper.
- Ruler: Ensures that your flower petals are evenly sized, giving your bouquet a professional touch!
- Optional Embellishments: Think beads, glitter, or decorative buttons to jazz up your flowers.
Make sure you have all the materials ready before you start, and don’t hesitate to get creative by adding personal touches to your bouquet!
Step-by-Step Instructions

Creating a beautiful paper flower bouquet can be a delightful experience! Follow these step-by-step instructions to craft your own stunning arrangement:
- Gather Your Materials: You’ll need:
- Colored paper (crepe paper, tissue paper, or cardstock)
- Scissors
- Floral wire or pipe cleaners
- Floral tape
- Hot glue gun or craft glue
- Greenery or leaves for accents (optional)
- A vase or holder for the bouquet
- Roses
- Daisies
- Lilies
Tips for Personalizing Your Bouquet

Personalizing your paper flower bouquet allows you to infuse your own style and creativity. Here are some fun tips to make your arrangement uniquely yours:
- Choose Your Colors: Don’t be afraid to get creative with color. Pick shades that reflect the seasons, special occasions, or even your personal favorite hues.
- Add Embellishments: Use glitter, sequins, or ribbons to add a bit of sparkle and pizzazz. You could tie a ribbon around the vase or sprinkle some glitter on the flowers.
- Incorporate Personal Mementos: Consider including small fabric pieces, buttons, or charms that hold special meaning to you. This can add an emotional touch to your bouquet.
- Experiment with Sizes: Mix small, medium, and large flowers for visual interest. Varying the sizes can give your bouquet a more dynamic and whimsical look.
- Create a Theme: Consider designing your bouquet around a theme, such as a wedding, birthday, or holiday. Choose flowers and colors that align with that theme for a cohesive look.
- Include Personalized Messages: Write heartfelt messages or quotes on small tags, and attach them to the stems. This can make a lovely gift for someone special.
Remember, the beauty of creating a paper flower bouquet lies in the process, so have fun and let your creativity blossom!
How to Care for Your Paper Flowers

Taking care of your beautiful paper flowers is essential to ensure they last as long as possible and continue to look stunning in your home or as a gift. The beauty of paper flowers is that they require far less maintenance than real ones, but a little care can go a long way. Here are some handy tips to keep your paper blooms in top shape:
- Keep Them Away from Moisture: Paper is sensitive to water, so keep your paper flowers in dry areas. Avoid placing them in bathrooms or near sinks where splashes can occur.
- Dust Regularly: Just like any decor item, paper flowers can collect dust. Use a soft, dry cloth or a duster to gently remove any dust. You can also use a hairdryer on a cool setting to blow away dust particles.
- Avoid Direct Sunlight: Prolonged exposure to sunlight can fade colors and damage the paper. Place them in a spot where they can enjoy soft, ambient lighting instead.
- Handle with Care: If you're moving your arrangement, handle it gently. Paper flowers can bend or get crushed, so always lift them by the base rather than the petals.
- Repair as Needed: If a petal gets bent or torn, don’t panic! You can easily fix small issues with a bit of glue or tape. A little DIY touch can restore their beauty.
By following these simple steps, you can keep your paper flower bouquet looking fresh and vibrant for a long time. Remember, the care you put in will reflect in their beauty!
Conclusion
Creating a beautiful paper flower bouquet is more than just a craft; it's a form of art that brings joy and color into any space. Not only are paper flowers a fantastic alternative to real ones, but they also hold the unique advantage of being customizable to fit your style and preferences. Whether you're making them for personal decor or as a heartfelt gift, paper flowers carry a personal touch that can’t be replicated.
As we've discussed, the journey from selecting materials to crafting and caring for your paper flowers is filled with creativity and fun. So, don’t be shy to experiment with different colors, shapes, and techniques! Why not invite friends over for a paper flower-making session? It can be a delightful bonding experience.
In conclusion, making and caring for your paper flowers can transform your environment and serve as a beautiful reminder of your creativity. So gather your supplies, unleash your artistic side, and enjoy the satisfaction that comes with creating something lovely by hand!
 admin
admin


