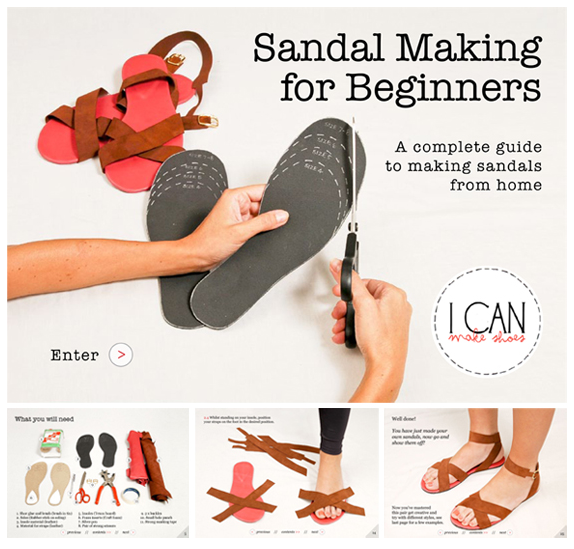
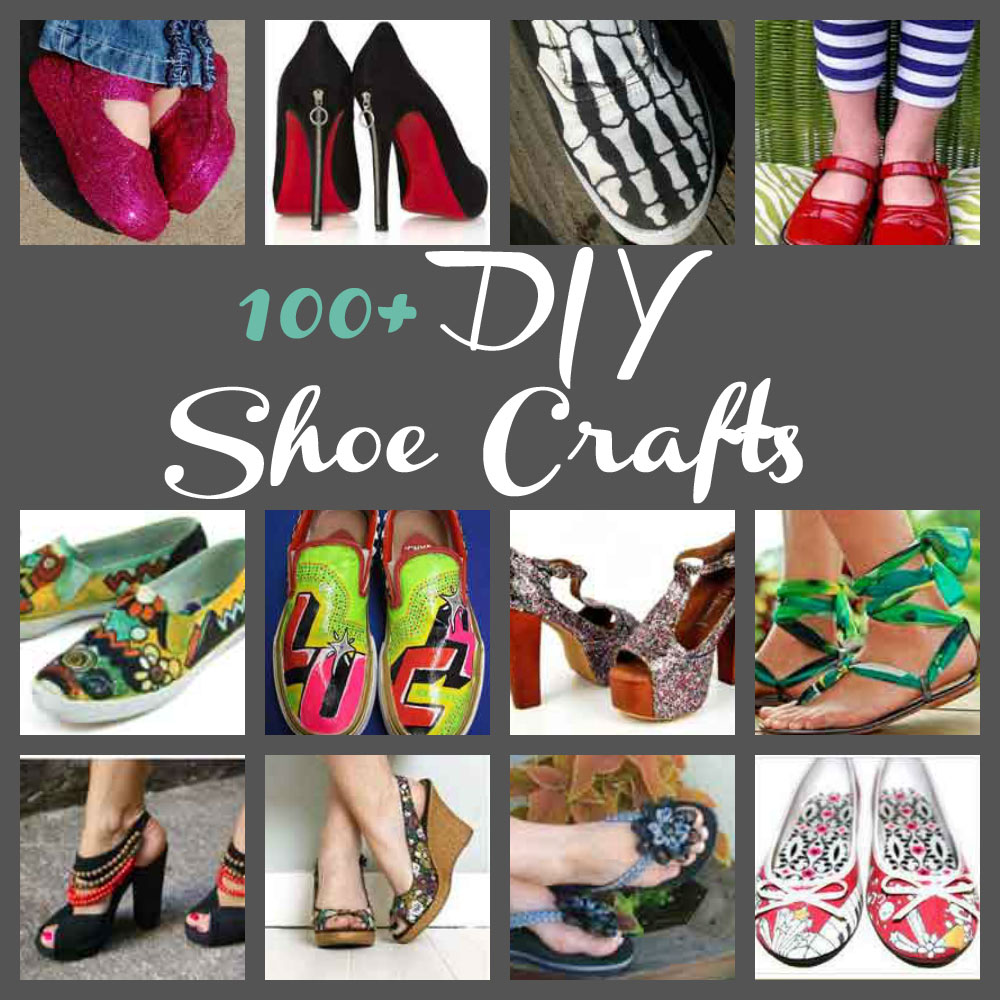
Crafting your own shoes at home might seem like a daunting task, but it's an incredibly rewarding experience! Imagine slipping on a pair of shoes that you've designed and created with your own hands. Whether you're looking to make a unique gift, add to your wardrobe, or just try your hand at a new hobby, this step-by-step guide will walk you through the process. You'll learn about the materials you'll need, the techniques involved, and even some tips and tricks to make your crafting journey easier. Let's dive right into the world of shoe-making!
Materials Needed

Before you start crafting your own shoes, it's essential to gather all the necessary materials. Here’s a handy list to ensure you're fully equipped for your creative project:
- Shoe Lasts: These are the molds that give your shoes their shape. Choose a size and style that suits your vision.
- Leather or Fabric: The main materials for your shoe's upper. Depending on your design, you can use leather for a classic look or fabric for something more playful.
- Shoe Soles: You can buy pre-made soles or make your own using a sturdy material like rubber or leather.
- Adhesive: A strong, flexible glue is crucial for securely attaching the different parts of your shoe.
- Thread and Needle: For stitching parts of the shoe together, choose heavy-duty thread that matches your material.
- Tools: You will need scissors, a utility knife, a hammer, and pincer-type tools for rivets, if you're using them.
- Measuring Tools: A measuring tape or ruler will help you get precise dimensions.
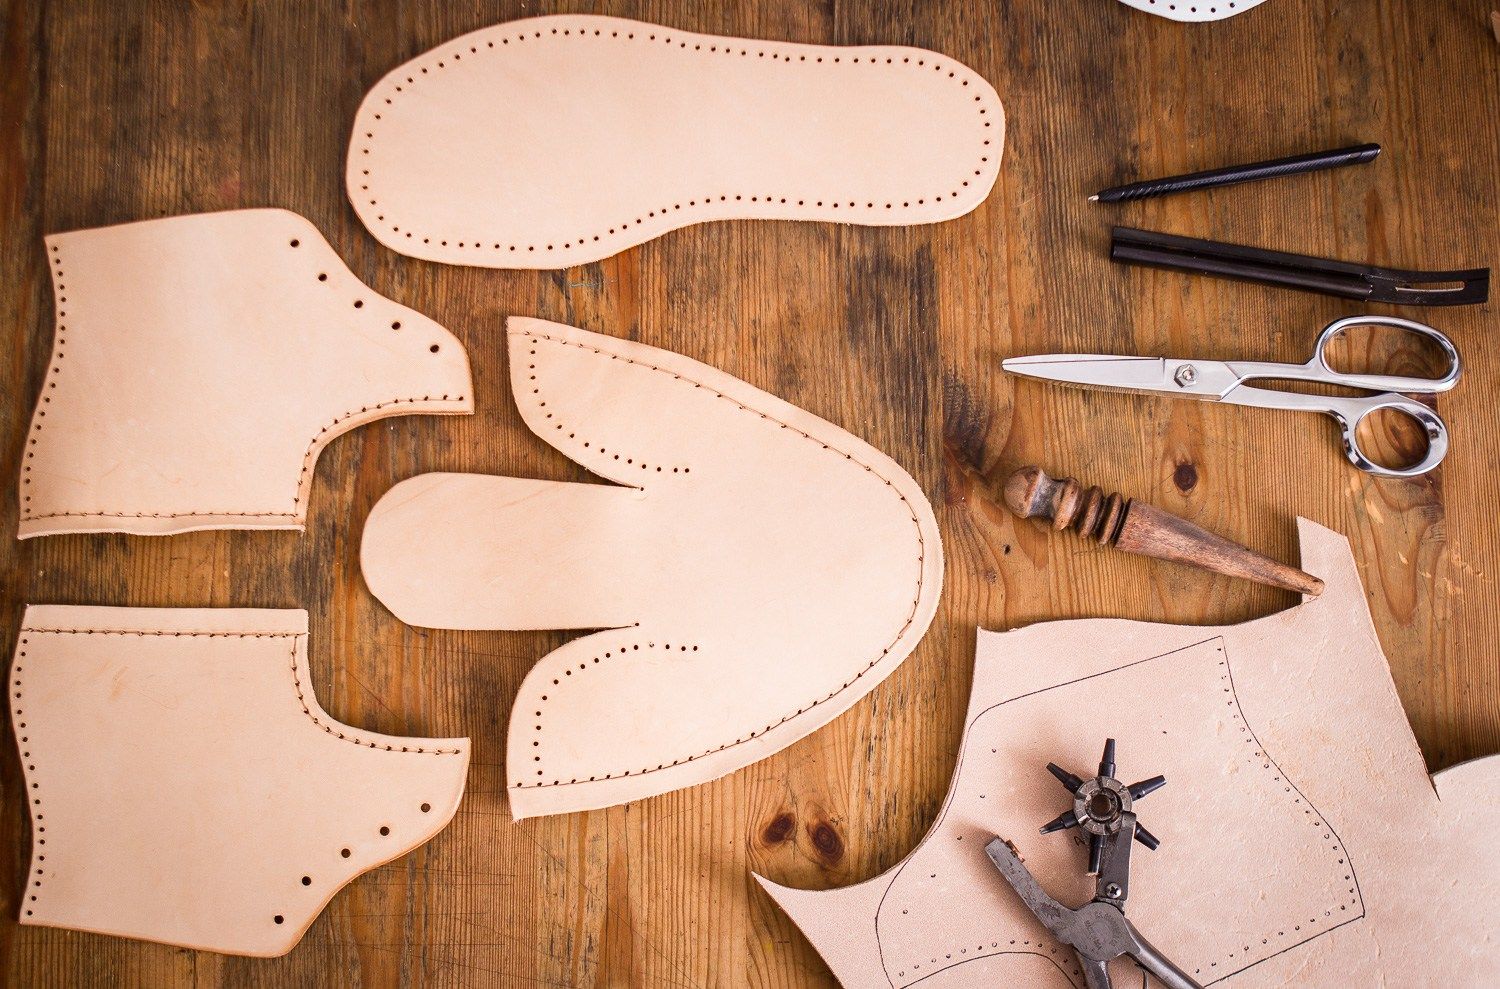
- Pattern Paper: Use this to sketch your designs and create templates for cutting your materials.
Having all these materials on hand will make the crafting process smoother and more enjoyable. Once you're equipped with everything, you'll be well on your way to creating a stunning pair of personalized shoes!
Step 1: Choosing a Shoe Design

Alright, let’s kick things off with the fun part—choosing the design for your shoes! The first step in crafting your own shoes is figuring out what style you want to create. There are countless designs to choose from, so let’s break it down.
1. *Consider Your Purpose: Are you looking for casual sneakers, elegant loafers, or perhaps a pair of rugged boots? Your needs will guide your design.
2. Research Inspiration: Check out websites, social media platforms like Pinterest, or even visit shoe stores. You might find a design that captures your interest. Save some images for reference!
3. Make it Personal: Think about elements that reflect your personal style. Do you love bold colors or minimalist designs? Incorporate your favorite elements like patterns or textures.
4. Sketch It Out: Don’t be shy! Grab a pencil and paper and start sketching your design. You don’t have to be Picasso—just get your ideas down. This will help immensely when you move to the next steps.
5. Finalizing Your Design: After you’ve played around with a few concepts, pick one and refine it. Consider the materials you want to use and make notes on any specific details. Perhaps you’ll want to include laces, straps, or unique embellishments.
Choosing your shoe design is half the fun! Once you have your vision locked in, you'll be diving into the world of shoe crafting like a pro.
Step 2: Preparing the Pattern

Now that you have your design, it’s time to prepare the pattern. This step is crucial because a good pattern ensures your shoes fit perfectly and look just like your vision. Let’s break this down into manageable steps.
1. Gather Your Materials: You will need:
- Pattern paper (or brown paper bags)
- Pencil and ruler
- Scissors
- Measuring tape
2. Create a Template: Using your sketches, start with the outline of your shoe. Measure your foot size carefully—ensure to account for width and arch. Draw your outlines on the pattern paper. Remember, one wrong measurement could mean starting over!
3. Add Seam Allowance: Don’t forget about seam allowance! Adding about ¼ to ½ inch around your outlined pattern will provide space for stitching. It’s vital for a good finish.
4. Cut Out Your Patterns: Once you’re satisfied with your template, carefully cut out the pattern pieces. You typically need multiple pieces for the upper, lining, and sole.
5. Label Your Pieces*: This might sound trivial, but it’s really helpful to label each pattern piece. Mark which side is the inside and outside, along with any other important features, like where the laces will go. This will save you from confusion later on!
By taking your time with this step, you'll end up with a solid foundation for crafting your own shoes. Happy pattern making!
Step 3: Cutting the Materials
Alright, let’s get into the fun part: cutting your materials! This step is crucial, as accurate cuts will ensure that your shoe has the right fit and structure. Before you dive in, here’s a checklist of what you need:
- Sharp scissors or a rotary cutter
- A cutting mat (to protect your surfaces)
- A ruler
- A pen or tailor’s chalk (for marking)
First, make sure you lay out all your materials—this typically includes the upper fabric, lining, insole, and sole. Once everything is set, follow these steps:
- Measure Twice, Cut Once: Seriously, this age-old advice applies here! Use your ruler to get precise measurements based on your shoe pattern.
- Mark Your Lines: With your pen or chalk, mark where you need to cut. Clear lines will help you achieve more accurate cuts.
- Cut Carefully: Take your time using sharp scissors or a rotary cutter. Cut along the marked lines, and if you're cutting multiple layers, do it in smaller batches.
It’s normal to feel a bit anxious about cutting your materials, but remember—practice makes perfect! If you make a mistake, don’t sweat it. You can always adjust or rework the pieces.
Step 4: Assembling the Shoe
Now that you’ve cut your materials, it’s time to bring your shoe to life! Assembling your shoe is where your creativity and craftsmanship really shine. Here’s a step-by-step guide to get you through this exciting phase:
- Glue or stitch for the upper
- Secure the insole
- Attach the sole
Let’s break this down:
- Glue or Stitch the Upper: Start by attaching the upper fabric to the lining. You can use a strong fabric glue or a sewing machine for this task. Make sure the right sides are facing each other for a clean finish!
- Secure the Insole: Once the upper is assembled, it’s time to add the insole. You can either glue it down or sew it to ensure stability and comfort.
- Attach the Sole: The last piece of the puzzle! Whether you’re using a pre-made sole or fabric, attach it using a strong adhesive made for shoes. Make sure everything is well-aligned before pressing down.
As you assemble, don’t forget to take a step back and admire your handiwork. It's amazing to see the parts coming together! If it’s your first time, be patient with yourself—perfecting your shoemaking skills can take practice, but the result will be deeply satisfying.
Step 5: Adding the Finishing Touches
Once you’ve constructed the main body of your shoes, it’s time for the fun part: adding the finishing touches! This step really allows you to express your creativity and personalize your footwear.
Here’s what to keep in mind:
- Sealing the Edges: To prevent fraying, make sure to seal any raw edges. You can use glue or a sealant to give it a polished look.
- Painting or Dying: Consider adding a pop of color or a unique design. Fabric paint or dye can transform dull shoes into a vibrant masterpiece. Don’t forget to use a waterproof sealer afterwards!
- Adding Embellishments: Think about adding some embellishments, like beads, rhinestones, or patches. You can sew them on or use fabric glue—whatever feels right for your style.
- Laces and Closures: Choose unique laces or closures that match your design. Perhaps some colorful ribbons or metallic clasps will add that special flair.
- Adding Inner Comfort: Depending on your shoe design, consider adding padded insoles for comfort. A little extra cushioning goes a long way when you wear your custom shoes all day.
As you put in these details, just remember: it’s your creation, so don’t hesitate to let your personality shine through!
Tips for Customizing Your Shoes
Customizing your shoes is where you can truly let your imagination run wild. Here are some handy tips to help you achieve the best results:
- Start Simple: If you're new to shoe crafting, begin with simple designs. Overcomplicating things can lead to frustration.
- Use Quality Materials: Invest in good fabrics, paints, and adhesives. Quality materials last longer and look better.
- Plan Your Design: Sketch your ideas or create a mood board. Visualizing your shoe helps streamline your process.
- Test Before Committing: Before applying paint or glue, test your materials on a small area or scrap piece. This helps avoid any nasty surprises!
- Stay Organized: Keep your tools and materials organized. This saves you time and keeps your space tidy while you work.
- Ask for Feedback: Share your design with family and friends. Fresh eyes can provide valuable insights or suggestions you may not have considered!
By following these simple tips, you’re set to create unique shoes that not only reflect your personal style but also provide comfort and durability. Happy crafting!
How to Craft Your Own Shoes at Home with This Step-by-Step Guide
Crafting your own shoes at home can be a rewarding and creative process. Whether you want to express your unique style or simply save some money, creating custom footwear is a fun DIY project. This guide will walk you through the essential steps to successfully craft your own shoes.
Materials Needed
- Leather or fabric of your choice
- Shoe pattern/template
- Scissors
- Sewing machine or needle and thread
- Insoles
- Shoe glue
- Rubber outsole or other sole materials
- Measuring tape
- Pencil or fabric marker
Step-by-Step Process
- Measure Your Feet: Use a measuring tape to get the length and width of your feet.
- Create a Pattern: Draw or print a shoe pattern based on your measurements.
- Cut the Material: Carefully cut out the pieces of your chosen material according to the pattern.
- Sew the Uppers: Assemble the shoe uppers by sewing the cut pieces together, ensuring a secure fit.
- Attach the Insoles: Glue or sew insoles to the inside of the uppers for comfort.
- Attach the Soles: Glue or sew the rubber outsoles to the bottom of the shoe.
- Finishing Touches: Add any desired embellishments, such as laces or studs.
By following this step-by-step guide, you can create beautiful, custom shoes in the comfort of your own home. With practice, you may even develop your own unique designs that truly reflect your personality.


