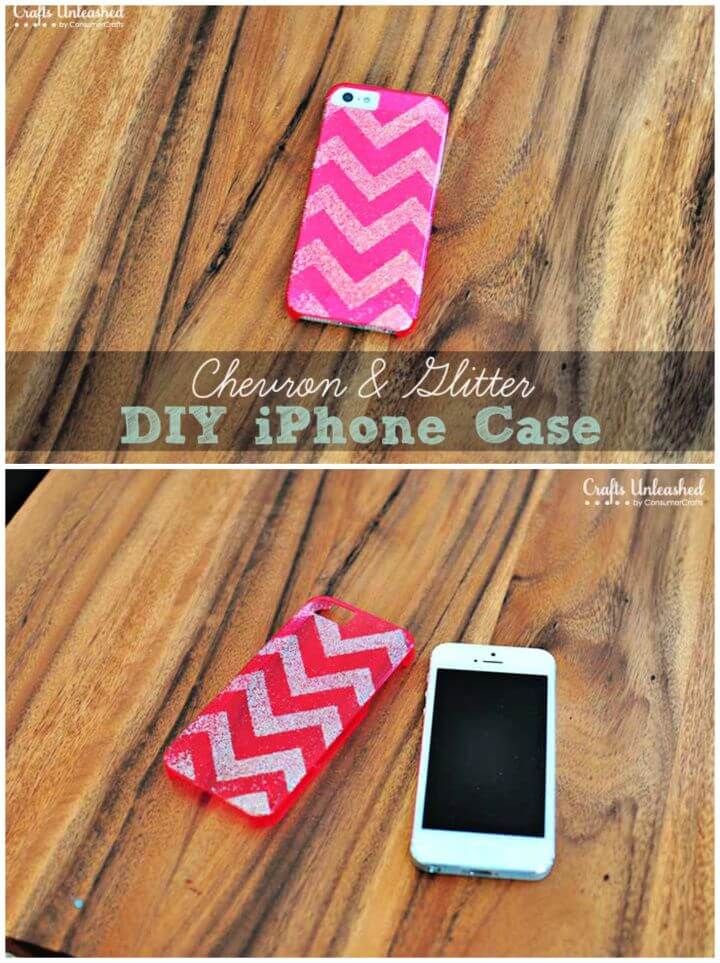
Have you ever looked at your phone cover and thought, "I can do better than this!"? You're not alone! Custom phone covers not only express your unique style but also let you showcase your personality. Whether you want to celebrate a favorite hobby, display a beloved image, or create something entirely original, crafting a custom phone cover at home is a fun and creative project. In this guide, we’ll walk you through the materials you'll need and the steps to make your own personalized cover that’s trendy and functional!
Materials Needed
Before diving into the crafting process, it’s essential to gather all the necessary materials. Having everything at hand simplifies your project and ignites your creativity! Here’s a comprehensive list of what you’ll need:
- Blank Phone Cover: Start with a plain phone cover that fits your device. You can find these in various styles, like silicone, hard plastic, or even leather. Choose one that appeals to you!
- Adhesive: Depending on your design, you may need different types of adhesive. A glue stick works for paper, while hot glue or super glue is great for heavier objects.
- Paints: Acrylic paints are perfect for custom designs. They’re vibrant, easy to work with, and dry quickly. You might also try permanent markers for finer details.
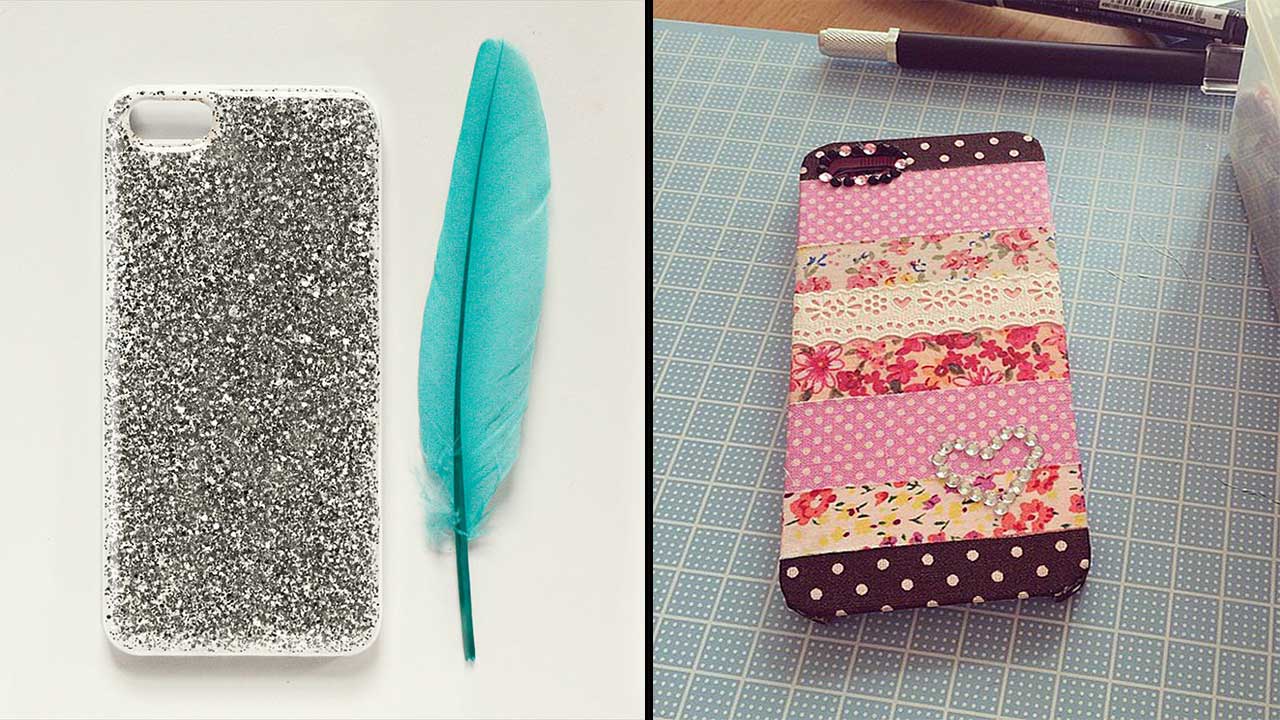
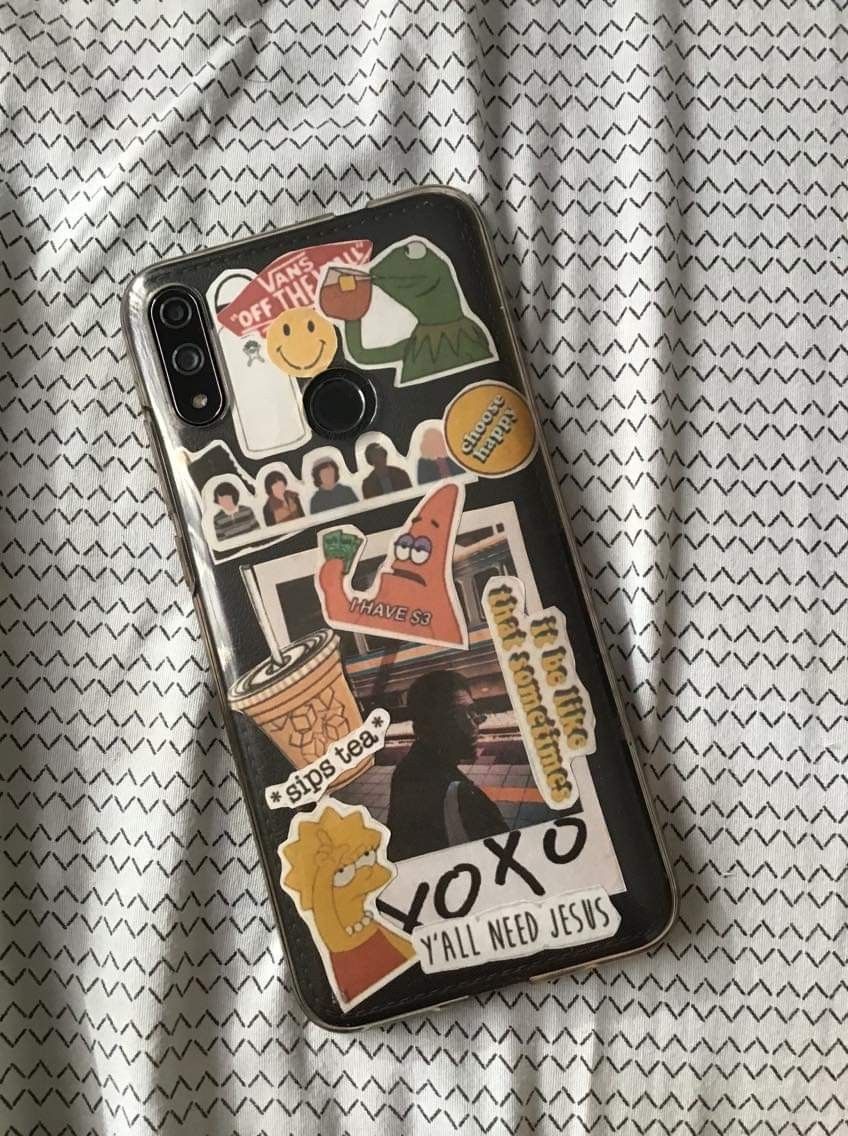
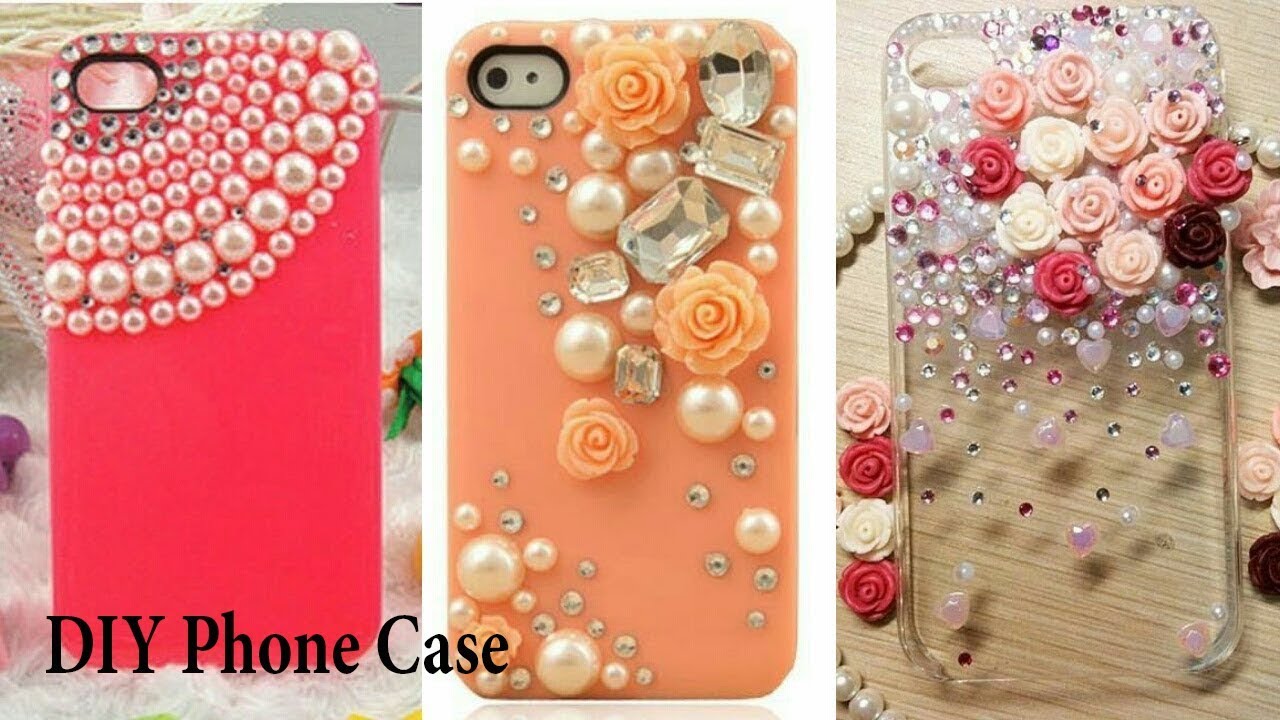
- Decorative Materials: Gather items like washi tape, stickers, glitter, or fabric that resonate with your theme. You can also use photos or printed images for a personal touch.
- Scissors: You'll need these for cutting your materials down to size, especially if you’re working with paper or fabric.
- Sealant (optional): To protect your design and make it last, consider using a clear sealant spray. This is especially useful if you've used paint or glitter.
With these materials in hand, you’re all set to unleash your creativity and design a custom phone cover that’s truly one-of-a-kind!
Also Read This: How to Introduce Yourself in Class in English
Designing Your Custom Cover
Creating a custom phone cover is your chance to let your personality shine! The design phase is where all the fun begins. You can draw inspiration from your favorite colors, patterns, quotes, or even personal memories. Here’s how to get started:
- Gather Inspiration: Look around! Whether it’s nature, art, or even your favorite TV show, inspiration is everywhere. You can even browse online platforms like Pinterest or Instagram to see what catches your eye.
- Choose a Theme: Select a theme for your cover. Do you want something minimalist, retro, or perhaps something chic? Once you have a theme, it’ll be easier to decide on the colors and graphics.
- Pick Your Materials: Depending on your skills and tools, consider using paints, markers, fabric, stickers, or even digital design software if you're looking for a more polished look.
Remember, your design doesn’t have to be complex to be effective. Sometimes, less is more! Before you commit to a final design, sketch it out on paper or use design software to visualize how it’ll look. Don't hesitate to experiment with different styles!
Also Read This: How to Make Cards at Home Step by Step: Fun Craft Tutorial on Dailymotion
Step-by-Step Tutorial
Alright, now that you have your design ready, let’s dive into the nitty-gritty of crafting your custom phone cover! Follow these simple steps for a fun and rewarding experience:
- Gather Your Supplies: You’ll need a blank phone cover, paints or markers, brushes or sponges for application, and any other decorative items like glitter or stickers.
- Clean Your Surface: Make sure your phone cover is clean and dust-free. This helps the design stick better and look more professional.
- Outline Your Design: Lightly sketch your design on the cover using a pencil. This will serve as a guide for your painting or decorating.
- Start Painting or Decorating: Begin filling in your design using your chosen materials. Take your time and let each layer dry before adding more details.
- Add Finishing Touches: Once everything is dry, feel free to add extra flair with stickers, glitter, or other embellishments.
- Seal Your Design: To protect your artwork, apply a clear sealant or topcoat. This helps prevent wear and tear from everyday use.
And voilà! You’ve got yourself a stunning, custom phone cover that’s entirely unique to you. It’s a great way to embrace your creativity and protect your device at the same time!
Also Read This: Is WWE Fake or Real on Dailymotion? Understanding the Nature of Wrestling Content
Tips for a Professional Finish
Creating a custom phone cover at home is an exciting project, but if you want to achieve a professional look, there are some essential tips to keep in mind. A few tweaks to your approach can make all the difference!
Here are some handy tips:
- Use Quality Materials: Start with a high-quality phone cover. Opt for materials like silicone or plastic that can hold up against wear and tear.
- Clean Your Surface: Always clean your phone cover before starting. Dust or grease can hinder paint or adhesive bonds, leading to a less-than-perfect finish.
- Take Your Time: Rushing the process usually results in mistakes. Allow each layer of paint or adhesive to dry completely. Patience is key!
- Invest in Fine Brushes: When painting, use fine-tipped brushes for detailed work. This allows for precision in your designs, making them pop!
- Seal the Deal: After your artwork is complete, consider sealing it with a clear coat. This protects your design and enhances its longevity, giving it that professional sheen.
- Practice Your Design: If you’re unsure about your design, practice it on paper first. This helps you visualize what works before committing it to your phone cover.
By following these tips, you’ll elevate your DIY phone cover to look as polished as something off the store shelf. Happy crafting!
Also Read This: Understanding the Rumble Website and Its Popularity as a Video Platform
Video Resources on Dailymotion
For those who prefer to see the process in action, Dailymotion is a treasure trove of video resources that can guide you through crafting your custom phone cover. The visual aspect of these videos often makes the steps clearer and easier to follow.
Here are some popular types of videos you can find:
- Tutorials: Look for detailed tutorials that highlight various techniques, such as painting, decoupage, or using vinyl cutouts.
- Materials Guide: Some creators focus on what materials work best, offering insight on where to buy quality supplies.
- Time-Lapse Creations: Time-lapse videos can be fascinating, showing the entire process from start to finish in just a few minutes.
- Tips and Tricks: Many users share insider tricks that make the process smoother and reveal hidden hacks!
You can easily search for these videos directly on Dailymotion by using keywords like “DIY phone cover” or “custom phone case tutorial.” Watching these can give you the inspiration and confidence you need to start creating your own beautiful phone cover at home. Dive in and enjoy the creative journey!
How to Craft a Custom Phone Cover at Home
Creating a custom phone cover at home can be a fun and rewarding project. It allows you to express your personal style while protecting your device. Here’s a step-by-step guide to help you craft your own unique phone cover.
Materials Needed
- Clear phone case (compatible with your phone model)
- Permanent markers or paint
- Printed images or patterns
- Mod Podge or clear sealant
- Paintbrush (if using Mod Podge)
- Craft scissors
- Ruler and pencil
Steps to Create Your Custom Phone Cover
- Select Your Design: Decide on the design you want. You can draw, paint, or print images that resonate with you.
- Prepare the Clear Case: Clean the case thoroughly to ensure it is free from dust and grease.
- Transfer Your Design: If you're drawing directly on the case, sketch your design lightly with a pencil first.
- Color It In: Use permanent markers or paint to fill in your design. Be creative and let your imagination flow!
- Seal Your Design: Once your design is dry, use Mod Podge or a clear sealant to protect it. Apply 1-2 coats, letting each coat dry completely.
- Let It Dry: Allow the cover to dry for 24 hours before use.
Tips for a Professional Finish
| Tip | Description |
|---|---|
| Layer Colors | Using several layers can give your design depth and vibrancy. |
| Use an Image Transfer Technique | For complex designs, consider using image transfer methods to achieve a polished look. |
| Personalize with Text | Add your name or an inspiring quote to make it uniquely yours. |
By following these simple steps, you can create a custom phone cover that not only protects your phone but also showcases your personality. Enjoy the process, and remember that each cover you create can tell its own story!
 admin
admin


