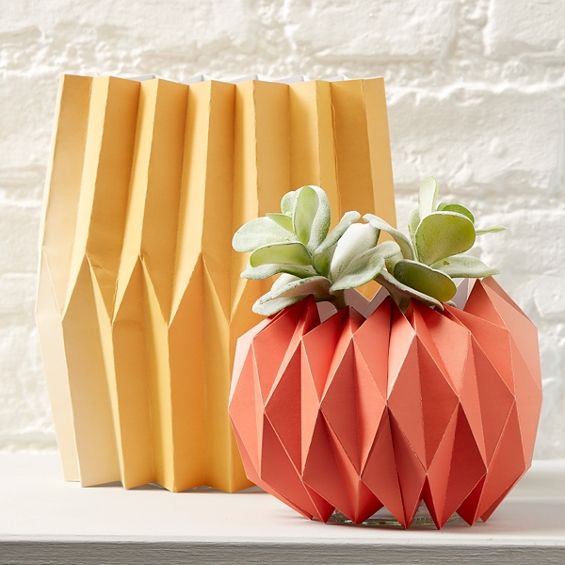
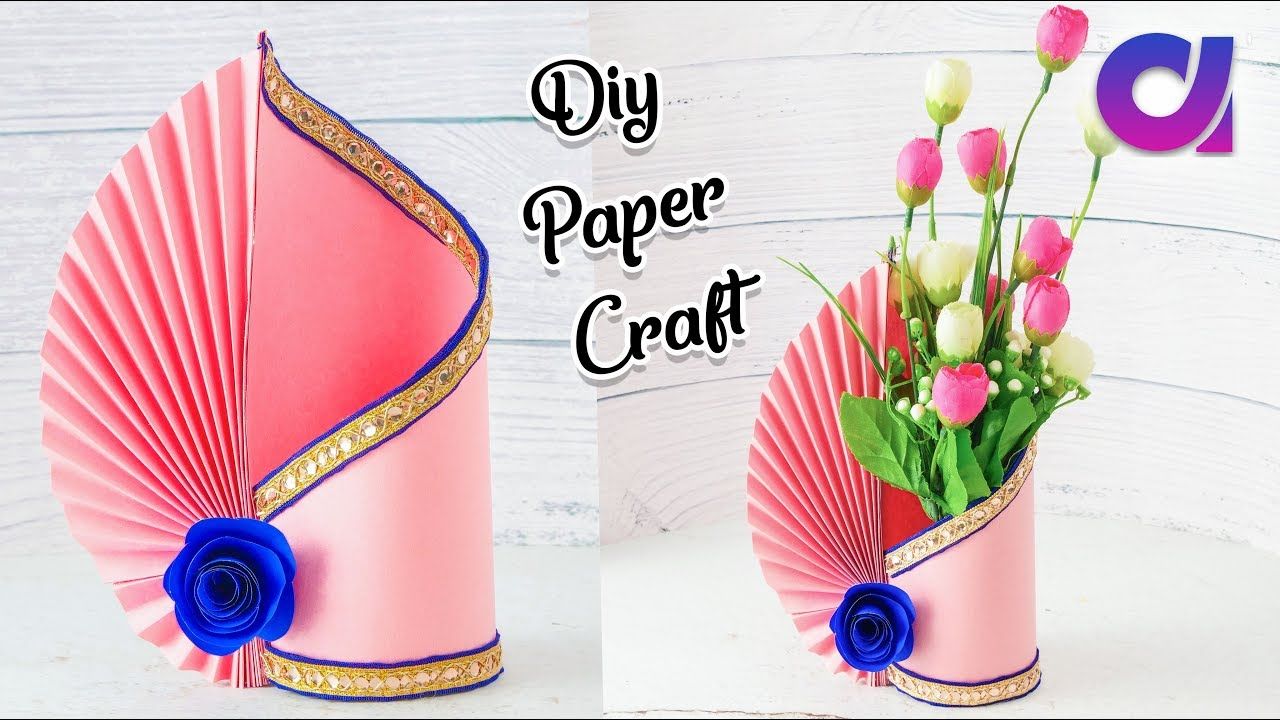
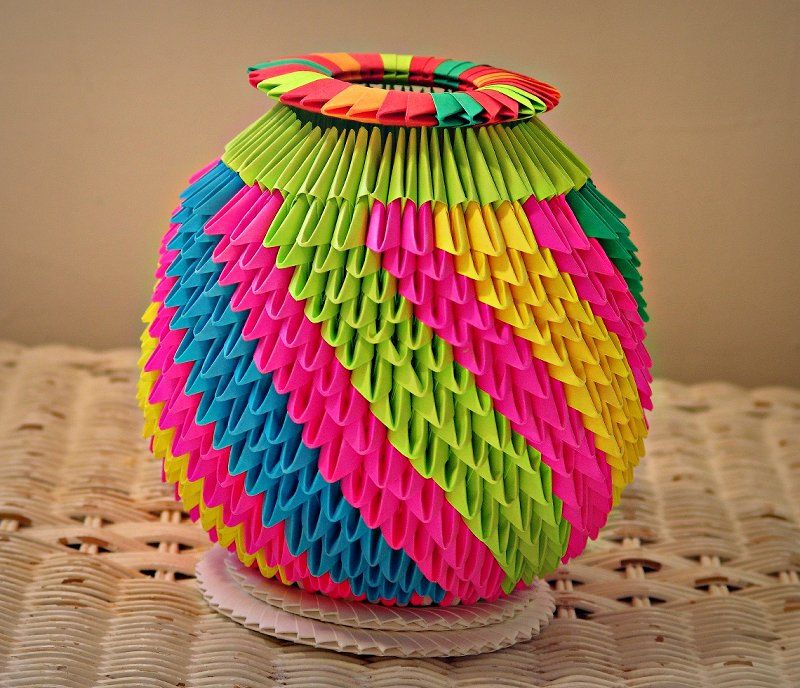
Origami, the ancient art of paper folding, has captured the hearts of many with its delicate beauty and intricate designs. Originating from Japan, this craft transcends mere creation; it embodies patience, precision, and creativity. When you fold a simple piece of paper, you're not just making a shape; you're transforming a flat surface into a three-dimensional masterpiece. It’s fascinating how such a simple medium can help convey beauty, emotions, and even stories!
What makes origami particularly special is its artistic value. Unlike paintings or sculptures that often rely on expensive materials, origami is accessible to everyone. A piece of paper is all you need to start your journey into this incredible art form. While it might appear complex at first, there's a satisfying joy that comes with every fold and crease. Each piece you create can also serve as a unique expression of yourself, celebrating individuality and innovation.
Moreover, origami provides a calming and meditative experience. The repetitive motions involved in folding can help to diminish stress, promote mindfulness, and enhance focus. As you dive deeper into the world of origami, you’ll discover endless possibilities—vases, animals, flowers, and much more! This beauty and versatility is why origami continues to inspire artists and hobbyists worldwide, making it a beloved practice that's worth exploring.
Materials Required for Making an Origami Vase

Creating a stunning origami vase does not require a long list of specialized materials. In fact, one of the most appealing aspects of this craft is its simplicity. Here’s what you’ll need to get started:
- Origami Paper: This is the star of the show! Choose paper that’s thin and easy to fold, ideally around 70 gsm. You can find it in a variety of colors and patterns, so pick what appeals to you the most.
- Scissors: While most origami designs won't need scissors, you might want a pair to cut the paper to the desired size, especially if you're starting with a larger sheet.
- Bone Folder: This is a handy tool used to create crisp folds and creases. While not absolutely necessary, it can significantly improve the look of your final piece.
- Ruler and Pencil: For precise measurements and guidelines, a ruler and pencil can help you to mark where you need to fold or cut.
- Glue (optional): Depending on the design, you may want to use glue to hold certain parts together, though many origami models do not require any adhesive.
Remember, while these materials are recommended, you can always improvise with what you have at home. The thrill of origami comes from creativity and experimentation, so feel free to mix things up while enjoying the process!
Step-by-Step Guide to Folding Your Origami Vase

Creating your own origami vase can be an exciting and rewarding project. Let’s break it down step by step, so you can fold your way to a stunning piece of art!
What You Need:
- Square paper (preferably origami paper for best results)
- Flat surface to work on
- Optional: Bone folder for crisp folds
- Optional: Scissors (if you want to resize the paper)
Now, here’s the folding process:
- Start with Your Square Paper: Lay your square paper with the colored side facing down.
- Create a Triangle: Fold the paper in half diagonally to form a triangle. Crease well and unfold.
- Fold the Edges: Fold the left and right corners of the triangle up towards the top point, forming a smaller triangle.
- Base of the Vase: Fold the bottom point of the triangle up to the top point, creating a diamond shape.
- Final Shaping: Tuck the bottom flaps into the pocket formed from your previous folds to secure your vase’s shape.
- Open Up: Gently pull the top of the vase apart to give it some volume, shaping it as you desire.
And voila! You’ve made your origami vase! Feel free to decorate or embellish it further.
Tips for Perfecting Your Origami Techniques

As you dive deeper into the world of origami, honing your techniques can significantly elevate your crafting game. Here are some handy tips:
- Choose Quality Paper: Higher-quality origami paper folds better and gives a more polished finish. Lightweight paper is usually the best choice.
- Use Crisp Folds: Make sure your folds are sharp and precise. A bone folder can help achieve that professional look.
- Practice Patience: Take your time with each fold. Rushing can lead to mistakes that can mar your design.
- Learn New Techniques: Watch tutorials or read guides on different folds, like the valley and mountain folds, which are foundational to most origami projects.
- Stay Organized: Keep your workspace tidy and your materials organized. It makes the folding process smoother.
With these tips and your new origami vase, you'll not only be creating beautiful art but also improving with every fold. Enjoy the journey!
5. Creative Ideas for Decorating Your Origami Vase
Once you've crafted your beautiful origami vase, the fun doesn't stop there! Decorating it can elevate your creation into a stunning centerpiece. Here are some creative ideas that you can try:
- Painted Surfaces: Use acrylic paints to add vibrant colors to your vase. You can create patterns or even go for a gradient effect. Just make sure to let each layer dry before adding more!
- Washi Tape Accents: Washi tape adds a pop of color and unique designs. Wrap it around the neck of your vase or create stripes for a chic look.
- Natural Elements: Incorporate dried flowers or twigs. This not only enhances the aesthetic but also creates a beautiful natural theme.
- LED Fairy Lights: To give your vase an enchanting glow, consider placing LED fairy lights inside. This works especially well for vases designed with open tops.
- Ribbons and Bows: Attaching a cute ribbon around the neck can add a lovely finishing touch. Choose colors that complement the vase’s color scheme!
- Faux Floral Arrangements: Instead of real flowers, fill your vase with faux flowers that match your décor. They're low maintenance and you can change them out whenever you'd like.
Feel free to mix and match these ideas! The key is to let your creativity flow and make the vase reflect your personality and style.
6. Where to Watch and Learn More About Origami
If you're eager to dive deeper into the art of origami, there are countless resources available to help enhance your skills. Here are some platforms and channels where you can watch tutorials and learn more:
- YouTube: This is a treasure trove of origami tutorials! Channels like Origami with Jo Nakashima and Happy Folding offer comprehensive guides for all levels.
- Online Courses: Websites like Skillshare and Udemy host structured courses where you can learn origami at your own pace.
- Social Media: Platforms like Instagram and Pinterest can provide inspiration through hashtags like #OrigamiArt. You can also join communities on Facebook dedicated to origami.
- Online Forums: Websites like Foldspace create a community feel where enthusiasts share their projects and techniques.
- Books: For those who enjoy traditional learning, check out well-known books like “Origami Design Secrets” by Robert J. Lang for in-depth theories and practices.
With these resources at your hand, you're sure to find plenty of inspiration and guidance to fuel your origami journey. Happy folding!
How to Craft a Beautiful Origami Vase
Origami, the art of paper folding, allows you to create stunning decorations, one of which is a beautiful origami vase. This craft not only enhances your home decor but also serves as a wonderful gift for various occasions. Here’s how to create a captivating origami vase in a few simple steps.
Materials Needed:
- Origami paper (preferably square-shaped, around 15cm x 15cm)
- Scissors (optional, for trimming)
- Bone folder or a flat object (for creasing)
- Glue (for extra strength, optional)
- Flowers or decorative fillers (to display in your vase)
Step-by-Step Instructions:
- Prepare Your Paper: Choose your origami paper. A patterned or colored paper will add character to your vase.
- Make Initial Folds: Start by folding the paper in half diagonally to form a triangle. Unfold and repeat with the other diagonal.
- Create the Base: Fold the top corner down to the center. Repeat for the other top corners, creating a diamond shape.
- Form the Vase Shape: Fold the bottom edge upward, then fold the two side edges inward to form the vase's sides.
- Add Finishing Touches: If desired, use glue to secure the folds. Your vase is now ready to display flowers!
Tips for Success:
- Experiment with different paper sizes for varying vase sizes.
- Use double-sided origami paper for a professional look.
- Practice makes perfect; try making several vases to hone your technique!
With patience and creativity, you can craft a stunning origami vase that adds charm to any space.
Conclusion: Enjoying Your Handmade Origami Vase
Your handmade origami vase can become a centerpiece in your home or a thoughtful gift, showcasing your creativity and skill. Enjoy decorating your living space with this beautiful, personalized piece of art!


