When you're working on an image, sometimes you need to extract a specific part of it and place it elsewhere. Whether you're editing for a project or just want to manipulate certain elements of an image, copying and pasting portions of an
Understanding the Basics of Pixlr Image Editing
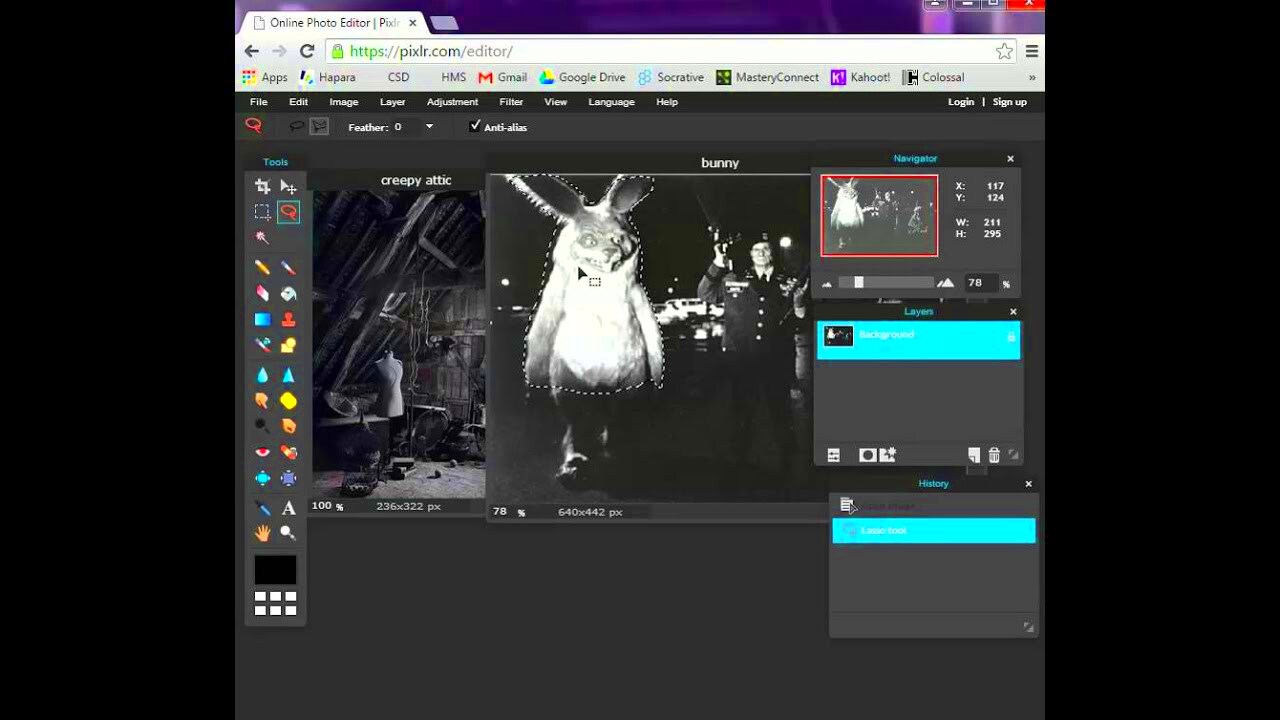
Before diving into the details of copying and pasting, it’s important to get familiar with Pixlr's basic tools. Pixlr is an online image editing tool that offers a range of features, from basic edits to more advanced ones. It’s popular because of its user-friendly interface, making it accessible for both beginners and more experienced users.
Here are some basic features of Pixlr that you should know:
- Layers: These are like transparent sheets where you can work on different elements of an image without affecting the others.
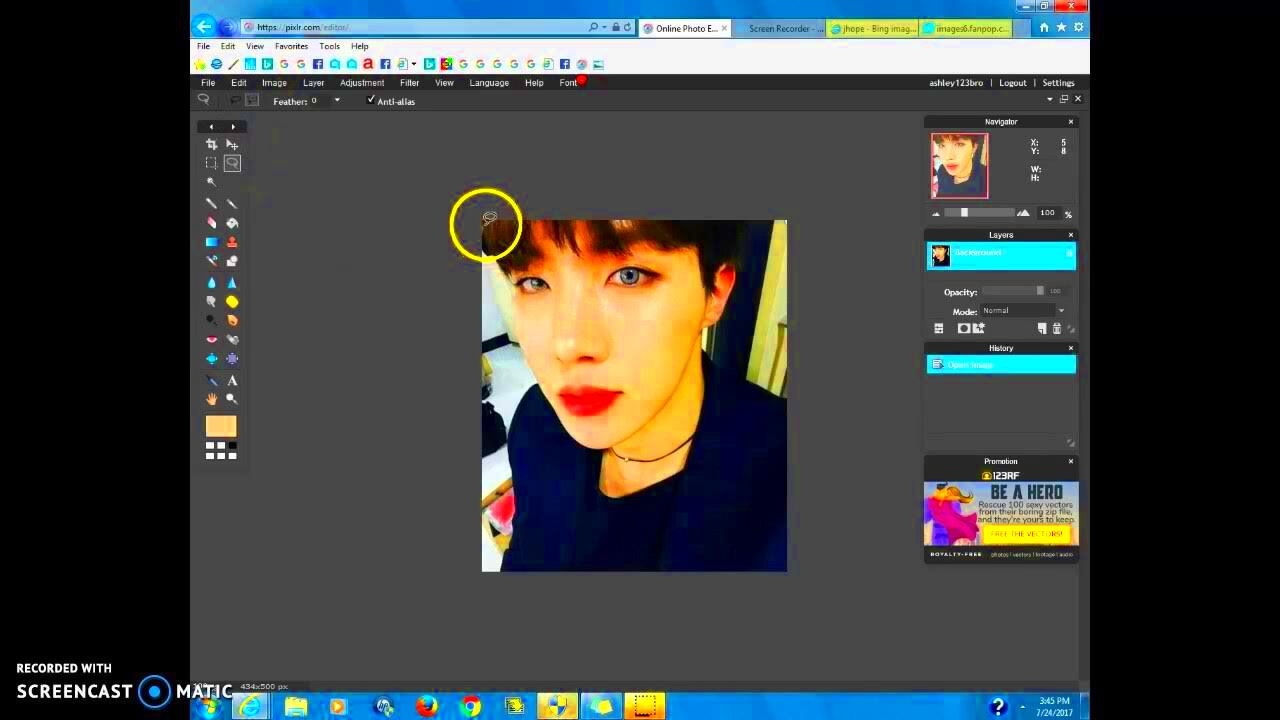
- Selection Tools: Use these to highlight a part of the image you want to edit, copy, or move. These include the Marquee tool, Lasso tool, and Magic Wand.
- Editing Tools: Pixlr offers a variety of tools like crop, resize, rotate, and adjust brightness, contrast, and colors to fine-tune your image.
With a basic understanding of these tools, you’ll be able to navigate Pixlr with confidence when it comes to copying and pasting portions of images.
Also Read This: How Difficult Is It to Make Money with Foap?: Everything You Need to Know
Step-by-Step Guide to Copying a Portion of an Image
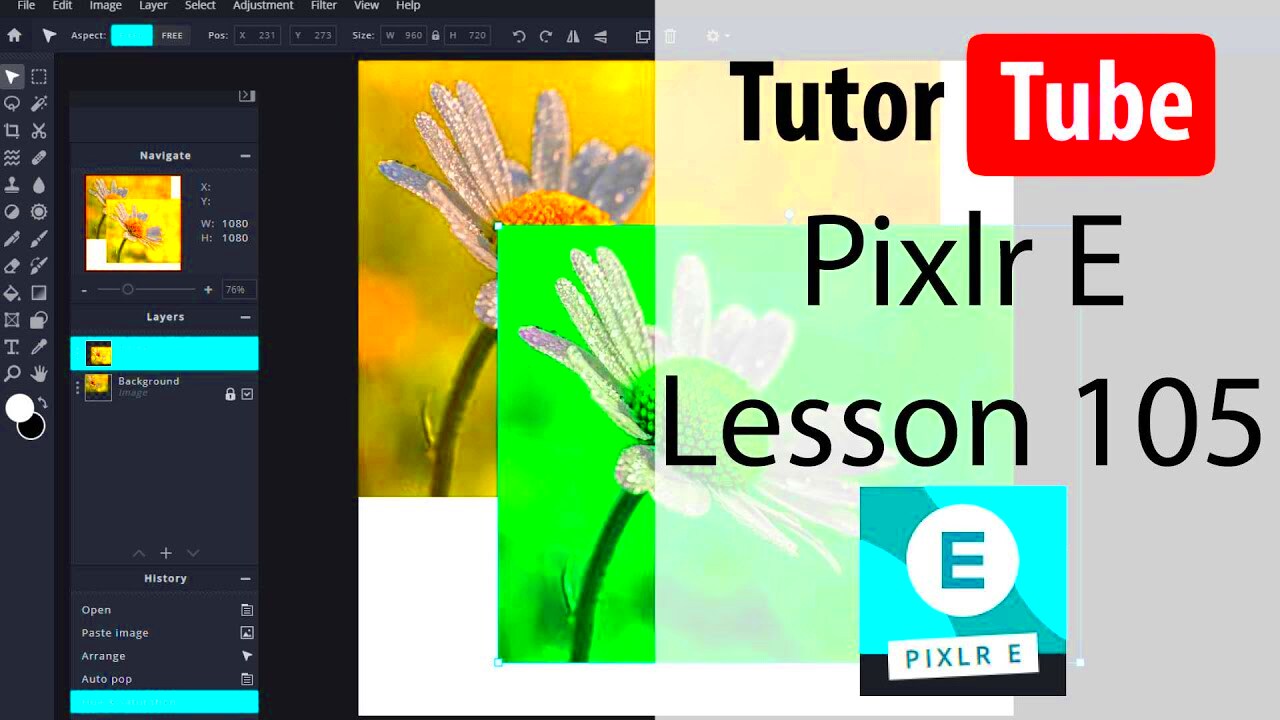
Now that you know the basics, let's jump into the actual process of copying a portion of an image in Pixlr. Follow these easy steps:
- Open the Image: Launch Pixlr and open the image you want to work on by selecting File > Open.
- Select the Area to Copy: Use the Marquee Tool or Lasso Tool from the toolbar to select the area you want to copy. Click and drag to make a selection. For irregular shapes, the Lasso Tool gives you more flexibility.
- Refine the Selection (Optional): If your selection isn’t perfect, you can fine-tune it. You can adjust the edges of the selection using the Refine Edge option available in Pixlr’s toolbar for a smoother result.
- Copy the Selected Area: Once the area is selected, right-click and choose Copy or use the keyboard shortcut Ctrl + C (Windows) or Cmd + C (Mac) to copy the selection to your clipboard.
By following these steps, you’ve successfully copied a portion of the image in Pixlr! The next step is to paste it wherever you want to use it. Stay tuned for the next section where we’ll walk through how to paste and adjust your copied image portion.
Also Read This: how do i add a hyperlink to an image
How to Paste the Copied Portion onto a New Image
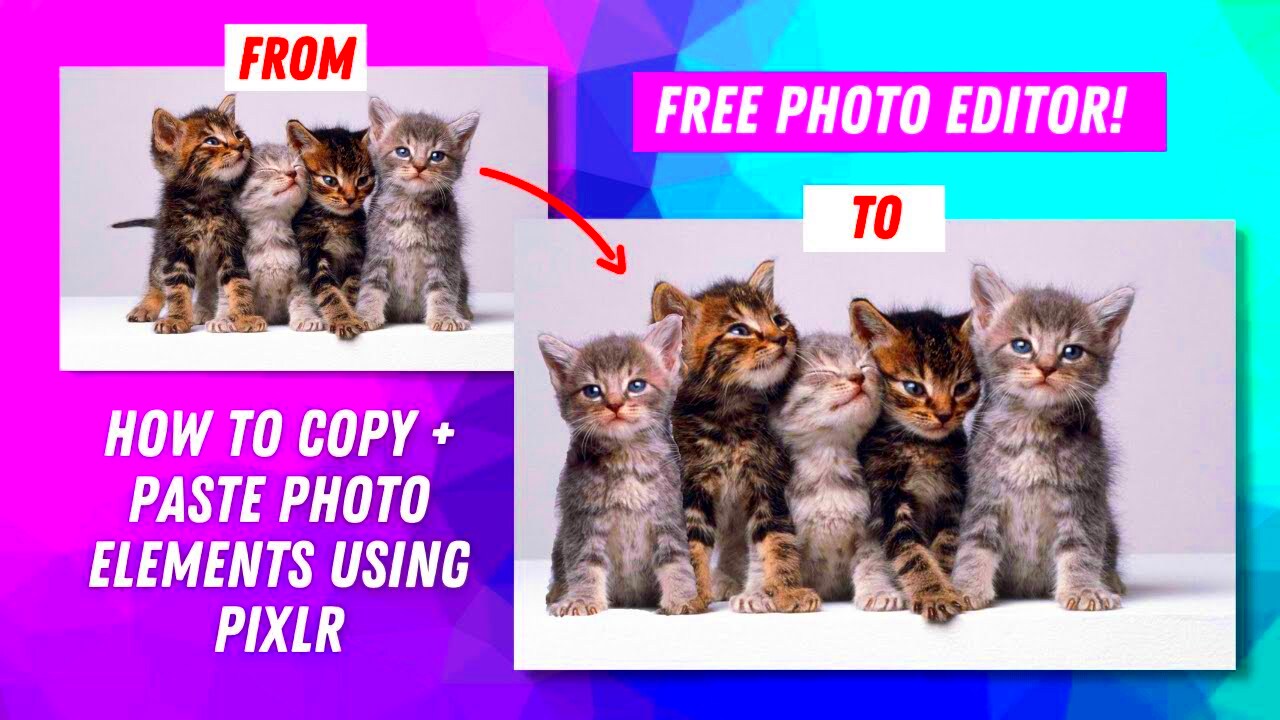
After you've copied the portion of your image, the next step is pasting it onto a new image. This process is just as simple as copying the selection, and Pixlr makes it easy to place your copied content exactly where you want it. Follow these steps to paste the
- Create a New Image: In Pixlr, go to File > New Image. Set the dimensions of the new image and click OK.
- Paste the Copied Portion: Once your new image is open, right-click and select Paste, or use the keyboard shortcut Ctrl + V (Windows) or Cmd + V (Mac) to paste your copied content into the new image.
- Position the Pasted Portion: After pasting, the copied portion will appear on the new image. You can move it around by selecting the Move Tool and dragging the pasted image to your desired position.
That's it! You've now successfully pasted the copied portion onto a new image. But if you want to make the placement perfect, there are a few adjustments you can make, which we’ll cover next. Stay tuned for tips on aligning your pasted content.
Also Read This: Follow This Simple Way to Save Tiktok Video Without Watermark on iPhone
Adjusting the Pasted Image for Better Alignment
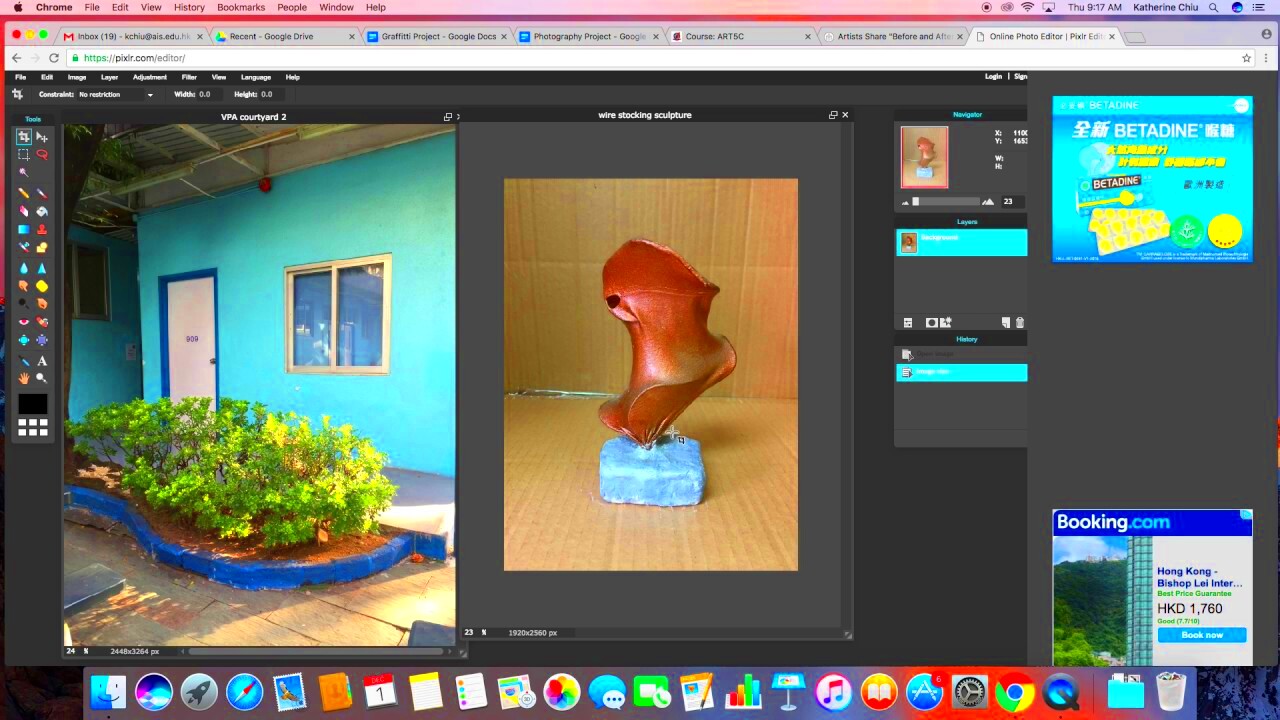
Once you've pasted the copied portion onto your new image, it’s crucial to ensure it's properly aligned for a polished, professional look. Pixlr provides some great tools for adjusting your pasted content precisely. Here’s how to adjust and align your pasted image:
- Use the Move Tool: The first step to aligning your image is to use the Move Tool. This tool allows you to click and drag the pasted portion to any spot on the canvas.
- Adjust Size: If your pasted portion doesn’t fit the new image, you can resize it. Select the pasted layer, and then use the Free Transform option by pressing Ctrl + T (Windows) or Cmd + T (Mac). Hold down the Shift key to maintain the aspect ratio while resizing.
- Align Using Guides: To ensure precise alignment, you can use guides. Go to View > Show Rulers and Show Guides. Drag guides from the rulers to help line up the pasted portion exactly where you want it.
After adjusting the size and position, take a moment to zoom in and check if everything looks aligned. It’s always helpful to step back and ensure the overall composition is balanced.
Also Read This: How to Use Reference Images on OpenArt for Better Projects
Using Layers for Better Control over Image Editing
One of the key features in Pixlr that makes image editing more flexible is the use of layers. Layers allow you to work on different elements of your image independently, which gives you greater control over how the final image looks. Understanding how to use layers effectively will make your editing process much easier. Here’s why and how you should use layers:
- What Are Layers? Layers in Pixlr act like stacked transparent sheets. Each element of your image (such as the pasted portion, text, or other elements) can be placed on its own layer, which makes it easier to edit or adjust individual parts of your image without affecting others.
- How to Add a New Layer: To add a new layer, go to Layer > New > Layer. You can add a new image, text, or a solid color layer for backgrounds or adjustments.
- Organizing Layers: To better manage your layers, you can reorder them by dragging them up or down in the Layers panel. This helps you control which elements appear in front or behind others.
- Layer Opacity: Adjust the opacity of layers to make certain elements more transparent or blend them with the background. This is especially useful for adding effects or merging different parts of the image.
- Locking Layers: If you’re satisfied with a layer’s position, you can lock it to prevent accidental changes. Simply click the lock icon next to the layer in the Layers panel.
By using layers, you can keep your edits non-destructive, meaning you can always go back and tweak individual parts of your image later. This gives you flexibility and saves time in the long run!
Also Read This: How to Add Images into Blender for 3D Modeling and Animation Projects
Tips for Enhancing Image Quality After Copying and Pasting
Once you've copied and pasted a portion of an image, it’s essential to ensure the final result looks sharp and professional. Sometimes, after pasting, the image may appear blurry or pixelated, especially if the size was altered. Fortunately, Pixlr offers several tools to improve image quality and make sure the final result looks clean and polished. Here are some tips for enhancing the quality of your pasted image:
- Sharpen the Image: If the pasted portion looks blurry, you can use Pixlr's Sharpen filter. Go to Filter > Details > Sharpen to bring out more definition. Be cautious not to overdo it, as too much sharpening can introduce unwanted noise.
- Increase Resolution: If the pasted image looks pixelated, try increasing the resolution of the image. Go to Image > Image Size, then adjust the resolution settings. Keep in mind, increasing resolution can sometimes cause the image to look softer, so use this with caution.
- Use Noise Reduction: For smoother textures, especially if the image has noticeable graininess, try the Noise Reduction tool. Go to Filter > Noises > Reduce Noise to help eliminate grain and improve smoothness.
- Correct the Colors: Sometimes, after pasting, the colors may not match perfectly with the background or other parts of the image. Use Pixlr’s color adjustment tools such as Brightness/Contrast, Hue/Saturation, and Levels to fine-tune the colors and ensure a seamless blend.
With these tips, you can enhance the quality of your pasted portions and make sure your final image looks clean, sharp, and visually appealing.
Also Read This: Where to See Scheduled Posts on LinkedIn
Common Mistakes to Avoid While Copying and Pasting in Pixlr
Although copying and pasting in Pixlr is straightforward, there are some common mistakes that many users make. These mistakes can affect the final quality of the image, making it look unprofessional or misaligned. To help you avoid these pitfalls, here are some common mistakes and how to steer clear of them:
- Not Using Layers: One of the biggest mistakes is not using layers to separate the copied portion from the rest of the image. Layers allow you to move and adjust the pasted portion without affecting other elements. Always paste your image into a new layer to keep things organized.
- Overcropping or Overresizing: Sometimes, when resizing a copied portion, you might make it too small or too large, which can lead to a loss of image quality. Be mindful of resizing, and always check that the proportions are correct.
- Not Refining the Selection: If your selection isn't clean, it can leave visible edges or unwanted portions of the image when you paste it. Always refine your selection with tools like Feather to ensure smooth transitions between the pasted portion and the background.
- Forgetting to Align Properly: If the pasted portion isn't aligned correctly, it can throw off the composition of the image. Use guides and the Move Tool to make sure the elements fit perfectly into place.
- Ignoring Color Mismatch: A common mistake is not adjusting the colors after pasting. Sometimes, pasted portions can have a different hue or saturation than the rest of the image. Use Pixlr's adjustment tools to fix this mismatch and make the image look cohesive.
By avoiding these common mistakes, you can ensure that your copied and pasted images are well-integrated, high-quality, and professionally executed.
Also Read This: The Secret Shortcut: How Stock Photos Save Time and Money
FAQ
1. How do I copy a part of an image in Pixlr?
To copy a portion of an image in Pixlr, use the Marquee Tool or Lasso Tool to select the area you want to copy. After selecting the area, press Ctrl + C (Windows) or Cmd + C (Mac) to copy the selection.
2. How can I paste the copied image portion onto a new image?
Once you’ve copied the portion, create a new image by selecting File > New Image. Then, paste the copied portion by pressing Ctrl + V (Windows) or Cmd + V (Mac).
3. Can I adjust the size of the pasted portion?
Yes, you can resize the pasted portion using the Free Transform tool. Press Ctrl + T (Windows) or Cmd + T (Mac) to resize, and hold Shift to maintain the aspect ratio.
4. How can I make sure my pasted image looks high quality?
You can enhance the quality by using tools such as sharpening, noise reduction, and adjusting the resolution. You can also use the Brightness/Contrast and Hue/Saturation adjustments to match the colors of the pasted portion with the rest of the image.
5. What should I do if the pasted portion doesn't align correctly?
If the pasted portion isn’t aligned well, use the Move Tool to reposition it. You can also use guides to help align it more precisely.
Conclusion
Copying and pasting portions of an image in Pixlr is a simple yet effective technique for manipulating images. Whether you're extracting specific elements or creating new compositions, this process allows for great flexibility and creativity. By understanding the basics of selection tools, knowing how to paste images onto new layers, and using the available tools to enhance image quality, you can achieve professional-looking results with ease. Avoiding common mistakes, like misalignment or resizing issues, ensures that your images maintain their integrity. Ultimately, mastering the art of copying and pasting in Pixlr will significantly improve your image editing skills and streamline your workflow.
 admin
admin


