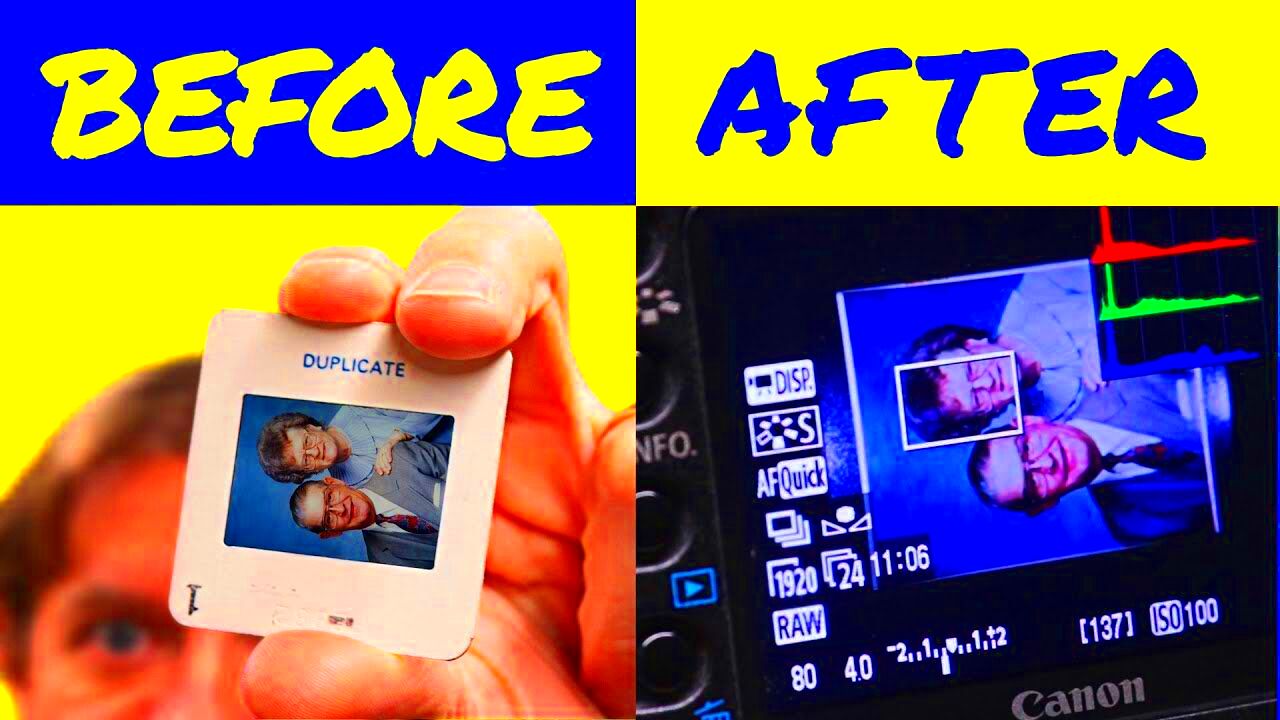
If you've ever found a box full of old slides from family vacations, events, or special occasions, you might wonder how to preserve them for future generations. Converting slides into digital images is the answer. This process allows you to easily store, share, and view your memories on various devices, eliminating the risk of fading or damage to physical slides. Whether you're looking to digitize a few slides or an entire collection, there are several methods to get the job done. Let's explore why converting slides into digital images is a smart choice for preserving your memories.
Why Converting Slides into Digital Images is Important
Converting slides into digital images offers numerous benefits, especially when it comes to preserving your memories. Here's why you should consider making the switch:
- Preservation: Digital files don’t fade or deteriorate over time like physical slides do.
- Easy Access: Digital images can be viewed, edited, and shared on any device, making access much more convenient.
- Organization: It's easier to organize digital images, allowing you to search and categorize your photos without hassle.
- Sharing: Digital images can be shared with family and friends across social media or via email, making it simple to spread memories.
- Space Saving: Storing digital images takes up far less space than physical slides, which can accumulate over time.
Overall, converting slides into digital images is an investment in preserving your memories in a way that is both practical and future-proof.
Different Methods to Convert Slides into Digital Images
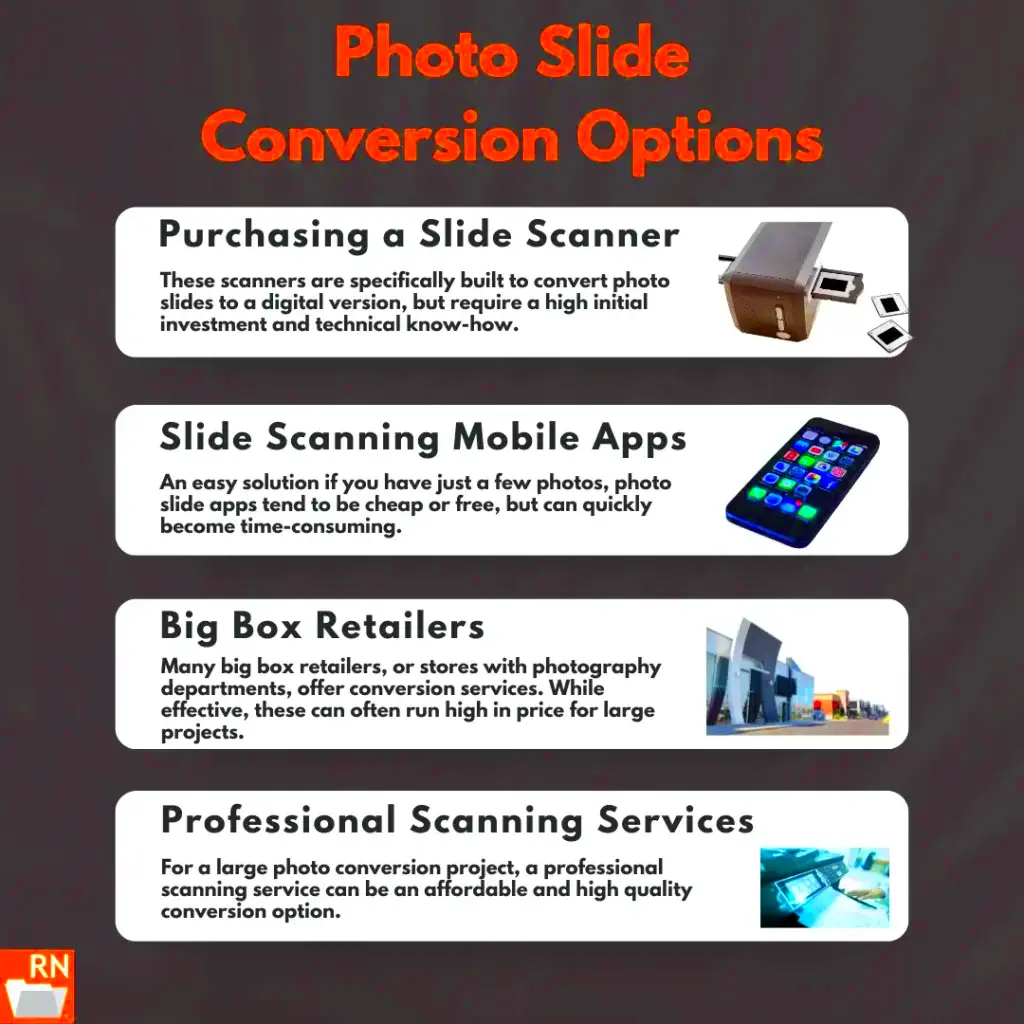
There are several ways to convert slides into digital images, depending on your needs and the resources available to you. Here are the most common methods:
1. Using a Slide Scanner
One of the most efficient and popular methods is using a dedicated slide scanner. These devices are designed to scan slides and convert them into high-quality digital files. Some scanners even offer features like dust removal and color correction to improve image quality.
- Pros: High-quality scans, good control over image settings, efficient for large volumes.
- Cons: Can be expensive, requires some technical knowledge.
2. Using a Digital Camera
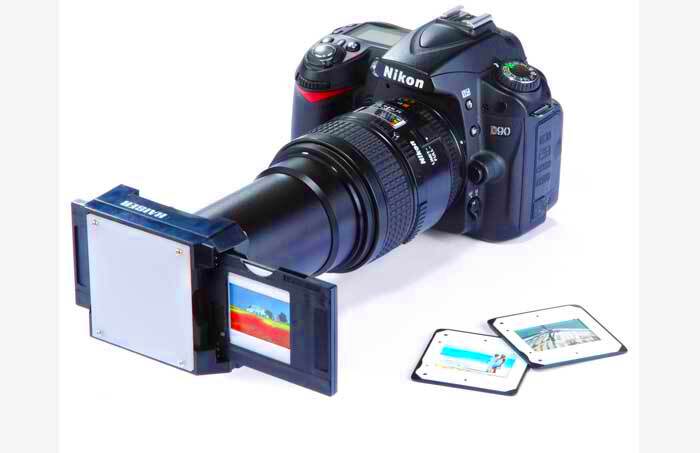
If you don’t want to invest in a slide scanner, you can use a digital camera to photograph your slides. This method requires a bit of setup, but it can produce good results. You’ll need to use a macro lens, set up a light box or backlight for proper illumination, and ensure the camera is aligned with the slide.
- Pros: Lower cost, flexibility with image editing.
- Cons: Takes more time, requires precision in setup, and might need post-processing.
3. Using a Professional Service
If you have a large collection of slides or prefer not to deal with the technicalities, there are many services that can convert slides for you. These services typically offer high-quality scans, and you can even get them to restore or enhance your images.
- Pros: No setup required, high-quality results, time-saving.
- Cons: Can be costly, less control over the final product.
4. DIY with Flatbed Scanners
A flatbed scanner can also be used to digitize slides, though the quality might not be as high as a dedicated slide scanner. Most flatbed scanners come with a transparency adapter that allows you to scan slides.
- Pros: Inexpensive, easy to use for small projects.
- Cons: Lower quality than a slide scanner, slower process for large volumes.
Choosing the right method depends on your budget, the quality you expect, and the number of slides you need to convert. Each option has its advantages, so take time to consider what works best for your situation.
Using a Scanner to Convert Slides
If you're looking for a reliable and high-quality way to convert slides into digital images, using a scanner is a great choice. A dedicated slide scanner is specifically designed to handle slides, providing detailed and crisp digital images. The scanner uses light to capture the details of each slide and transfers them into a digital format that can be easily stored and shared. This method is perfect if you want high-resolution images with minimal effort.
Here’s why using a scanner works well for converting slides:
- High-Resolution Scans: Dedicated slide scanners often offer higher resolution than flatbed scanners, ensuring every detail of the slide is captured.
- Convenience: With a slide scanner, you can process multiple slides at once, saving you time.
- Image Enhancements: Some slide scanners come with built-in features like dust removal, color correction, and automatic exposure adjustment to enhance the quality of your scanned images.
- Ease of Use: Once you set the scanner up, it’s relatively easy to load your slides and start scanning them.
However, there are a few things to keep in mind when using a scanner:
- Cost: Dedicated slide scanners can be expensive, so they might not be the best option if you only need to digitize a small number of slides.
- Time-Consuming: Depending on the scanner and the number of slides you have, scanning can take some time, especially for high-quality images.
In summary, using a scanner is an excellent method if you're after high-quality results and are willing to invest in the right equipment. It’s ideal for those with a large number of slides to digitize.
Converting Slides with a Digital Camera
If you don't have access to a slide scanner but still want to convert your slides to digital images, using a digital camera can be an effective alternative. This method allows you to photograph each slide directly and convert it into a digital format. While it requires a bit more effort and setup, it’s a more affordable way to preserve your slides.
Here’s a step-by-step look at how you can do it:
- Set Up Your Camera: Use a DSLR or mirrorless camera with a macro lens to capture the fine details of the slides.
- Set Up Proper Lighting: You’ll need a lightbox or backlight to illuminate the slides evenly. The light should be bright enough to prevent shadows or overexposure.
- Align the Slide: Place the slide on a stand or holder to ensure it’s positioned correctly for the camera to focus.
- Capture the Image: Adjust the camera settings for optimal clarity, including shutter speed, aperture, and ISO to get the sharpest image possible.
- Post-Processing: After capturing the images, you may need to crop, straighten, or adjust colors to match the original slide.
Some of the pros of using a digital camera include:
- Cost-Effective: If you already own a camera, this method doesn’t require additional purchases like a dedicated slide scanner.
- Flexible Setup: You can adjust your camera settings to suit the slides, giving you more control over the final result.
However, there are some drawbacks:
- Time-Consuming: Each slide needs to be carefully photographed, which can be slow and repetitive.
- Technical Skill Required: You need to understand camera settings and lighting to get the best results.
In conclusion, using a digital camera is a great option if you have the right equipment and want a hands-on approach to converting your slides.
Third-Party Services for Slide Conversion
If you prefer to leave the work to professionals or simply don’t have the time or equipment to convert your slides yourself, third-party services for slide conversion are an excellent option. These services specialize in digitizing slides and often provide high-quality results with minimal effort on your part.
Here’s how third-party services generally work:
- Send Your Slides: You’ll send your physical slides to the service provider, either by mail or through a digital upload system.
- Conversion Process: The service will scan your slides using professional-grade equipment, often offering high-resolution scans, color correction, and image enhancement features.
- Receive Digital Files: After conversion, you’ll receive your images in a digital format, typically on a USB drive, DVD, or through cloud storage for easy access.
Benefits of using third-party services include:
- Convenience: The process is entirely hands-off for you, saving you time and effort.
- Expert Quality: Professionals often have better equipment and expertise to ensure high-quality scans and optimal results.
- Fast Turnaround: Many services offer a quick turnaround time, especially for larger volumes of slides.
However, there are some downsides:
- Cost: Third-party services can be more expensive than DIY methods, especially for large collections.
- Less Control: You may not have as much control over the quality or specific settings used during the conversion process.
Third-party services are perfect for those who have a significant number of slides or want to avoid the hassle of scanning themselves. They offer high-quality, efficient results, but at a price. If you're looking for convenience and professional results, this is an option worth considering.
Tips for Getting the Best Quality Digital Images
When converting slides into digital images, the goal is to preserve the quality of the original slide as much as possible. While technology has come a long way, achieving high-quality digital images requires attention to detail and the right equipment. Whether you’re using a scanner, digital camera, or a third-party service, here are some tips to help you get the best results:
- Use High-Resolution Settings: The higher the resolution, the better the quality of the digital image. When scanning slides or photographing them, choose the highest possible resolution to capture all the details.
- Ensure Proper Lighting: Good lighting is essential for clear, vibrant images. If you're using a digital camera, use a lightbox or a backlight to evenly illuminate the slide and avoid shadows or glares.
- Clean the Slides: Dust and dirt on the surface of your slides can degrade the quality of the digital image. Gently clean your slides using a soft brush or microfiber cloth before scanning or photographing them.
- Use Color Correction Tools: After scanning or photographing your slides, use photo editing software to adjust the color balance, brightness, and contrast if necessary. This can help restore faded colors or improve the overall image quality.
- Avoid Overexposure: Make sure the exposure settings are appropriate to avoid overexposing or underexposing your images, as this can cause loss of detail in both highlights and shadows.
By following these tips, you can significantly improve the quality of your digital images and make sure your memories are captured clearly and accurately for the long term.
Common Problems When Converting Slides and How to Fix Them
Converting slides to digital images can seem straightforward, but there are a few common issues that may arise during the process. Here’s a list of problems you might encounter and how to fix them:
1. Faded Colors
Problem: Over time, slides can lose their vibrancy, and colors may appear washed out or faded.
Solution: Use photo editing software to adjust the color balance and saturation of the digital image. If you're scanning slides, some scanners come with built-in color correction features to help restore faded colors.
2. Dust and Dirt on Slides
Problem: Dust, fingerprints, or dirt on the surface of the slide can result in imperfections on your digital images.
Solution: Clean your slides carefully before scanning or photographing them. Use a soft brush, air blower, or microfiber cloth to gently remove any dust or debris.
3. Blurry Images
Problem: Blurry digital images can occur due to improper alignment, camera shake, or low-quality scans.
Solution: Ensure your camera or scanner is properly set up, and use a tripod or stable surface to prevent camera shake. If scanning, make sure the slide is placed correctly on the scanner bed to avoid distortion.
4. Poor Lighting or Shadows
Problem: Shadows or uneven lighting can obscure important details of the slide.
Solution: Use a lightbox or backlight to evenly illuminate the slide. When photographing with a digital camera, ensure that the lighting is consistent, and avoid harsh shadows or glares.
5. File Size Too Large
Problem: High-resolution images can result in large file sizes that are difficult to store or share.
Solution: After digitizing your slides, you can resize the image or save it in a compressed format like JPEG to reduce the file size without compromising too much on quality.
By understanding these common problems and following the suggested fixes, you can ensure that your converted slides will look their best in the digital format.
FAQ
Q1: Can I use my regular flatbed scanner to digitize slides?
A1: Yes, many flatbed scanners come with a transparency adapter that allows you to scan slides. However, the quality might not be as high as a dedicated slide scanner, especially for large or very detailed images.
Q2: How long does it take to convert slides into digital images?
A2: The time it takes to convert slides depends on the method you choose. Using a dedicated slide scanner may take a few minutes per slide, while using a digital camera can take longer due to the need for proper setup. If you're using a third-party service, turnaround times vary but can take anywhere from a few days to a couple of weeks.
Q3: What’s the best resolution for scanning slides?
A3: For the best quality, scan your slides at a resolution of at least 3000 DPI (dots per inch). This ensures that you capture fine details, especially if you plan to enlarge the images later.
Q4: Are third-party slide conversion services expensive?
A4: Third-party services can be pricier than DIY methods, depending on the number of slides and the level of service you choose. Prices typically range from a few cents per slide to several dollars, depending on the quality of the conversion and any additional services like photo restoration.
Q5: Can I convert slides into digital images using my smartphone?
A5: While it's possible to use your smartphone camera to photograph slides, the quality might not match that of a dedicated scanner or digital camera setup. To get the best results, you’ll need proper lighting, focus, and editing.
Conclusion
Converting slides into digital images is an excellent way to preserve your memories for the future. Whether you choose to use a scanner, a digital camera, or third-party services, each method has its own set of benefits and challenges. By following the tips for getting the best quality images and addressing common issues such as faded colors or blurry scans, you can ensure that your digital images are clear and vibrant. While the process may take time and effort, the results are well worth it, giving you an easily accessible and durable format for your precious memories. Remember to choose the method that best fits your budget, skill level, and the volume of slides you need to digitize. Whatever path you choose, the ability to enjoy and share your memories digitally will make the process worthwhile in the long run.
