In today’s digital world, images play a crucial role in communication, marketing, and personal expression. But did you know that there are various image formats, each serving different purposes? Understanding these formats can help you choose the right one for your needs. Among them, JPG (or JPEG) stands out due to its balance of quality and file size, making it a popular choice for many. Let’s dive into the different image formats and why JPG might just be the perfect fit for you!
Why Choose JPG Format?
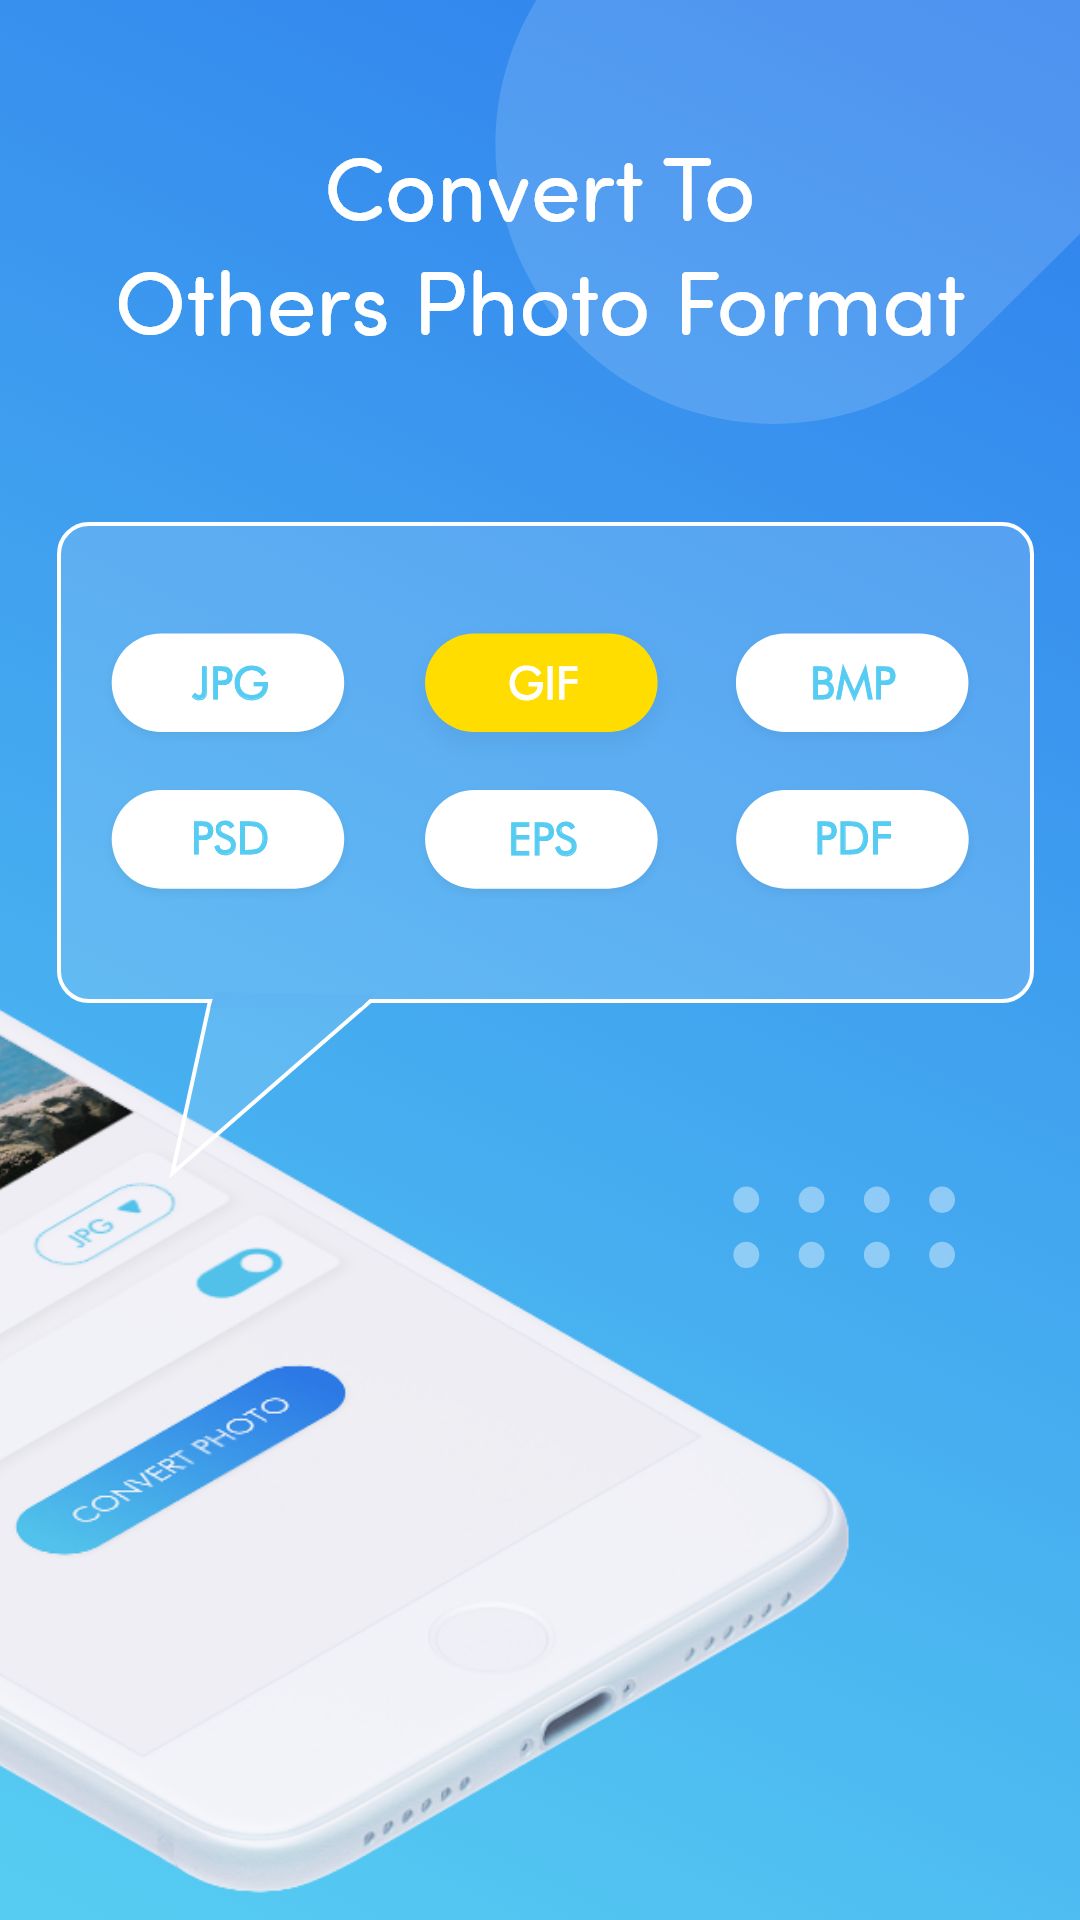
JPG, or JPEG, stands for Joint Photographic Experts Group, and is one of the most widely used image file formats available. Here are a few key reasons why JPG may be your best option when it comes to image storage and sharing:
- Compression: JPG uses lossy compression, which means it reduces file size significantly while maintaining reasonably high quality. This is especially useful for web use, where faster loading times matter.
- Universality: Almost every device, editing software, and web platform supports JPG files. This ensures that your images are accessible and can be easily shared without compatibility issues.
- Quality vs. Size: JPG allows you to control the quality of the image versus the size. You can adjust the quality settings during export, enabling you to balance clarity with file size.
- Inefficiency in Color Depth: While JPG is great for photographs, it might not be the best option for images with large areas of solid color or sharp edges, like logos. However, if you’re dealing mainly with photos, this isn’t much of a concern.
- Editing Capability: JPG is perfect for general photo editing, making it easy to share your images on social media or via email. Just remember that repeated editing can degrade the image quality over time due to its lossy nature.
Another aspect to consider is the ability to embed metadata in JPG files. This makes it easier to tag, categorize, and organize your images, which is super helpful for photographers and digital marketers alike!
In summary, choosing the JPG format is ideal for those aiming for a good balance of quality, file size, and compatibility across devices. Remember, while it might not be the most suitable format for every single kind of image, when it comes to photographs, it often does the job beautifully. So, next time you need to convert images on your Android device, JPG can be a fantastic choice!
Also Read This: Earnings for Selling Photos on Adobe Stock
3. Methods to Convert Images to JPG on Android
If you're looking to convert images to JPG on your Android device, you have several options at your fingertips. Whether you prefer using an app, leveraging built-in features, or using online tools, here's a rundown of the most popular methods:
- Using a Conversion App: There are numerous apps available on the Google Play Store focused solely on image conversion. These apps often come packed with additional editing features, making them versatile tools for your image manipulation needs.
- Built-in Android Features: Some Android devices have built-in features that allow you to change the image format. For instance, while editing an image in the gallery or using the default photo editing app, you may find an option to save/export images in different formats, including JPG.
- Online Conversion Tools: If you don't want to download any apps, online conversion tools can be a great alternative. Websites like Convertio, Online-Convert, and Zamzar let you upload images and convert them to JPG without installing anything. Just be mindful of the file size limits and privacy concerns when using online services.
- Image Editing Apps: Many image editing apps, like Adobe Photoshop Express or Snapseed, also include a feature to save your images in JPG format. After editing your image, you can choose the file format when saving it.
Each method has its advantages depending on your needs. If you often need to convert different file formats, a dedicated app might be the best choice. On the other hand, if it's a one-time task, an online tool could be perfect to quickly get the job done.
Also Read This: Ultimate Guide to Downloading and Saving Dailymotion Videos
4. Step-by-Step Guide to Using a Conversion App

Let’s take a deep dive into how to use an image conversion app to transform your pictures into JPG format. While various apps will have slightly different interfaces, the general steps are usually quite similar. Here’s a straightforward guide based on a popular image converter app:
- Download and Install the App: Go to the Google Play Store and search for an image conversion app. A well-rated option is “Image Converter” or “JPEG / PNG Image File Converter.” Download and install the app of your choice.
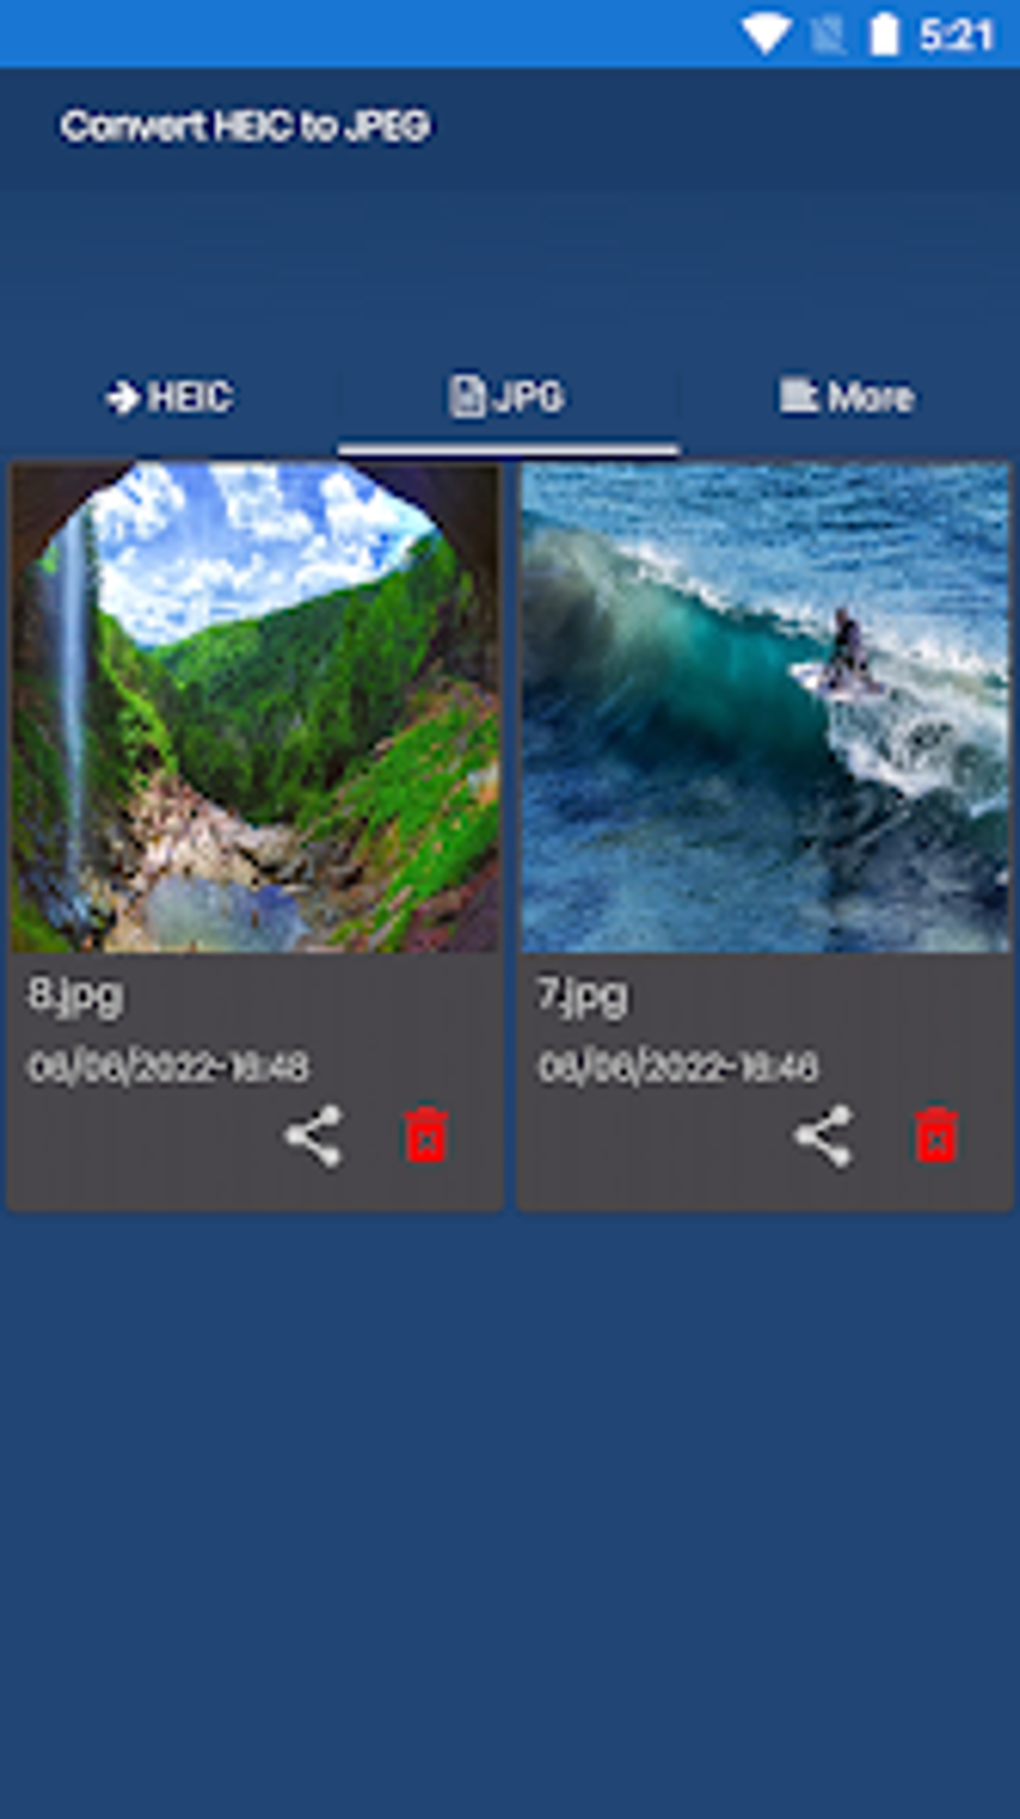
- Open the App: Once installed, open the app. You'll generally see a user-friendly interface with options to either select an image or capture a new one.
- Select the Image: Tap on “Select Image” to browse through your gallery. Choose the image you want to convert. Alternatively, if you want to take a new picture, you can select the camera icon.
- Choose the Output Format: After selecting the image, look for the option to choose your output format. Select “JPG” (or “JPEG”) from the list of formats available.
- Adjust Settings (Optional): Many apps allow you to adjust settings such as quality or resizing options. If you’re happy with the default settings, you can skip this step.
- Convert and Save: Tap the “Convert” button. The app will process your image and then give you the option to save it. Choose the save location and rename the file if needed.
- Check Your Gallery: Once saved, navigate to your gallery to find your newly converted JPG image. Open it to ensure everything looks perfect!
Using a conversion app can simplify the process and give you more control over how you want your final image to look. So next time you need to convert an image to JPG, don’t hesitate to reach for your phone!
Also Read This: An Easy Method for AI-Generated Illustrations
5. Tips for Optimizing JPG Images
Once you've converted your images to JPG format, it's time to focus on optimizing them. Optimizing your JPG images ensures they maintain a good balance between image quality and file size. Here are some handy tips to help you achieve that:
- Resize Images: Before uploading or sharing your images, consider resizing them. Most social media platforms and websites have specific dimension requirements. Reducing the dimensions of your image can significantly decrease file size without noticeably sacrificing quality.
- Adjust Quality Settings: When saving or exporting your JPG images, most apps allow you to adjust the quality settings. Lowering the quality can reduce file size, but be cautious not to compromise on clarity. A good rule of thumb is to aim for a quality setting between 70%-85% for optimal balance.
- Use Compression Tools: There are numerous apps and online tools available for compressing JPG images without losing much quality. Tools like TinyJPG or ImageOptim can help you reduce file size while maintaining image fidelity, making it particularly easy for sharing and storing.
- Keep Original Files: While optimizing involves making changes to file sizes and quality, it's always a good idea to keep your original images. This way, you can go back and make different adjustments in the future without starting from scratch.
- Avoid Over-Optimization: While reducing file size is important, over-optimizing can lead to a noticeable decline in image quality, resulting in pixelation or blurriness. Always preview your images after optimizing to ensure they're still visually appealing.
- Use Proper Filename Techniques: Don’t forget about your image file names. Use descriptive filenames that reflect the content of the image and include keywords if you plan on sharing them online. This helps with SEO while making your images easier to find.
By following these tips, you can ensure that your JPG images are not only optimized but also retain a high quality, making them perfect for any use case—from social media to personal archives.
Also Read This: How to Cut Out an Image in Procreate Like a Pro
6. Troubleshooting Common Issues
Even with the best tools at your disposal, converting images to JPG on Android can sometimes present challenges. However, don’t worry! Below are some common issues you might encounter along with simple solutions:
- Image Quality Loss: If you notice that your images appear pixelated or blurry after conversion, it may be due to low quality settings during the conversion process. Try adjusting your quality settings to a higher percentage in the app's export options.
- Unsupported File Types: If you're trying to convert an image format that your chosen app does not support, you’ll need to find a compatible converter. Ensure you’re using an app that supports the specific file type you have, such as PNG or GIF.
- Slow Conversion Process: If the app is taking too long to convert images, ensure you’re not attempting to convert overly large files. Try resizing your files before conversion or closing other apps running in the background to free up resources.
- No Save Option: After converting, if you're unable to save the JPG file, check your device's storage. Ensure you have enough space on your device to save the new file. If you’re low on storage, consider deleting some unused apps or files.
- App Crashes or Freezes: If the conversion app is crashing, make sure it’s updated to the latest version. Alternatively, try clearing the app cache or restarting your device to troubleshoot any temporary glitches.
- Failed to Upload Image: If you're experiencing issues uploading converted images to websites or social media, check your internet connection. A weak or unstable connection can often lead to upload failures.
If you encounter any of these issues, don’t be discouraged! Most problems can be easily fixed with a bit of patience and troubleshooting. Happy converting!
Conclusion and Recommended Apps
Converting images to JPG format on Android devices is a straightforward task, thanks to a variety of apps available on the Google Play Store. Whether you're looking to save storage space, improve compatibility, or reduce image quality, there are numerous reliable options to choose from. Here are some of the top recommended apps:
- Image Converter: A user-friendly app that allows you to convert images to JPG, PNG, and other formats seamlessly.
- PhotoRoom: Not only does it convert images, but it also provides powerful editing features to enhance your photos.
- JPEG / PNG Image File Converter: This app offers quick conversions along with batch processing to save you time.
- Pixlr: A well-rounded photo editing app that also supports format conversion with additional creative features.
When selecting an app, consider your specific needs:
- If you're looking for simplicity, choose an app with minimal steps.
- If you need advanced editing tools, opt for an all-in-one editor.
- For bulk conversions, look for an app that supports batch processing.
In summary, whether you choose a straightforward converter or a multifunctional editing app, it's easier than ever to convert your images to JPG format on Android. Finding the right app that meets your requirements will enhance your overall experience and streamline your photo management.
 admin
admin


