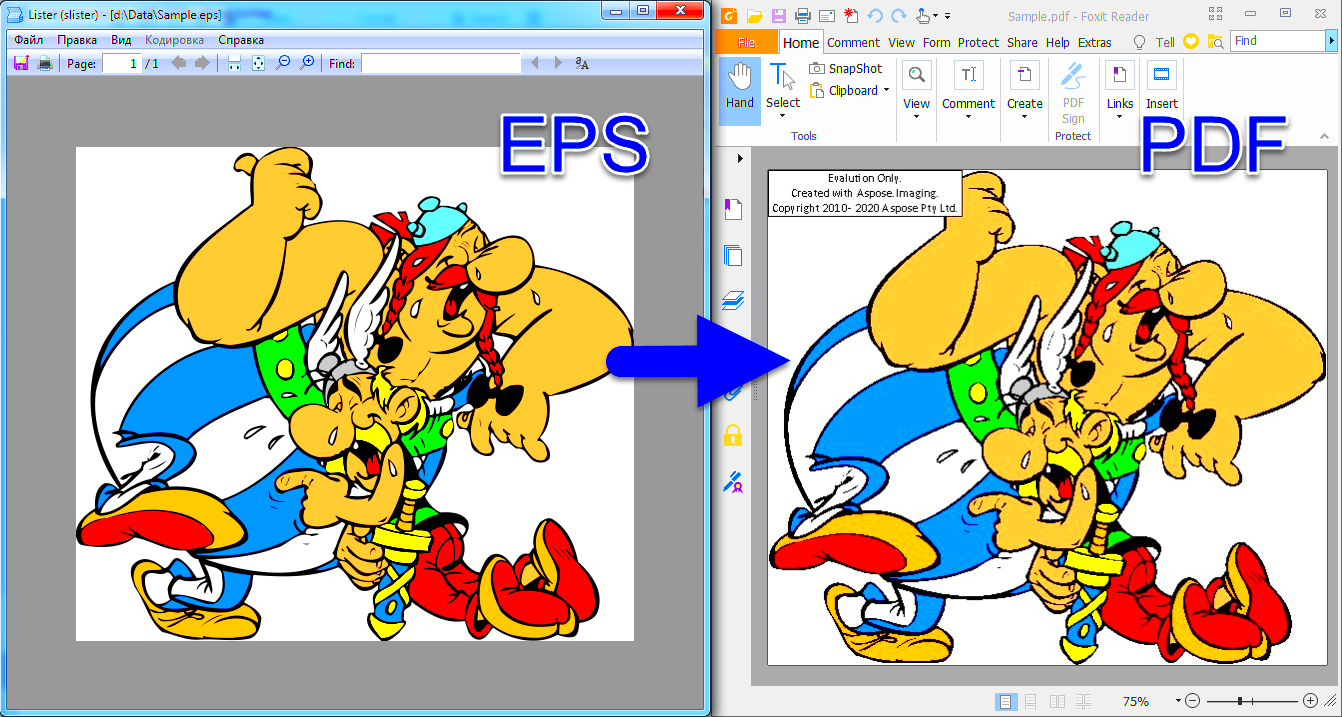
EPS, or Encapsulated PostScript, is a versatile file format commonly used for vector images. It allows for high-quality graphics that can be resized without losing clarity. EPS files are often preferred in professional environments, especially in graphic design and printing, because they maintain their quality at any size.EPS files can include both text and images, making them ideal for complex graphics. Here are some common uses:
- Print Media: EPS is widely used in brochures, business cards, and posters.
- Logos: Many companies use EPS files for their logos to ensure they look sharp in various applications.
- Illustrations: Artists often create illustrations in EPS format for flexibility in scaling.
- Publishing: EPS files are frequently used in magazines and books for high-quality images.
Reasons to Convert Images to EPS Format

Converting images to EPS format can offer several advantages, especially for graphic designers and businesses. Here are a few key reasons:
- Scalability: EPS files can be resized without losing quality, making them perfect for various applications.
- Professional Standards: Many printing companies require EPS files for high-quality print jobs.
- Compatibility: EPS files work well with graphic design software like Adobe Illustrator and CorelDRAW.
- Editable Graphics: Unlike raster images, EPS files can be edited easily, allowing for modifications without starting from scratch.
Tools Available for Image Conversion to EPS
When it comes to converting images to EPS format, several tools can help you achieve the desired results. Here are some popular options:
| Tool Name | Platform | Features |
|---|
| Adobe Illustrator | Windows, Mac | Professional design software with powerful EPS conversion features. |
| Inkscape | Windows, Mac, Linux | Free and open-source vector graphics editor supporting EPS format. |
| Online Convert | Web-based | Simple online tool for quick EPS conversions without software installation. |
| GIMP | Windows, Mac, Linux | Free image editor that can export files to EPS format with a plugin. |
Choosing the right tool depends on your needs, budget, and familiarity with graphic design software. Each of these options offers unique features to help you convert your images effectively.
Step-by-Step Guide to Convert Images to EPS Format
Converting images to EPS format might seem daunting, but it’s quite simple once you know the steps. Whether you’re using software like Adobe Illustrator or an online tool, following this guide will make the process smooth and easy. Here’s how to do it:
- Select Your Image: Start by choosing the image you want to convert. Make sure it’s high-quality for the best results.
- Open Your Conversion Tool: Launch the software you’re using or navigate to the online converter.
- Upload Your Image: In your tool, find the option to upload or import your image. Click it and select the file from your computer.
- Choose EPS Format: Look for an option to select the output format. Choose “EPS” from the list of available formats.
- Adjust Settings: If your tool allows, tweak any settings like resolution or color modes to match your needs.
- Convert the Image: Hit the “Convert” button and let the tool do its magic. This process usually takes just a few moments.
- Download Your EPS File: Once the conversion is complete, download the new EPS file to your computer.
- Check Your File: Open the EPS file in a compatible program to ensure the quality is as expected.
And there you have it! With these simple steps, you can easily convert images to EPS format for your design projects.
Tips for Optimizing Images Before Conversion
Before you convert your images to EPS format, taking a few extra steps to optimize them can make a significant difference. Here are some tips to ensure your images look their best:
- Start with High-Resolution Images: Using images with high resolution will give you better results. Aim for at least 300 DPI (dots per inch).
- Check for Clarity: Make sure the image is clear and free of pixelation. If it’s blurry, consider using a sharper image.
- Clean Up Backgrounds: If you’re working with complex images, simplify the background. This can enhance the overall appearance of your EPS file.
- Use Vector Graphics: Whenever possible, start with vector images. They scale well and are perfect for conversion to EPS.
- Color Mode Matters: Convert your images to CMYK color mode before saving them. This is important for print quality.
By following these tips, you can ensure that your images are ready for conversion and will maintain their quality in the EPS format.
Common Issues and Solutions in EPS Conversion
Even with the best tools, you might encounter some issues when converting images to EPS format. Here’s a list of common problems and their solutions:
| Issue | Possible Solution |
|---|
| Image is Pixelated | Use a higher resolution image. Aim for at least 300 DPI before conversion. |
| Colors Look Different | Ensure your image is in CMYK mode before converting for accurate color representation. |
| EPS File Won’t Open | Make sure you’re using compatible software. Adobe Illustrator and similar tools are recommended. |
| Missing Elements | Check if the original image has transparent layers that might not convert well. Flatten layers if needed. |
By being aware of these common issues, you can save time and frustration during the conversion process. And if something goes wrong, just refer to these solutions for quick fixes!
FAQ
What is EPS?
EPS (Encapsulated PostScript) is a versatile file format for vector images that maintains high quality regardless of size.
What are common uses for EPS files?
EPS files are widely used in print media, logos, illustrations, and publishing due to their scalability and clarity.
Why convert images to EPS format?
Converting to EPS ensures scalability, meets professional printing standards, and allows for easy editing in graphic design software.
What tools can I use for EPS conversion?
Popular tools include Adobe Illustrator, Inkscape, Online Convert, and GIMP, each offering unique features for different needs.
What steps should I follow to convert images to EPS?
Select your image, upload it to your chosen tool, select EPS format, adjust settings if needed, convert, and then download your EPS file.
How can I optimize images before conversion?
Use high-resolution images, check for clarity, clean up backgrounds, start with vector graphics, and use CMYK color mode.
What common issues might arise during EPS conversion?
Issues include pixelation, color discrepancies, files not opening, and missing elements; solutions often involve checking resolution and file compatibility.
Conclusion
EPS files are invaluable in graphic design and printing, offering scalability and professional quality. By understanding their uses, conversion processes, and common issues, you can effectively utilize EPS to enhance your projects. Whether you’re an artist or a business, mastering EPS can lead to ultimate design flexibility and clarity.
 Converting images to EPS format can offer several advantages, especially for graphic designers and businesses. Here are a few key reasons:
 admin
admin


