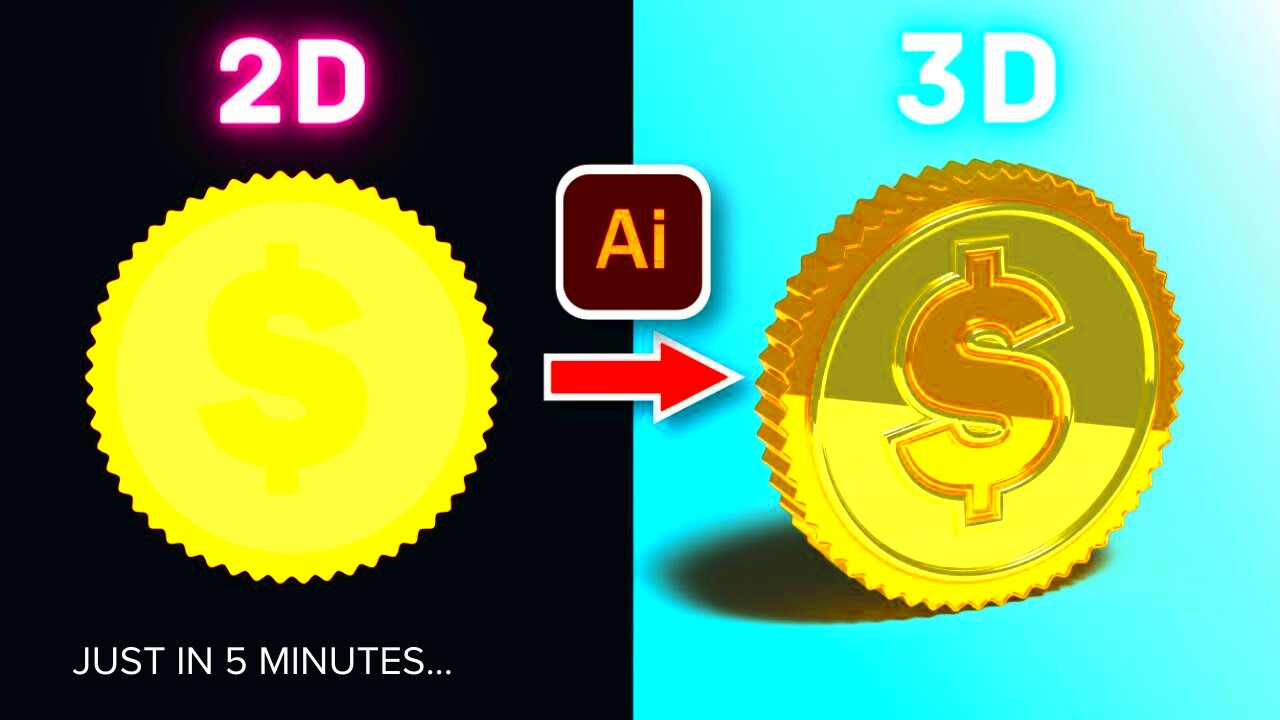
Converting a 2D image into 3D opens up exciting possibilities for creative projects. Whether you’re designing for a game, a movie, or even just adding some depth to your artwork, transforming flat images into three-dimensional visuals can give your project a whole new perspective. It's easier than it might seem, and with the right tools, anyone can give their designs that 3D pop. In this guide, we'll walk you through the basics and provide all the details to help you start converting 2D images into 3D.
Understanding the Basics of 2D and 3D Images
Before diving into the process of conversion, it's important to grasp the difference between 2D and 3D images. A 2D (two-dimensional) image has only height and width. These are the types of images you see in most photographs, paintings, and drawings. On the other hand, a 3D (three-dimensional) image has height, width, and depth, making it appear more realistic as it mimics the way we see objects in the real world.
Key differences between 2D and 3D images include:
- Dimensions: 2D images are flat, while 3D images add depth.
- Perspective: 3D images can be viewed from different angles, whereas 2D images offer only a single viewpoint.
- Applications: 2D images are used in print, digital graphics, and traditional media, while 3D images are popular in animation, video games, and virtual reality.
Knowing these differences helps you understand what happens when a 2D image is converted into 3D and the kind of adjustments you’ll need to make to achieve the desired effect.
Also Read This: How to Upload Photos to Getty Images to Sell as a Photographer Submission Guide
Tools Needed for Converting 2D Images into 3D
To convert 2D images into 3D, you’ll need the right set of tools. Fortunately, many of these are accessible even to beginners. Below are some essential tools to get started:
- 3D Modeling Software: Programs like Blender or Autodesk Maya allow you to create 3D shapes and add depth to your 2D images.
- Image Editing Software: Tools like Adobe Photoshop or GIMP help to prepare your 2D images by adjusting layers, adding shadows, or highlighting key areas that will be transformed.
- Depth Maps: Creating a depth map is essential in adding depth to flat images. This map tells the software how to project the 2D image into 3D space. Programs like DeepArt or After Effects can generate these maps.
- Online Converters: If you’re looking for simpler solutions, online converters like 3Dthis or Photo3D allow quick 2D-to-3D transformations without needing complex software.
Each tool has its pros and cons, so choosing the right one will depend on the complexity of your project and your level of expertise. Some of these tools are free, while others may require a subscription or purchase.
Also Read This: Find Out What Scars on Shutterstock Are
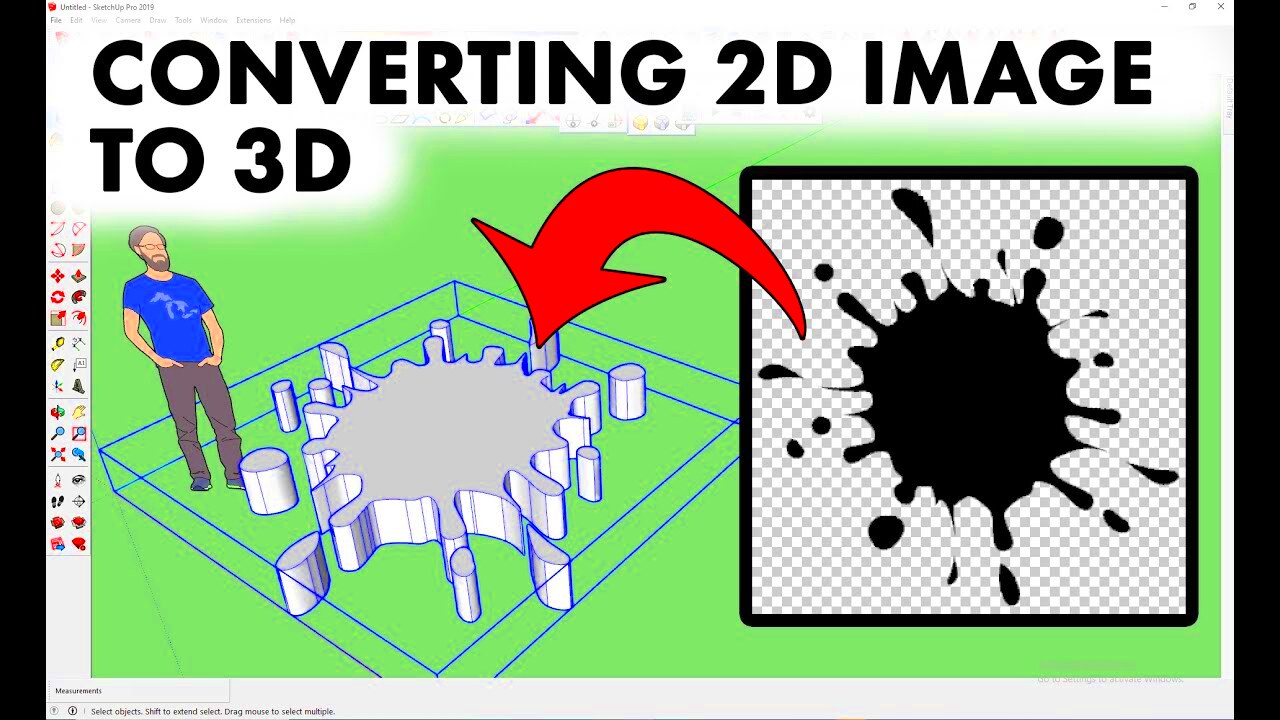
Step-by-Step Guide to Convert 2D Images into 3D
Converting a 2D image into 3D can seem complex, but by following a structured approach, the process becomes manageable. Here’s a step-by-step guide to help you transform your flat images into dynamic 3D visuals:
- Select Your Image: Start by choosing the 2D image you want to convert. High-quality, clear images work best as they provide more detail for creating depth.
- Create a Depth Map: A depth map is essential for showing the software how to project your image into 3D space. Darker areas on the map will appear further away, while lighter areas will be closer. You can create a depth map using software like Photoshop or specialized 3D programs.
- Import Your Image into 3D Software: Use 3D modeling tools like Blender, Maya, or Adobe After Effects to import both your 2D image and the depth map. The software will use the depth map to create the illusion of depth in your image.
- Adjust the Depth and Perspective: After importing, adjust the depth by manipulating the image layers or using the depth map controls. This will ensure the 3D effect looks natural and suits your project.
- Add Lighting and Shadows: Proper lighting can enhance the 3D effect. Use directional lighting to highlight the new depth in your image and add shadows for a more realistic appearance.
- Export Your 3D Image: Once you’re satisfied with the result, export your image in a 3D-compatible format. Depending on your project, formats like OBJ, FBX, or STL are common for 3D images.
With these steps, you’ll be able to convert your 2D images into stunning 3D visuals that can be used in various creative projects.
Also Read This: A Complete Guide to Recording Audio from YouTube Videos
Common Mistakes to Avoid During Conversion
Converting a 2D image into 3D is an exciting process, but there are common mistakes that can lead to less-than-ideal results. Here are a few mistakes to avoid:
- Ignoring Image Quality: Low-resolution images don’t convert well. Always start with the highest quality image possible to maintain detail during conversion.
- Overcomplicating the Depth Map: Adding too much complexity to your depth map can make the final 3D image look unnatural. Stick to realistic depth ranges and smooth transitions between areas of depth.
- Neglecting Lighting: Poor lighting can ruin the 3D effect. Be sure to adjust lighting within your 3D software to highlight the depth in your image.
- Forgetting About Shadows: Just like lighting, shadows play a huge role in giving an image a 3D feel. Neglecting to add or adjust shadows can make the image appear flat.
- Rushing the Process: Converting 2D to 3D takes time, especially when fine-tuning details like depth, lighting, and textures. Rushing can lead to mistakes and lower quality results.
Avoiding these mistakes will save you time and ensure your 3D images look professional and polished.
Also Read This: Here Is the Simplest Way to Learn How to Download a Reel from Facebook Today
Best Practices for 3D Image Design
Designing effective 3D images requires both technical skills and artistic insight. Here are some best practices to follow when working with 3D images:
- Start Simple: If you’re new to 3D design, begin with simple shapes and projects. Master the basics before moving on to complex designs with intricate details.
- Focus on Depth Accuracy: Depth is the key to 3D image success. Ensure that the depth you add is realistic and aligns with the perspective of the original 2D image. Use depth maps wisely to control this aspect.
- Use Lighting to Enhance Depth: Lighting is one of the most important elements in 3D design. Proper lighting can enhance the sense of depth and create a more immersive visual experience. Experiment with different lighting setups to find the best look for your image.
- Pay Attention to Textures: Textures give your 3D image a sense of realism. Applying appropriate textures to surfaces will make the 3D effect more believable. Tools like Photoshop or Blender allow you to add and adjust textures effectively.
- Test Different Angles: A great benefit of 3D images is their ability to be viewed from different angles. Test your design from multiple perspectives to ensure it looks good from all viewpoints.
By following these best practices, you can ensure that your 3D image designs are not only visually appealing but also technically sound and ready for any creative project.
Also Read This: Adding an Image in Squarespace
Frequently Asked Questions
When converting 2D images into 3D, there are often questions about the process, tools, and outcomes. Here are some of the most commonly asked questions:
| Question | Answer |
|---|---|
| Can I convert any 2D image into 3D? | Yes, most 2D images can be converted into 3D, but the quality of the result depends on the image's resolution and clarity. Images with distinct shapes and contrasts work better. |
| Do I need advanced software to convert images to 3D? | Not necessarily. While advanced software like Blender or Maya offers more control, there are simpler online tools available for beginners that can still produce good results. |
| What is a depth map, and do I need one? | A depth map is a grayscale image that defines the depth of different areas of your 2D image. It’s a crucial step in most 3D conversions, as it helps create the illusion of depth. |
| Is it possible to add 3D effects without special software? | Yes, there are various online platforms and apps like 3Dthis and Photo3D that allow you to quickly add 3D effects without needing complex software. |
| How long does the 2D to 3D conversion process take? | The time varies depending on the complexity of the image and the software being used. Simple online tools can take minutes, while advanced 3D rendering in programs like Blender might take hours. |
These FAQs should help clarify some common concerns, but feel free to explore more as you get into the process of 2D to 3D conversion.
Conclusion on Enhancing Creative Projects with 3D Images
Converting 2D images into 3D can significantly elevate the visual appeal and depth of your creative projects. By understanding the basics, using the right tools, and following best practices, you can produce stunning 3D visuals that bring a new level of immersion and engagement to your work. Whether you’re a designer, artist, or just experimenting with 3D for fun, the possibilities are endless when you unlock the potential of 3D imagery.
 admin
admin


