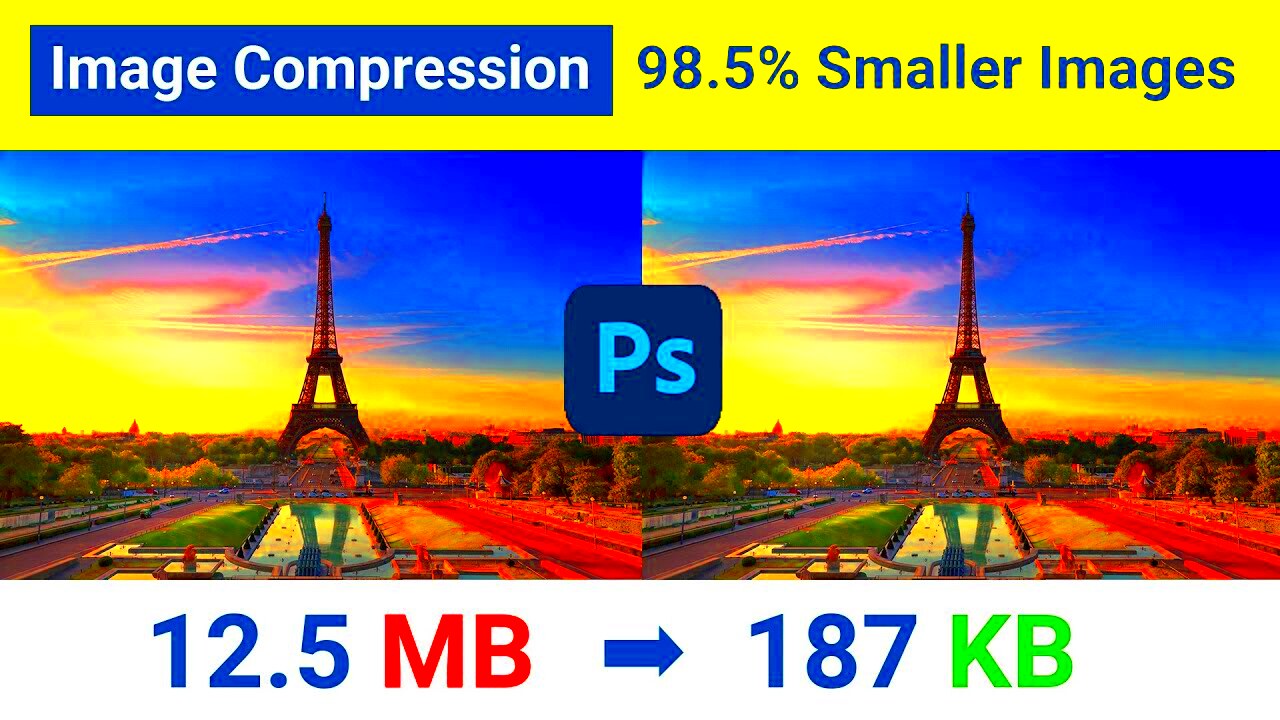
Image compression is the process of reducing the file size of an image without significantly affecting its quality. This is crucial, especially when working with large images that need to be uploaded to websites or shared online. By compressing images, you can make them easier to load, share, and store. However, there’s a fine balance between reducing file size and maintaining the quality of the
Why Image Compression Matters for Web Use

When it comes to web use, image compression plays a vital role in improving site performance. Large image files can slow down website loading times, which can lead to a poor user experience and negatively affect your website's SEO ranking. Here’s why
- Faster loading times: Smaller image files load quicker, reducing the wait time for users and keeping them engaged.
- Improved SEO: Search engines like Google favor fast-loading websites, helping them rank higher in search results.
- Lower bandwidth usage: Compressed images consume less data, making it ideal for mobile users and websites with limited server resources.
- Better user experience: A quicker website means less frustration for visitors and higher chances of returning traffic.
By compressing images, you not only improve site speed but also ensure a smooth browsing experience for your audience, which ultimately contributes to the success of your website.
Different Methods of Compressing Images

There are several ways to compress images, and each method offers varying degrees of quality and compression levels. Here are the most common methods:
- Lossy Compression: This method reduces the file size by permanently removing some image data. It’s a good option when you need to significantly reduce the file size but are okay with a slight loss in quality. Formats like JPEG often use lossy compression.
- Lossless Compression: Unlike lossy compression, this method preserves the original quality of the image while reducing its file size. It’s ideal for images that need to retain their full detail. Formats like PNG and GIF typically use lossless compression.
- Vector Compression: Used for images made up of lines and shapes (like logos or illustrations), vector compression reduces file size without losing quality by simplifying the image’s structure.
- WebP Compression: WebP is a modern image format that provides both lossy and lossless compression. It’s designed for use on the web and offers excellent image quality with smaller file sizes compared to JPEG and PNG.
Each method has its own advantages and best-use scenarios, so it’s important to choose the right one based on your needs. Whether you're focused on image quality, file size, or compatibility with different platforms, understanding the different methods helps you make informed decisions about how to compress images.
Best Tools to Compress Images Online
When it comes to compressing images online, there are numerous tools available that make the process simple and effective. Whether you need to compress a single image or batch process many, these tools are designed to save time and effort. Many of them are free or offer basic features at no cost, with advanced options available for premium users. Here are some of the best tools you can use:
- TinyPNG: TinyPNG is a popular online tool for compressing PNG and JPEG images. It uses smart lossy compression techniques to reduce file sizes while preserving image quality.
- Compressor.io: This tool supports both lossy and lossless compression for JPEG, PNG, GIF, and SVG files. It’s known for its simplicity and high-quality results.
- ImageOptim: A great choice for Mac users, ImageOptim compresses images without sacrificing quality. It supports PNG, JPEG, and GIF formats and is particularly useful for web designers.
- ILoveIMG: ILoveIMG offers a variety of tools, including options to compress images, resize them, or even convert them into different formats. It’s easy to use and supports batch processing.
- JPEG-Optimizer: As the name suggests, this tool specializes in optimizing JPEG images. It also provides a slider to adjust the compression level and preview the results before applying them.
These tools vary in features, but all offer user-friendly interfaces that make it easy to compress images for your website, social media, or personal use. Choose the one that best fits your needs, depending on the type of images you work with and the compression results you’re aiming for.
Steps to Compress Images Without Losing Quality
Compressing images without losing quality requires careful attention to the compression method and settings. While it’s tempting to simply reduce the file size as much as possible, it's important to strike a balance between size and visual integrity. Here’s how you can compress images while maintaining high quality:
- Choose the Right File Format: Start by selecting the right file format for your image. JPEG is best for photographs, PNG for images with transparency, and GIF for simple graphics.
- Use Lossless Compression: For the best quality, opt for lossless compression. This ensures that the image retains all of its original data while still reducing the file size.
- Resize Images: If the image dimensions are larger than necessary, resize the image before compressing. Reducing dimensions will naturally lower the file size without compromising quality.
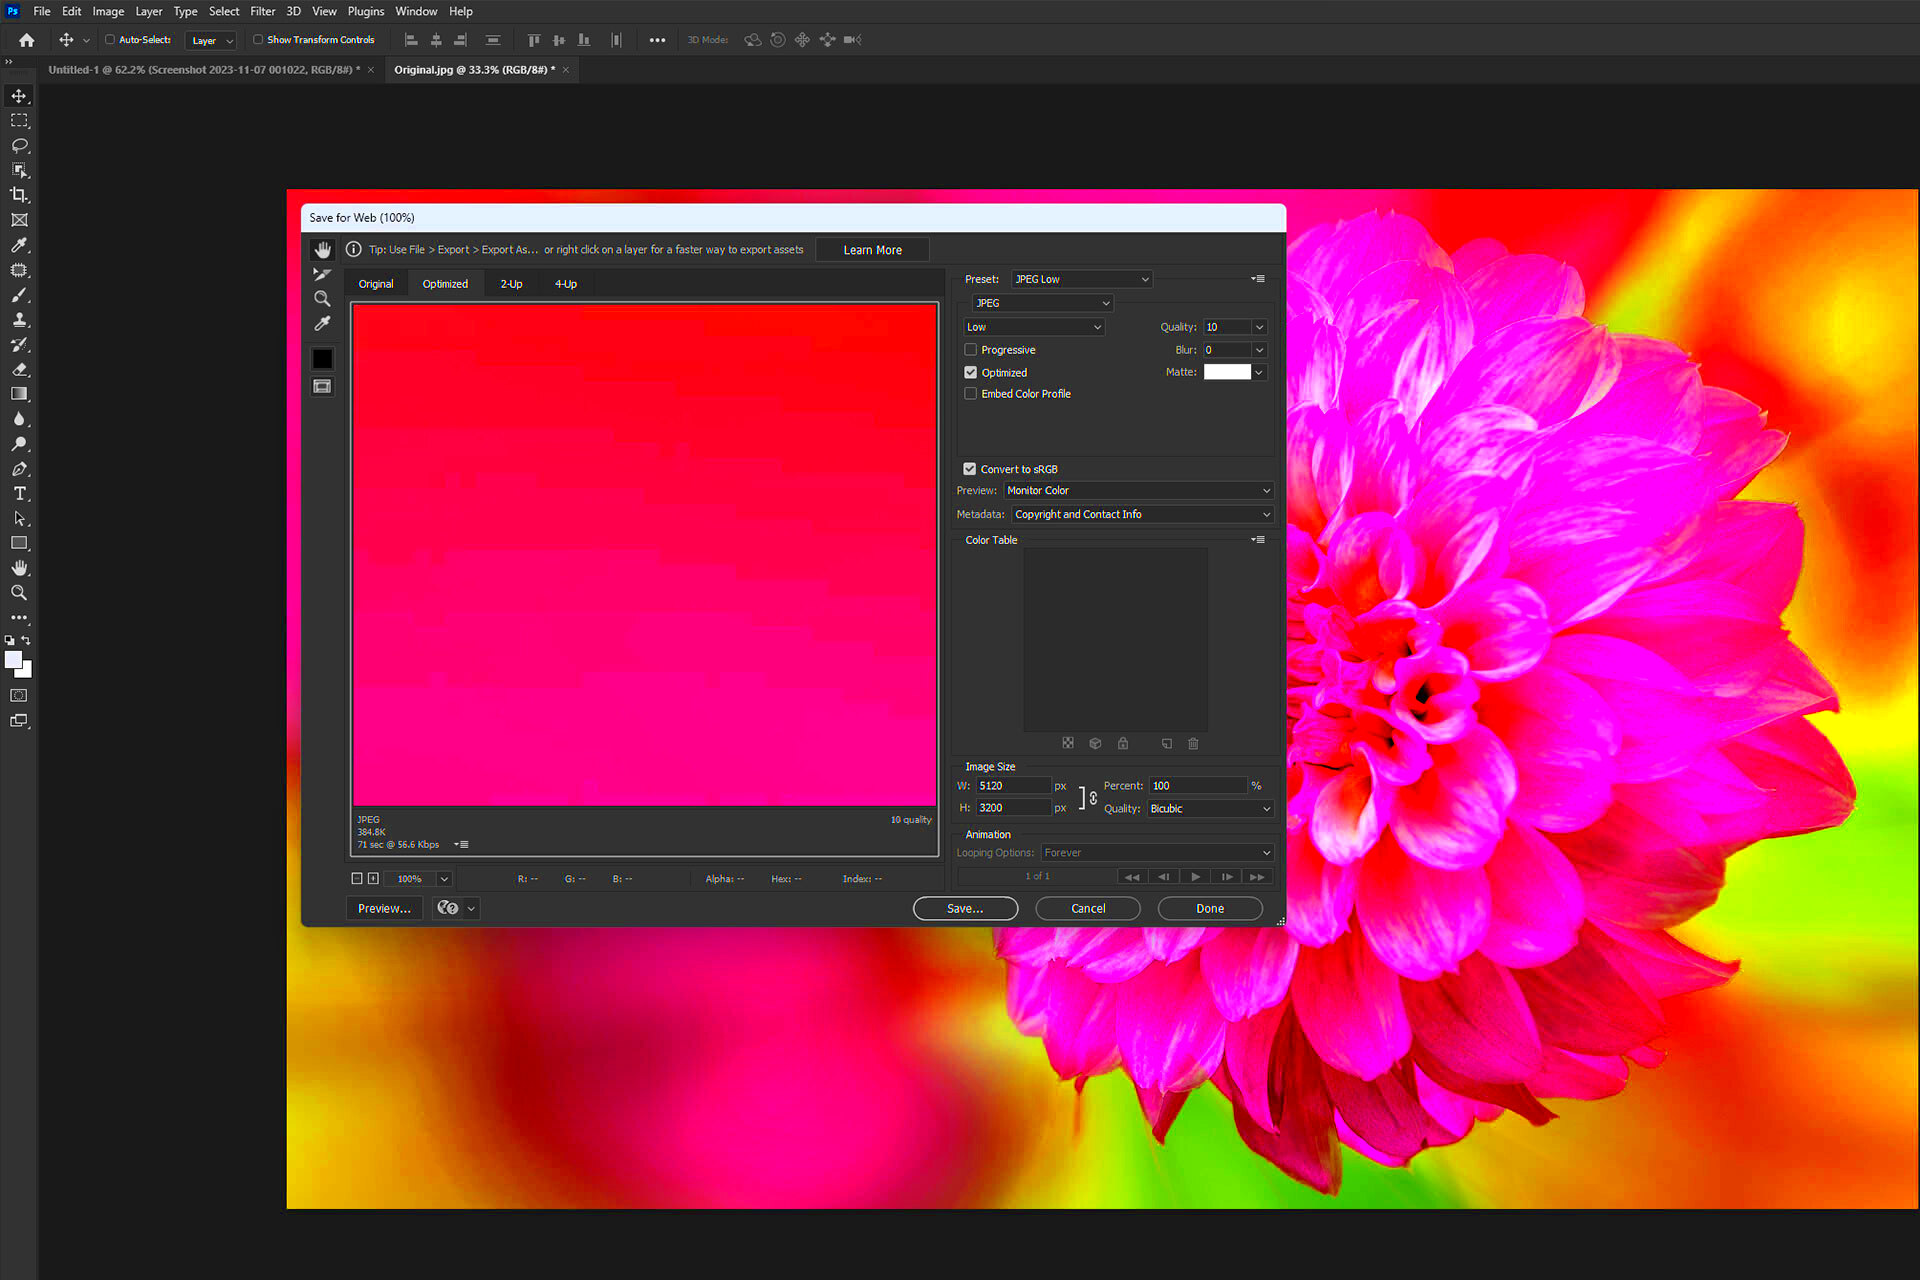
- Adjust Compression Levels: Most tools allow you to adjust the compression level. Start with a low compression rate to minimize quality loss and gradually increase it to see how it affects the image.
- Preview the Image: Before finalizing the compression, preview the image to ensure that the quality remains intact. If the image appears blurry or pixelated, reduce the compression level.
- Test Different Tools: Different compression tools might yield slightly different results. It’s a good idea to test a few tools and settings to find the best combination of quality and file size.
By following these steps, you can ensure that your images are optimized for performance without compromising on their quality.
How to Choose the Right Compression Settings
Choosing the right compression settings is crucial for ensuring that your images remain visually appealing while loading quickly on your website. The right settings depend on the type of image you're working with and how it will be used. Here are a few key factors to consider when selecting compression settings:
- Image Type: Different types of images require different compression methods. Photographs, for example, benefit from JPEG’s lossy compression, while illustrations or logos might do better with lossless PNG compression.
- Desired Quality: Decide how much quality you’re willing to sacrifice for smaller file sizes. If you’re compressing images for the web, a slight decrease in quality may be acceptable in exchange for faster load times.
- File Size Limit: If your website or platform has file size limits, you’ll need to adjust your compression settings accordingly. Most tools allow you to set a target file size before applying compression.
- Use Case: Consider where the image will be used. For high-quality printing, you’ll want minimal compression to preserve detail. For web use, higher compression with minimal loss may be acceptable.
- Testing Results: Experiment with different settings to find the right balance. Many tools allow you to preview the results before committing, so take advantage of this feature to fine-tune your settings.
By understanding these factors and testing different compression settings, you can optimize your images for both performance and quality, ensuring that they load quickly and look great.
Common Image Compression Mistakes to Avoid
While image compression can improve website speed and performance, there are a few common mistakes that can lead to poor results. Whether you're new to image optimization or have been doing it for a while, it's important to be aware of these pitfalls. Here are some mistakes you should avoid:
- Over-Compressing the Image: One of the most common mistakes is over-compressing images to reduce file size. This can lead to pixelation, blurriness, and a noticeable decrease in image quality. It’s important to strike the right balance between compression and quality.
- Using the Wrong File Format: Choosing the wrong file format for the type of image can hurt the quality. For example, using JPEG for images with transparency will not work well. PNG is better suited for images that need to maintain transparent backgrounds.
- Neglecting Image Dimensions: Often, images are compressed without resizing them first. If an image is larger than necessary, it can still result in a bigger file size, even after compression. Always resize images to the correct dimensions before compressing.
- Ignoring Compression Tools: Not all image compression tools are the same. Using an inferior tool can lead to suboptimal compression results. Take time to choose a reliable tool that provides the best balance of quality and file size.
- Not Testing the Results: After compressing an image, always preview it to ensure that the quality is still acceptable. Sometimes, compression can have a more drastic effect on certain images than anticipated.
Avoiding these mistakes will help you compress images more effectively and ensure that they look great while improving website performance.
Frequently Asked Questions
If you're new to image compression, you may have a few questions about how it works and how to make the most of it. Here are answers to some of the most common questions:
- What is the best image format for compression? The best format depends on the type of image. JPEG is great for photos, PNG is better for images with transparency, and GIF is suitable for simple animations. WebP is also a good option for both lossy and lossless compression, providing smaller file sizes with good quality.
- Can I compress images without losing quality? Yes, you can compress images without losing quality by using lossless compression methods. However, some slight quality degradation may occur in highly detailed images even with lossless methods. Adjusting compression settings helps you find a balance.
- How do I choose the right compression tool? The best compression tool for you depends on the type of image, your desired output, and whether you're working with a single image or batches. Tools like TinyPNG and Compressor.io are great for general use, while ImageOptim is perfect for Mac users.
- How much compression is too much? Compression is about balance. Too much compression can make an image look blurry or pixelated. It’s important to check the quality of the image after compression and make adjustments as needed to ensure the image still looks sharp.
- Can I compress images for free? Yes, there are several free online tools that allow you to compress images. Tools like TinyPNG, ILoveIMG, and Compressor.io offer free versions that work well for most needs, although premium versions may offer more features.
These answers should help guide you through the image compression process and help you make more informed decisions.
Conclusion: Compressing Images for the Best Results
In conclusion, image compression is an essential step for optimizing your website, improving load times, and enhancing the user experience. By choosing the right tools, understanding the compression methods, and avoiding common mistakes, you can successfully reduce image file sizes without sacrificing quality. Here are the key takeaways:
- Use the right compression method for your image type (JPEG, PNG, GIF, or WebP).
- Always resize images to the appropriate dimensions before compressing.
- Test different compression settings and preview results to find the best balance.
- Choose reliable compression tools that suit your needs and make the process easier.
Remember, the goal is not just to reduce file size but to optimize your images for both quality and performance. Whether you’re working with a few images or thousands, effective image compression will help keep your website fast, efficient, and visually appealing.


