When working with images, understanding size and dimensions is essential. Image size refers to the file's storage space, while dimensions indicate how many pixels make up the image's width and height. Knowing these two aspects helps ensure your images are appropriate for their intended use, whether it's for a website, print, or social media.
Here are a few key concepts to grasp:
- Resolution: This is the number of pixels per inch (PPI). A higher resolution means better quality.
- Aspect Ratio: The ratio of width to height (like 4:3 or 16:9) determines how the image looks on various devices.
- File Size: Measured in kilobytes (KB) or megabytes (MB), this affects how quickly your images load online.
Understanding these elements will help you make informed choices when resizing images or selecting the right format for your needs.
Exploring Different Image Formats
Different image formats serve various purposes, and knowing them can help you choose the right one for your projects. Here are some common formats:
| Format | Best For | Key Features |
|---|---|---|
| JPEG | Web and photos | Good quality with smaller file sizes; uses lossy compression. |
| PNG | Web graphics | Supports transparency; larger file size than JPEG. |
| GIF | Animations | Supports short animations; limited color palette. |
| TIFF | High-quality images; larger file sizes; lossless compression. |
Choosing the right format can significantly impact the quality and performance of your images in different contexts.
Also Read This: How to Create My Portfolio in Behance – A Step-by-Step Guide to Building Your Portfolio
Steps for Resizing an Image Using Free Range Stock Image Downloader
Free Range Stock Image Downloader is a user-friendly tool that simplifies the process of downloading and resizing images. Here’s how to resize an image using this tool:
- Download the Image: Start by downloading the image you want to resize using the Free Range Stock Image Downloader.
- Open the Image: Locate the downloaded image on your computer and open it with an image editing program.
- Resize the Image:
- In your editing software, find the 'Resize' option, often located in the 'Image' menu.
- Enter the desired dimensions (width and height). Make sure to maintain the aspect ratio by checking the appropriate box.
- Save the Image: Once resized, save the image in your preferred format (JPEG, PNG, etc.).
By following these simple steps, you can easily resize images for any project, ensuring they are just the right size for your needs.
Also Read This: how do i use adobe stock images copyright
Using Photo Editing Software for Image Size Adjustment
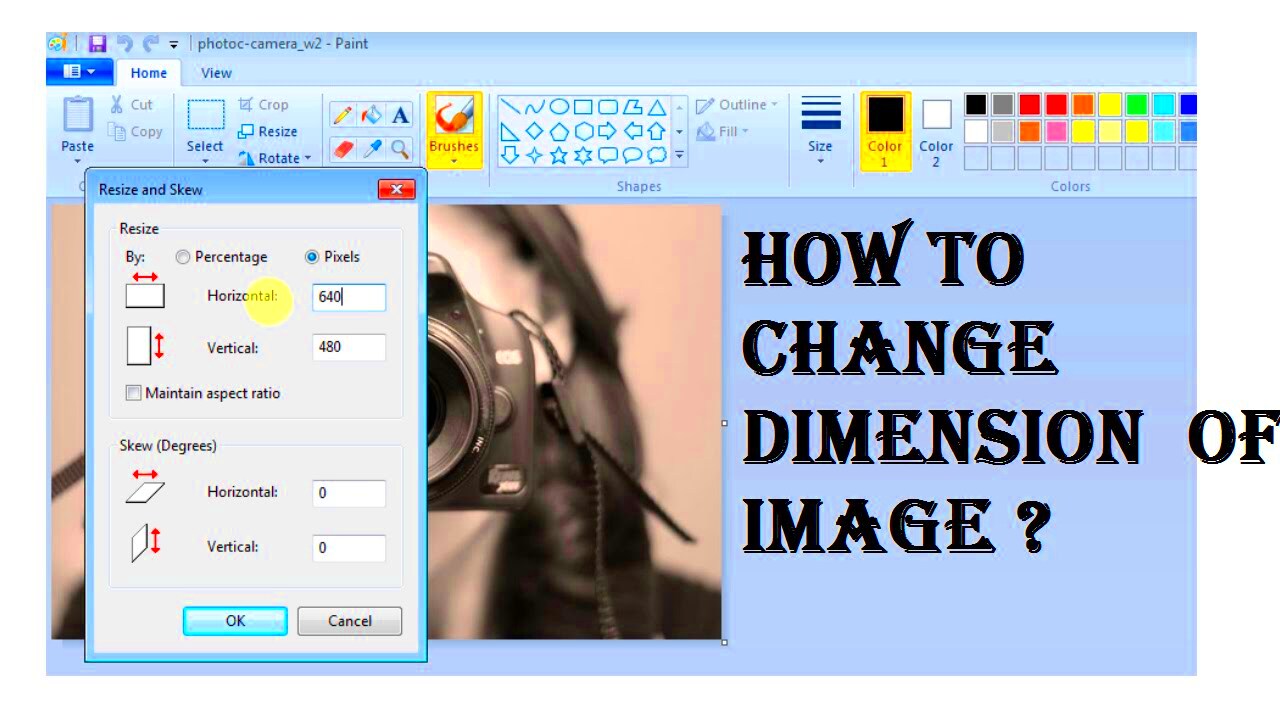
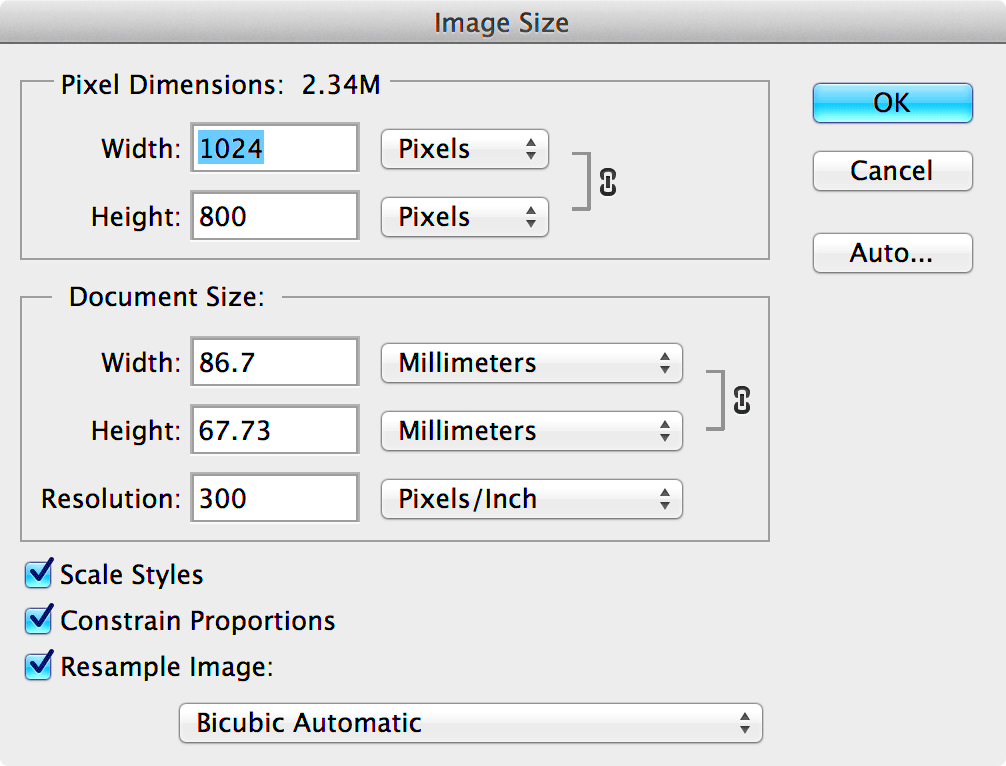
Photo editing software is a powerful way to adjust the size of your images, giving you full control over how they look. Whether you're a beginner or an experienced user, programs like Adobe Photoshop, GIMP, and even Microsoft Paint can help you resize images easily. Each of these tools offers unique features that cater to different needs.
Here’s a simple guide on how to resize an image using photo editing software:
- Open the Software: Launch your preferred photo editing program.
- Import the Image: Go to the ‘File’ menu and select ‘Open’ to import the image you want to resize.
- Locate the Resize Tool:
- In Photoshop, you can find it under ‘Image’ > ‘Image Size’.
- In GIMP, it's under ‘Image’ > ‘Scale Image’.
- Adjust the Size: Enter your desired dimensions. Most software allows you to maintain the aspect ratio, ensuring your image doesn’t look stretched or squished.
- Save Your Work: After resizing, don’t forget to save the image. Choose the right format based on your needs.
Using photo editing software gives you flexibility and control, making it easy to get your images just right!
Also Read This: Download Short Video from Likee in a Snap
Online Tools for Changing Image Size
If you don’t want to install software, online tools for resizing images can be a lifesaver. These web-based options are usually free, user-friendly, and don’t require any downloads. Here are some popular online tools you can use:
- PicResize: A straightforward tool that lets you resize images in just a few clicks.
- ResizeImage.net: Offers advanced options like cropping and rotating in addition to resizing.
- Canva: A design platform that includes a resizing tool, perfect for creating social media graphics.
To use these tools, follow these general steps:
- Visit the Website: Go to the chosen online tool's site.
- Upload Your Image: Click the upload button and select the image you want to resize.
- Set the New Dimensions: Enter your desired size, keeping in mind any aspect ratio settings.
- Download the Resized Image: After processing, download your resized image to your device.
Online tools are convenient for quick adjustments, making them a great choice when you're on the go!
Also Read This: Downloading Images from Candy AI: A Step-by-Step Guide
Best Practices for Resizing Images
Resizing images may seem simple, but following best practices can make a significant difference in quality and usability. Here are some tips to keep in mind when adjusting image sizes:
- Maintain the Aspect Ratio: Always lock the aspect ratio when resizing to avoid distortion.
- Consider the Final Use: Different platforms (web, print, social media) may require specific dimensions. Adjust accordingly.
- Start with High-Quality Images: Always use high-resolution images as your starting point to maintain quality when resizing.
- Save in the Right Format: Choose the image format based on its use case; JPEG for photos and PNG for graphics with transparency.
- Test for Quality: After resizing, check the image to ensure it meets your quality standards.
By following these best practices, you can ensure that your images not only look great but also perform well across different platforms and devices.
Also Read This: Resolving Issues with the YouTube Comment Section
Common Issues When Resizing Images
Resizing images can sometimes lead to unexpected challenges. Knowing these common issues can help you avoid frustration and ensure your images maintain their quality and usability. Let’s explore some typical problems you might encounter when resizing images.
- Loss of Quality: One of the most significant issues is the loss of quality, particularly when enlarging images. This can result in a blurry or pixelated appearance. Always start with a high-resolution image.
- Distortion: If the aspect ratio isn't maintained during resizing, images can become stretched or squished. This often leads to an unnatural look.
- File Size Concerns: Resizing can affect file sizes. Sometimes, images become too large for websites or too small for print, causing issues in both contexts.
- Color Changes: Certain editing tools may alter the color balance during resizing. Always check your image after making adjustments to ensure it appears as expected.
- Wrong File Format: Saving an image in the wrong format can hinder its use. For example, using JPEG for images with transparency will result in losing that transparency.
Being aware of these common issues can help you troubleshoot problems more efficiently and improve your overall image resizing experience.
Also Read This: How to Sell Your Photos on Getty Images for Beginners
FAQs About Changing Image Size
When it comes to changing image sizes, you may have questions. Here are some frequently asked questions that can help clarify common doubts:
- What is the best way to resize an image without losing quality?
Start with a high-resolution image and maintain the aspect ratio. Use quality editing software or reputable online tools. - Can I resize an image for social media?
Absolutely! Just be sure to check the recommended dimensions for each platform to ensure your images look great. - What format should I save my resized images in?
It depends on the usage: JPEG is great for photos, while PNG works well for graphics needing transparency. - Is there a limit to how much I can resize an image?
Yes, enlarging too much can lead to pixelation. It’s generally best to resize down rather than up. - Do online tools provide good quality when resizing?
Many online tools are effective, but always check the final output to ensure it meets your quality standards.
These FAQs should give you a clearer understanding of image resizing and help you make informed decisions for your projects.
Conclusion on Image Resizing
Image resizing is an essential skill for anyone working with visuals, whether for personal projects, websites, or social media. Understanding how to adjust image sizes effectively ensures that your visuals remain appealing and functional across different platforms. By using the right tools, adhering to best practices, and being mindful of common issues, you can create stunning images that meet your needs.
As you continue to work with images, remember to:
- Start with high-quality images to maintain detail.
- Use the appropriate tools for resizing, whether software or online options.
- Be aware of common pitfalls to avoid frustrating setbacks.
With these tips in mind, you’ll be well on your way to mastering the art of image resizing, making your work stand out and look professional!
 admin
admin


