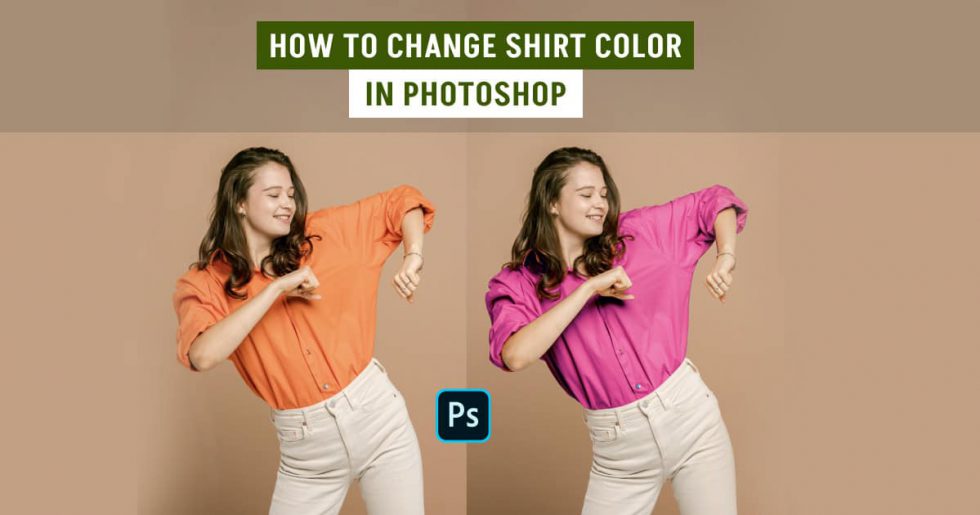
Changing the color of a shirt in Photoshop can breathe new life into your images and help you visualize different looks without the hassle of trying on actual clothing. Whether you’re editing a photo for a fashion project, creating mock-ups, or just having some fun with your images, this guide will walk you through the steps needed to effectively change shirt colors in Photoshop. Let’s dive in!
Understanding the Photoshop Interface
Before you can change a shirt's color, it’s crucial to familiarize yourself with the Photoshop interface. This powerful software has several components that can seem overwhelming at first, but once you get the hang of it, you'll find it intuitive and user-friendly. Here's a breakdown of the essential elements:
- Toolbar: Located on the left side of the screen, the toolbar contains all the tools you’ll need for editing. Key tools for color changing include the Magic Wand Tool for selecting areas and the Brush Tool for fine adjustments.
- Options Bar: Just above the workspace, this bar changes depending on the tool you select. It offers additional settings—like brush size and hardness for the Brush Tool—that can be adjusted to suit your needs.
- Layers Panel: On the right side, the Layers panel allows you to manage different elements of your image. Each layer can contain different edits, making it easier to edit or remove specific changes without affecting the entire image.
- Color Panel: This panel lets you choose colors for painting or filling selections. You can either use the color wheel or input specific color values for precision.
- Workspace: The main area where your image is displayed. You can zoom in, pan, and navigate through your project here.
Once you're familiar with these components, you can confidently proceed to change shirt colors and unleash your creativity!
Also Read This: How to Make Paper Cars Easily
Preparing Your Image
Before diving into the fun part of changing shirt colors in Photoshop, it's crucial to prepare your image correctly. This step ensures that your editing experience is smooth and yields the best results. Here’s how you can prepare your image effectively:
- Open Your Image: Start by launching Photoshop and opening the image you want to edit. You can do this by clicking on File > Open and selecting your image file.
- Check Image Resolution: Ensure your image has a high enough resolution for quality editing. Go to Image > Image Size to check or adjust the resolution. A resolution of 300 DPI is ideal for print, while 72 DPI is sufficient for online use.
- Duplicate the Layer: To avoid losing your original image, right-click on the background layer in the Layers panel and select Duplicate Layer. This way, any changes you make can be easily reverted if needed.
- Crop or Resize if Necessary: If the shirt is only a small part of the image, consider cropping to focus on it. Use the Crop Tool to select the area you wish to keep.
With these steps, your image is now prepared for the next exciting phase: selecting the shirt!
Also Read This: Is Dailymotion Safe from COPPA Violations and How to Protect Children’s Privacy
Selecting the Shirt
Now that your image is prepped, it’s time to select the shirt for color change. This is a critical step, as a precise selection will ensure clean and realistic results. Here’s a guide on how to select the shirt effectively:
- Use the Quick Selection Tool: Found in the toolbar, this tool is perfect for making rough selections. Click and drag over the shirt to select it. Photoshop will try to identify the edges for you, making it easier!
- Refine Your Selection: Once you have a rough selection, click on Select and Mask in the options bar. Here, you can fine-tune your selection using tools like the Refine Edge Brush Tool to enhance the edges where the shirt meets skin or other backgrounds.
- Check Your Selection: After refining, switch the view mode in the Select and Mask workspace to On Black or On White to see how clean your edges are. Adjust using the sliders for Smooth and Feather if needed.
- Create a New Layer from Your Selection: Once satisfied, click OK and create a new layer from your selection. You can do this by pressing Ctrl + J (or Cmd + J on Mac).
With the shirt selected, you're now ready to explore the myriad of colors you can apply! This selection lays the groundwork for a flawless color transformation.
Also Read This: How to Change a Featured Video on Dailymotion
5. Changing the Color
Changing the color of a shirt in Photoshop can be a fun and creative process. Whether you're looking to refresh an old garment or just experiment with styles, Photoshop offers powerful tools to help you achieve the perfect hue.
To start, select the shirt using the Quick Selection Tool or the Magic Wand Tool. These tools allow you to easily select the shirt without affecting the surrounding areas. Once selected, you can proceed with changing the color.
Here’s how you can change the color:
- Go to the Adjustment Layer option in the Layers panel.
- Select Hue/Saturation from the dropdown menu.
- In the Hue/Saturation dialog box, adjust the Hue slider to change the shirt color. You’ll see changes in real-time!
- If you want more control, check the Colorize option. This will allow you to set a specific color tone.
Don’t forget to play around with the Saturation and Lightness sliders for a more refined look. This way, you can create a vibrant or subtle color change to match your vision.
Once you’re satisfied with the new color, click OK to apply the changes. Remember, you can always go back and adjust if needed!
Also Read This: Proven Methods to Earn Money on Dailymotion Without Any Investments
6. Refining the Edges
After changing the color, it’s essential to refine the edges of your selection. This step ensures that the color change looks natural and that there are no harsh lines or color bleed into other areas.
Here’s how to refine the edges:
- Select the layer with your shirt color change.
- Go to Select in the top menu and choose Modify > Feather. A feather radius of 1-2 pixels will soften the edges.
- Next, use the Eraser Tool with a soft brush to manually smooth out any rough edges.
- If needed, zoom in to check for details and make adjustments.
A helpful tip is to use the Brush Tool set to a low opacity. This way, you can build up the effect gradually and maintain control over the refinement process.
Also, consider adding a subtle shadow or highlight to enhance realism. Use the Drop Shadow effect to give your shirt depth, making it look more three-dimensional.
By taking the time to refine the edges, you’ll ensure your shirt color change looks polished and professional!
Also Read This: Mastering Cricket Shots with Step-by-Step Videos on Dailymotion
Final Adjustments and Saving Your Work
After you've seamlessly changed the shirt color in your image, it's essential to make final adjustments to ensure everything looks perfect. Here are some key steps to follow:
- Check Color Consistency: Zoom in to see if the new shirt color blends well with the rest of the image. If there are areas where the color looks off, use the Brush Tool or Clone Stamp Tool for touch-ups.
- Adjust Brightness and Contrast: Sometimes, changing colors can affect the overall look of the image. Navigate to Image > Adjustments > Brightness/Contrast, and tweak the sliders until the shirt looks natural.
- Apply Layer Styles: If your shirt has textures or shadows, you might want to apply layer styles. Right-click on the shirt layer and select Blending Options. Here, you can add shadows or highlights to match the new color.
- Sharpen the Image: To make sure your shirt pops out, consider sharpening the image. Go to Filter > Sharpen > Unsharp Mask. Play around with the settings until you find a balance that enhances the details.
Once you're satisfied with the adjustments, it's time to save your masterpiece. Use File > Save As to retain your original image and save the edited version in your desired format (JPEG, PNG, etc.). Make sure to choose a high resolution for prints!
Conclusion
Changing a shirt's color in Photoshop can transform an image dramatically, allowing you to explore various styles and aesthetics. Throughout this process, you’ve learned how to select, adjust, and finalize your edits to ensure a polished result.
Remember, practice makes perfect! The more you experiment with different colors and techniques, the more skilled you'll become. Whether it’s for personal projects, social media, or professional work, the ability to change colors can enhance your creative toolkit.
So, grab your Photoshop, unleash your creativity, and start experimenting! Don’t forget to share your results, as there's a vibrant community out there eager to see what you create. Happy editing!
 admin
admin


