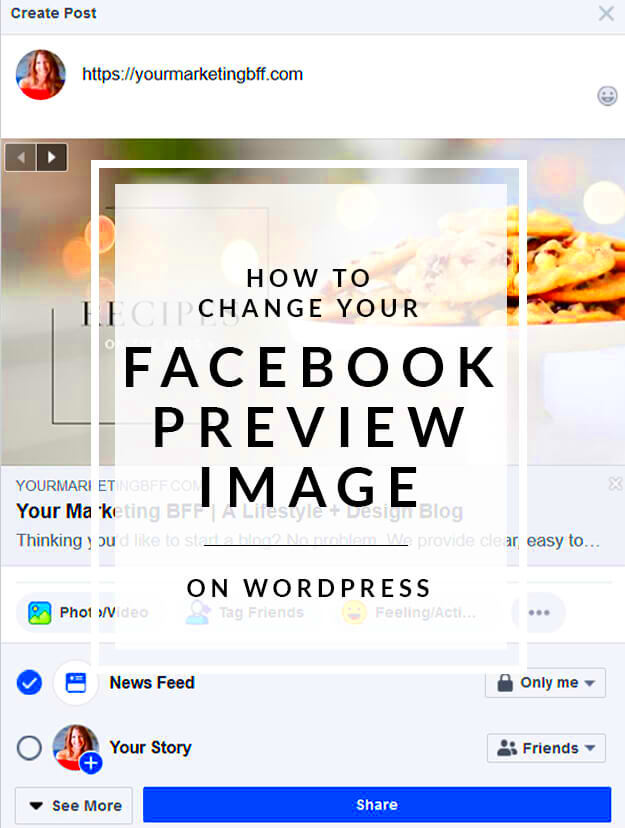
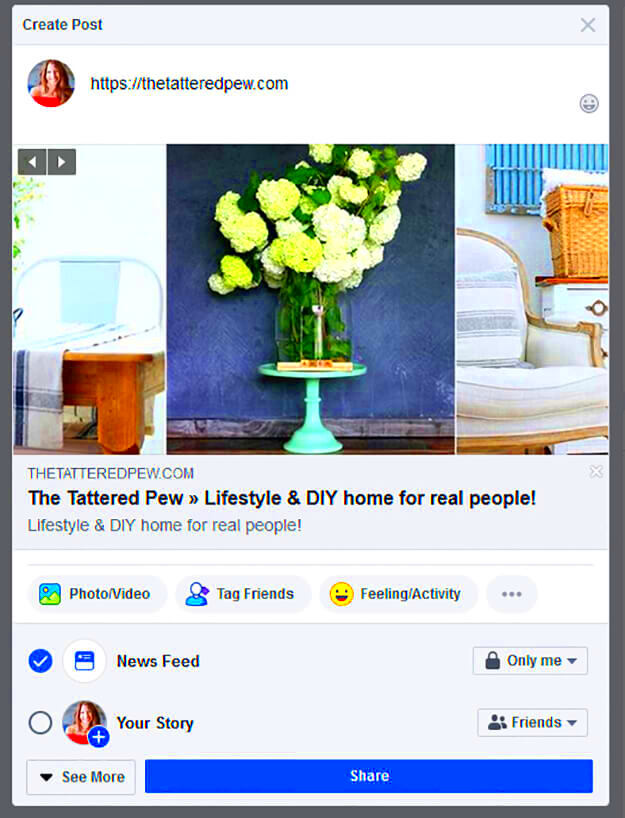
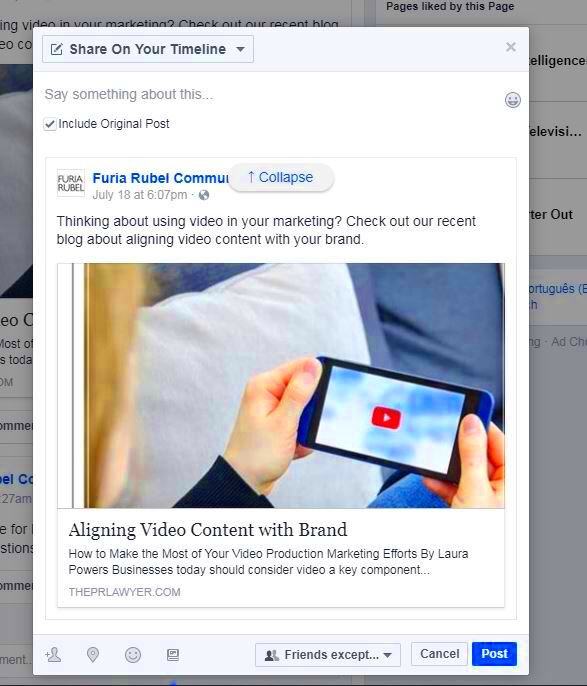
Link previews on Facebook are those little snippets that appear when you share a link. They usually include a title, a short description, and an image. This preview is what catches people’s attention and can greatly influence whether they click on your link or scroll past it.
When you post a link, Facebook automatically generates this preview using information from the linked page. However, sometimes the generated preview might not align with your branding or the message you want to convey. That’s why understanding how these previews work is crucial for anyone looking to improve their social media presence.
Link previews are powered by Open Graph tags, which are snippets of code that tell Facebook how to display the content. By using these tags effectively, you can have more control over what your audience sees when they engage with your content.
Reasons for Changing Link Preview Images

There are several compelling reasons why you might want to change your link preview images:
- Brand Consistency: A custom image helps maintain a cohesive look across all your posts.
- Increased Engagement: Eye-catching images can attract more clicks and interactions.
- Highlighting Specific Content: You may want to feature a particular product or promotion.
- Testing Different Images: Experimenting with various images can help identify what resonates best with your audience.
Ultimately, changing your link preview images can significantly impact your visibility and engagement on Facebook.
Steps to Change Link Preview Images

Changing link preview images on Facebook involves a few straightforward steps:
- Create Open Graph Tags: You need to add Open Graph tags to the HTML of the page you are linking to. The essential tags include:
- Update Your Webpage: Once you've created your tags, update your webpage's HTML with them.
- Use Facebook Sharing Debugger: After updating, visit the Facebook Sharing Debugger. Enter your URL and click "Debug." This tool will fetch the new Open Graph data, allowing you to see how your link preview will appear.
- Reshare Your Link: Once everything looks good, reshare your link on Facebook to see the updated preview.
| Tag | Description |
|---|---|
| og:title | The title of your content. |
| og:description | A brief description of your content. |
| og:image | The URL of the image you want to display. |
| og:url | The canonical URL of your page. |
By following these steps, you can effectively manage your link previews and make them more appealing to your audience.
Using Open Graph Tags to Control Images

Open Graph tags are essential for controlling how your links appear on Facebook. They allow you to specify the title, description, and image associated with your content. This means you can craft the perfect preview that aligns with your brand and captures your audience's attention. By utilizing these tags, you gain the power to influence how your content is shared and perceived.
To effectively use Open Graph tags, you'll need to add them to the HTML of the webpage you want to share. Here are some key tags you should consider:
- og:title: The title of your content, which appears prominently in the preview.
- og:description: A brief description that provides context about your link.
- og:image: The URL of the image you want to display. This is crucial for grabbing attention.
- og:url: The canonical URL of your page, ensuring that users land on the right content.
Here’s a sample of how the Open Graph tags might look in your HTML:
<meta property="og:title" content="Your Title Here">
<meta property="og:description" content="Your description here.">
<meta property="og:image" content="https://example.com/image.jpg">
<meta property="og:url" content="https://example.com/page">
By correctly implementing these tags, you can create engaging and attractive link previews that resonate with your audience, driving more clicks and interactions.
Testing Changes with Facebook Sharing Debugger
Once you’ve added or updated your Open Graph tags, it’s time to test your changes using the Facebook Sharing Debugger. This tool is vital for ensuring that your link previews display correctly before you share them widely. It helps you troubleshoot any issues and see how Facebook interprets your tags.
Here’s how to use the Facebook Sharing Debugger:
- Visit the Debugger: Go to the Facebook Sharing Debugger page.
- Enter Your URL: Input the URL of the webpage you want to test.
- Click “Debug”: This fetches the latest Open Graph information from your page.
- Check for Errors: The tool will show you any issues it encountered, such as missing tags or incorrect URLs.
- Preview Your Link: Scroll down to see how your link preview will appear on Facebook.
Using the Debugger not only helps ensure your changes are reflected correctly, but it also gives you an opportunity to refine your content. If you don’t like what you see, go back and tweak your Open Graph tags as needed!
Common Issues with Link Preview Images
Even with the best intentions, issues with link preview images can still arise. Understanding these common problems can help you troubleshoot and ensure your previews look great every time.
Here are some frequent issues you might encounter:
- Images Not Displaying: This often occurs if the URL of the image is incorrect or if the image is too small. Facebook recommends images to be at least 1200 x 630 pixels for optimal display.
- Cached Previews: Facebook caches previews for links, meaning changes might not appear immediately. Use the Sharing Debugger to clear the cache by scraping the URL again.
- Missing Tags: If you forget to include important Open Graph tags, Facebook may default to pulling random content from your page, leading to poor previews.
- Image Format Issues: Ensure your images are in a supported format (like JPEG, PNG, or GIF) and not exceeding the size limit of 8 MB.
By being aware of these issues and their solutions, you can ensure your link previews are attractive and effective. Regularly testing and updating your tags will keep your content fresh and engaging for your audience.
Best Practices for Choosing Link Preview Images
Choosing the right images for your link previews can make a significant difference in how your content is received on Facebook. An eye-catching image not only attracts attention but also encourages users to click on your link. Here are some best practices to consider when selecting images for your link previews:
- Use High-Quality Images: Ensure that your images are clear and of high resolution. Blurry or pixelated images can give a negative impression of your brand.
- Relevance is Key: Select images that are relevant to the content you're sharing. They should visually represent what users can expect when they click through.
- Keep It Simple: Sometimes, less is more. A simple, clean image can stand out more than a cluttered one.
- Incorporate Branding: If appropriate, include your logo or brand colors in the image to help with brand recognition.
- Test Different Options: Experiment with various images to see which ones perform better. You might be surprised by what resonates with your audience!
Here’s a quick checklist to guide your image selection:
| Criteria | Considerations |
|---|---|
| Size | Minimum 1200 x 630 pixels |
| Format | JPEG, PNG, or GIF |
| Aspect Ratio | 1.91:1 for optimal display |
By following these best practices, you can significantly enhance the effectiveness of your link previews and drive more traffic to your content.
FAQs about Changing Link Preview Images on Facebook
When it comes to changing link preview images on Facebook, you might have a few questions. Here are some frequently asked questions and their answers to help clarify the process:
- Can I change the link preview image after sharing? Yes, you can update the Open Graph tags on your website, but you may need to use the Facebook Sharing Debugger to refresh the preview.
- What size should my link preview image be? For best results, use an image that is at least 1200 x 630 pixels.
- Why isn’t my image showing up? This could be due to caching issues, incorrect image URLs, or missing Open Graph tags. Always check with the Sharing Debugger.
- Can I use animated images? While GIFs can work, Facebook prefers static images for link previews. Stick to JPEG or PNG for better results.
- How often can I change my link preview image? You can change it as often as needed. Just remember to use the Sharing Debugger to scrape your URL again.
These FAQs can help you navigate common concerns and ensure your link previews are effective and engaging.
Conclusion on Customizing Link Previews
Customizing link previews on Facebook is an essential part of your social media strategy. By understanding how link previews work and effectively using Open Graph tags, you can significantly enhance your content's visibility and appeal. Remember, a well-chosen image can be the difference between a click and a scroll.
Implementing best practices for image selection ensures your previews not only attract attention but also resonate with your audience. Keep experimenting with different images and monitor your results to see what works best.
Lastly, don’t hesitate to utilize tools like the Facebook Sharing Debugger to troubleshoot and refine your previews. With these strategies, you’ll be well on your way to creating link previews that drive engagement and traffic to your content!

 admin
admin


