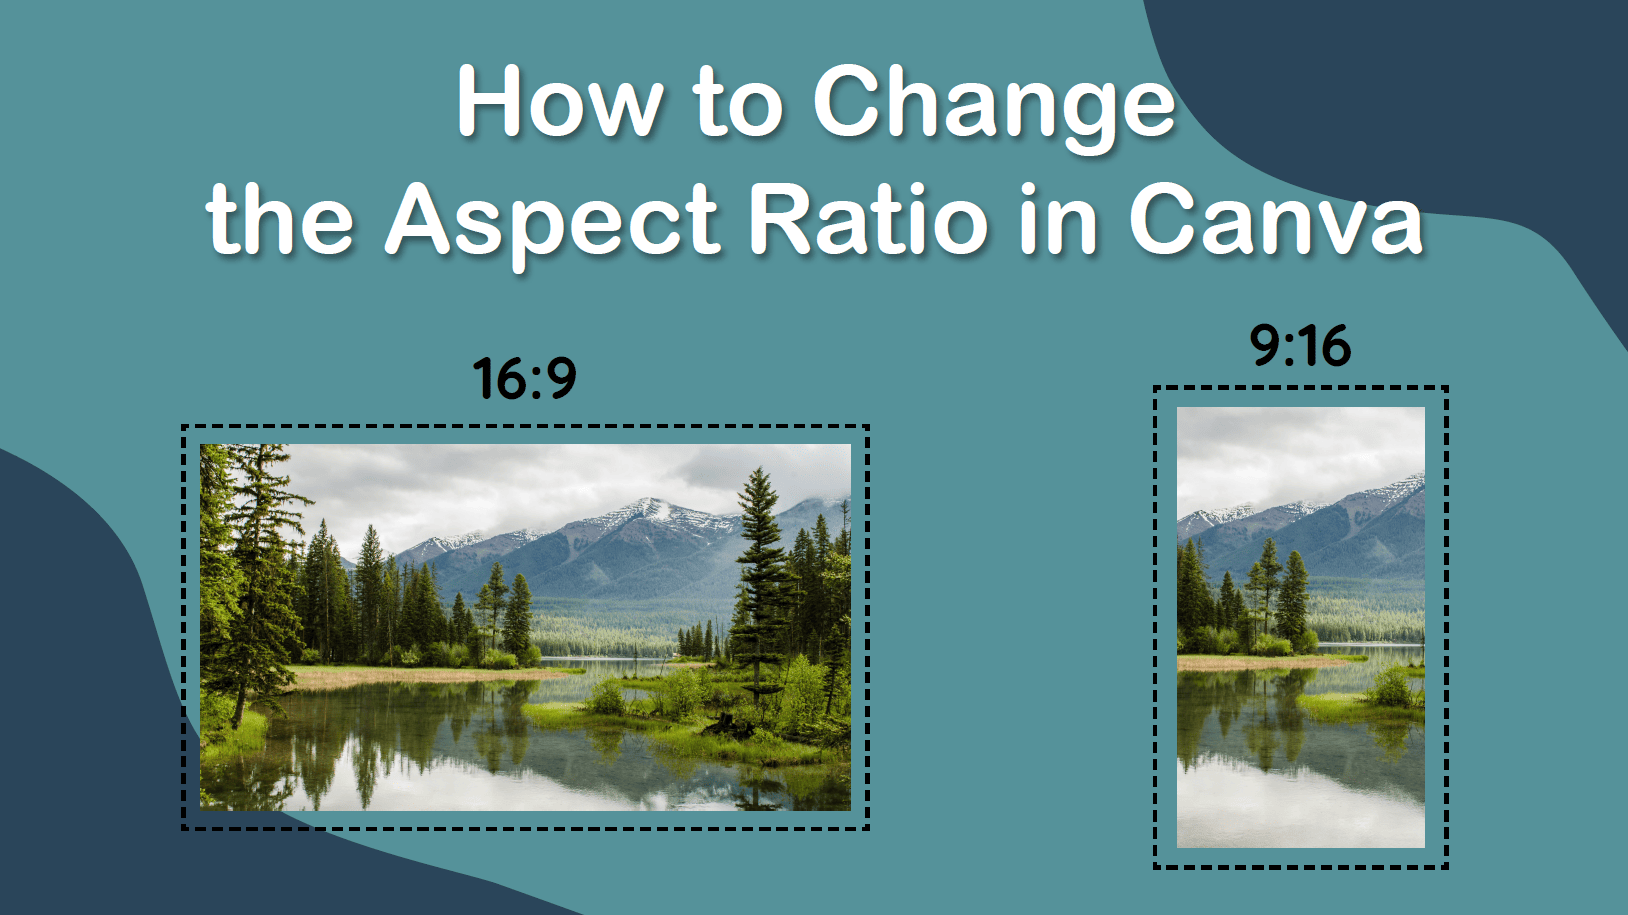
When it comes to photography and design, the term "aspect ratio" pops up a lot. But what does it really mean? In simple terms, the aspect ratio is the proportional relationship between an image's width and its height. It’s often expressed as two numbers separated by a colon, like 16:9 or 4:3. Understanding this concept can be crucial for achieving the desired look and feel for your images, whether you’re preparing photos for social media, a website, or a print project.
Understanding Different Aspect Ratios

There are several common aspect ratios you'll encounter in both photography and videography. Each serves a different purpose and can affect the aesthetic of your final product. Let's dive deeper into some of the most notable aspect ratios:
- 1:1 - Square
This aspect ratio is perfect for social media platforms like Instagram. Since it's equally wide and tall, it creates a balanced composition that works well for various subjects. - 4:3 - Standard
Commonly used in traditional photography and older television sets, the 4:3 ratio is more rectangular than 1:1 but still provides a cozy feel, making it versatile for landscapes, portraits, and more. - 16:9 - Widescreen
Widely used in modern televisions and computer screens, this ratio gives a cinematic feel. It's ideal for landscapes and video content, maximizing screen real estate. - 2:1 - Cinematic
Popular in filmmaking, this wide aspect ratio lends a dramatic touch, making it suitable for epic scenes and immersive storytelling. - 5:4 - Print
This ratio is often used in professional prints, providing a classic, elegant look perfect for framing.
Choosing the right aspect ratio not only enhances the visual appeal of your images but also ensures they fit perfectly into various mediums. Understanding these differences can help you make informed choices for any project.
Also Read This: How to Make Beautiful Paper Roses with Simple Craft Ideas
Methods to Change Image Aspect Ratio

Changing the aspect ratio of an image can be a simple yet essential task for photographers, designers, or anyone working with visuals. There are various methods available to achieve this, each with its own advantages depending on your needs and preferences. Let’s explore some popular methods:
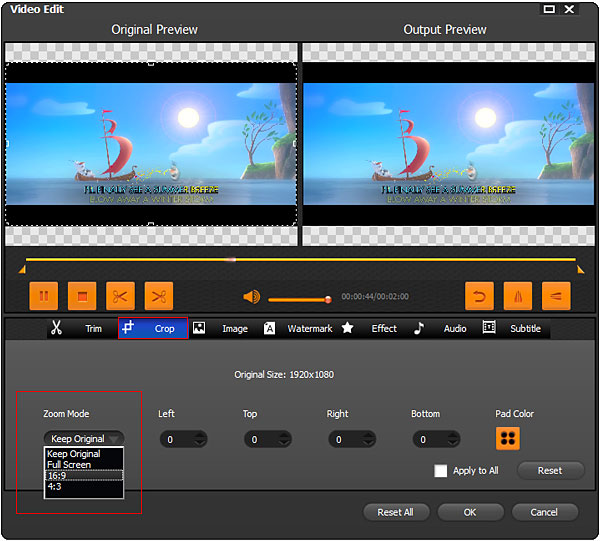
- Cropping: This is the most straightforward technique. By cropping the image, you can remove the outer sections to fit a desired aspect ratio. Many photo editing tools have a cropping feature that allows you to set a specific width-to-height ratio.
- Resizing: Resizing can change the dimensions of an image without cropping. However, be cautious as this might distort the image if you don’t maintain the original ratio.
- Canvas Size Adjustment: Changing the canvas size can effectively alter the aspect ratio without affecting the original image. This method lets you add empty space around the picture, which can be helpful for creating borders or adding text.
- Using Aspect Ratio Tool: Many modern editing software includes an aspect ratio tool that makes it simple to change ratios. You just select the desired ratio and the software will handle the rest.
These methods can cater to different needs, whether you're looking to fit a specific platform's guidelines, such as social media or print. Explore these options to find out what works best for your project!
Also Read This: Download the Best ShareChat Status Videos with This Method
Using Image Editing Software
When it comes to changing an image’s aspect ratio, using dedicated image editing software can make the process quick and painless. There are numerous programs available, ranging from professional grade to user-friendly applications. Here’s how to utilize some popular software tools:
| Software | Overview | Steps to Change Aspect Ratio |
|---|---|---|
| Adobe Photoshop | A professional and widely used program, excellent for complex edits. |
|
| GIMP | A free and open-source alternative to Photoshop. |
|
| Canva | Great for online use and creating visuals for social media. |
|
By using these software tools, you can make precise adjustments to your images, ensuring they fit your intended use perfectly. Whether you’re aiming for professional quality or quick social media graphics, find the tool that fits your style and needs!
Also Read This: Learn How to Crop an Image in a Circle on Google Slides
Changing Aspect Ratio with Online Tools
Changing the aspect ratio of your images has become easier than ever thanks to the abundance of online tools available. These platforms usually require no software installation and are user-friendly, making them suitable for everyone from beginners to seasoned graphic designers. Here’s a quick rundown of how you can do it using online tools:
- Choose the Right Online Tool: Websites like Canva, Fotor, and Pixlr offer simple interfaces to modify image dimensions. Do some quick research to see which tool best suits your needs.
- Upload Your Image: After selecting your online tool, the first step is typically to upload the image you want to change. Most tools support a wide variety of file formats like JPG, PNG, and GIF.
- Select Aspect Ratio: Navigate to the ratio adjustment tool. You might find preset ratios like 4:3, 16:9, or even a custom proportion option. Select the one you want.
- Adjust and Crop: Once you select your desired aspect ratio, the tool may allow you to drag and resize the image. Make adjustments to focus on the most important parts of your image.
- Download Your Image: After final adjustments, hit the download button. Make sure to save it in a quality that meets your needs.
Using online tools can save you time and effort while giving great results, so don’t hesitate to explore various options and find the one that feels right for you!
Also Read This: How to Properly Cite Images in PowerPoint Presentations
Tips for Maintaining Image Quality
When changing the aspect ratio of an image, maintaining its quality is paramount. A poorly managed aspect ratio change can lead to blurry, pixelated, or distorted images. Here are some handy tips to help you preserve image quality during this process:
- Use High-Resolution Images: Starting with a high-resolution image gives you more flexibility for resizing without quality loss. Lower-resolution images may struggle to maintain quality when expanded.
- Keep the Original: Always save a copy of the original image before making changes. This way, you can revert back if the transformed image doesn’t meet your expectations.
- Check the Settings: If your online tool allows, adjust the output settings for clarity, sharpness, or other parameters that affect quality. Some tools even provide options for lossless output.
- Avoid Extreme Cropping: Cropping down too aggressively can lead to a loss of essential detail, thus affecting the final picture quality. Try to crop minimally while focusing on the subject matter.
- Test Different Formats: After altering the aspect ratio, experiment with different file formats (like PNG vs. JPG) as they may yield different quality outcomes.
By following these tips, you can ensure that your images maintain their aesthetic appeal, regardless of the aspect ratio changes you apply. Happy editing!
Also Read This: How to Upload Your Portfolio on Behance for Designers
Common Mistakes to Avoid
When it comes to changing the aspect ratio of images, there are several pitfalls folks tend to fall into. Let's explore some of these common mistakes so you can steer clear of them and make the most of your images!
- Not Being Aware of the Original Aspect Ratio: One big mistake is changing the aspect ratio without first understanding the original dimensions of your image. If you don't know its original aspect ratio, you might inadvertently distort the image.
- Ignoring the Importance of Context: Every image serves a purpose. Changing the aspect ratio of an image without considering where it will be used can lead to undesirable results. Always think about the future placement of your image.
- Forgetting About Quality: When resizing an image, especially to a smaller aspect ratio, there’s a risk of losing image quality. Make sure you’re working with high-resolution images to mitigate pixelation or blurriness.
- Neglecting Composition: Sometimes, simply changing the aspect ratio can alter the composition of an image in ways you might not expect. Always check how the main subject of the image fits into the new ratio
- Not Saving a Copy of the Original: This might seem obvious, but many forget to save a copy of the original image before making changes. This can be a disaster if you end up not liking the final result!
Avoiding these mistakes will not only save you time but also enhance the overall quality of your visual content!
Conclusion and Final Thoughts
Changing the aspect ratio of images can seem daunting at first, but it’s truly a skill that anyone can learn with the right approach. Ultimately, it's about understanding the adjustments you're making and how they will influence the end product. Here are some key takeaways to ponder:
- Understand Your Needs: Before you start, clarify why you need to adjust the aspect ratio. Different platforms have different requirements—knowing this will guide your edits.
- Using Quality Software: Invest time in learning how to use image-editing tools effectively. Whether it's Photoshop, GIMP, or a simple online editor, familiarity is key.
- Be Mindful of Composition: Always consider how the new aspect ratio impacts the image’s composition. A well-composed image makes a significant difference in viewer engagement.
- Practice Makes Perfect: Don’t hesitate to experiment. The more you play around with different aspect ratios, the better you’ll become at crafting visually appealing images.
In conclusion, mastering aspect ratios enhances your photography and design skills. Don't shy away from practicing these tips, and soon enough, you’ll be producing images that not only look good but also fit perfectly into your projects!
 admin
admin


