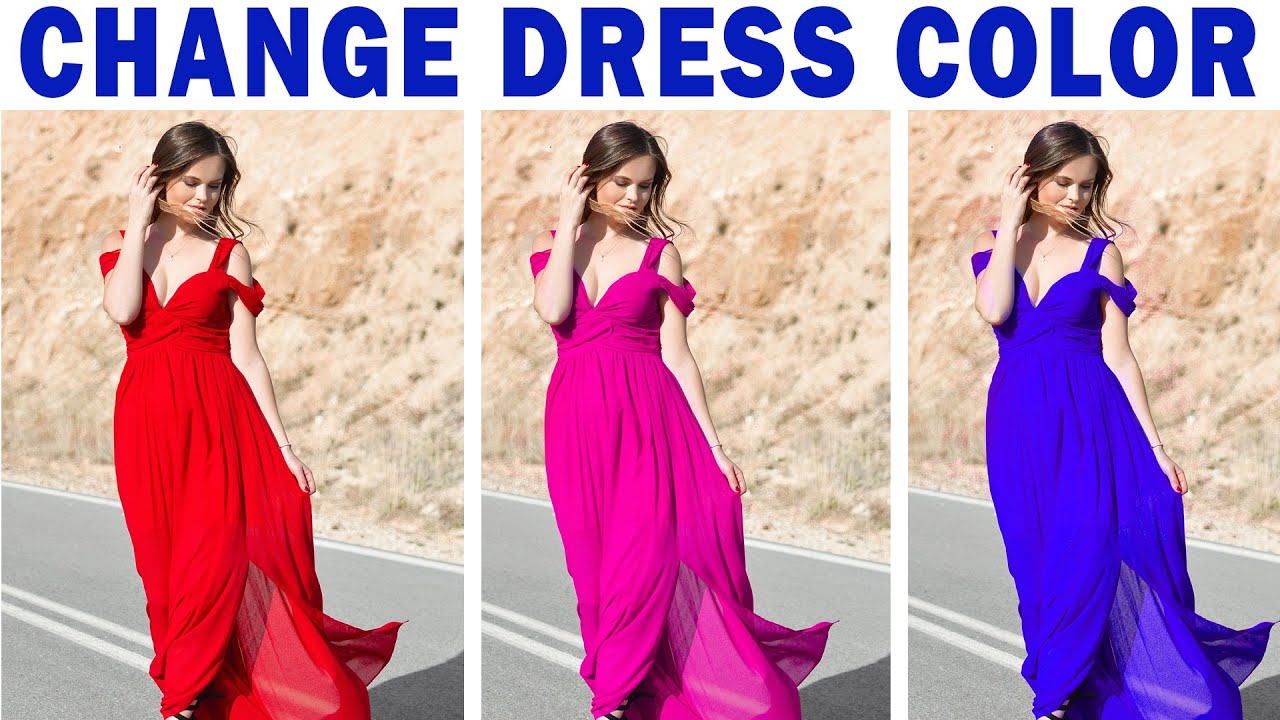
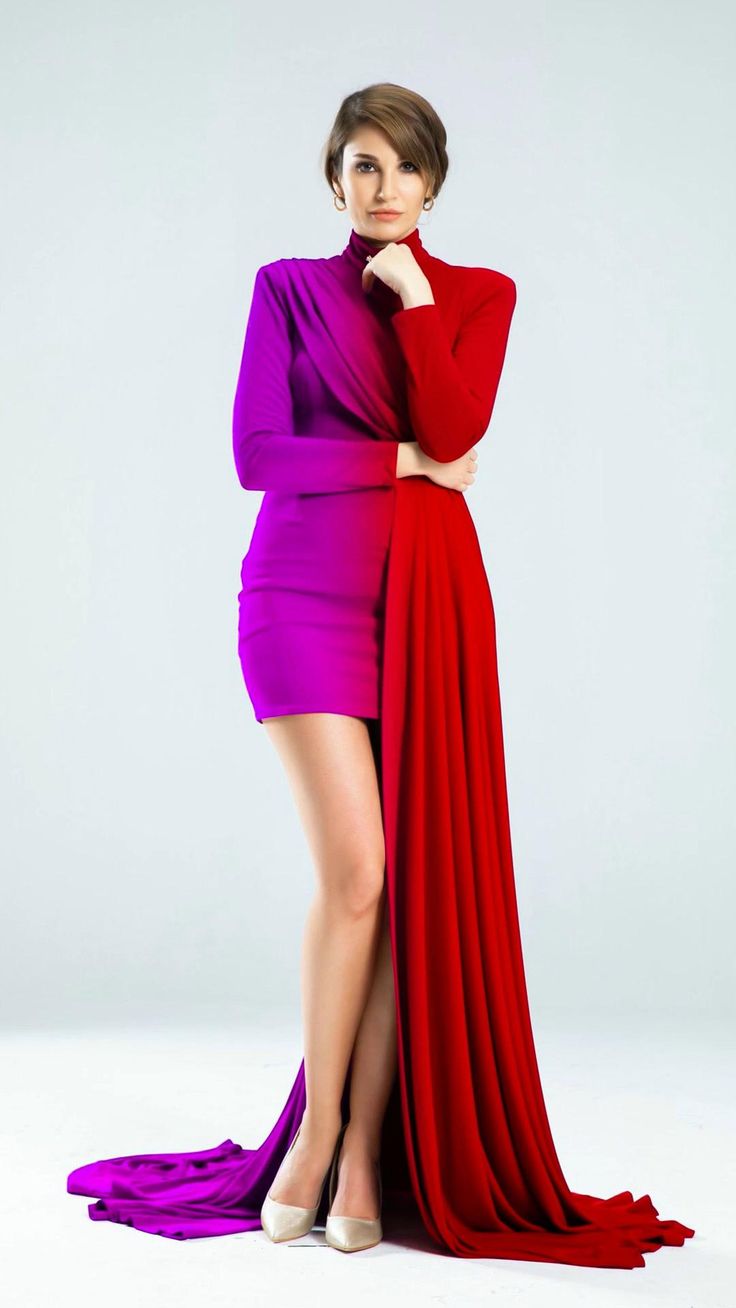
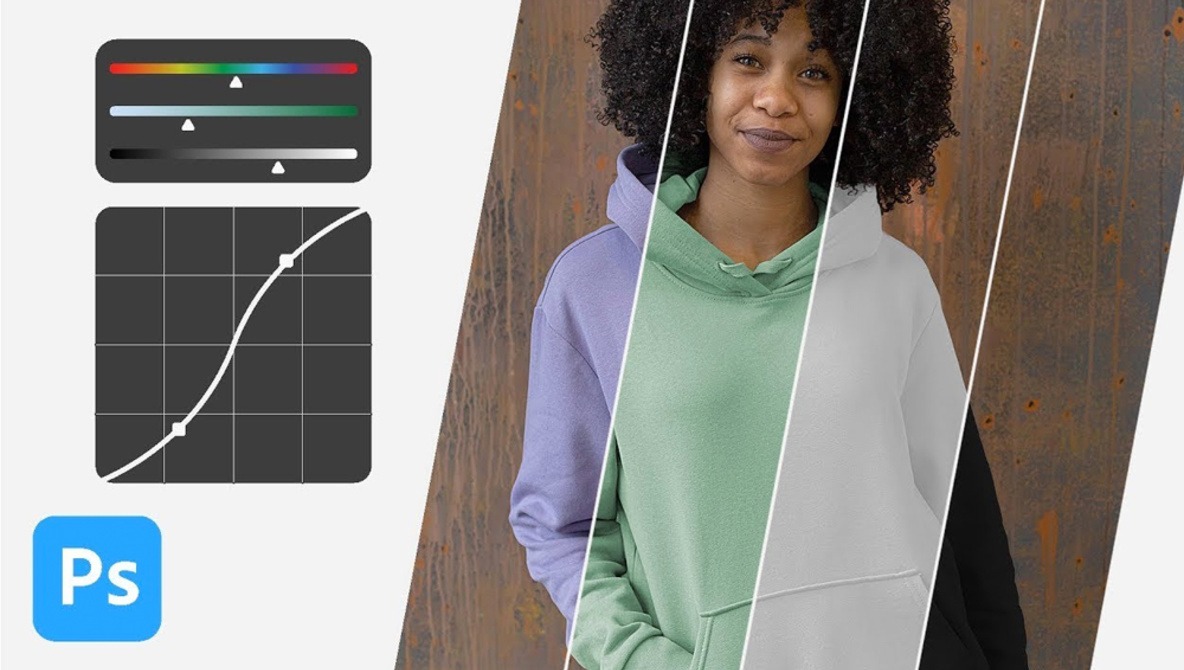
Changing the color of a dress in a photo can be a fun and creative way to showcase your editing skills or visualize different fashion choices. With Photoshop 7.0, this process becomes a straightforward task thanks to its powerful features tailored for image manipulation. Whether you're looking to go bold with bright colors or create a soft pastel look, you can achieve stunning results with just a few steps. In this guide, we’ll walk you through the necessary tools, setup, and techniques to change dress colors like a pro!
Necessary Tools and Setup

Before diving into the color-changing process, it’s essential to ensure you have everything you need set up in Photoshop 7.0. Here’s what you’ll require:
- Photoshop 7.0 Software: Make sure Photoshop 7.0 is installed on your computer. While it may not have all the features of the latest versions, it’s still quite powerful for basic color manipulations.
- High-Quality Image: Choose a clear, high-resolution image of the dress you want to edit. The better the quality, the easier it will be to select and change colors accurately.
- Basic Knowledge of Photoshop: Familiarize yourself with the toolbar and functions. A grasp of tools like the Magic Wand, Lasso, and the Layers panel is crucial.
- Lighting and Background: Ideally, your dress should be photographed in consistent lighting and against a simple background, which makes selection easier.
Before you start editing, ensure your workspace in Photoshop is properly set up:
- Open Photoshop 7.0.
- Select Window > Workspace to customize your layout for optimal editing.
- Set up Layers and Toolbars for easy access to the tools you’ll be using.
With the right tools and setup in place, you're ready to embark on the exciting journey of changing dress colors in Photoshop!
Also Read This: Guide to Adding a Description to Your YouTube Shorts Videos
Opening Your Image in Photoshop 7.0

Alright, let’s kick things off by opening your image in Photoshop 7.0. It’s super easy and quick—just follow these steps to get started!
- Launch Photoshop 7.0. You can do this by double-clicking the application icon on your desktop or selecting it from your list of programs.
- Once the program is open, go to the File menu located at the top left corner of the screen.
- Select Open from the dropdown menu. A dialog box will pop up, allowing you to browse through your files.
- Navigate to the folder containing the image you want to edit. It’s usually a good idea to choose high-resolution files for better results.
- Click on the image file to highlight it, and then hit the Open button in the dialog box.
Voila! Your image is now displayed on the Photoshop canvas. Make sure to have a good look at it before diving into the color change. If there are any elements in your image that you'd like to crop or adjust, now’s a good time to do that before moving on. Ready to get started with the fun part? Let’s select the dress!
Also Read This: How to Lock an Image in Word
Selecting the Dress

Now that your image is open and ready, the next step is to select the dress you want to change the color of. This is a crucial part of the process because an accurate selection will make your color change more seamless and natural. Here’s a simple way to do it:
- Use the Lasso Tool or the Magnetic Lasso Tool from the toolbar on the left side of your screen. The Lasso Tool lets you draw freehand around the area, while the Magnetic Lasso Tool automatically snaps to the edges of the dress.
- Carefully trace around the dress. Don’t worry if your selection isn’t perfect; you can fine-tune it later.
- If you use the Lasso Tool, you can hold down the Shift key to add to your selection or the Alt (or Option for Mac) key to subtract from it.
- Once you have a rough selection, zoom in using the Zoom Tool for better precision. This allows you to see details that need attention.
- To refine your selection further, go to the Select menu at the top and choose Modify > Feather. A feather radius of 1-2 pixels usually works well to soften the edges.
And just like that, you’ve successfully selected the dress! This is your ticket to transforming its color. Remember, patience is key here—don’t rush the selection process. A well-defined selection makes all the difference in achieving that flawless look!
Also Read This: Exploring the Latest Photography Trends You Can Find on Imago Images
5. Adjusting the Color

Now that you’ve made your initial selection of the dress, it’s time to fine-tune the color to get it just right! In Photoshop 7.0, adjusting color is both simple and fun. Here are the steps to follow:
- Go to the menu and select Image.
- Hover over Adjustments and choose Hue/Saturation from the dropdown menu.
The Hue/Saturation dialog box will pop up, and here’s where the magic happens! You can tweak the sliders to bring your desired color to life:
- Hue: This slider allows you to change the overall color. For instance, sliding it left might yield a beautiful blue, while sliding it right could lead you to a radiant green!
- Saturation: Increasing saturation will make the color more vibrant, while decreasing it can give you a softer, more muted look.
- Lightness: Adjusting this will lighten or darken your color. Play around with it for the effect you wish.
Don’t forget to experiment! Sometimes unexpected results can lead to the most stunning transformations. Once you’re satisfied, hit OK to apply your changes.
Also Read This: How to Register with Getty Images for New Contributors
6. Final Touches and Saving Your Work
Awesome! You've changed the dress color, and now it's time for those all-important final touches. This step is crucial to ensure your masterpiece looks polished and professional.
First, take a moment to zoom in and check the edges of your selection. Look out for any color spill or unusual artifacts that might have occurred during the selection process. Use the Eraser Tool or the Brush Tool with a soft edge to clean up any discrepancies.
Next, consider adding some shadows or highlights to make the dress look more realistic. You can use the Burn Tool for shadows and the Dodge Tool for highlights. A little bit of work here can really bring depth and dimension to the piece.
Once you’re happy with the adjustments, it’s time to save your work. Go to File and then select Save As. Choose the file format that suits your needs:
- JPEG: Great for sharing online but remember, it compresses the image.
- PSD: This keeps your layers intact, allowing you to come back and edit later.
- PNG: Perfect for retaining quality while allowing transparency.
Always make sure to save a copy of your original image before making any modifications. And there you go! You’re now armed with the skills to change dress colors like a pro in Photoshop 7.0. Happy editing!
Also Read This: How to Outline an Image in Canva for Professional Graphics
Troubleshooting Common Issues
When changing dress color in Photoshop 7.0, you might run into some hiccups along the way. Don’t worry though; these issues are quite common, and I’ve got some tips to help you sort things out quickly! Here are a few problems you may encounter and how to solve them:
- Colors Look Unnatural: If the new dress color appears too bright or unrealistic, check the saturation level. Go to Image > Adjustments > Hue/Saturation. Adjust the saturation slider for a more natural look.
- Selection Issues: Sometimes, the selection tool might not pick up all the areas you want. Use the Lasso Tool or the Quick Selection Tool to refine your selection. You can also hold down the `Shift` key to add to your selection or `Alt` (Windows) / `Option` (Mac) to subtract.
- Edges Look Jagged: If your edges aren’t smooth, try feathering the selection before applying the color. You can find this option under Select > Modify > Feather. A value between 1-5 pixels usually works well.
- Color Doesn’t Apply: If the color adjustment doesn’t seem to be working, ensure that you are applying the changes to the right layer. Check the layer panel to confirm you have the correct layer selected.
By addressing these common problems, you’ll make your editing process smoother and more enjoyable. Remember, practice makes perfect, so keep experimenting!
Conclusion
Changing dress color in Photoshop 7.0 can be a fun and creative way to enhance your images. Remember, the key steps involve making a precise selection, applying the color change using adjustment layers, and tweaking for the best visual effect. To recap:
- Choose the right selection tool for accurate results.
- Edit the hue and saturation to make the new color pop.
- Always work with layers to maintain the original image quality.
- Don’t hesitate to troubleshoot any issues you encounter along the way.
With these tips in your arsenal, you're well-equipped to tackle any dress color change you have in mind. So, fire up Photoshop 7.0 and let your creativity shine! Happy editing!
 admin
admin


