Building your own skateboard can be one of the most rewarding hobbies you ever take on. Not only do you get to customize it to fit your style, but it also allows you to gain a deeper understanding of the craft behind skateboarding. Whether you’re a seasoned skater or a complete newbie, constructing your own board can enhance your riding experience, giving you the perfect ride tailored just for you.
In this guide, we’ll walk you through everything you need to know—from the fundamental components to the assembly process. So, grab your tools and let’s dive into the exciting world of skateboard building!
Understanding Skateboard Components

Before you jump into assembly, it's crucial to understand the various components that make up a skateboard. Each part plays a specific role in your ride's performance and overall feel. Let's break it down:
| Component | Description |
|---|---|
| Deck | The board itself, typically made from layers of maple wood. It's the platform you stand on and comes in various shapes and sizes. |
| Trucks | The T-shaped metal components that attach to the underside of the deck. They hold the wheels and allow for turning. |
| Wheels | Usually made from urethane, they come in different sizes and hardness, impacting your ride’s smoothness and grip. |
| Bearings | Tiny metal rings that fit inside the wheels, allowing them to spin freely. Quality bearings can greatly enhance your speed. |
| Grip Tape | A coarse material applied to the top of the deck to provide traction for your feet while riding. |
Now that you have a good grasp of the components, you can start planning your custom setup! Understanding how each part works together will help you make better choices and create a board that fits your personal skating style, whether that’s cruising, street skating, or hitting the ramps.
3. Tools and Materials Required

Building your own skateboard can be an incredibly rewarding experience, but before you dive in, you need to gather the right tools and materials. Let’s go through what you’ll need step by step.
Essential Tools:
- Drill with Bits: A power drill is critical for making holes in your skateboard deck for the trucks.
- Screwdriver: A flathead or Phillips screwdriver is necessary to put the screws in for your truck assembly.
- Utility Knife: This will come in handy for cutting grip tape or any other adjustments you might need to make.
- Tape Measure: To ensure accurate measurements, a tape measure is indispensable.
- Sander or Sandpaper: For smoothing edges and providing a clean finish to your deck.
Materials You’ll Need:
- Skateboard Deck: Choose from wooden, composite, or plastic types depending on your style and preference.
- Grip Tape: This non-slip surface adheres to the deck and provides traction while you ride.
- Trucks: These are the metal parts that hold the wheels in place. Make sure to choose the right width for your deck.
- Wheels: Pick the right size and hardness of wheels suited for your skating style—soft wheels are perfect for cruising, while harder wheels are better for tricks.
- Bearings: Typically ABEC-rated, these go inside the wheels and affect how your skateboard rolls.
- Screws and Washers: You'll need these to secure everything together.
4. Step-by-Step Skateboard Assembly

Now that you’ve got all your tools and materials ready, it’s time to put everything together. Here’s a straightforward step-by-step guide to help you assemble your very own skateboard.
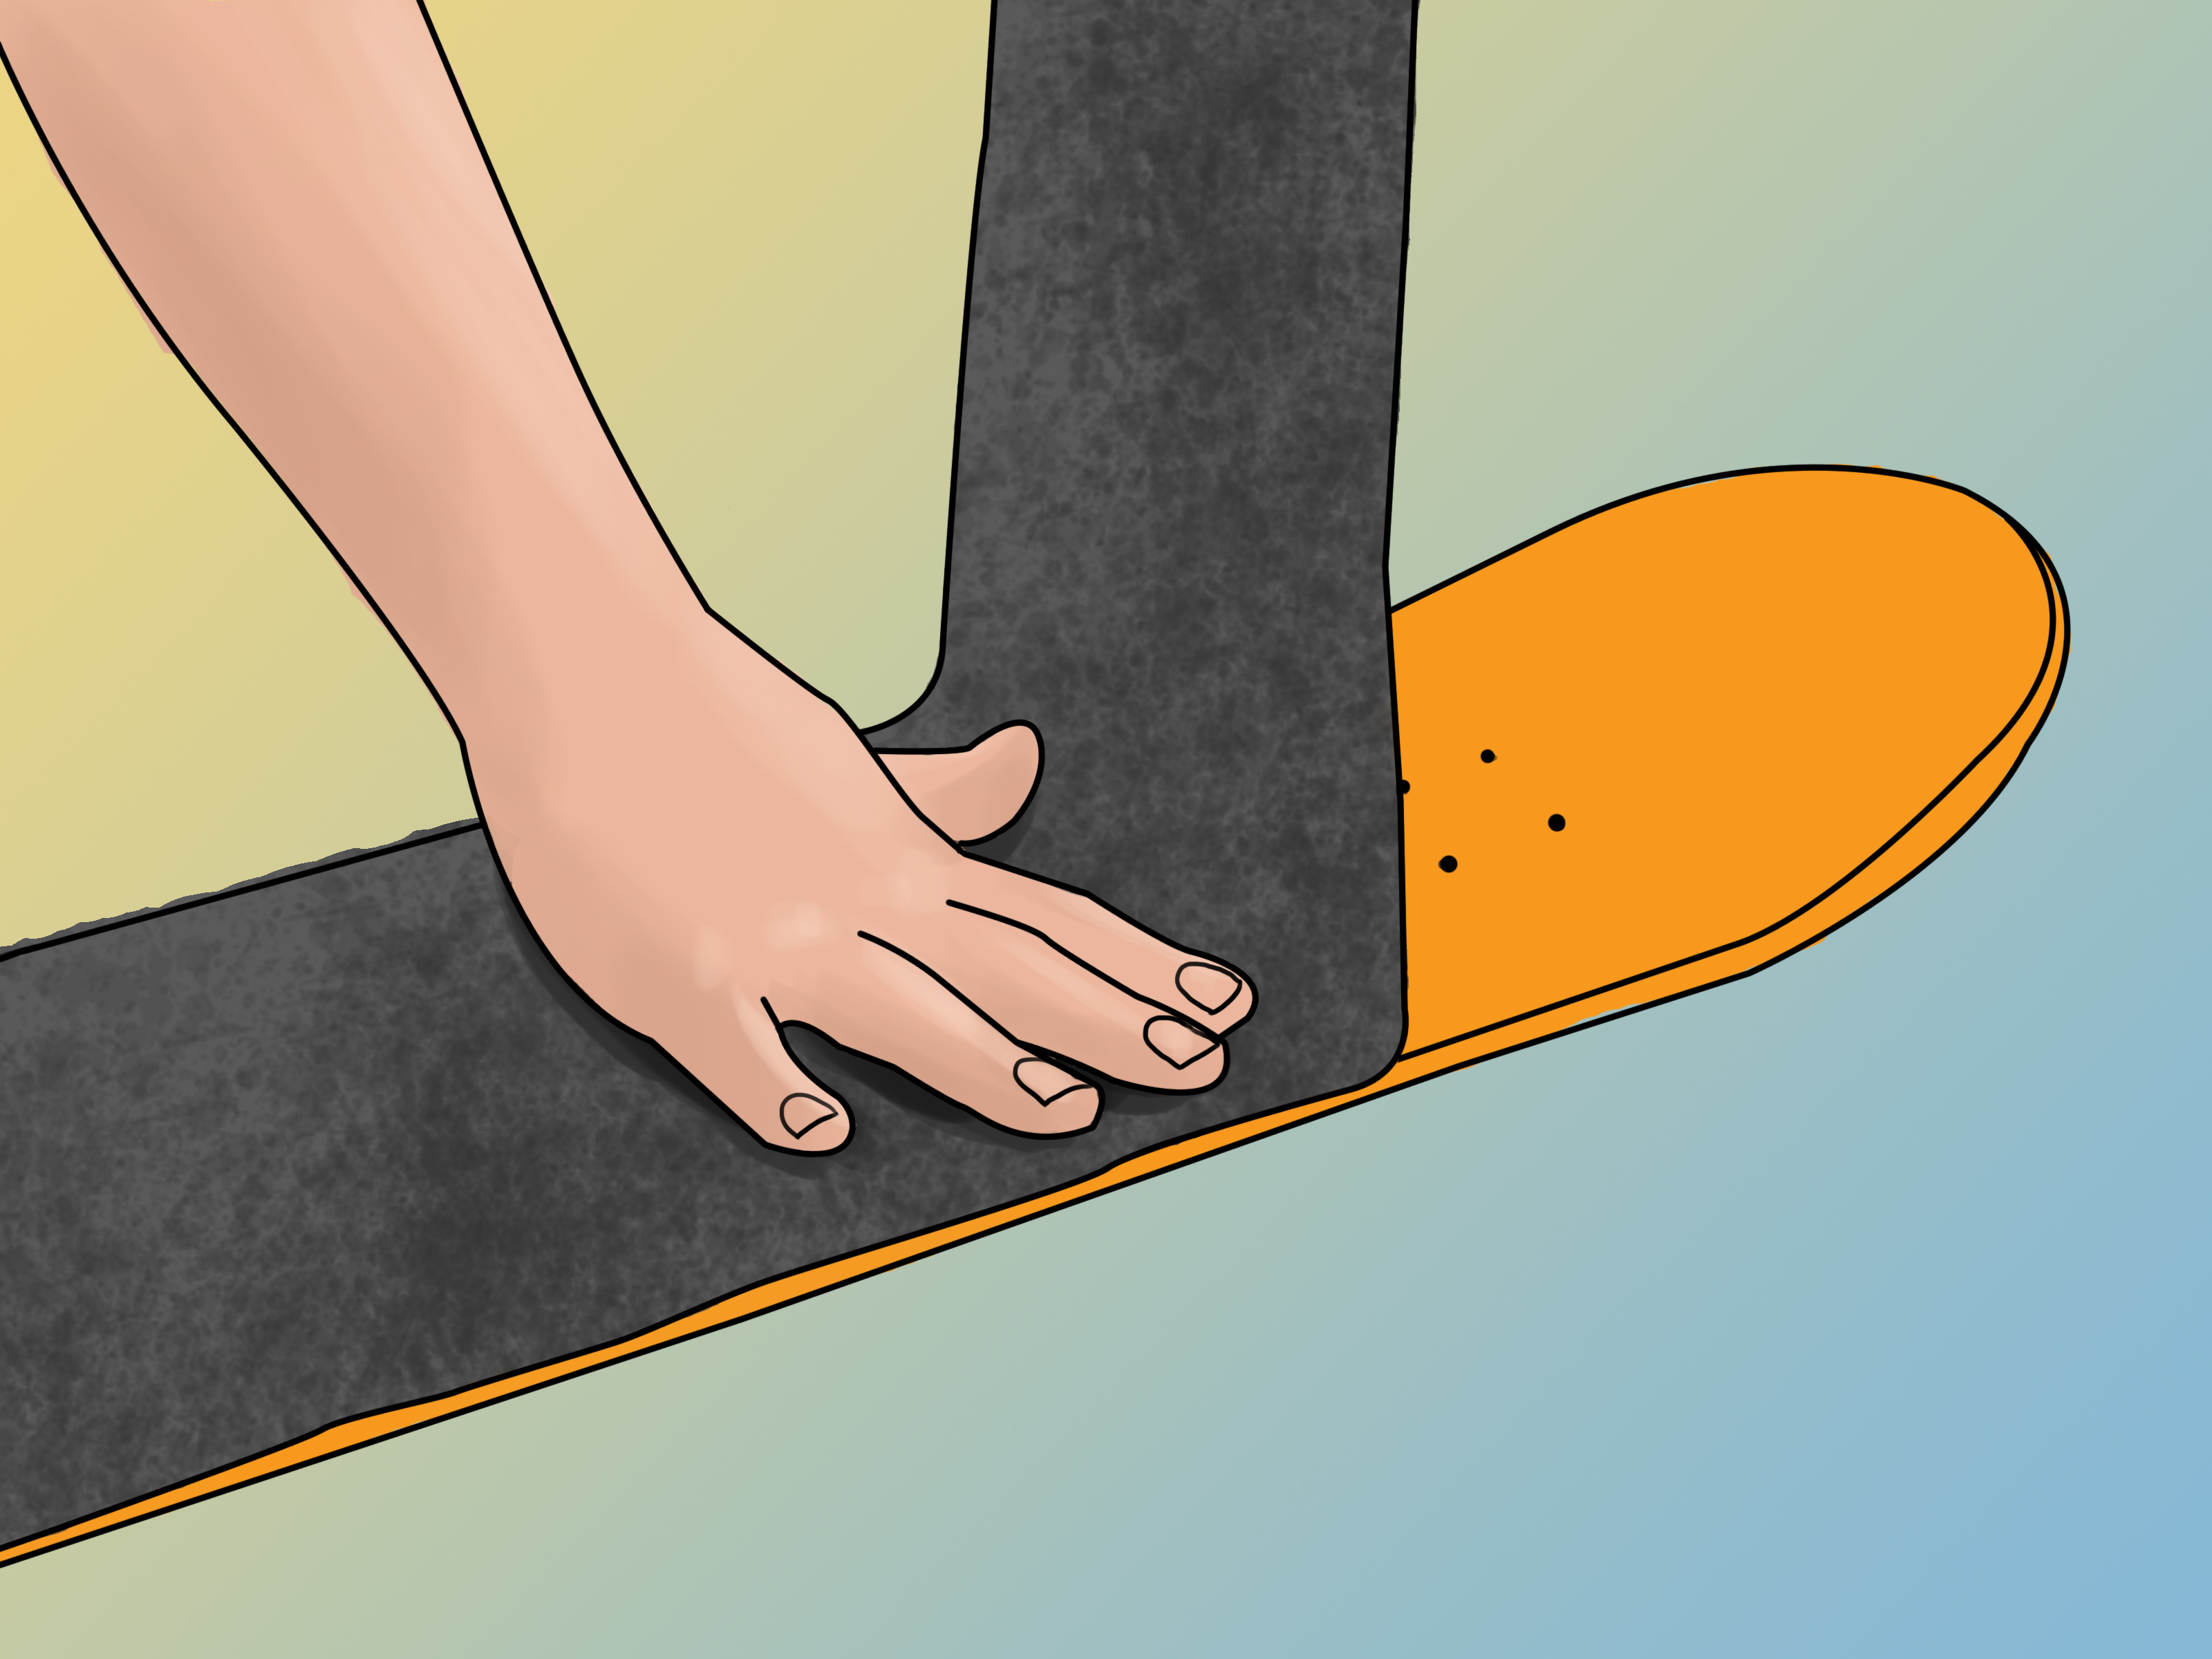
Step 1: Attach the Grip Tape
Start by cleaning the top of your skateboard deck. Cut a piece of grip tape slightly larger than the deck, then apply it carefully, smoothing out any bubbles. Use your utility knife to trim the excess around the edges.
Step 2: Mark Drill Holes
Flip the deck over and align the skateboard trucks at either end. Mark the drill holes using the screws as a guide. It’s important to ensure they’re evenly spaced and aligned.
Step 3: Drill Holes
Now, use your drill to make holes at the marked spots. Be sure to have a sheet of wood underneath to avoid damaging your workspace.
Step 4: Attach the Trucks
Once your holes are drilled, place the trucks over the holes and secure them with screws. Use the screwdriver to tighten them, but be cautious not to overtighten!
Step 5: Insert the Bearings
Pop open your wheels and insert the bearings into each wheel. Just push them in until they’re snug.
Step 6: Attach the Wheels to Trucks
Now it’s time to pass the axle of the trucks through the wheels and secure them with washers and nuts. Again, avoid overtightening to allow the wheels to spin freely.
Final Step: Enjoy Your Skateboard!
Congratulations! You’ve built your own skateboard. Now, it’s time to hit the pavement and show off your handiwork. Don’t forget to wear a helmet and pads for safety!
Customizing Your Skateboard Design
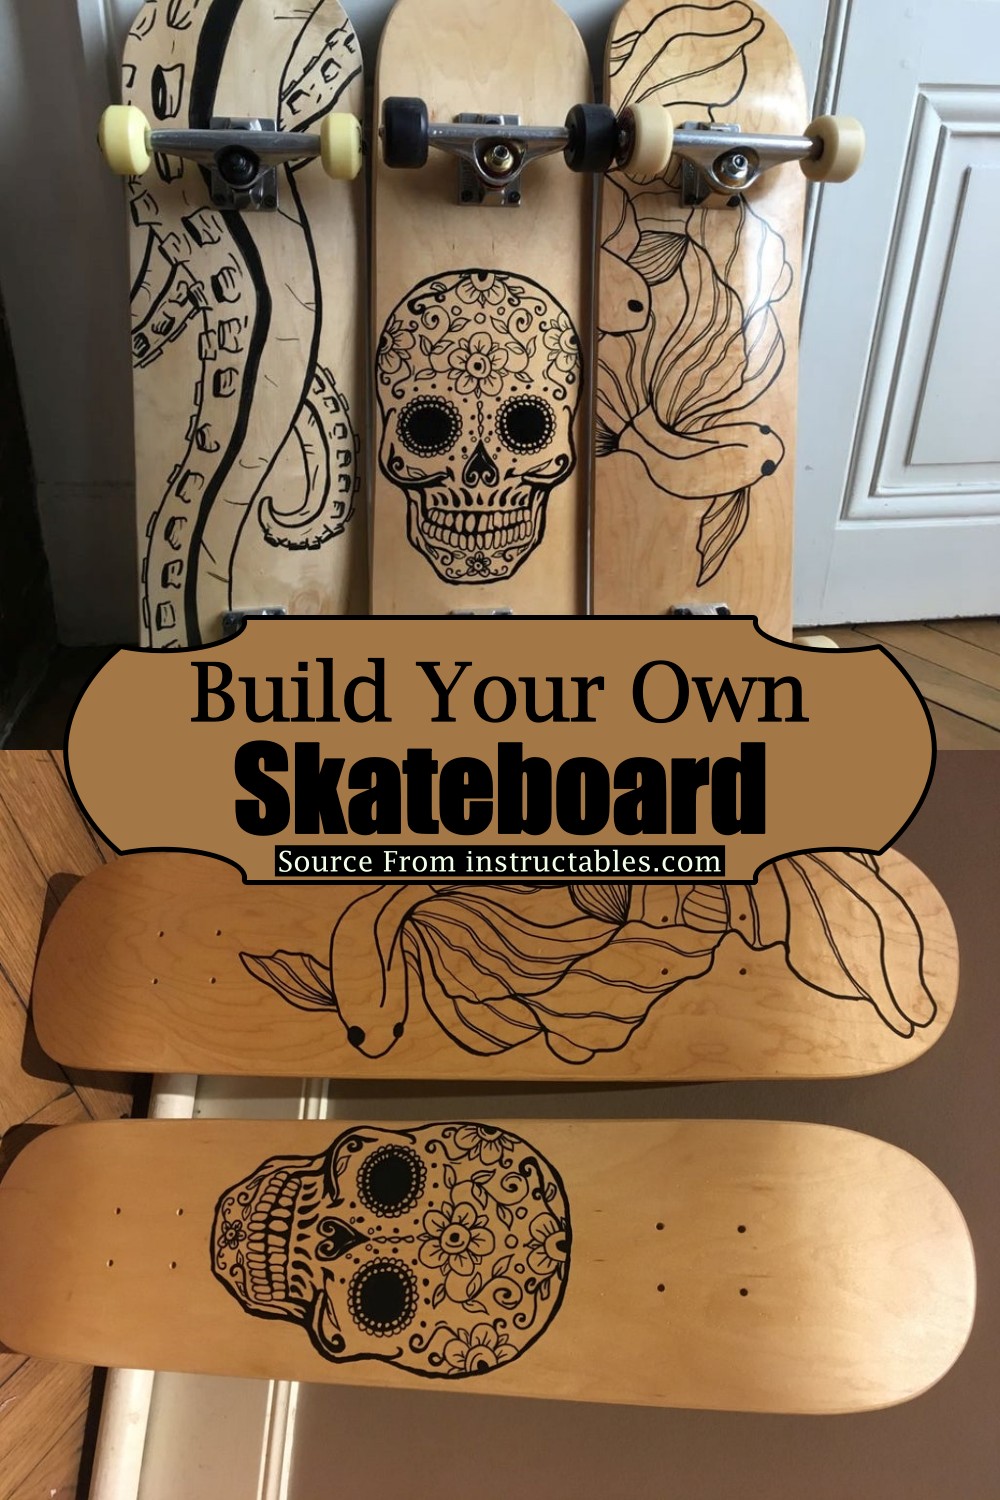
Customizing your skateboard is one of the most exciting parts of the building process! Not only does it allow you to express your personality, but it can also make your board unique. Whether you’re going for a sleek, minimalist look or a vibrant, eye-catching design, the options are limitless. Here’s how you can get started:
- Choosing a Theme: Think about what represents you. Do you love a certain color scheme, artwork, or maybe a favorite band? Picking a theme can give you direction.
- Selecting Graphics: You can either buy pre-made graphics or create your own. Many skaters use stickers, paint, or even professional-grade vinyl.
- Painting Your Deck: If you’re feeling creative, why not paint your skateboard? You can use spray paint, acrylics, or airbrush techniques. Just make sure you seal it with a clear coat to protect your artwork!
- Grip Tape Design: The grip tape doesn’t have to be just plain black. Consider using colored grip tape or cutting patterns into the tape for a unique look.
- Adding Accessories: Don’t hesitate to adorn your skateboard with accessories like wheels with designs, custom hardware, or even LED lights for that extra flair!
Remember, building your skateboard is about having fun and making something that truly feels like yours. So get creative and let your artistic side shine!
Maintenance and Care for Your Skateboard
Taking good care of your skateboard is essential if you want it to last and perform well. Regular maintenance not only prolongs its life, but it also enhances your riding experience. Here are some tips to keep your skateboard in prime condition:
- Cleaning Your Board: Keep your deck clean by wiping it down after your rides. Use a damp cloth and mild soap to remove dirt and grime. Avoid soaking it, as excessive moisture can weaken the wood.
- Inspecting the Hardware: Check your nuts and bolts regularly. If you notice them getting loose, tighten them with a wrench. Additionally, look out for any signs of rust or wear on your trucks.
- Replacing Worn-Out Parts: Wheels and bearings wear out over time. If your wheels seem flat, bumpy, or if you’re hearing squeaking sounds, it might be time for replacements.
- Storing Your Skateboard: When not in use, store your skateboard in a cool, dry place away from direct sunlight. Consider using a skateboard rack or wall mount to prevent warping.
- Regularly Inspecting the Grip Tape: If your grip tape is worn or peeling, replace it. A good grip ensures safety and stability while riding.
By following these maintenance tips, you can ensure your skateboard stays in optimal shape, allowing you to shred smoothly and confidently for years to come!
How to Build Your Own Skateboard - A Complete Guide
Building your own skateboard can be an exhilarating and rewarding experience. Not only do you create a custom ride that reflects your style, but you also gain a deeper understanding of the components that make up a skateboard. Follow this comprehensive guide to successfully build your own skateboard from start to finish.
Materials Needed
Before you begin, gather the following materials:
- Deck: Choose a ready-made deck or make one from wood.
- Trucks: Select trucks based on your riding style (street, vert, cruising).
- Wheels: Wheels come in various hardness and diameters; choose according to your preference.
- Bearing: Quality bearings are crucial for smooth rides; ABEC-rated bearings are recommended.
- Grip Tape: Essential for non-slip on the skateboard surface.
- Hardware: Bolts and nuts to secure the trucks to the deck.
Step-by-Step Instructions
- Prepare the Deck: If using a raw deck, sand it down and apply the grip tape.
- Attach the Trucks: Align the trucks with the pre-drilled holes on the deck and secure them using the hardware.
- Install the Bearings: Press the bearings into the wheels until they fit snugly.
- Attach the Wheels: Bolt the wheels to the trucks by aligning them and ensuring everything spins freely.
- Final Touch: Inspect your skateboard to ensure everything is tightened and secure.
Maintenance Tips
| Component | Maintenance Tip |
|---|---|
| Deck | Keep it dry and clean to prevent damage. |
| Trucks | Regularly check and tighten the kingpin nut. |
| Wheels | Inspect for flat spots and replace them as needed. |
| Bearings | Clean and lubricate them periodically for optimal performance. |
By following this guide, you can create a skateboard that perfectly suits your style and needs. Remember, practice makes perfect, so don't get discouraged if your first build isn't perfect. Over time, you'll enhance your skills and enjoy the custom rides you create!
Conclusion and Final Thoughts: Building your own skateboard not only gives you the satisfaction of a personalized ride but also allows you to understand the various components of the skateboard, paving the way for future modifications and improvements. Enjoy the ride!


